


Folder - Providing files in folders

A Folder is a resource that you as a manager can create in your course room to provide your students with several files in a condensed manner. A folder can contain any number of subfolders and files.
A download button allows you to download all files in the directory as a ZIP file.
Images and video files whose file size exceeds the storage limit in RWTHmoodle can be included as access-controlled links via Sciebo and thus made available for download. However, we recommend the use of the RWTH streaming server Opencast.
1. Add a Folder
There are two ways to create a Folder resource in RWTHmoodle.
1.1. Create a folder by dragging & dropping a ZIP file
- Create a ZIP file on your computer with the files you want to make available in a directory in RWTHmoodle.
- Switch the course room to edit mode using the "Edit mode" slider next to your name in the upper right corner.
- Drag and drop the ZIP file of the folder from your desktop to the course section where you want to add the folder.
- Select as an option what you want to do with the ZIP file, "Unzip files and create folder" and then click on the "Upload" button.
- If necessary, change the name of the folder by clicking on "Edit" behind the folder.
1.2. Create a folder via activity chooser
- Switch the course room to edit mode using the "Edit mode" slider next to your name in the upper right corner.
- Click on the link "Add an activity or resource" in the course section where you want to add a file.
- Check the box next to "Folder".

- Click on the "Add" button to create a "Folder". You will be automatically forwarded to the settings page of the element to upload the file and configure the element.
2. Configuration options for a folder
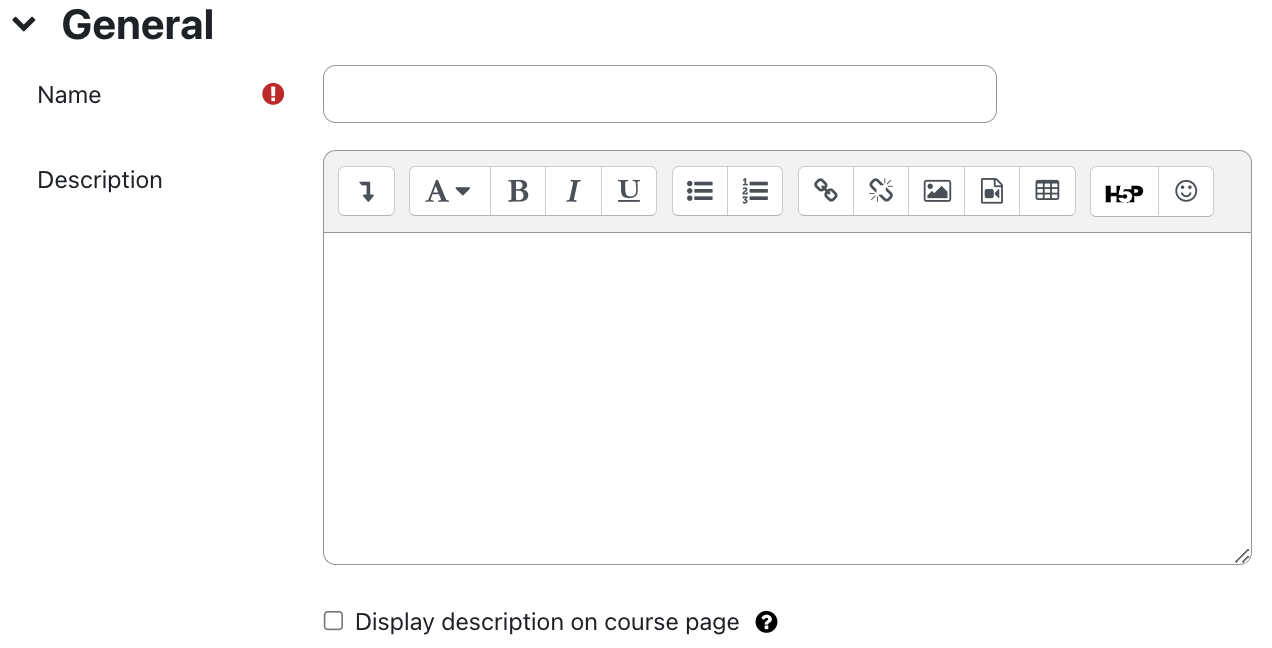
2.1. General
- Name: Give the file a name. This name will appear on the course page.
- Description: Enter a short description of the file.
- Display description on the course page: If you select this checkbox, the description above will be displayed on the course page.
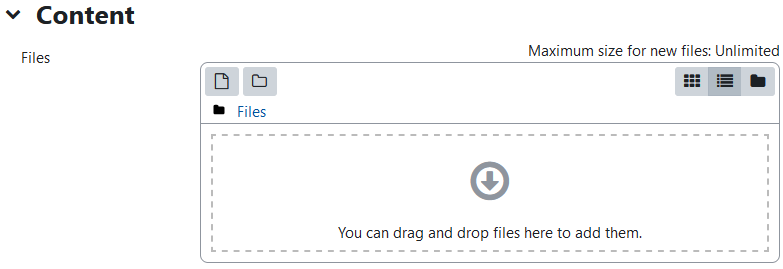
2.2. Content
- Select files: Here you can upload a file from your PC to RWTHmoodle. Drag and drop a file from your PC directly into the file area or click on the "Add..." button in the upper left corner of the file area and browse for the upload file on your PC.
- Within the folder, you can create as many subfolders as you like. To do so, click on the "Create folder" button at the top left of the file area. Give the subfolder a name and confirm with "Create folder". To add files to the subfolder, open it with a click.
- The three icons in the upper right corner of the files area control how the files are displayed in the files area: Display directory with file icons, display directory with file details, and display directory hierarchically.
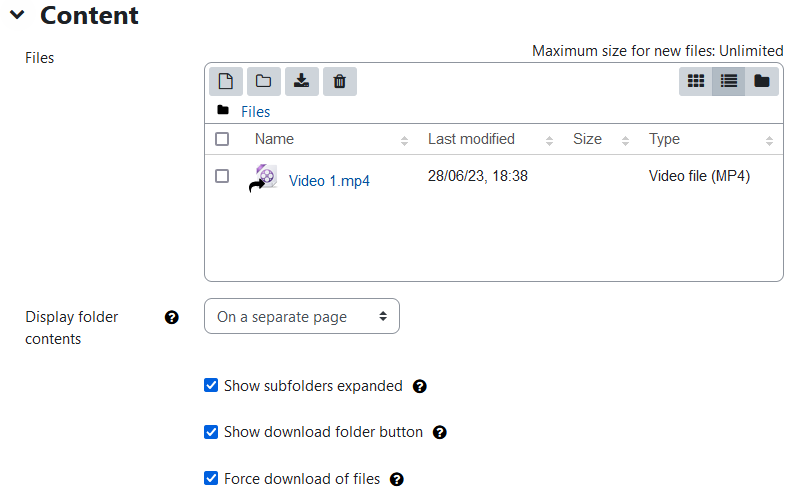
- Display folder contents: With this setting, you determine whether the folder content is displayed on a separate page or directly on the course page.
- Show subfolders expanded: If you select this checkbox, the contents of all subfolders are displayed expanded.
- Display download folder button: With this option, the students are shown a button to download the folder as a ZIP file.

2.3. Common module settings
- Availability: Select whether the folder should be visible to students or hidden from them.
- ID number: The ID number for the folder is used to assign a name that can be used in the "Grades" section when calculating overall grades. If the folder is not needed for the calculation of grades, the field can remain empty.
2.4. Restrict access
You can attach certain conditions to the visibility and availability of the folder to students. For more info read the article Restrict access.
2.5. Activity completion
With these settings, criteria or conditions define when an activity is considered completed. For more info read the article Activity completion settings.
2.6. Notification about content change
The settings for the activities can be reached after creating them within the activity via the central menu navigation. Here you will find activity-specific settings and you can also save the activity directly individually.
If you subsequently make changes to the settings, activate the checkbox "Send notification of content change" to inform all participants about the new or changed activity. All participants who can access the activity receive the notification.

3. Making images and videos available via Sciebo
Images and video files, whose file size exceeds the storage limit in RWTHmoodle, can be embedded as access-controlled links via Sciebo and thus made available for download. To access the file, users have to log in to their Sciebo account. They will be prompted automatically when they access the file.
- Switch the course room to edit mode using the "Edit mode" slider next to your name in the upper right corner.
- Click on the link "Add an activity or resource" in the course section where you want to add a file.

- Choose the option "Folder".
- The folder resource is created. You will be automatically redirected to the folder's settings page to create the folder's content and configure the item.
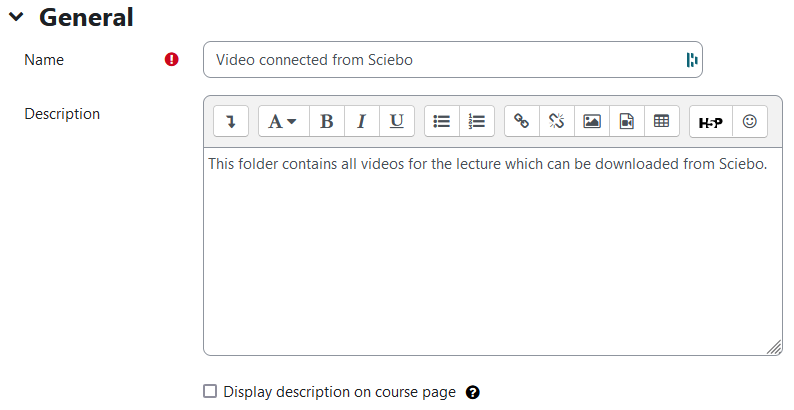
- Give the folder a name. This appears on the course page.
- Under "Description", provide a brief content description of the folder content.
- If you check the "Show description in course" checkbox, the above description will be displayed directly on the course page.
- In the Content section, click the Add File icon at the top left of the upload area
 .
.
- Then click on "Sciebo" in the "File picker" dialog on the left side.
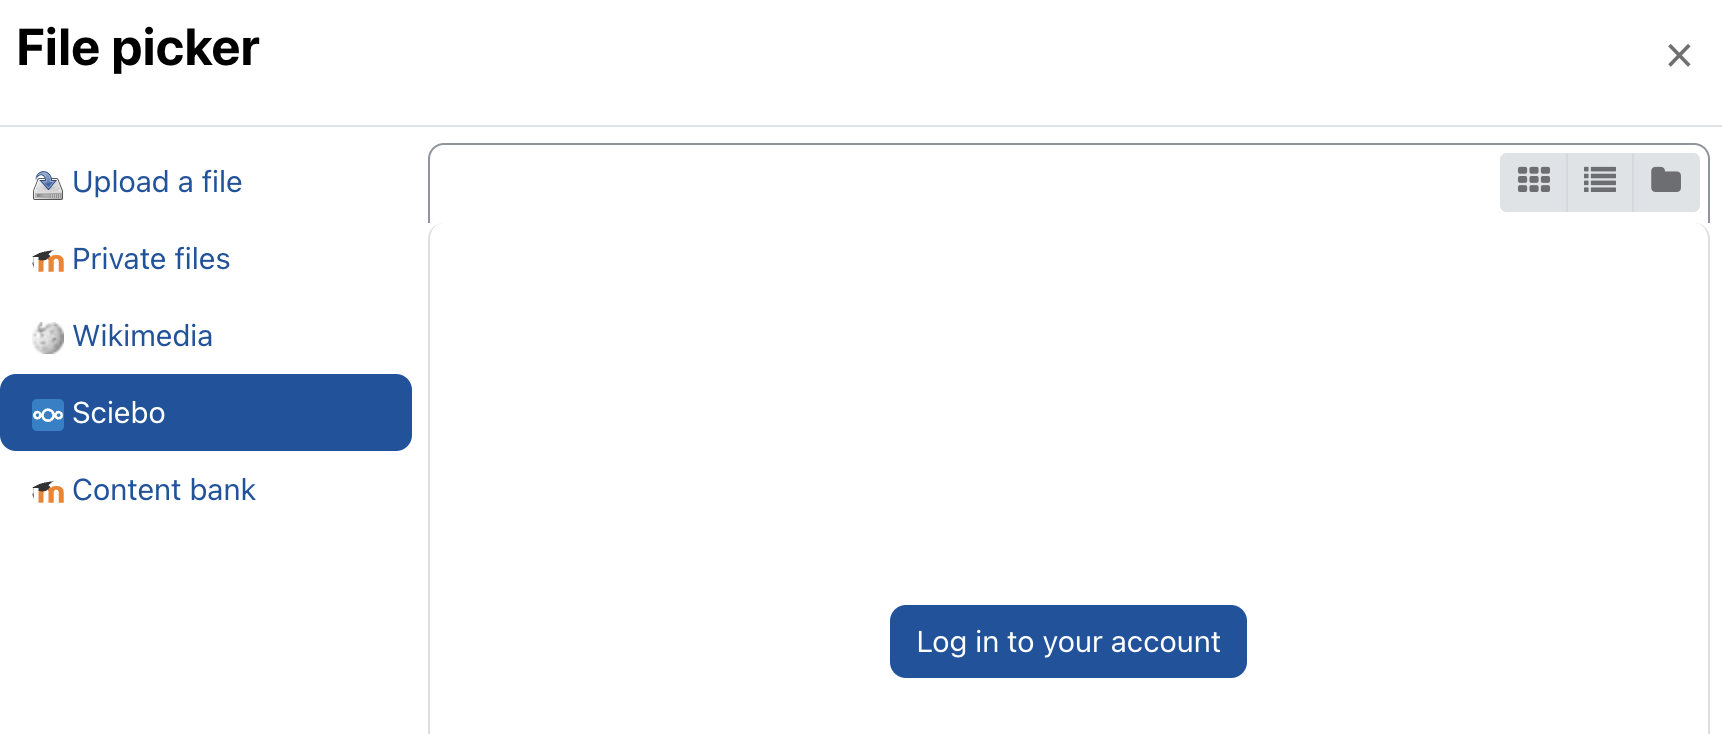
- Then select "Log in with your user account".
- In the pop-up window, log in with your Sciebo username and password.
- Afterwards click on "Authorize".
- You will now see your Sciebo files in the file selection window.
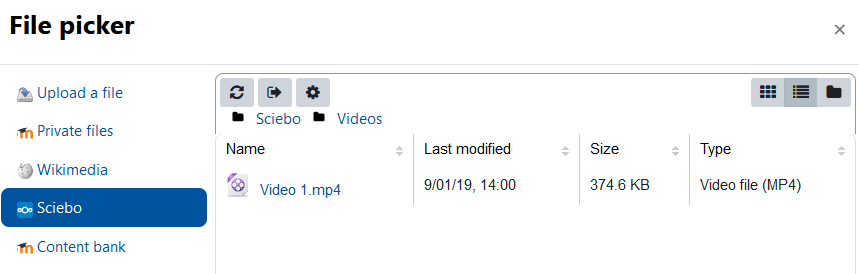
- Click on a file that you want to use in RWTHmoodle.
- Adjust the file title if necessary and add missing information about author and license of the file.
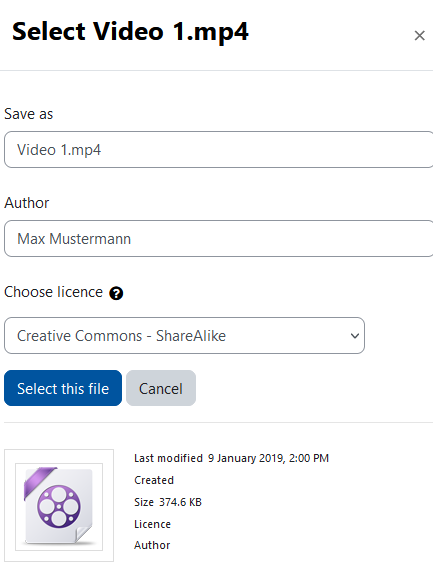
- Then click on "Select file" and continue with the configuration of the folder. The small black arrow at the bottom left of the file icon indicates that the file is only linked and not located in RWTHmoodle itself.
- After saving the file, it is available in the course room and can be used by all participants. However, when clicking on it, they will be prompted to log in to Sciebo, because the file is in Sciebo.
