


Attendance settings


Note
The activity Attendance makes it possible to record the attendance and absences of students in online and/or face-to-face courses that require attendance. Here, the instructors enter the attendances into a digital list. This provides both instructors and students with a structured overview of attendance behavior in their courses.
Optionally, students can also enter their attendance in a course themselves. In order to prevent absent students from falsely recording themselves as a present, there are several ways to make false entries more difficult.
Dates for which attendance is to be recorded can be created for all participants or for individual groups. Attendance is always recorded individually, not for the whole group.
The lists can also be exported and used offline.
For this activity, you can use Tagging (Tags).
1. Create activity "Attendance" in the course room
To add the "Attendance" activity, proceed as follows:
- Switch the course room to edit mode using the "Edit mode" slider next to your name in the upper right corner.
- In the section where you want the activity to appear, click "Add Activity or Resource".
. - Under "Activity", select the "Attendance" option.
- You will be automatically redirected to the settings page to configure the "Attendance" activity.
2. Configure the "Attendance" activity
2.1. General
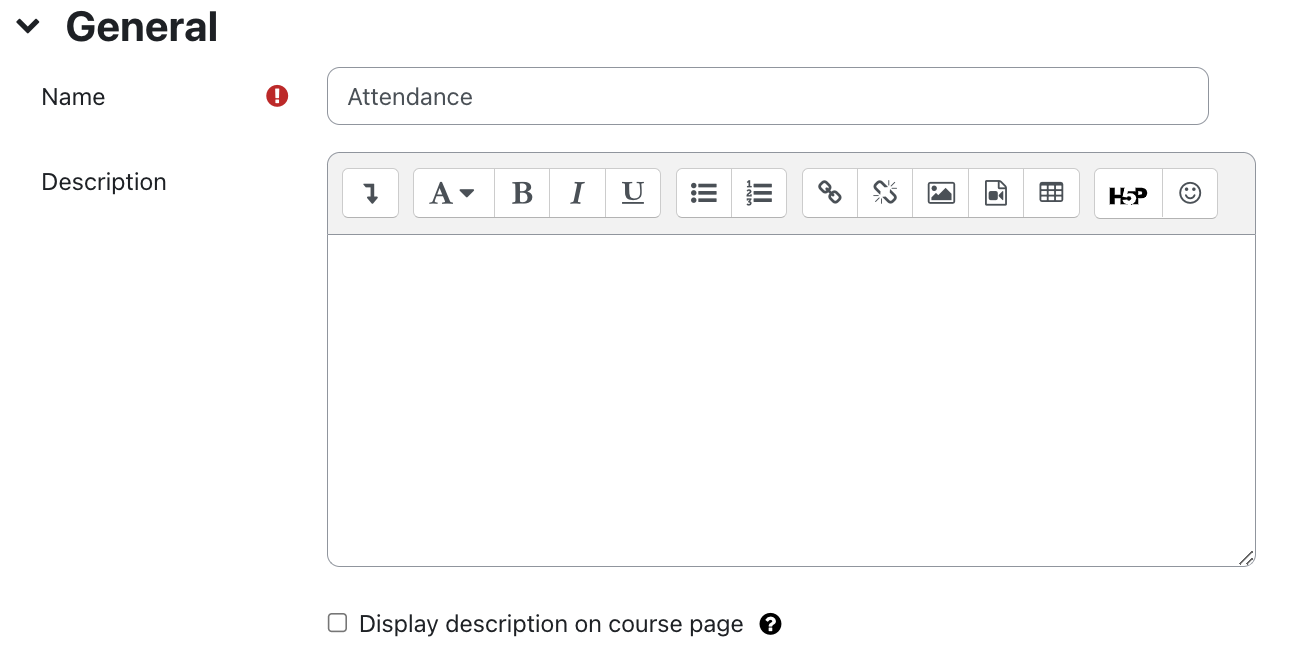
- Name - give a title to the "Attendance" activity.
Description - Enter here a short description of the "Attendance" activity.
Note
You should describe the principle and purpose of the digital attendance list to the students here. In the case of self-registering, also provide students with information on how they can independently register themselves as a present for teaching units. If attendance and absences are to be used for gradings, disclose to students how many points are awarded for the attendance categories to be defined and how the allocation of points leads to a final grade.
- Display description on course page - activate the checkbox if you want the description to be displayed on the course page as well.
2.2. Grade
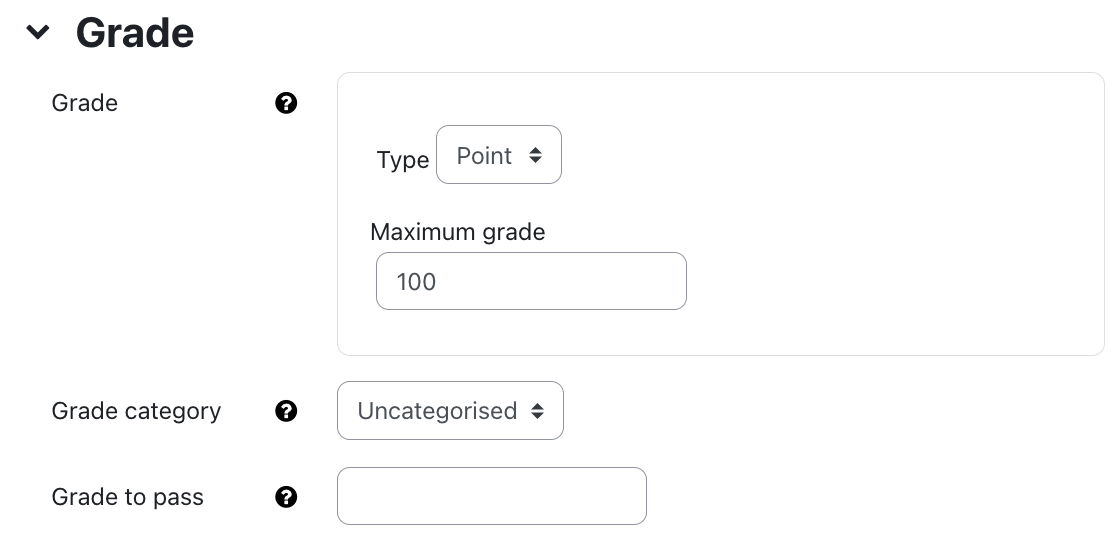
If you want students to receive a final grade for their attendance behavior, for which a column is listed in the course room grader report, select an appropriate grading type for the "Attendance" activity. You can either assign points or use a Scale. The maximum number of points or scales is to be defined by you. If you do not want to grade the activity in question, leave the setting at "None".
Once you have decided on the points or scale grading type, you then select which Grade category the activity should be assigned to and optionally enter a minimum grade required to pass the activity. The value will be used in the activity and course completion. In addition, in the grader report of the course room, passing is marked in green, and failing is marked in red.
2.3. Common module settings
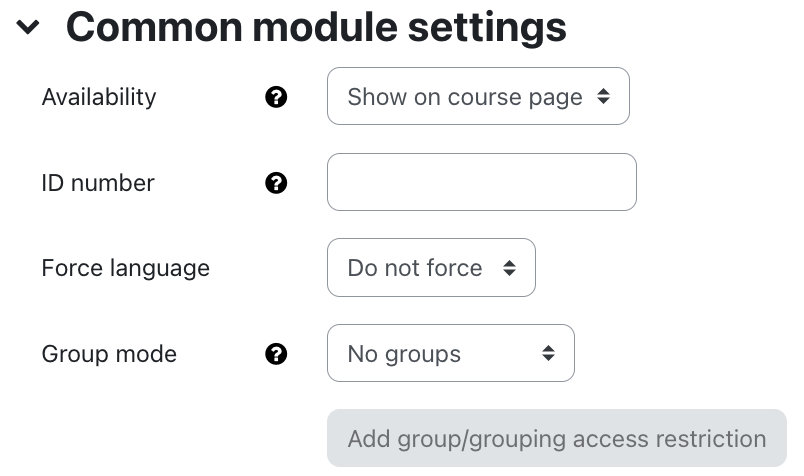
- Availability - Select whether the "Attendance" activity should be immediately displayed to students or hidden from them.
- ID Number - The ID number is used to identify the activity in the gradebook setup when calculating overall grades. If the "Attendance" activity is not needed to determine grades, the field can be left blank.
- Group mode - There are three different settings for group mode:
- No groups - Attendance of participants is displayed in an overall list.
- Separate groups or Visible groups - If one of the two group modes is activated, in addition to appointments for all participants, group appointments can also be created and the attendance of the group members can be recorded in the appointment. The attendance is always registered individually, not for a whole group. In addition, the attendance list can be filtered by groups. There is no difference between separate and visible groups when recording attendance, as students per se only see their individual attendance history, not that of a group.
- Grouping - If a grouping is selected here, appointments can only be created for those groups that have been combined in this grouping.
2.4. Restrict access
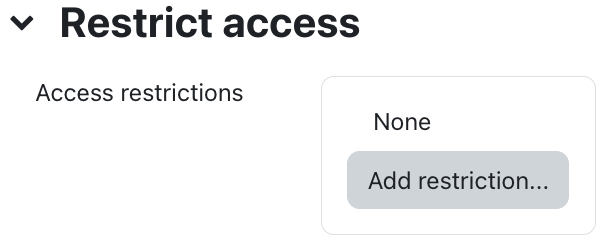
With these settings, you can link the visibility and the availability of the "Attendance" activity for the students to certain conditions. In general, read the article Restrict access.
2.5. Activity Completion
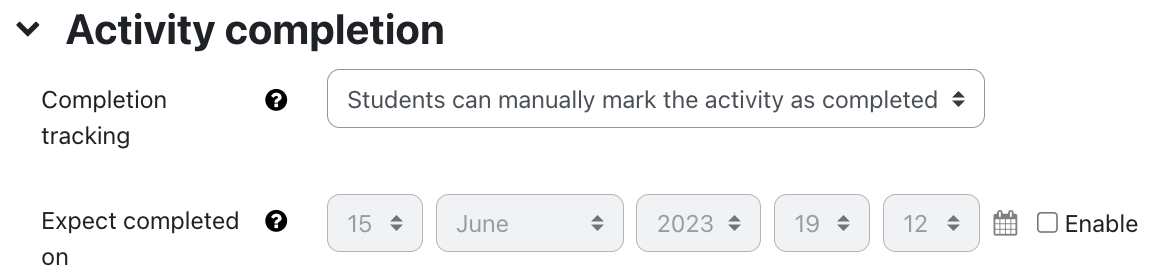
With these settings, you define criteria or conditions when an activity is considered completed (i.e.: finished successfully). You can find detailed information in the article Activity completion.
2.6. Extra restrictions

In this section, you can restrict the availability of the attendance to certain devices, e.g. certain PCs in a computer pool of the RWTH. To do this, you must enter the associated IP addresses (or parts thereof) as a comma-separated list. The entries made are then adopted as the default value for all created appointments.
You can still set further restrictions for attendance recording at a later stage when adding the individual appointments. This is particularly useful if certain access restrictions are not to apply to all appointments, but only to selected ones.
2.7. Save

After you have made all the settings, click on "Save and display". You will now be redirected to the overview page of the "Attendance" activity. Here you can first create new sessions.
2.8. Notification about content change
The settings for the activities can be reached after creating them within the activity via the central menu navigation. Here you will find activity-specific settings and you can also save the activity directly individually.
If you subsequently make changes to the settings, activate the checkbox "Send notification of content change" to inform all participants about the new or changed activity. All participants who can access the activity receive the notification.

