


Quiz settings

The Quiz activity allows managers to create electronic self-tests with a variety of different question types (including multiple-choice, true-false, and short answer) and use them in the course room as a learning check. The questions are stored in a question bank. They are available throughout the course room. A quiz can be configured so that students can work on them multiple times. Each editing attempt is automatically assessed and managers can decide whether to provide feedback on a student's answer and/or display the correct solution.
For this activity, you can use Tagging (Tags).
1. Create a quiz
To add a quiz, proceed as follows:
- Switch the course room to edit mode using the "Edit mode" slider next to your name in the upper right corner.
- In this section where you want to see the quiz, click "Add activity or resources".
- Under the "Activity", select the option "Quiz".
- A new quiz will now be created. You will be automatically redirected to the settings page to configure the quiz.
2. Configure quiz
2.1. General settings
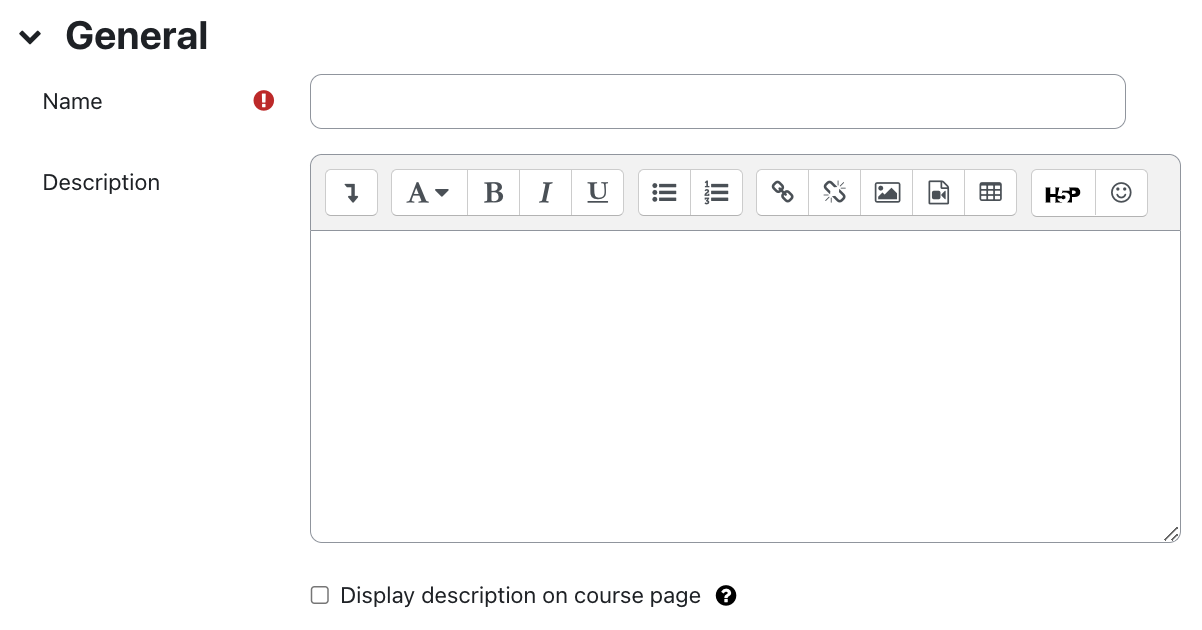
- Give the quiz a suitable name.
- Optionally, write a description for the introduction. In it, provide details about the nature and scope of the quiz (content, types of questions, number of questions, etc.) and explain the criteria for scoring and/or passing the quiz.
2.2 Timing

You can specify a time period within which students can take the quiz. You can specify quiz opening, quiz closing, both, or neither.
- Open the quiz- check the box and select an exact time (day and time) if the quiz should only be available to the participants from a certain date.
- Close the quiz- check the box and select an exact time (day and time) if the quiz should be available to the participants only until a certain date.
- Time limit - Select the checkbox and choose a period of time (e.g. 30 minutes) that will be available for students to complete the quiz. When enabled, a clock will visibly run backward for the participants.
- When time expires- This setting determines what happens if students do not complete the quiz in time. By default, in this case, the current state of the quiz is automatically submitted (option "The quiz attempt is automatically submitted"). In addition, there is the option to give students a grace period within which an open attempt can be completed. In this case, the attempt must be handed in by the student in any case. After the grace period, the attempt will be considered not submitted. If this option is selected, specify the length of time for the grace period (e.g., 5 minutes) in the "Grace period for submission" field. The third option specifies that the quiz must be handed in without a grace period before the time expires in order for it to be scored.
2.3. Grade
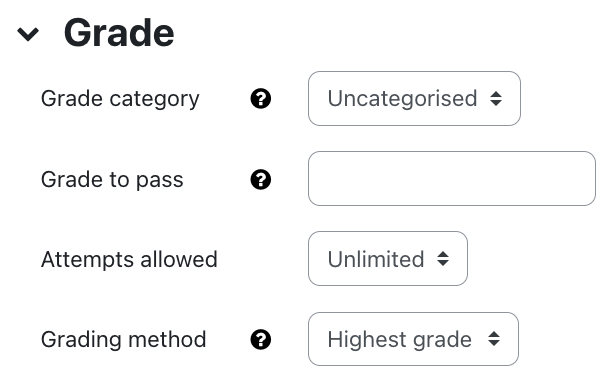
You can optionally grade quizzes:
- Grade category- select here to which grading category the activity should be assigned. This scoring category must have been created previously in the scoring area.
- Grade to pass- Determine here from which score the activity is considered to have passed.
- Attempts allowed - Determine here how often a quiz may be repeated. If a quiz is to be allowed to be run only once, leave the setting at "1".
- Grading method - If multiple attempts are allowed, there are different ways to set a final score for the participants
- Highest grade from all attempts
- Average from all attempts
- First attempt (all other attempts are ignored)
- Last attempt (all other attempts are ignored)
2.4. Layout
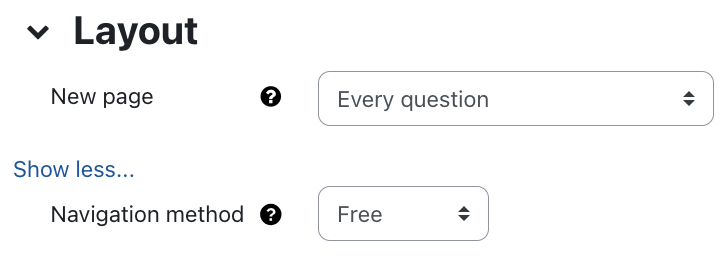
- New page - Define whether all questions should be arranged on one page or whether the questions should be distributed on several pages. Here you can specify exactly after how many questions a page break should be inserted. We recommend displaying only a few questions per page or even starting a new page for each question. In case of technical difficulties, this will save all entries on already edited pages on the server.
- Navigation method- If the option "self-selected" is selected (= default setting), students can jump back to previous pages or skip pages at any time. If the default navigation is activated, students must work through the quiz in the defined order. Navigating back is then not possible.
ATTENTION: If you decide to use predefined navigation, inform the students about it. Many students first jump through the questions to get an impression of the quiz. These students will then no longer be able to answer the questions.
2.5. Question behavior
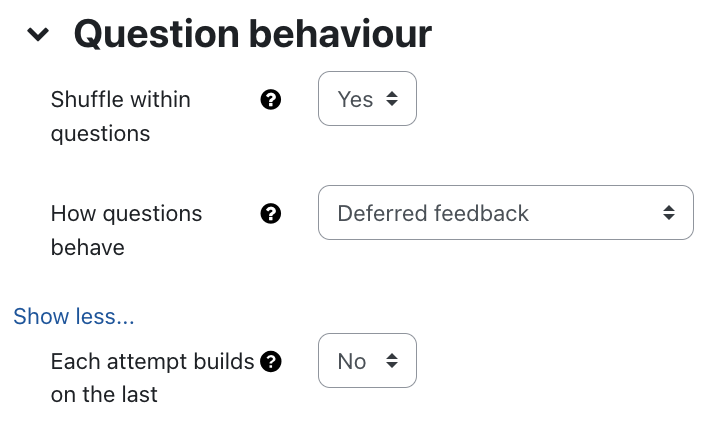
- Shuffle within questions - If this option is selected, for questions with multiple answer options (e.g. multiple choice or assignment questions), the answer options are randomized, i.e. displayed in a random order, on each attempt. The prerequisite for this is that this option has also been activated in the settings of the respective questions.
- Question behaviors - The following question behaviors are available:
- Immediate feedback - Each question in the quiz is sent individually and graded immediately; repeated answers are not possible.
- Immediate feedback (with self-assessment) - With self-assessment means that students not only submit an answer to a question but also how confident they are that they answered the question correctly. Both inputs go into the grade of the question.
- Manual grade - This question behavior is used by default for free text questions, but you can grade all other question types manually.
- Adaptive mode (with deductions) - Allows students to answer a question repeatedly if the answer is incorrect before the next question is displayed. The question can adapt to the student's answer, for example, display a hint.
- Interactive with multiple tries - Once students have answered a question and read the associated feedback, they can click a button to answer the question again. Once the question is answered correctly, no more re-answers are possible. If the question is answered incorrectly too many times, then re-answering is also no longer possible and the question is graded as incorrect or only partially correct. The feedback can be different for each answer attempt.
- Adaptive mode (without deductions) - Allows students to answer a question repeatedly if the answer is incorrect before the next question is displayed. The question can adapt to the student's answer, e.g. display a hint.
- Deferred feedback (default) - Students must answer each question in the quiz and then submit the entire quiz before seeing any grade or feedback.
- Deferred feedback (with self-assessment) - With self-assessment means that students not only provide an answer to a question but also how confident they are that they answered the question correctly. Both inputs are included in the grade of the question.
- Each attempt builds on the last: If multiple attempts are allowed and this option is enabled, each new attempt will include the selected answers from the previous attempt. This allows completing a quiz using multiple trials
2.6. Review options
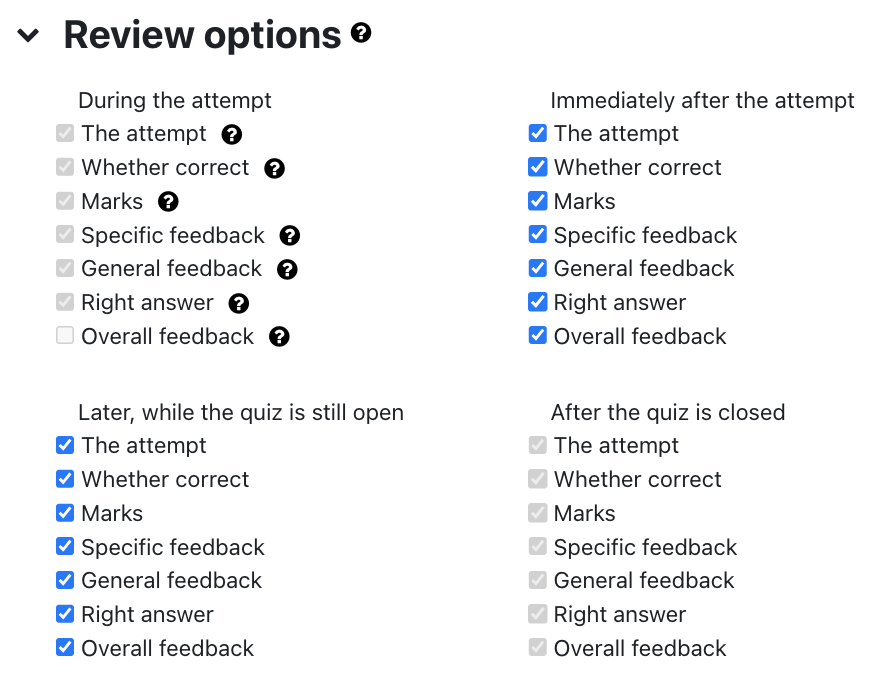
Use these options to specify what information is displayed when participants review an experiment or view the results report.
- During the attempts- settings are only relevant with certain question behaviors such as "multiple answer" and control, for example, the feedback directly related to the question currently being worked on.
- Immediately after the attempt- Controls what is displayed within two minutes after the quiz is submitted and closed.
- Later, while the quiz is still open - Controls what is displayed after and before the time the quiz closes. This setting takes effect from 20 minutes after a quiz has been submitted.
- After the quiz is closed - settings take effect after the time of quiz closing. If no quiz closure time is defined, the setting never applies.
2.7. Appearance
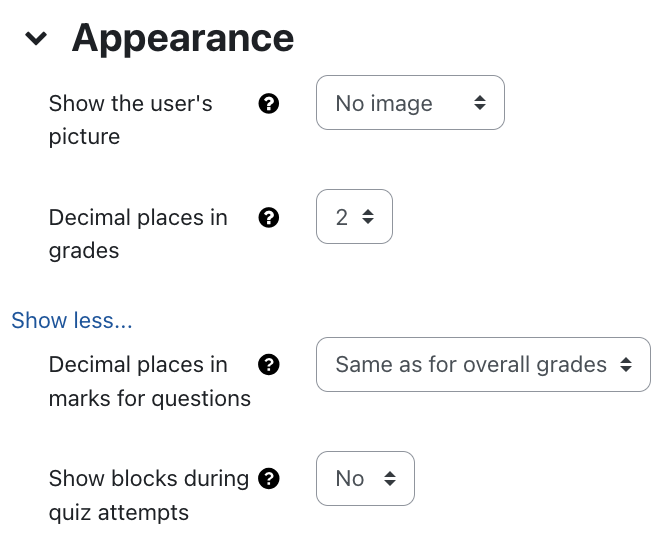
With these settings you determine which information is displayed during the quiz attempt or in the review. Some settings are only visible when you click the "show more" link in the section below.
- Show the user's picture - the name and profile picture of the participants are displayed during the quiz attempt and during the review.
- Decimal places in grades - With this setting, you define the number of displayed decimal places in the total score. If you enter 0 as the value, only whole numbers will be displayed.
- Decimals places in question grades - Use this setting to specify the number of decimal places displayed for a question grade. If you enter 0 as the value, only whole numbers will be displayed.
- Show blocks during quiz attempts - If you set this option to Yes, the blocks of the course page will also be displayed during the quiz attempt.
2.8. Safe Exam Browser
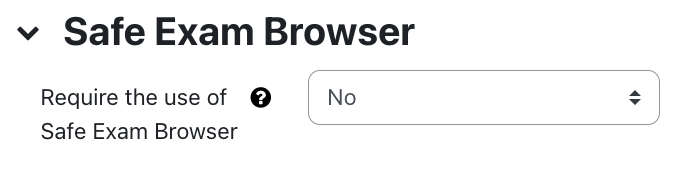
The Safe Exam Browser is an open-source browser that can be used in quizzes. The browser must be installed on the computer where students take a quiz attempt. It forces students to focus on the quiz. The Safe Exam Browser runs in full-screen mode, without navigation options on the Internet, keyboard shortcuts for copy&paste are disabled. It is possible to allow access to selected web pages.
- Use of Safe Exam Browser required - If you enable this setting, various configuration options for the Safe Exam Browser appear. You can configure the Safe Exam Browser manually, use a template to configure the browser, upload your own configuration file, or use the SEB configuration of the client computer.
For detailed information about the settings and how to use the browser, see the Safe Exam Browser article.
2.9. Extra restrictions on attempts

- Require password - If you set an optional password, students will be prompted to enter it when they start a quiz attempt. This makes it possible to give access to a quiz only to selected participants to whom you provide the password.
- Require network address - you can optionally restrict access to the quiz to a specific subnet of the LAN or Internet by specifying a comma-separated list of IP addresses. This is particularly useful for quizzes that are supervised and you want to ensure, for example, that the quiz can only be accessed from computers in a specific room. Note: Note that you cannot use domain names such as moodle.com.
- Enforce delay between 1st and 2nd attempts - If you check the "Enable" checkbox, then you can specify how much time should pass between the 1st and 2nd quiz attempt.
- Enforce delay between later attempts - If you check the "Enable" checkbox, then you can specify how much time should be between further quiz attempts.
- Browser security - If you select the "Full-screen popup with Javascript security" option, then cheating or cheating on a quiz is made more difficult by restricting some of the browser's functionality:
- The quiz will only start if Javascript is enabled in the browser.
- The quiz is executed in full-screen mode without further navigation options.
- Functions such as copy and paste are inactive.
Note: These security measures are not "watertight". Do not rely on these measures as the sole strategy for stopping fraud attempts. In a web-based environment, it is not possible to implement quizzing in a way that eliminates fraud attempts. As an alternative, you can build a really large question collection from which quiz questions are randomly selected.
Gradual entry to the quiz - if enabled ("Assigns a random delay"), the button to start the quiz will be disabled when loading the quiz page before the start time. A countdown will start based on a random number (max. 5 minutes). When the countdown is complete, the button is reactivated and the participants can start the quiz.

Background & Note
In a quiz with strict time limits, students tend to refresh the start page for the quiz at very short intervals just to make sure the attempt can be started yet. This unnecessarily increases the server load and is a problem when there are a large number of students. In contrast to asynchronous start time for all participants, the server load can be significantly reduced by a gradual start of the accesses. If you enable the "Assign a random delay" option, students no longer have to manually refresh the page continuously to activate the "Take quiz Now" button at the earliest possible time. Each student will instead be presented with a random countdown of up to 5 minutes. Only when the countdown is complete can the button be activated and the quiz started.
Please note that if you have activated an exact time (day and time) for the quiz closure in the "Time" section, this time will not be shifted backward by the period of time when the attempt was started with a time delay. The quiz closure is a fixed date for which there are no exceptions, despite the possibility of different start times. If, on the other hand, you have set a "time limit" for processing a quiz (e.g. 20 minutes), the time will only be counted down from the actual start of the quiz. Therefore, unless a quiz closure date has also been set, all students will have the full pre-set processing time available for the quiz if a time limit has been selected.
- Allow quiz to be attempted offline using the mobile app - This option specifies that users can download the quiz and attempt it offline in the mobile app.
2.10. Overall feedback

The overall feedback is displayed when participants have completed their quiz attempts. The text displayed can grade depending on the grade achieved.
For example, you specify the following:
Grading boundary: 100%
Feedback: "Well done"
Grading boundary: 40%
Feedback: "Please revisit last week's material."
Then participants with a grade between 40% and 100% will see the feedback "Well done", while participants with a grade between 39.99% and 0% will see the message "Please revisit last week's material". I.e., the grading limits specify grading ranges, and if the grade is in the appropriate range, the associated feedback is displayed.
Scoring limits can be expressed as percentages (e.g. 31.41%) or as numbers (e.g. 7). If 10 points are achievable in the quiz, then a scoring limit of 7 means 7/10 accordingly. Note that the upper or lower scoring limits (100% or 0%) are set automatically.
You can define as many scoring limits as you like. The form provides five fields by default, if you need more, click the Add 3 more feedback fields button.
2.11. Common module settings
- Availability: Select whether the quiz should be immediately displayed to students or hidden from them.
- ID number: The ID number is used to assign a designation that can be used in the Grades section when calculating overall grades. If the quiz is not needed to determine grades, the field can be left blank.
- Group mode and grouping: These settings are important if you want to display the quizzes separately for certain students in the report. Managers and supervisors can use this filter option to view and grade only the attempts of selected students. The use of the group mode is recommended especially for quizzes with a large number of participants. In this case, select the option "Separate groups" or "Visible groups" and, if necessary, a grouping according to whose groups you want to filter in the report. Note: A "group quiz", i.e. the joint answering of a quiz by several participants who are assigned to a group, is not possible with this option!
2.12. Restrict access
With these settings, you can link the visibility and the availability of the quiz for the students to certain conditions. In general, read the article restricting access.
2.13. Activity completion
With these settings, you define criteria or conditions when an activity is considered completed (i.e.: successfully processed). For detailed information, see the activity completion settings article.
2.14. Save the settings
With "Save and return to course" you save the settings and return to the course page. With "Save and display" you save the settings and open the quiz to create the time slots. With "Cancel" you discard the changes and return to the course page.
2.15. Notification about content change
The settings for the activities can be reached after creating them within the activity via the central menu navigation. Here you will find activity-specific settings and you can also save the activity directly individually.
If you subsequently make changes to the settings, activate the checkbox "Send notification of content change" to inform all participants about the new or changed activity. All participants who can access the activity receive the notification.
