


Collect identity verification and consent to video-monitored online remote examination with the Assignment activity

Preparing for a take home exam involves collecting identity verification and obtaining the examinees' consent to take part in a video-supervised online take home exam. The CLS provides examiners with templates for this purpose. Provide examinees with the templates in the exam preparation room in an assignment activity. The examinees then submit the required documents as submissions within the set deadline. You can check the submissions individually online or download them collectively as a ZIP archive.
- Create assignment
- Configure assignment
- Verify settings in the preview
- Make assignments visible to students
- Checking submissions online
- Download submissions and review offline
1. Create assignment
- Open the course room in which you want to provide the consent form.
- Switch the course page to edit mode using the "Turn editing on" button at the top right.
- In the appropriate section, click on "Add an activity or resource".
- Click “Assignment“ in the activity selection. You will be automatically redirected to the settings page to configure the assignment.
2. Configure assignment
2.1. General
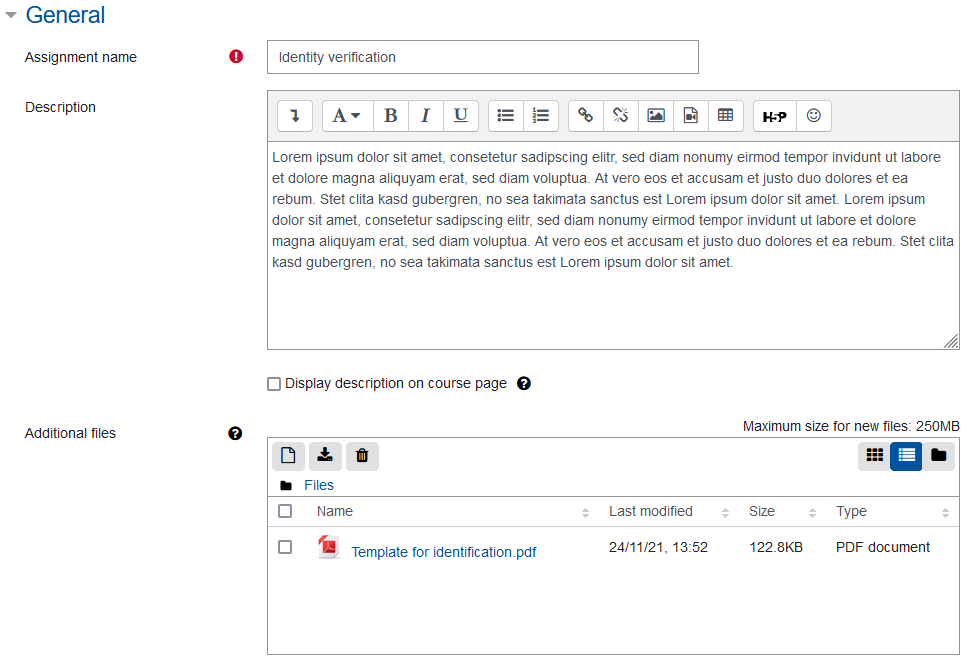
- Give the assignment an appropriate name.
- Under "Description", explain the purpose of the assignments and what you want the students to do. Please also include all the necessary information for submission. In particular, instruct the students to upload the completed form as a file in their submission and to mark the file with their name and matriculation number. This facilitates later assignment.
- Under "Additional Files," upload the "Template for identification and for consent to participate in video-monitored online remote examinations" for students.
2.2. Availability
- Specify here the time period within which the students can upload and submit the completed form. Set the "Due date" and "Cut-off date" to the same date.

Note
The due date is automatically displayed to students in the assignment and in the calendar. However, students can still submit assignments after this date. Such submissions are marked as late submissions in the submission list.
When the Cut-off date has been reached, no more submissions are possible. However, this date is not displayed to the students.

- Keep the option "Always show description".

Note
This means that the description and the additional files of the assignments are visible even before the submission begins. However, this can be neglected here.
If required, you can set the visibility of the entire assignment to "hide" below under "Common module settings" to prevent premature access to the assignment. Alternatively, you can restrict access to by restrictions.
2.3. Submission types
- Select the option “File submissions” under “Submission types”.
- Set the "Maximum number of uploaded files" to 1. The students should submit only the completed form.
- Set the "Maximum submission size" to a suitable size.
- Under "Accepted file types", specify, if necessary, which file format you allow for submission. With the specification “.pdf”, for example, you only allow PDF files. If you want to restrict the submission to other file formats, specify them accordingly. You can choose from numerous predefined formats using the "Choose" button. Make sure to click "Save changes" at the bottom of the selection window so that the selection is accepted. If you leave the field empty, the students can submit any file format.

2.4. Feedback types
You can skip these settings as the students will not receive any feedback in this case.
2.5. Submission settings
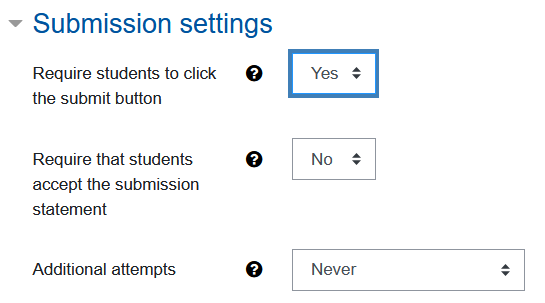
- Set the option "Require students to click the submit button" to "Yes". The students can then create a submission via "Add submission", upload the completed form, and save the submission. However, this submission is only a draft. To submit the draft, the examinees must click on "Submit assignment" to submit the draft as the final submission. Further editing is then no longer possible.
Note
Be sure to point out to the the students that they must also click the submit button after creating and saving the submission and that only explicitly submitted submissions will be accepted! Please also point out that no further editing is possible after submission. - Set the option "Require that students accept the submission statement" to "No". Since test students do not submit an exam, a submission statement is not necessary.
- Leave the setting for "Attempts reopened" at "never".
2.6. Group submission settings and Notifications
You can skip these settings.
2.7. Grade
Set “Grade” to “None”. Leave all other settings at "No".

2.8. Common module settings
- Set the "Availability" option to "Hide from students“. This means that the activity is not displayed to the students after saving. You can then make the assignment visible from the course page at any time. As an alternative to this manual hiding, in the next section "Restrictions" you can set "Restrictions" that control access to the task.

- All other settings of this section can remain in the default setting.
2.9. Restrictions
You can link access to the assignment to conditions such as a date and time. The students can then only access the assignment on the defined date. In contrast to manual hiding via "Common module settings" (see above), RWTHmoodle automatically enables access to the assignment as soon as the defined date has been reached.
- Click on "Add restriction".
- Select the "Date" option and set the desired date.
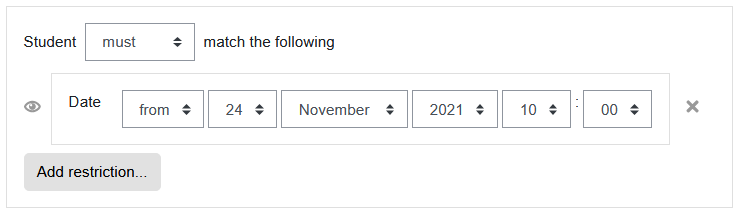
- If you do not want the assignment and the restrictions to be displayed to the students until the date is reached, close the "Eye" icon
 to the left ot the restriction by clicking on it. Otherwise, the assignment will already be displayed to the students together with the restriction. However, they will not be able to view it and display the form it contains until the date is reached. vor der Voraussetzung.
- If the eye remains open, the assignment is later displayed to the test students as follows:

Note
2.10. Activity completion
These settings are irrelevant.
2.11. Save new assignment
Save the newly created assignment with "Save and return to course" to return to the course page. The new assignment is displayed in the selected course section.
3. Verify settings in the preview
To make sure that the selected settings have led to the desired result, you can look at the course room and the assignment from the role of the student.
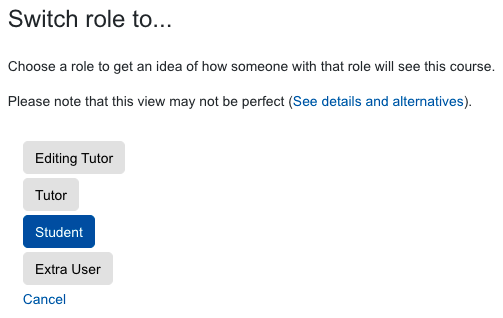
- To do so, click on your display name in the top right corner.
- Select the option "Switch role to..." in the menu that opens.
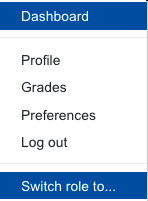
- Then select the role “Student”.
- You will then see the course room from the perspective of the students. To return to your view as a manager, click in the blue box at the top of the page on "Return to my normal role".

4. Make assignments visible to students
If you have followed the recommendations and have manually hidden the assignment for the students in the additional settings, you must make it visible to the students in good time for the exam date so that they can access the assignment documents.
- Call up the course room.
- Switch the course page to edit mode using the "Turn editing on" button at the top right.
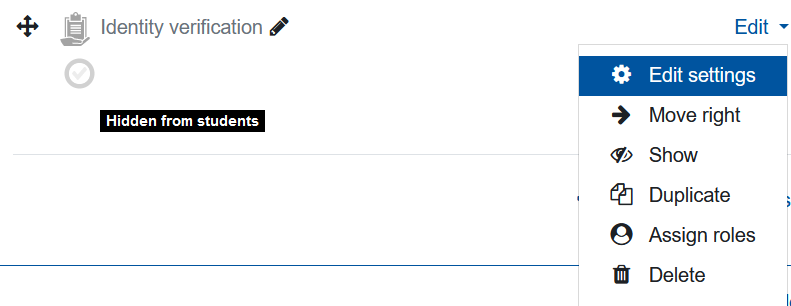
- Click on "Edit settings" next to the assignment
- Select "Show" in the context menu to make the assignment visible.
5. Checking submissions online
Sobald das Zeitfenster für die Abgabe des ausgefüllten Formblattes verstrichen ist, können Sie die Abgaben der Prüfungsteilnehmenden online öffnen und überprüfen.
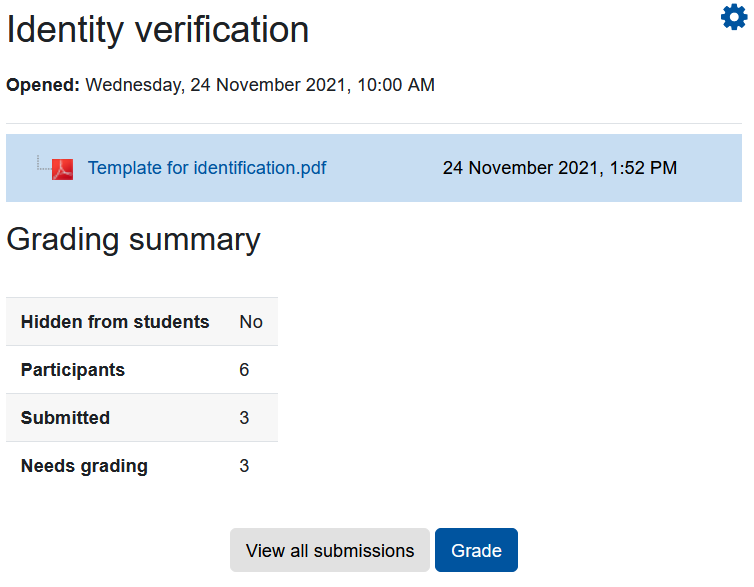
- In the course room, click on the title of the assignment to open it.
- This will take you to the "Grading summary". Click here on "View all submissions".
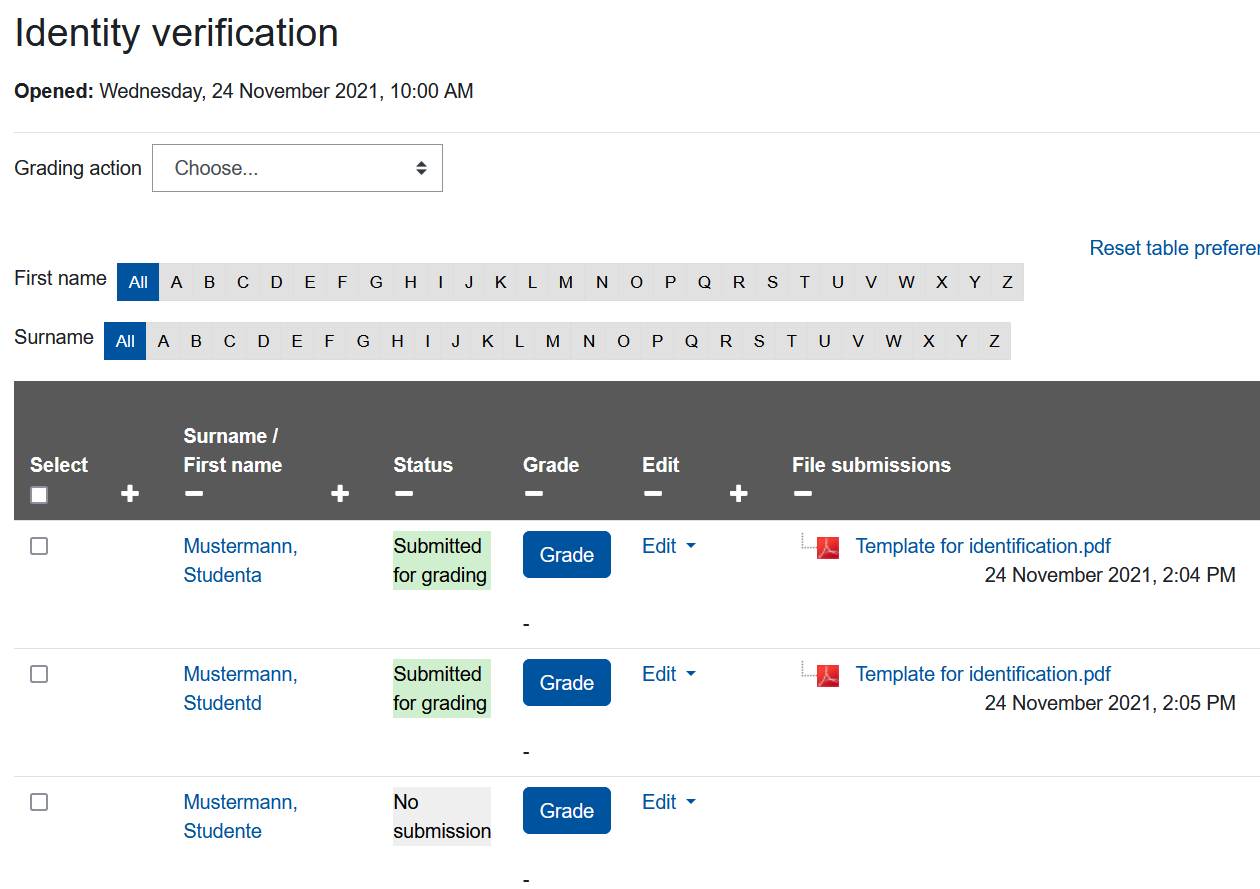
- You will then be taken to the submission overview. Here you can see all students in the course room, their submissions including submission status and the submitted files in the "File submission" column.By clicking "Grade" you can open the online view of the submitted file and check its content.
Note
The submitted PDFs are converted to an image in this online view to allow annotation and commenting. Some PDFs may not display the full content due to a bug in Moodle. It may then appear that blank forms have been submitted. We therefore recommend downloading the submissions and checking them offline.
6. Download submissions and review offline
Due to the bug described above, we recommend a more secure alternative to online checking. Download the submissions as a ZIP file and then check them offline for completeness.
- In the course room, click the title of the task to open it.
- This will take you to the "Grading overview". Click here on "View all submissions".
- You will then be taken to the submission overview. Here you can see all students in the course room, their submissions including submission status and the submitted files in the "File submissions" column.
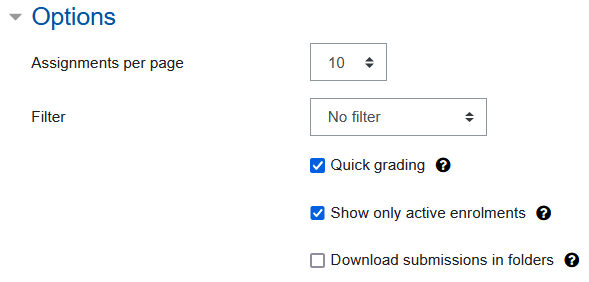
- At the bottom of the submission overview, in the "Options" section, deselect the "Download submissions in folders" option.
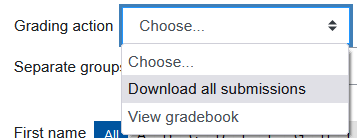
- Now click above the submission overview in the "Grading action" drop-down menu and select "Download all submissions" there.
The download of the submissions as a ZIP file starts automatically. Based on the settings made in step 3, the ZIP file with the submissions contains a file with the name of the person and a submission ID for each exam participant, which can be used to clearly assign the submission. If you have also instructed the students to provide the submission file with their name and matriculation number, the assignment is even easier.
