


Edit Dashboard

The Dashboard provides users with a quick overview of important current information from their course rooms like a Calendar, a Timeline for upcoming deadlines or an overview of the latest changes to your courses. If required, you can configure it individually on your own.
Table of Contents
A number of blocks are predefined on the dashboard that display the following information to you:
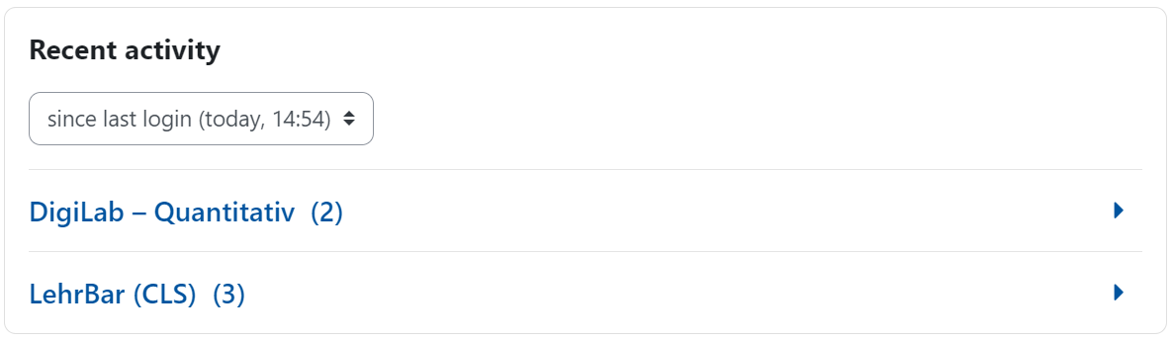
- Recent activities: Materials and activities that were newly added to, changed or deleted from your course rooms. Using a filter you can select the desired time period: since last login, last 3 days, last 1 week, last 2 weeks.
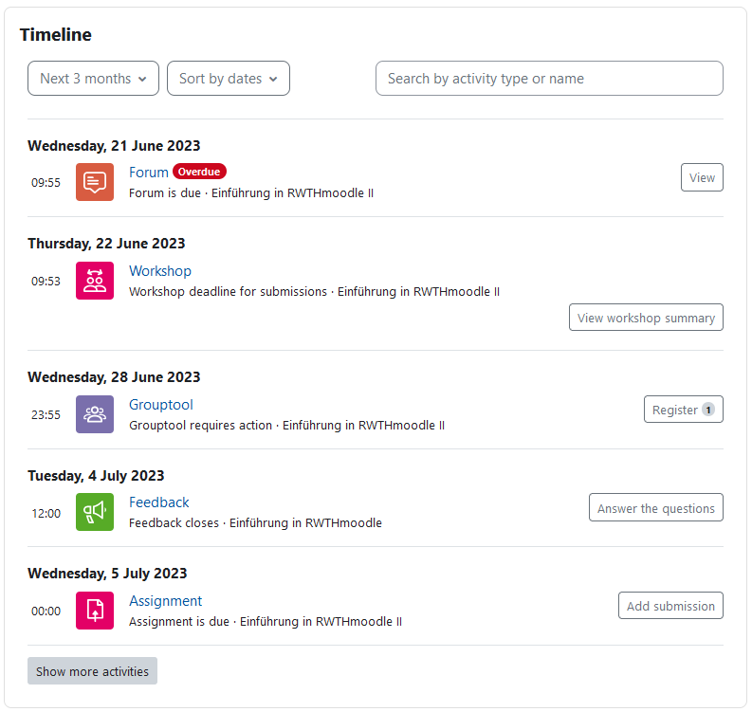
- Timeline: Upcoming deadlines and due dates for various learning activities. This primarily concerns students. However, managers can also see here for the task activity that submissions are due for grade. The due dates and deadlines can be sorted by due date or date or course room.
- Latest Badges: If one of your courses uses badges and you have received a badge, it will be displayed here.


Note
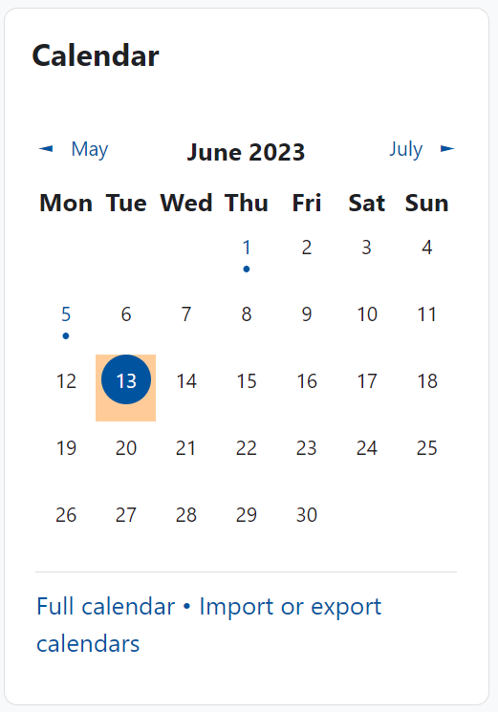
- Calendar: The Calendar block shows you in a monthly view all days on which appointments for your course rooms are scheduled. Click on "Full calendar" to open a larger view. If required, you can enter individual appointments on this page that only you can see, in addition to the appointments that are taken from your course rooms. If you have the appropriate rights in one of your course rooms, you can also add group or course appointments that other users can also see. By clicking on "Import and Export" in the calendar block you can also import or export appointments to or from the calendar.
- News: This block informs you about important changes to the system, such as the introduction of new functions.

In addition to the predefined blocks, more blocks can be added to the dashboard via the edit mode:
- Private Files: This block provides access to the personal file area:

- Upcoming events: Listing of the ten upcoming dates according to the calendar

- Completion Progress: Visualized total overview of all activity completions. For each learning space in which activity completions exist, an independent progress bar is displayed

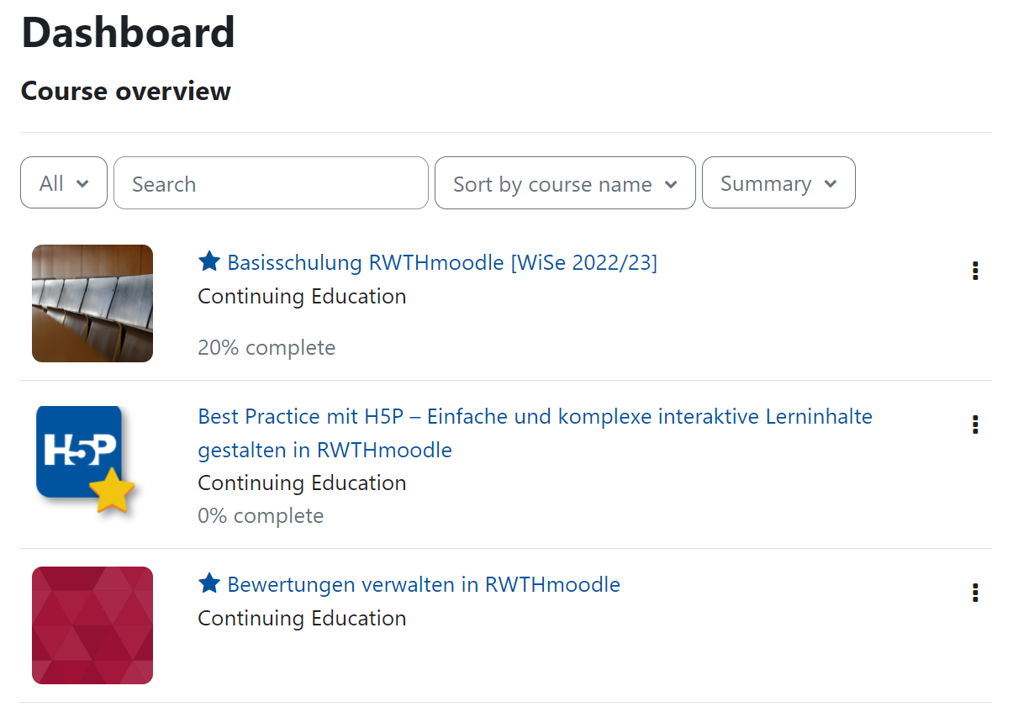
- Course overview: Overview of all course rooms you are enrolled in.
- Recently accessed items: Display of the last 10 activities you opened.

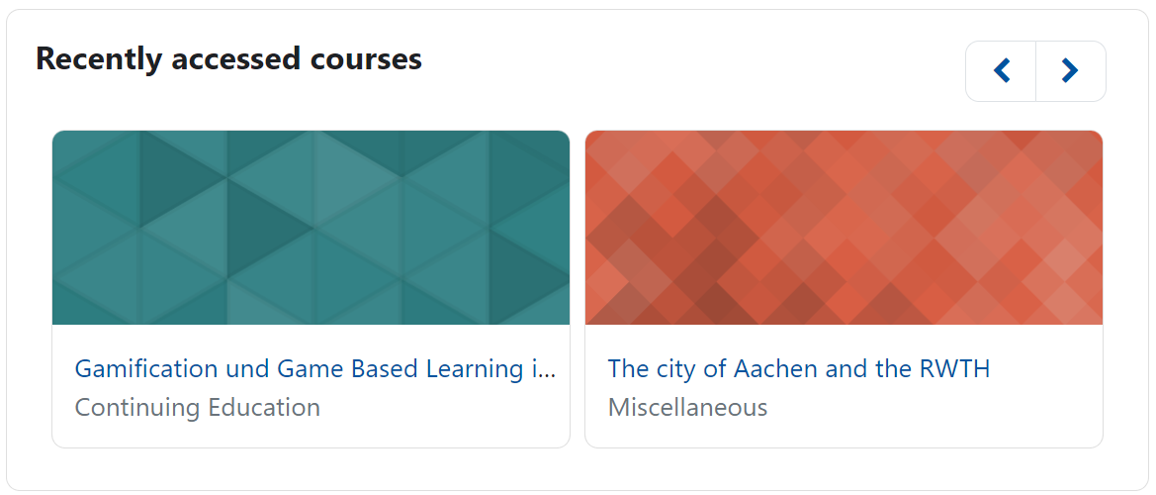
- Recently accessed courses: Display of the 10 course rooms you have opened recently
- Text: Text block for user-defined text and images

2. Add activities to the timeline (managers)
Managers have several alternatives to make an activity or material appear in the timeline:
- Set submission date in the activity settings
- Set closing date in the activity completion settings
- Set date under "Remind me of grading" in the assignment activity settings, if you as a manager want to be reminded to grade assignment submissions.
For materials:
- Set closing date in the activity completion settings
All users can configure the dashboard individually according to their needs and move, remove or add more blocks that provide additional information about the course rooms.
- Switch the course room to edit mode using the "Edit" slider next to your name in the upper right corner.
- Click "Add Block" in the desired block region and select the desired block.
- To move a block, click the double cross at the top right of the block and drag it to the desired position.
- By clicking on the gear in the upper right corner of the block you can configure the block, hide it or delete it from your dashboard.
- The "Restore Defaults" button allows you to discard any changes made in the meantime and restore the Dashboard's default configuration.
