


Page resource

With a Page resource, you can provide extensive texts with graphics, pictures, videos etc. as a separate page in the course room. We recommend text pages especially for the provision of videos together with the RWTH streaming server. Since you can integrate several videos on text pages you save a lot of space on the course page compared to a text and media area.
1. Create a Page resource
- Switch the course room to edit mode using the "Edit mode" slider next to your name in the upper right corner.
- Click on the link "Create material or activity" in the course section where you want to create a Page.
- In the activity, choose to click the check box of the "Page" resource.
- Click on the button "Add" to create a Page. You are automatically redirected to the settings page to configure the page.
2. Configure the Page resource
2.1. General settings
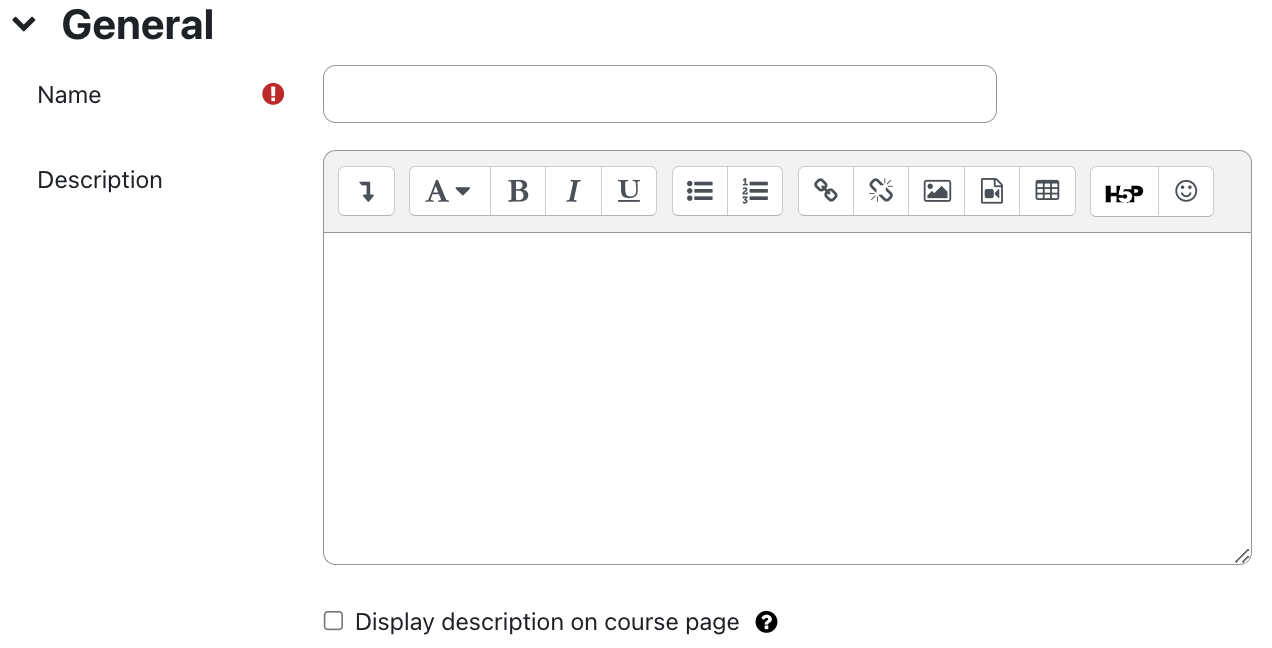
- Name - Give the Page a name. This is the name of the page that will appear on the course page.
- Description - Write a short description of the page and its contents.
- Show description on course page - If you check this option the above description will be displayed directly on the course page.
2.2. Content
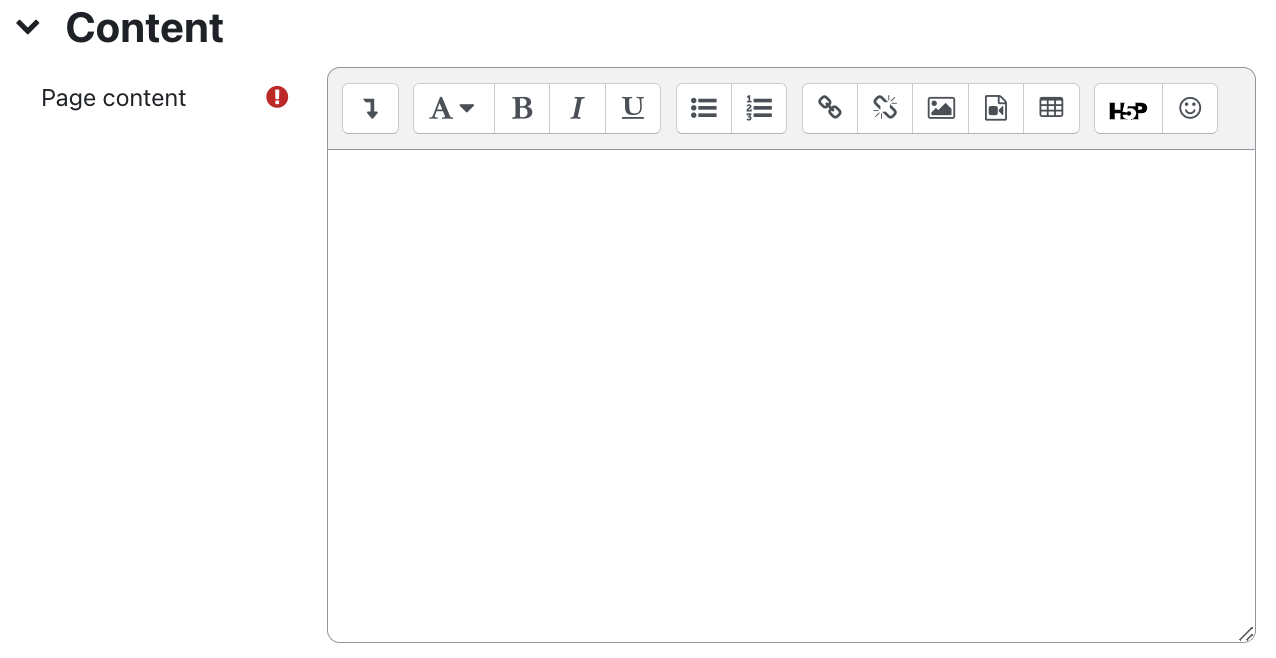
Enter the actual text of the Page in this text area. You can copy and paste the text from any word processing program. However, make sure that you do not inadvertently take hidden control characters with you. This could cause the page to be displayed incorrectly. It is best to use a pure text editor such as the Windows editor as a buffer.
When editing your text, you can use the numerous functions provided by the moodle internal HTML editor (formatting, inserting images and links, etc.).
2.3. Appearance
- Display page name (default) - Select this checkbox to display the page name above the contents of the Page.
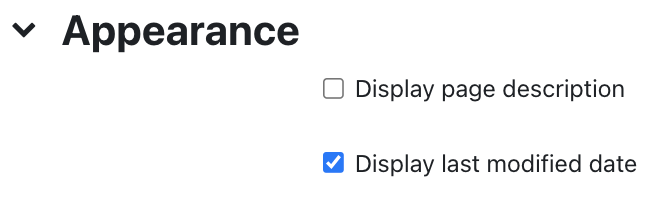
- Display page description - Select this checkbox if you want the description of the Page to be displayed above the actual content.
- Display last modified date (default) - Check this option to display the date and time of the last modification of the Page below the content.
2.4. Common module settings
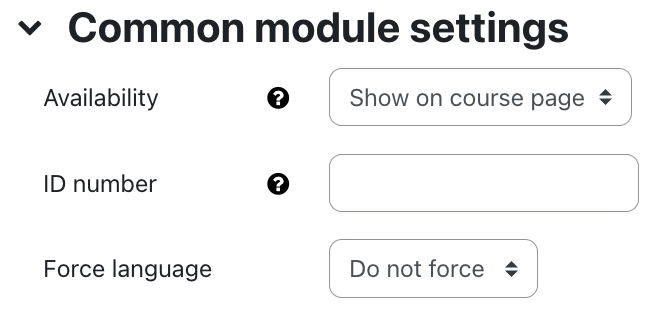
- Availability - With this setting, you can hide a Page from the students. This means that this resource is not immediately available, but can be made visible at a later date.
- ID number - This setting allows you to uniquely identify or reference the Page in formulas for calculating the grade. If the Page is not included in any calculation of the overall grades, you can leave this field empty.
2.5. Restrict access
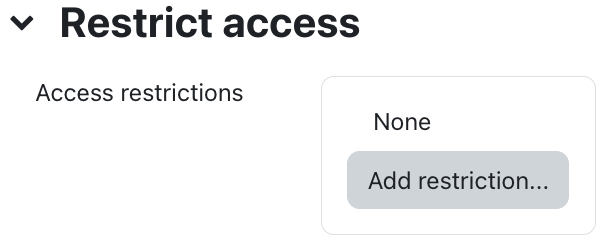
With these settings, you can attach certain conditions to the visibility and availability of the Page to students. For more information, see the article Restrict Access.
2.6. Activity completion
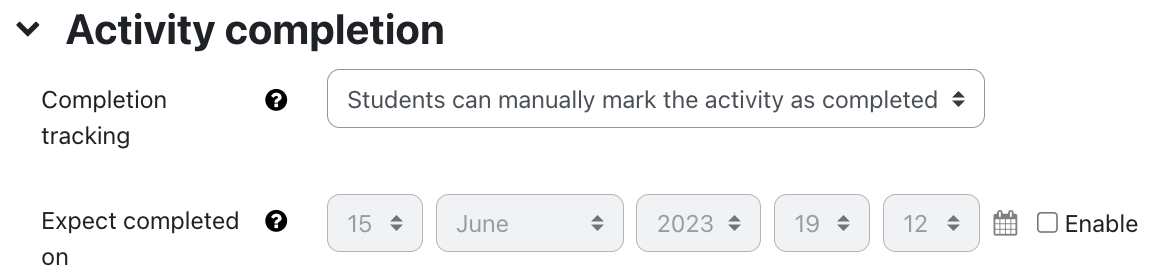
You use these settings to define criteria or conditions when an activity is considered (successfully) completed. For detailed information, see the article Activity completion settings.
2.7. Save

By clicking on "Save and return to course" you save all settings and the content of the Page and return to the course page. By clicking on "Save and display" you can have the Page displayed immediately.
2.8 Notification about content change
The settings for the activities can be reached after creating them within the activity via the central menu navigation. Here you will find activity-specific settings and you can also save the activity directly individually.
If you subsequently make changes to the settings, activate the checkbox "Send notification of content change" to inform all participants about the new or changed activity. All participants who can access the activity receive the notification.

