


Add Book

A book is a resource that can be used to present multi-page learning content in a book-like format. You can integrate image, audio or video files into the book, embed quizzes or link to other learning activities in the course.
The book resource allows you to have main chapters and subchapters, but it goes no deeper. In other words, sub chapters cannot have their own sub chapters, as the module is intended to be a simple resource for teachers and students.
Previously created websites can be imported directly into a book. Books can be printed as a whole or chapter by chapter.
1. Adding a Book
- Switch the course room to edit mode using the "Edit" slider next to your name in the upper right corner.
- Click on the plus symbol on the course page at the point where you would like to add the book. Then choose "Activity or resource" from the context menu.

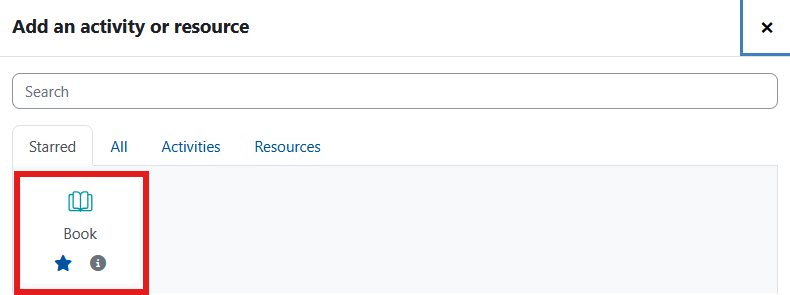
- In the list of available activities and resources, choose "Book". The book is then created. You will be automatically redirected to the settings page to configure the book.
2. Configure the Book
2.1. General information
- Name - This is the name of the book displayed on the course page.

- Description - Describe the content or purpose of the book.

- Show description in the course - If you check this box the above description will be displayed directly on the course page.

2.2. Appearance
2.2.1. Chapter formatting
There are several ways to number chapters in the book:


- None - Chapters and sub-chapters are not specially formatted. Use this option if you want to define your own type of numbering that is not available as a selection option. You then enter your own type of numbering directly in the titles of the chapters or subchapters, e.g. "A First Chapter", "A.1 Some Subchapters", etc.
- Numbers - Chapters and sub-chapters are numbered (1, 1.1, 1.2, 2, ...).
- Bullets - Subchapters are indented and displayed with bullet points.
- Indented - Indents sub-chapters.
2.2.2. Custom titles
If you disallow custom titles, the chapter title (the one that appears on the table of contents) will appear as a header at the top of your content. If you enable custom titles, you will be able to create a title different from the one that appears in the ToC or display no title at all. If you enable custom titles, you will need to enter the chapter title as part of the page content.
2.3. Common module settings
- Availability - With this setting, you can hide a Book from the students. This means that this resource is not immediately available, but can be made visible at a later date.
- ID number - This setting allows you to uniquely identify or reference the Book in formulas for calculating the grade. If the Book is not included in any calculation of the overall grades, you can leave this field empty.
2.4. Restrict access
With these settings, you can attach certain conditions to the visibility and availability of the Book to students. For more information, see the article Restrict Access.
2.5. Activity completion
You use these settings to define criteria or conditions when an activity is considered (successfully) completed. For detailed information, see the article Activity completion settings.
2.6. Save
Clicking on "Save and go to course" will return you to the course page. After clicking on "Save and view" you will be asked to create the first chapter.
2.7. Content change notification
The settings for the activities can be reached after creating them within the activity via the central menu navigation. Here you will find activity-specific settings and you can also save the activity directly individually.
If you subsequently make changes to the settings, activate the checkbox "Send notification of content change" to inform all participants about the new or changed activity. All participants who can access the activity receive the notification.

