


Board settings

When configuring the board, you can determine, among other things, whether the digital Post-Its may be rated (i.e., "liked") by the students and in which order the posts are to be displayed on the board. Furthermore, you can allow students to independently determine the placement of their own posts. An optionally configurable editing deadline prevents the addition and editing of posts after a certain date. The group mode can be used to set up "group boards" that enable targeted collaborative work in small groups if required.
For this activity, you can use Tagging (Tags).
1. Create a board
To add a board, proceed as follows:
- Switch the course room to edit mode using the "Edit mode" slider next to your name in the upper right corner.
- In the section where you want the board to appear, click 'Add an activity or resource.
- Under "Activity", select the "Board" option.
- A new board will now be created. You will be automatically redirected to the settings page to configure the board.
2. Configure the board
2.1. General
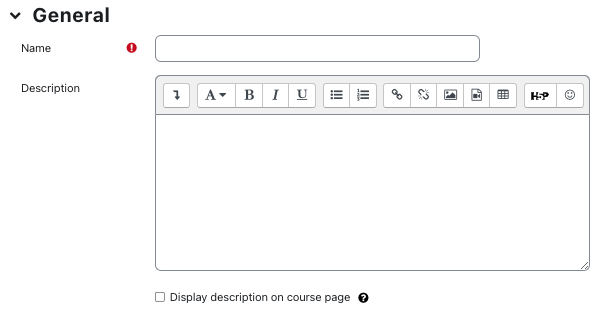
- Give the board an appropriate name.
- Optionally, write a description. In it, give students some instructions on how to use the board and, if necessary, explain its purpose.
2.2. Board settings
The following setting options are available, which are explained below:

- Background colour - Optionally choose a background colour for the board. This should be a valid hexadecimal colour, e.g. #87b1e0e.
- Background image - Optionally upload a background image for the board. Note that a combination of background colour and the background image is not possible. If a background image is selected, any background colour selected will be visually overridden by the image.
- Rating posts - Posts created by participants can optionally be rated (so-called "liking"). The rating is done in the footer of a post via a "Like" button in the form of a star button. A rating is always endorsing.
Use this option to select whether or for which roles the option to rate posts should exist:- Disabled - the "Liken" of contributions is not possible
- by participants - the "Liken" of contributions is possible exclusively for students and other participants
- from trainers - the "Liken" of contributions is reserved exclusively for managers
- from all - the "Liken" of the contributions is possible for all participants (managers, students, other participants)
- Hide columns headers from participants - If this option is selected, the individual column titles of the board will not be visible to students, but only to managers.
- Sort by - Within a column, posts can be sorted by specific criteria. When you move posts between different columns, moved posts will automatically be placed in the correct position in the target column according to the selected criterion.
The following three criteria are available for selection:- None - there is no fixed order of arrangement. The posts can be moved to the desired position arbitrarily within a column as well as between different columns.
- Creation date - the posts are placed in ascending order according to their creation date. The post with the longest creation date is always in the first position of a column. Therefore, when you create a new post, it is automatically added to the lowest position of the selected column. If you want to move a post to another column, it will be automatically inserted in the correct position according to its creation date.
- Rating - the posts are put in descending order according to the number of their "Likes". The post with the most "likes" will always be in the first position of a column. If you create a new post, it will be added to the lowest position of the selected column, because it has no "Likes" yet. If you want to move a post to another column, it will be automatically inserted in the correct position according to the number of likes it has.
- Single user morde: Here you can choose whether each participant should have his/her own private board, where only he/she and the managers can see the contributions.
- Disabled - leave this default setting if the board is to be created by multiple participants.
- Single user mode (private) - select this option if you want everyone to have their own board. In this case, each participant receives his/her own board, to which only he/she and the managers have access. This setting is recommended if you want to use the board as a private pinboard for your own notes.
- Post by date - if you check the box and select a date students will not be allowed to create and edit posts after that date. This will no longer will be able to rate ('Like") posts or change the order. However, students will still have full access to the contents of all posts and resources provided therein.
- Allow all users to edit the placement of their own posts - This option also allows students to place posts in columns as they wish. By default, only managers are allowed to do this. Note that depending on the setting selected in the "Sorted by" option, the ability to freely place posts may be limited.
2.3. Common module settings
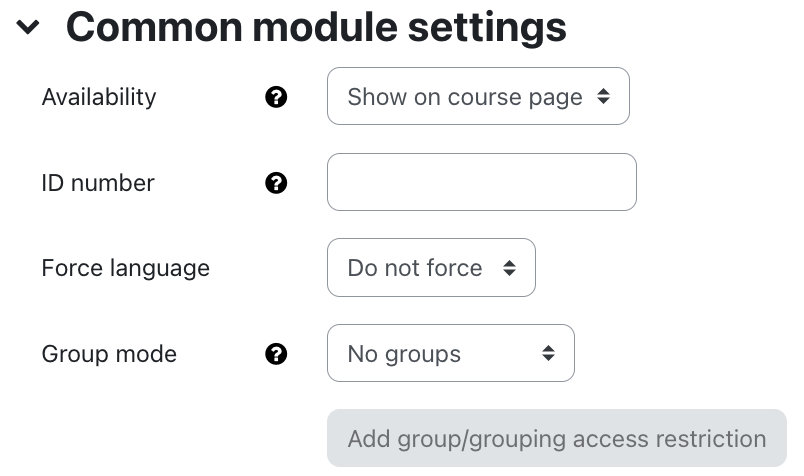
- Availability - Select whether the board should be displayed to students immediately or hidden from them.
- ID Number - The ID number is used to assign a label that can be used in the Assessments section when calculating overall assessments. Since no assessments are assigned for the board, the field can be left blank.
- Group Mode - There are three different settings for group mode: No Groups - Separate Groups - Visible Groups.
- No groups - All students see the posts of all participants on the board and can add new posts.
- Separated groups - Students will only see the "board" of the group they are assigned to. That is, only on their own "group board" can students add, edit, move, and rate posts. Therefore, when a student adds a post on the board, it is only visible to members of their own group. Students without group membership will not have the ability to view or add posts on the "board".
- Visible Groups - Students will see posts from all groups, but will only be able to add, edit, move, and rate posts on their own group's board.
- Grouping - A grouping is a set of groups. Select a grouping here if needed. The groups that are assigned to the selected grouping will then be considered for the group mode.
2.4. Restrict access
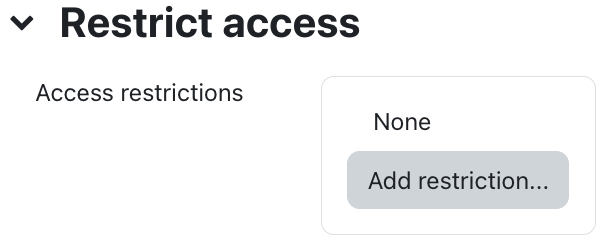
With these settings, you can link the visibility and the availability of the board for the students to certain conditions. In general, read the article restricting access.
2.5. Activity completion
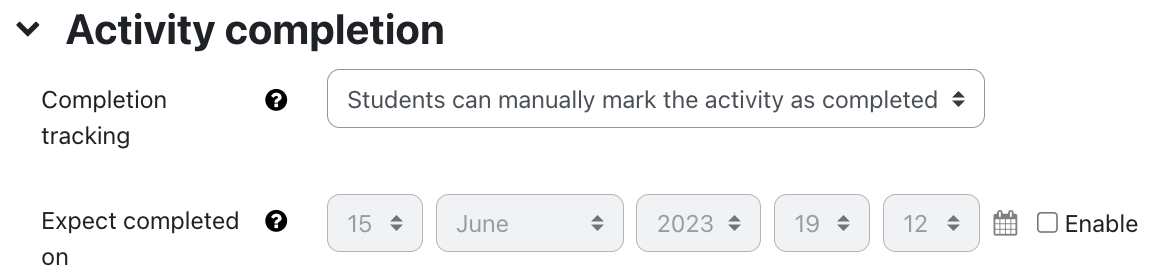
With these settings, you define whether students can manually mark the board as completed. For detailed information, read the article activity completion settings.
2.6. Save settings

Use "Save and return to course" to save the settings and return to the course page. Use "Save and display" to save the settings and open the board to edit them further on. With "Cancel" you discard the changes and return to the course page.
2.7. Notification about content change
The settings for the activities can be reached after creating them within the activity via the central menu navigation. Here you will find activity-specific settings and you can also save the activity directly individually.
If you subsequently make changes to the settings, activate the checkbox "Send notification of content change" to inform all participants about the new or changed activity. All participants who can access the activity receive the notification.

