


Request consent to video-monitored online remote exam with the Feedback activity (Alternative)

Using video-monitoring during a remote online exam to prevent cheating requires the written consent of the students concerned for data protection reasons.
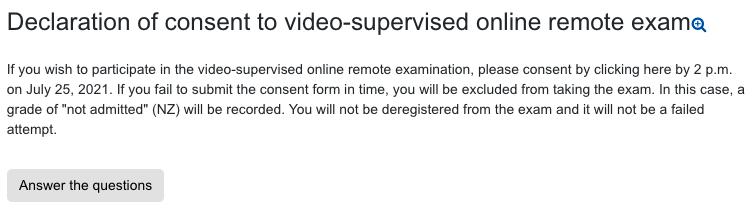
The submission of the consent form for participation in a video-supervised distance examination can be requested from the registered students with a lead time of 2 to 5 days. If students fail to submit the consent form in a timely manner, they may be disqualified from taking the exam. In this case, please do not deregister the students from the examination and do not enter a failed attempt. Instead, enter the grade notation "not admitted" (NZ). We generally refer to the next examination date in case of non-admission. If a longer period is desired due to special circumstances (e.g. very large number of students), special reasons must be given. In this case, please contact your Examination Board.
You can use a Feedback activity in the exam preparation room to ask the students for their consent. By opting for the remote exam, students automatically agree to the associated video monitoring via click. The students who do not agree can be displayed separately in the voting result.
When deciding on an exam format, ask the students to provide a telephone number at which they can be reached in the event of technical issues or similar. This information is always voluntary for data protection reasons. Furthermore, the collected telephone numbers must be deleted immediately after the exam!
1. Add feedback
2. Configure feedback
2.1. General
2.2. Availability
2.3. Question and submission settings
2.4. After submission
2.5. Common module settings
2.6. Restrict access
2.7. Activity completion
2.8. Saving a new feedback activity
3. Create a question
3.1. Use CLS template
3.2. Create your own questions
4. Manually make feedback visible
5. Student view of feedback
6. View the participants' answers

Note
Please note that students cannot change feedback once submitted! Multiple submission of feedback can be allowed via the activity settings but is not recommended in order to avoid multiple contradictory answers.
Therefore, if students wish to change their decision on an exam format again, for example even after the deadline for submitting feedback has passed, they must contact the responsible chairs directly.
Therefore, clearly point out to the students to carefully consider the decision for the examination format in order to avoid the additional work and stress for all parties involved resulting from a change of mind at short notice.
1. Add Feedback
- Switch the course page to edit mode using the "Turn editing on" button at the top right.
- In the appropriate course section, click on "Add an activity or resource".
- Click "Feedback" in the activity selection.
A feedback activity will now be created. You will be automatically redirected to the settings page to configure the feedback.
2. Configure feedback
2.1. General
- Give the vote a suitable name, e.g. "Declaration of consent to video-supervised online remote exam".
- In the "Description" field, provide information on the video-supervised online remote exam. In particular, point out that the students will be supervised in a zoom video conference to prevent cheating. Ask the students to bindingly declare their consent to the video-supervised online remote exam. You should also expressly ask the students to provide a telephone number where they can be reached in the event of technical issues or similar.
When using Zoom video surveillance, examiners can make use of the option to generate an exam protocol in Zoom, logging the entries and exits of participants. If this log is to be used and stored, be sure to inform students of this fact when asking for the desired exam format. They do not have to agree to the exam protocol being used, but they do have to be informed that it will be used.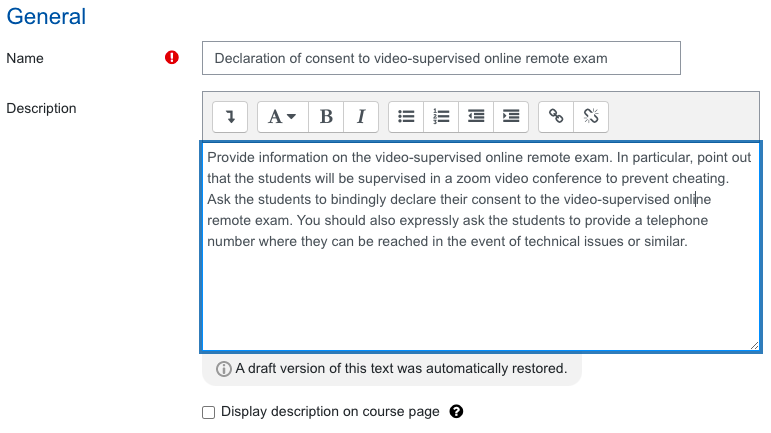
2.2. Availability
Activate date fields and define the period within which the feedback can be given. The consent should be asked 2-5 days before the exam.

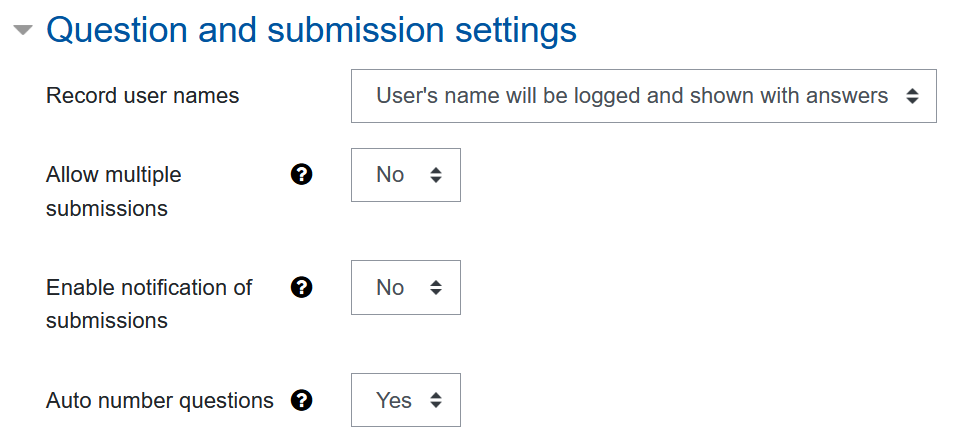
2.3. Question and submission settings
- Set “Record user names” to “User's name will be logged and shown with answers”.
- Keep "allow multiple submissions" and "Enable notification of submissions" to "No".
- Set "Auto number questions" to "Yes".
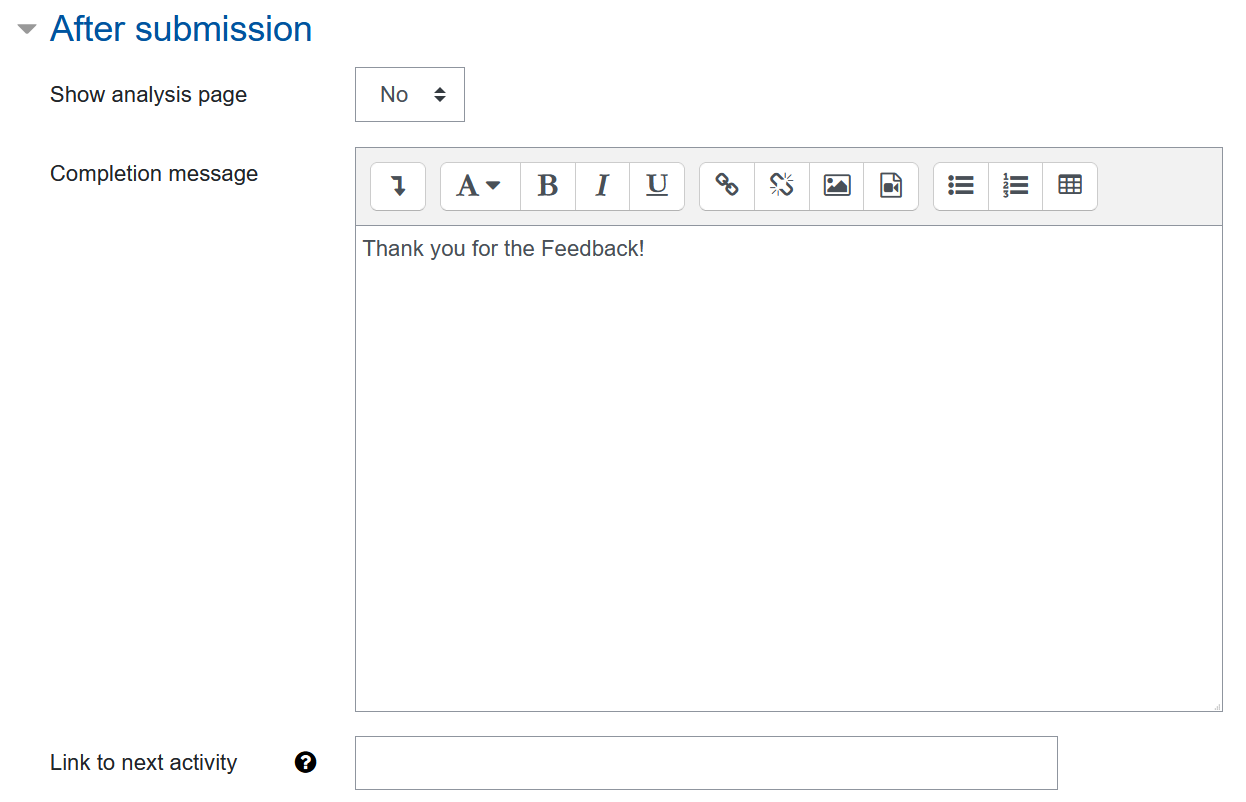
2.4. After submission
- Keep "Show analysis page" to "No".
- Enter a short message in the "Completion message" field, e.g. "Thank you for your feedback!"
2.5. Common module settings
- Set the "Availability" option to "Hide from students“. This means that the new feedback is not displayed to the students after saving. You can then make the feedback visible from the course page at any time. (Please also note the next section "Restrict access")
- All other settings can be left as default.

2.6. Restrict access
If you want to control access to the feedback by date, add a restriction in the following way.
- Click on „Add restriction...“.
- Select “Date”.
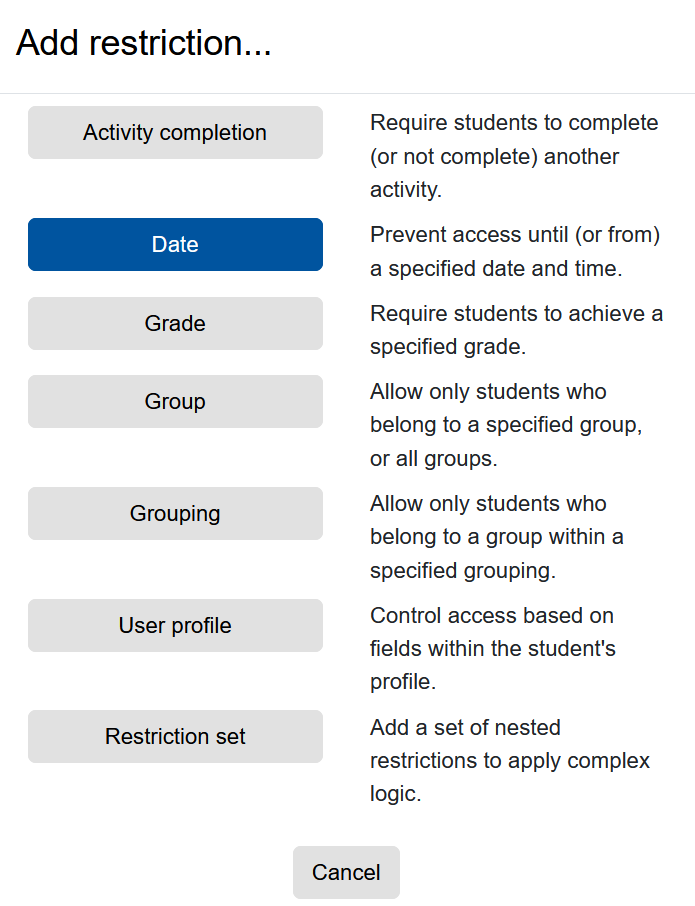
- Set the desired date.
- Click on the eye symbol next to the restriction. As a result, the entire feedback activity is not displayed to the students. It only becomes visible on the defined date.

Note
The regulation of the visibility and the access via “Restrict access” is not coupled with the manual regulation of the visibility via the option in “Common module settings”. If the date defined under requirements has already been reached, the feedback is still not visible if the option "Hidden for participants" is selected under "Common module settings". The vote must then also be made visible on the course page (see 4. Manually make feedback visible).
2.7. Activity completion
These settings are irrelevant and can be left as default.
2.8. Saving a new feedback activity
Click on "Save and display". You will be taken to the activity overview page, where you can create the feedback questions.
3. Create questions
3.1. Use CLS template
The CLS provides you with a template that you can use to get the consent and to collect the telephone number. You can also adapt the template to your scenario if necessary.
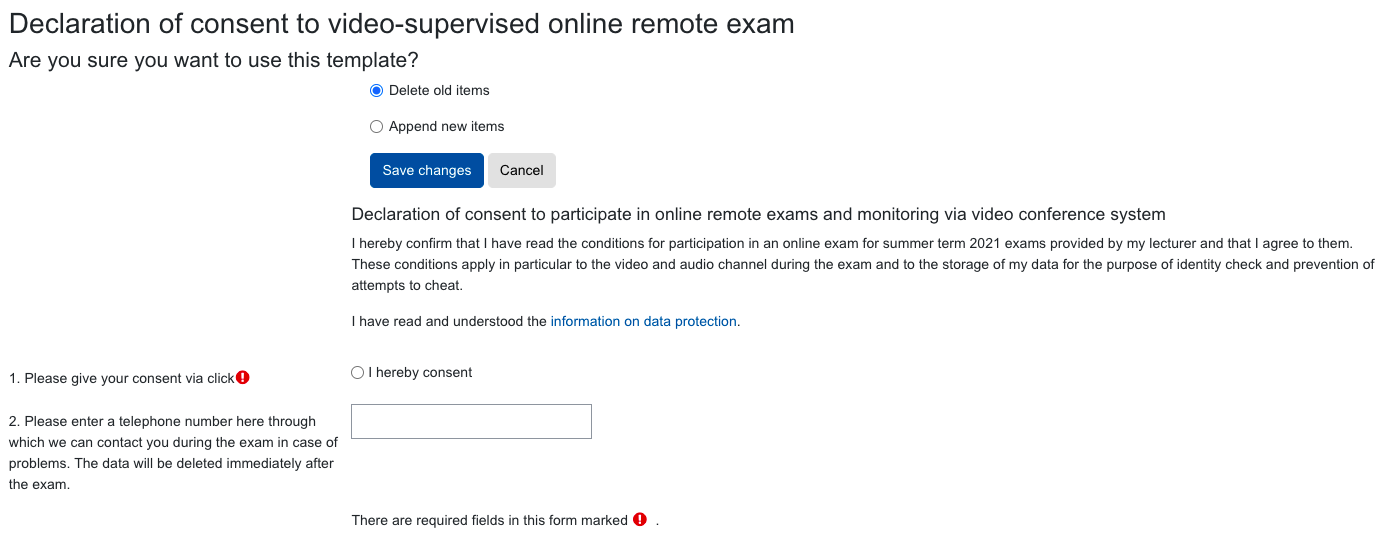
The template contains a text field and two questions:
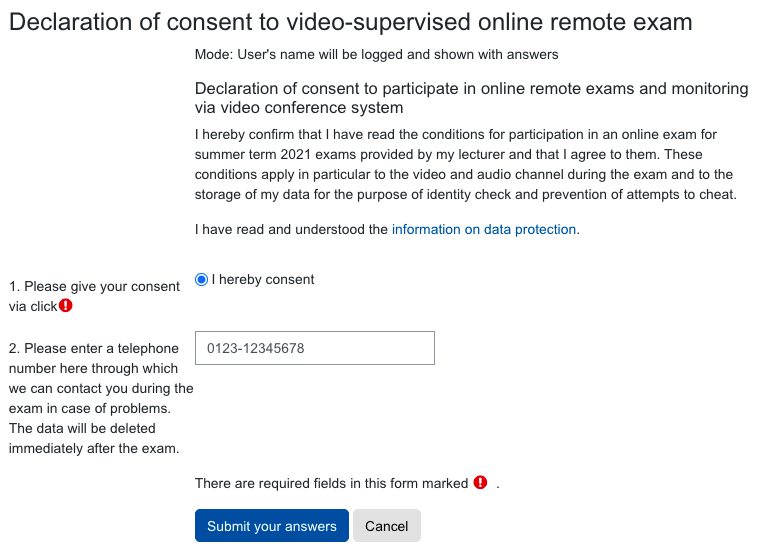
- Declaration of consent to participate in online remote exams and monitoring via video conference system - I hereby confirm that I have read the conditions for participation in an online exam for summer term 2021 exams provided by my lecturer and that I agree to them. These conditions apply in particular to the video and audio channel during the exam and to the storage of my data for the purpose of identity check and prevention of attempts to cheat. I have read and understood the information on data protection (link).
- Please give your consent via click (Mandatory answer, single choice)
Answer option:
- I hereby consent - Please enter a telephone number here through which we can contact you during the exam in case of problems. The data will be deleted immediately after the exam. (Optional answer, input line for text, max. 30 characters)
If you want to use the template, do the following:
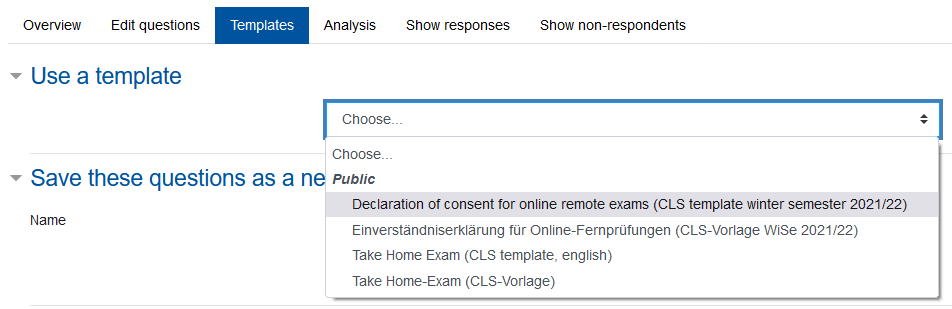
- Click on the "Templates" tab on the overview page of the feedback activity.
- On the next page, under "Use template", select the template "Declaration of consent for online remote exams (CLS template winter semester 2021/22)".
- On the next page, you will be shown the questions of the template and you will be asked to confirm your selection. You can keep the "Delete old items" option if you haven't added any questions about your feedback activity yourself. Confirm your selection with "Save changes".
- The questions from the template will now be included in the questionnaire for your feedback. You can now either make the feedback activity visible for the students on the course page, use the edit link next to the questions to make adjustments to the questions, or add further questions (see 3.2. Create your own questions). You only change your questionnaire, the template itself is not changed.

3.2. Create your own questions
- Click on the "Edit question" tab on the overview page of the feedback.
- Click in the drop-down menu next to "Add question" and select the appropriate question type, e.g. "Multiple choice".

- If necessary, select the "Required" option.
- Enter your question in the "Question" field.
- Select the appropriate "Multiple choice type" and "Adjustment" of the answer options.
- Set "Hide the 'Not Selected' option" to "Yes". As a result, when answering the question, the students do not see an additional option "Not selected" meaning "No answer".
- Keep "Do not analyse empty submits" to "No".
- Enter one answer option per line in the "Multiple choice values" field.
- Use "Position" to specify the position within the questionnaire where the question should appear.
- Save the question with "Save question".

- You then return to the "Edit questions" tab of the questionnaire and can add further questions. You find more information about the available question types in the instructions for the feedback activity.
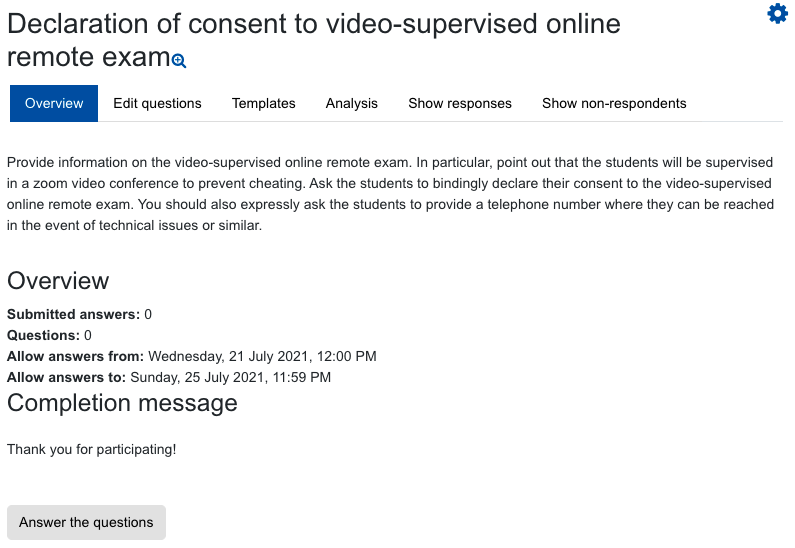
- After creating all questions, you can preview the questionnaire in the "Overview" tab using the magnifying glass icon
 next to the title of the feedback activity.
 - If everything is in order, you can make the feedback activity visible to the students on the course page (see 4. Manually make feedback visible).
4. Manually make feedback visible
If you have hidden the feedback manually using the other settings and not using the automatic date control under requirements, you have to make it visible manually at the desired time.
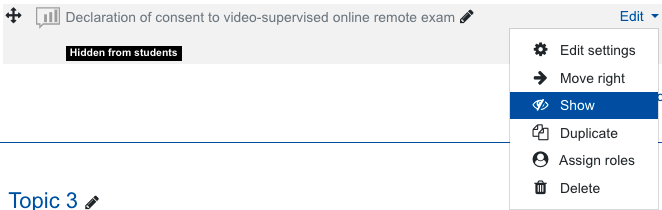
- Next to the feedback activity, click "Edit settings".
- Select "Show" in the context menu. The feedback activity is then visible to the students. However, you can only give your consent from the date defined under availability.
5. Student view of feedback
- The exam participants see the descriptive text when they click on the feedback activity. By clicking on "Answer the questions", they go to the questionnaire.
- They then see the questionnaire and can enter their answers. With "Submit your answers" they submit their answers.
Note
Due to the feedback settings, it is not possible to participate again. Subsequent changes to the answers already given are generally not possible. - After submitting the answers, the exam participants see the prepared feedback and can return to the course page by clicking "Continue".

6. View the participants' answers
As soon as the time window for submitting feedback is over, you will be able to see the answers of the exam participants.
- Open the feedback activity by clicking on the feedback title.
- In the overview, click on the "Show responses" tab. The answers of the exam participants are now displayed in a table. If you have turned on a group mode in the activity settings you can use the filter next to "Separate groups" to filter the table according to individual exam groups in order to only display their answers.

- If necessary, download the results in the appropriate file format using the button above the table.
- Click the "Show non-respondents" tab to view all persons who did not reply.
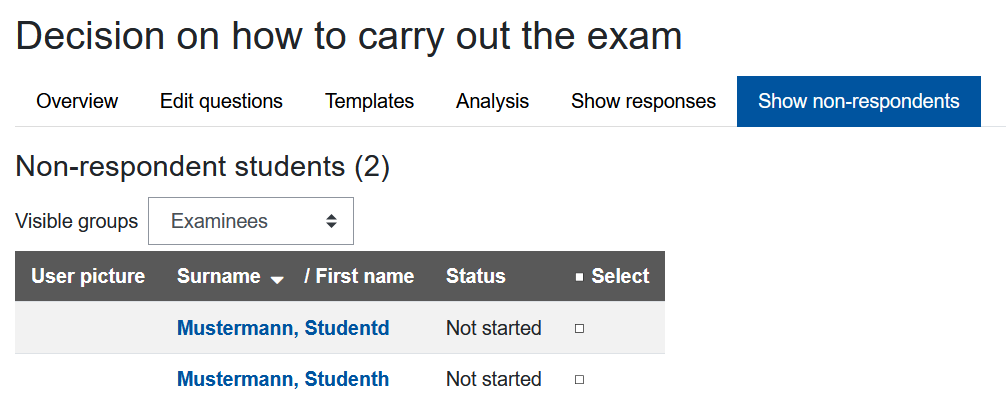
- If necessary, contact all exam participants who have not yet given any feedback and have therefore not yet decided on an exam format.
Note
Please do NOT use the "Send message" form below the list of persons without an answer to contact them. If students have set in their personal system settings that they do not want to receive system messages, the message will not reach them. It is better to contact the students concerned by e-mail, e.g. from the exam room via a suitable addressed Quickmail.
