


Add Organizer

The organizer activity enables teachers to plan and manage appointments, for example, tutoring sessions, oral examinations or exams. Students can register themselves individually, or as a group for one of the slots on offer. They can also be assigned a free slot by managers. The attended appointments can optionally be evaluated and marked with feedback. Students can be reminded of their appointments by e-mail. Managers can be notified about new appointments.
Students can only register for one appointment at a time per organizer activity. However, managers can grade the appointment after it has taken place, marking the students as "seen" and allowing them to register for a follow-up appointment.
For this activity, you can use Tagging (Tags).
1. Create an Organizer activity
- Log in as a manager in RWTHmoodle and open your course room.
- Switch the course room to edit mode using the "Edit mode" slider next to your name in the upper right corner.
- Click on "Add an activity or resource" in the course section where you want to add the organizer.
- Select the activity "Organizer".
- With a click on the button "Add", the organizer is created. You will automatically be forwarded to the settings page to choose the settings for the organizer.
2. Organizer configuration
2.1. General

- Give the organizer a suitable name.
- Optionally write a description. In it, explain what type of appointments are offered here and what conditions apply to the booking.
2.2. Availability
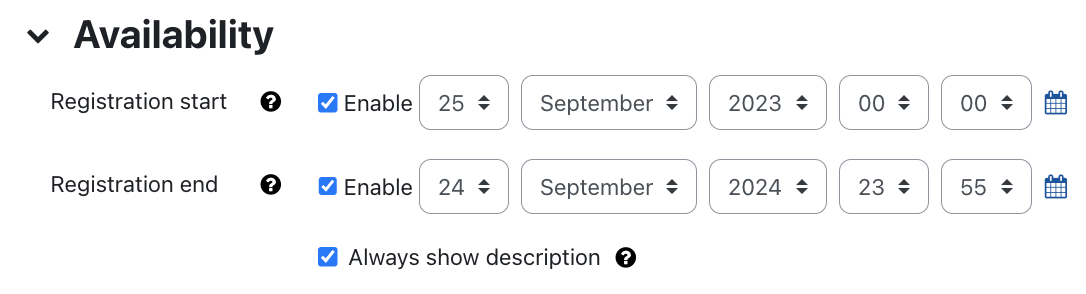
For "Registration start" and "Registration end", enter a date from and up to which students can book a time slot.
2.3. Organizer settings
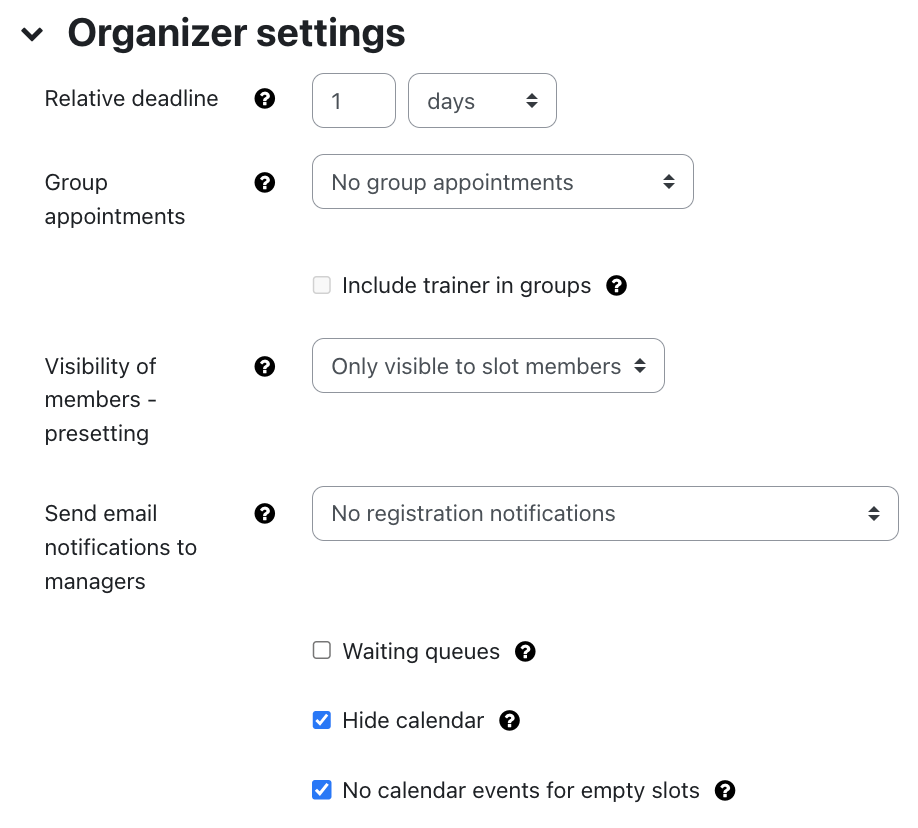
- Relative Deadline - After the deadline has expired, students can no longer register for or cancel the appointment. This deadline is set relative to the time slot.
- Group Appointments - Select a group mode for the organizer if required. Appointments are booked in groups when selected. The following options are available:
- No group appointments- This is the default setting.
- Use existing groups - Use existing groups for registration.
- Group creation per empty slot - A new group is created for each slot.
- Group creation per booked slot - A new group will be created for each slot when it is booked for the first time.
- Visibility of members - presetting - You can choose the visibility presettings of a new slot. The following options are available:
- Visible - The students in a slot are always visible.
- Anonymous - The other students in the slot are always hidden from a student.
- Only visible to slot members - The students in the slot are only visible if you have booked the slot yourself.
- Send email notifications to managers - By default no emails are sent to managers. However you can choose from the following options:
- No registration notifications
- Re-registrations and unregestrations only
- All registrations, re-registrations and unregistrations
- Waiting queues - Waiting lists allow students to register for appointments that are already fully booked. If the date becomes available, the first student on the waiting list will automatically get the free slot.
- Hide calendar - Set whether the calendar should be hidden in the organizer.
- No calendar events for empty slots - If you activate this option, no calendar events will be created when appointments are created, but only after students have registered for an appointment.
2.4. Grade
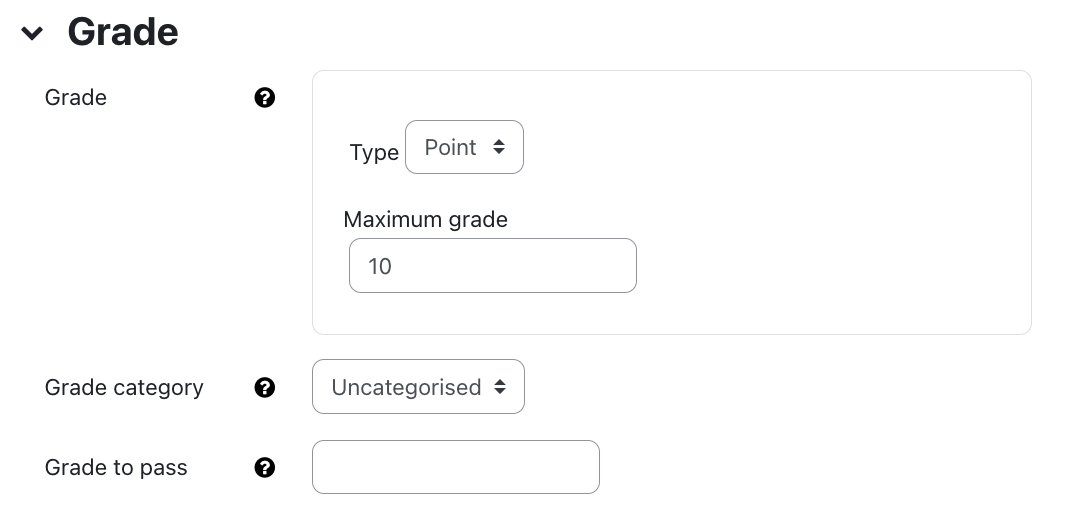
You can grade appointments optionally:
- Grade - Select the type (None, Scale, Point) and the desired grading scale or maximum score.
- Grade category - Select the grading category to which the activity should be assigned. This grading category must have been previously created in the "Gradebook Setup" in "Grades".
- Grade to pass - Define the scale value or the maximum score at which the activity is considered passed.
2.5. Print slot user fields
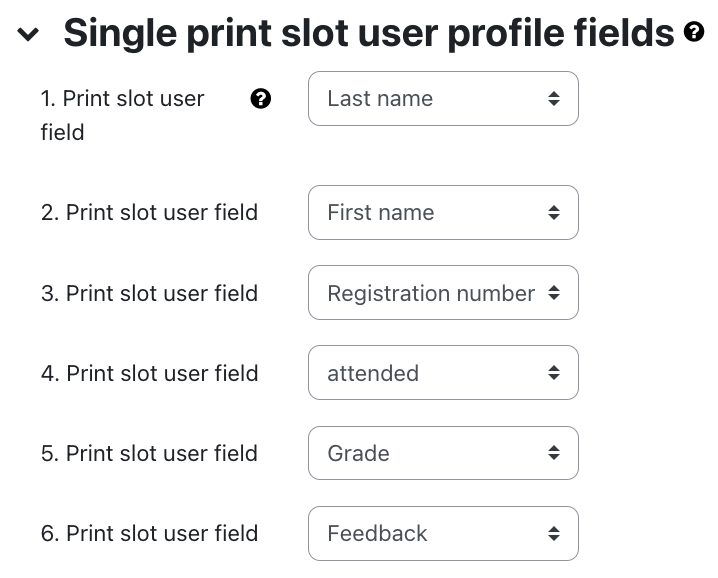
You can also print a list of the slots. To do this, define which fields of the user profile should appear on the print, for example, first name, last name and matriculation number.
2.6. Common module settings
- Availability - Select whether the organizer should be immediately visible to students or hidden from them.
- ID Number - The ID number is used to assign a name that can be used in the "Grades" section when calculating overall grades. If the organizer is not needed to calculate grades, the field can be left blank.
- Group mode - There are three different settings for the group mode: No groups - Separate groups - Visible groups. If a group mode is set, any member of the group can book an appointment on behalf of the group.
- Grouping - A grouping is a collection of groups. If the availability of the organizer is limited to group members, only the students in the groups that are in the selected grouping can book time slots in this organizer. The group settings must be set to separate or visible groups.
2.7. Restrict access
You can use these settings to link the visibility and availability of the organizer to certain conditions for students. For more information please read the article Restrict access.
2.8. Activity completion
You use these settings to define criteria or conditions when an activity is considered completed (that is, successfully processed). For detailed information, see the article Activity completion settings.
2.9. Tags
Assign tags to the activity as needed to improve its visibility and simplify navigation for students. Detailed information can be found in the article on Tagging.
2.10. Saving the settings
With "Save and return to course" you save the settings and return to the course page. Click on "Save and display" to save settings and open the organizer to create time slots. By clicking on "Cancel" you discard changes and return to the course page.
2.11. Notification about content change
The settings for the activities can be reached after creating them within the activity via the central menu navigation. Here you will find activity-specific settings and you can also save the activity directly individually.
If you subsequently make changes to the settings, activate the checkbox "Send notification of content change" to inform all participants about the new or changed activity. All participants who can access the activity receive the notification.
