Atto editor

The Atto text editor (sometimes referred to as the 'HTML editor') has many icons to assist the user in entering content. Many of these icons and functions should be familiar to anyone who uses a word processor.
Some examples of where you will see a text editor include: Editing section headings, description of an activity, writing an answer to a quiz question, or editing the content of many blocks.
- Atto editor toolbar
- Autosave
- Image drag and drop
- Detailed explanations of some functions of the Atto editor
Note
The following screenshot shows the Atto editor toolbar available in RWTHmoodle:
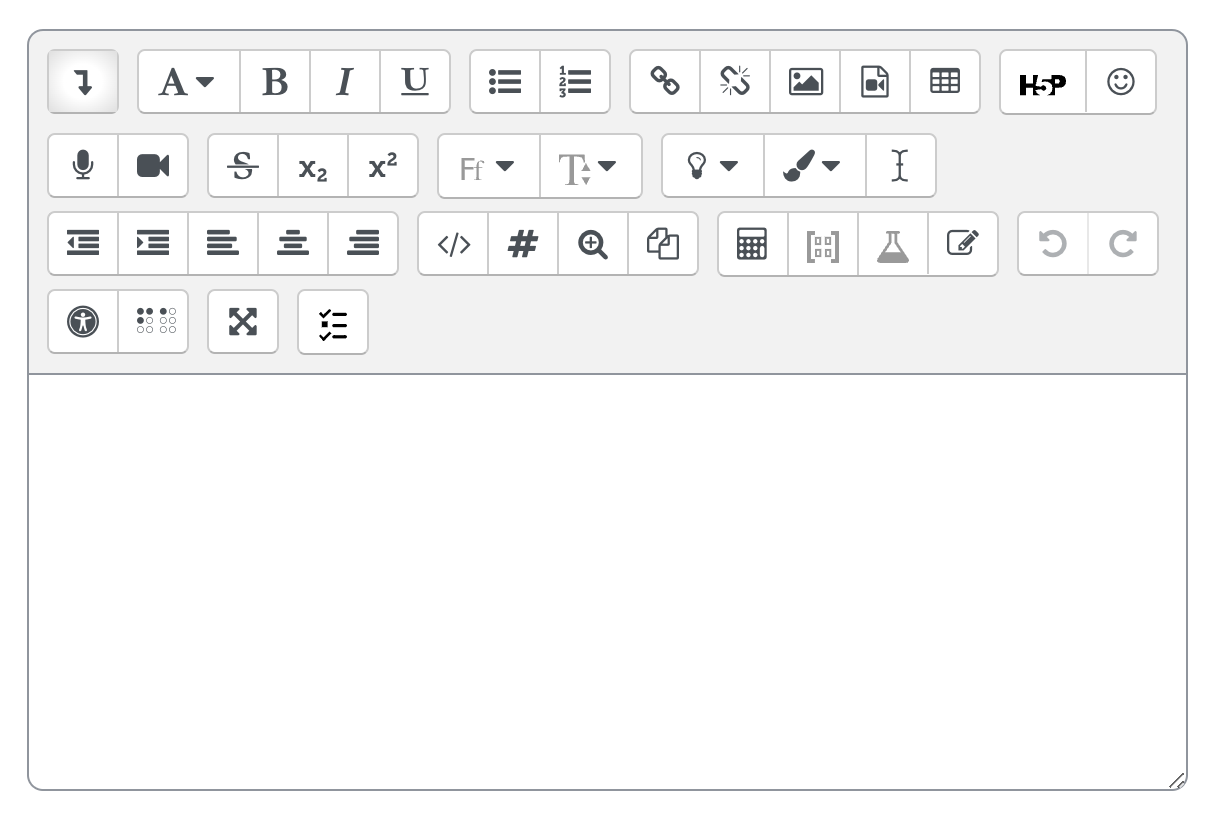
The symbols in the toolbar have the following meaning:
Row 1
 Show/hide advanced buttons
 Paragraph styles
 Bold
Bold Italic
 Underline
 Unordered list
 Ordered list
 Create link
 Unlink
 Insert or edit image
 Insert or edit an audio/video file
 Table
Table Insert H5P
 Emoji picker
Row 2
 Record audio
 Record video
 Strikethrough
 Subscript - i.a. suitable for the use of footnotes
 Superscript - i.a. suitable for the use of footnotes
 Font family
 Font size
 More font background colors
 More font colors
 Clear formatting
Row 3

 Outdent, Indent

 Left align, Center, Right align
 HTML
HTML Word count
 Toggle preview
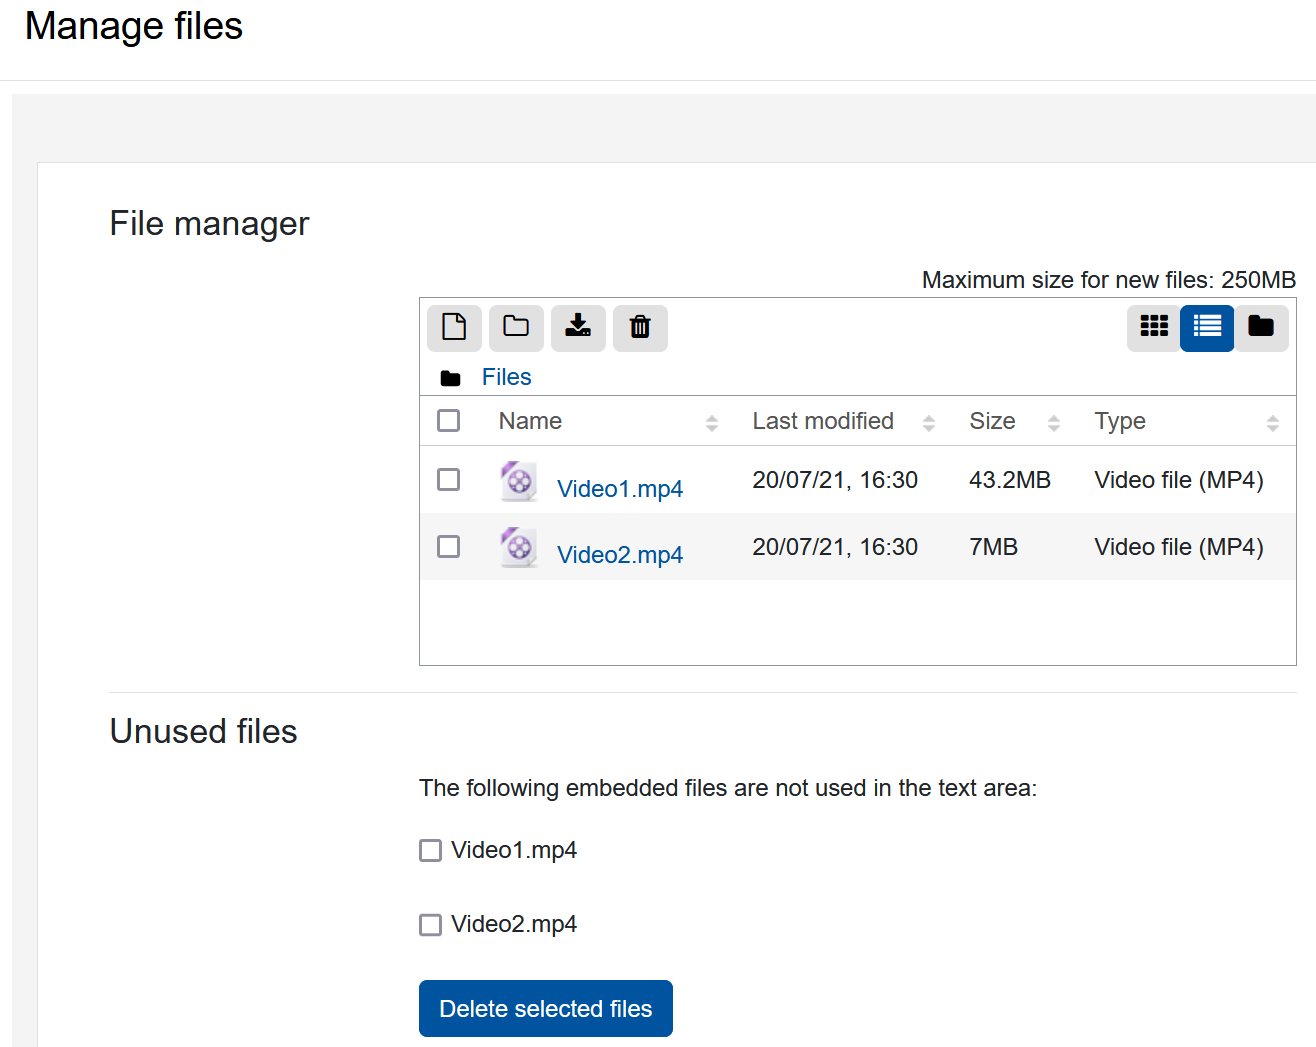
 Manage files - This allows users to add, delete or override files embedded in the current text area, for example in a label or topic summary.
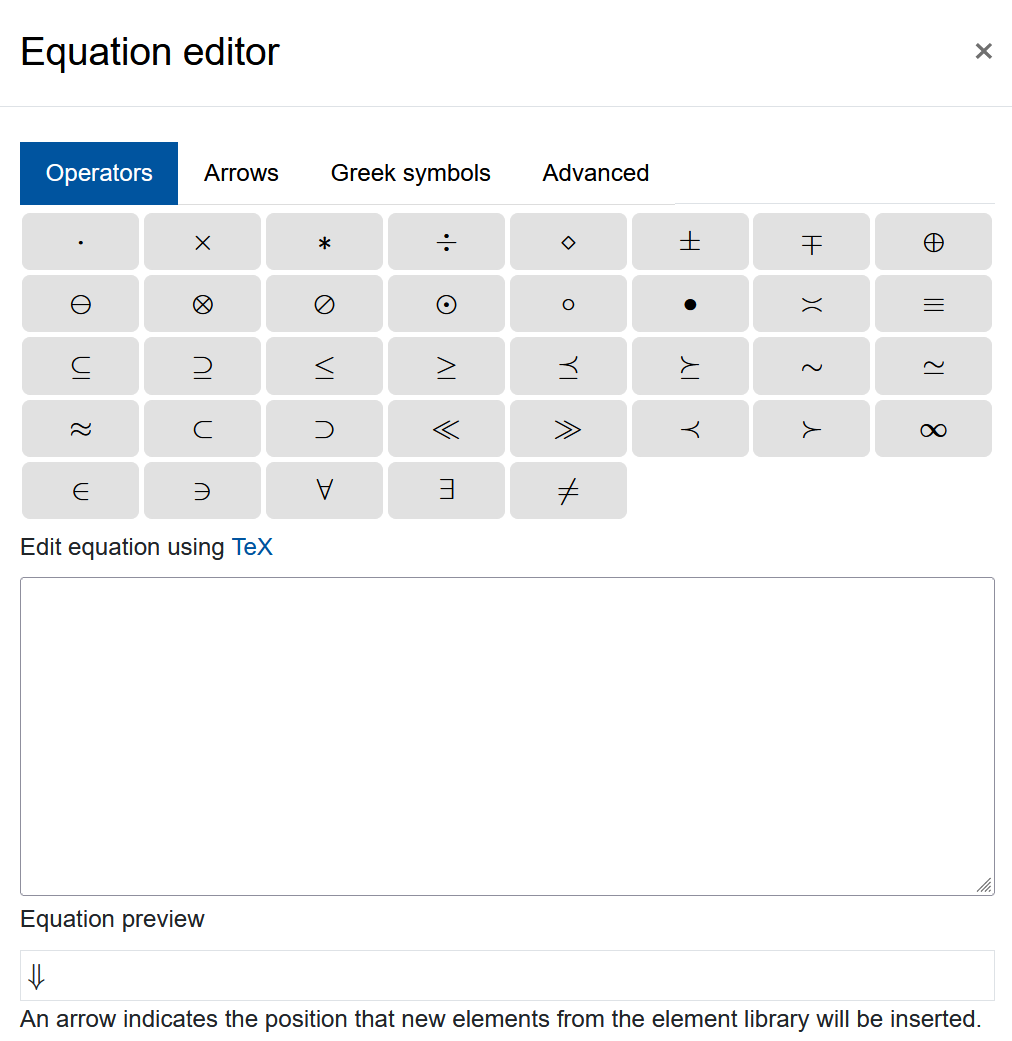
 Equation editor
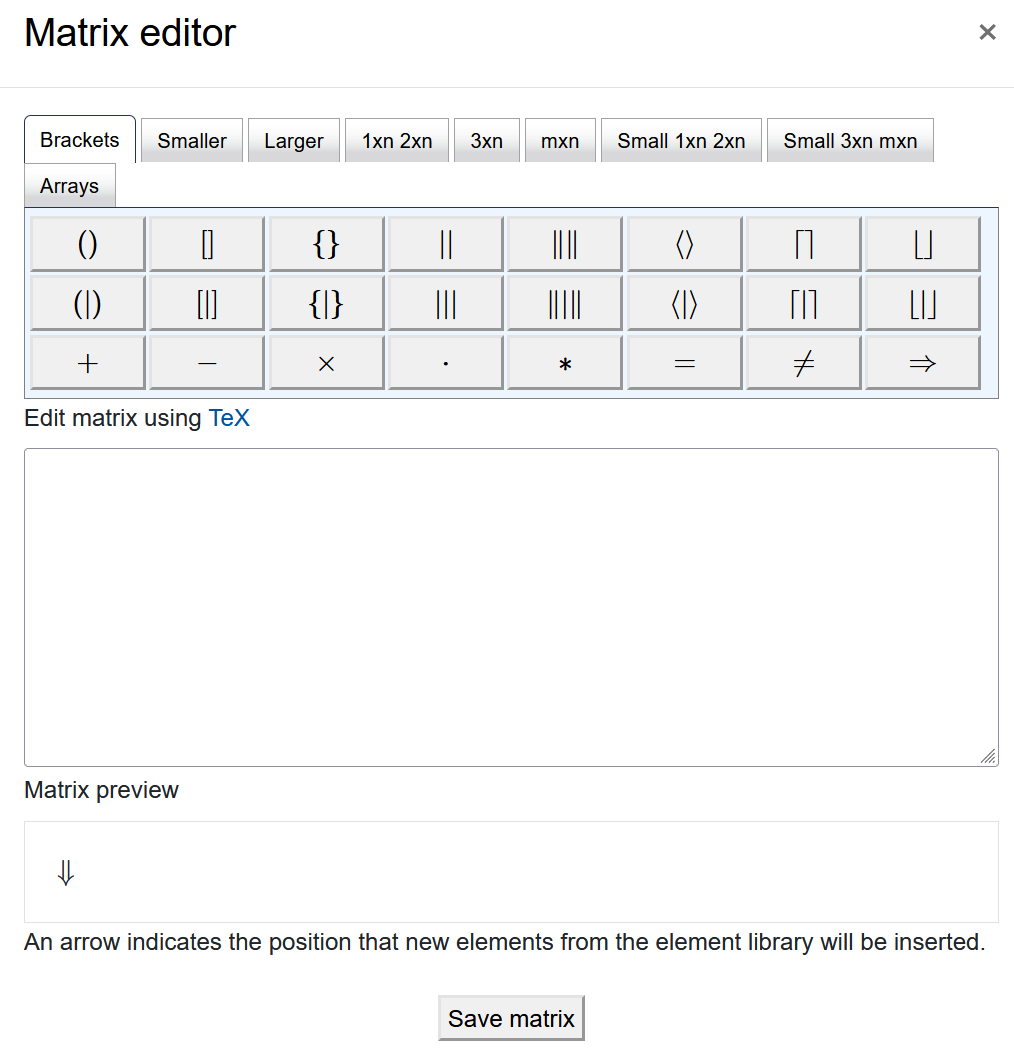
 Matrix editor
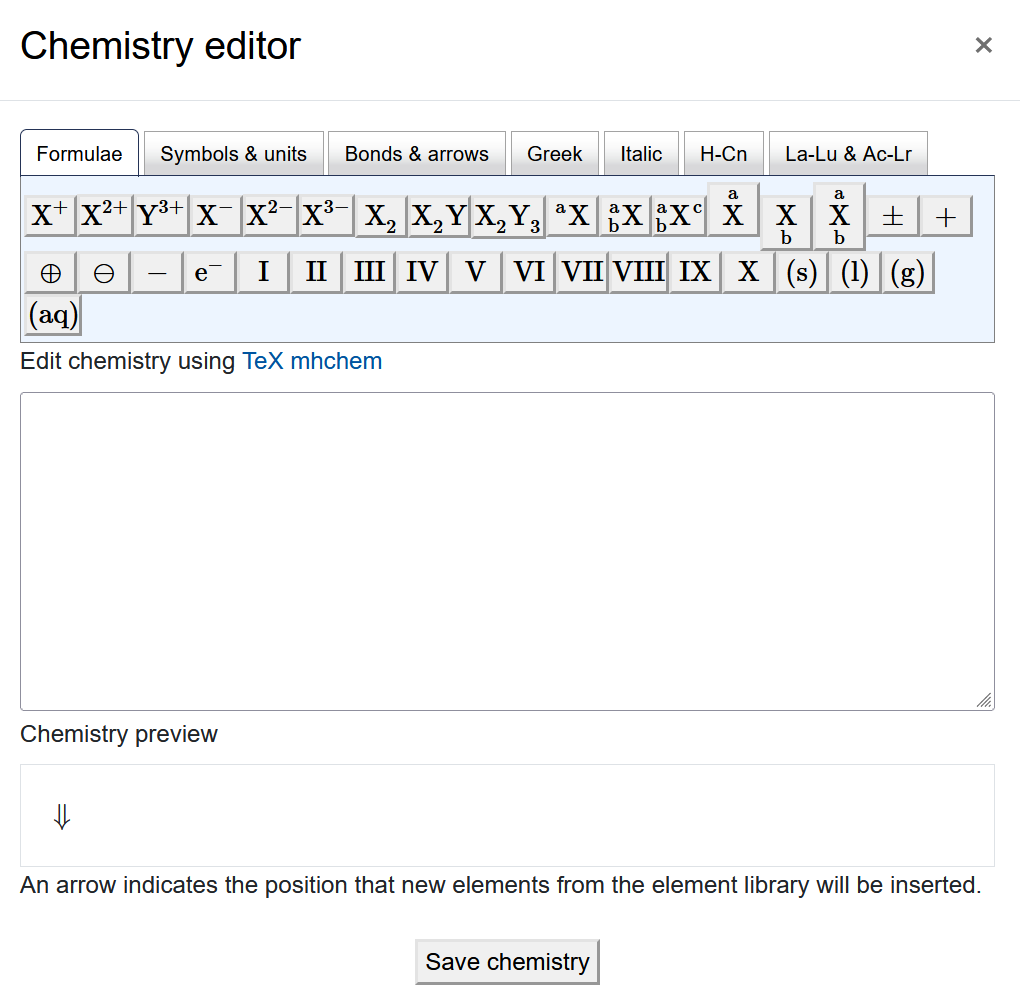
 Chemistry editor
 Insert character
 Undo, Redo
Row 4
 Accessibility checker
 Screenreader helper
 Toggle fullscreen
 Embed question
2. Autosave
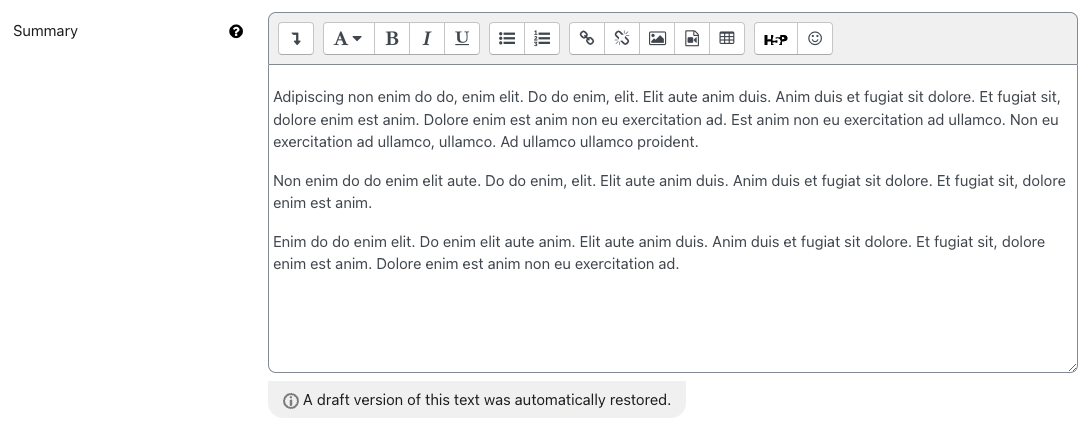
Text typed into the Atto editor is automatically saved if you leave the page. If the user accidentally closes the tab or otherwise leaves the form without submitting, the text in the editor will be restored next time he opens the page. To discard a restored draft, the user needs to cancel the form or press the "Undo" button  in the editor.
If your browser allows it (and if it does, you will see a message at the top of your screen when the editing is on) you can add images into the Atto editor simply by dragging them from your computer: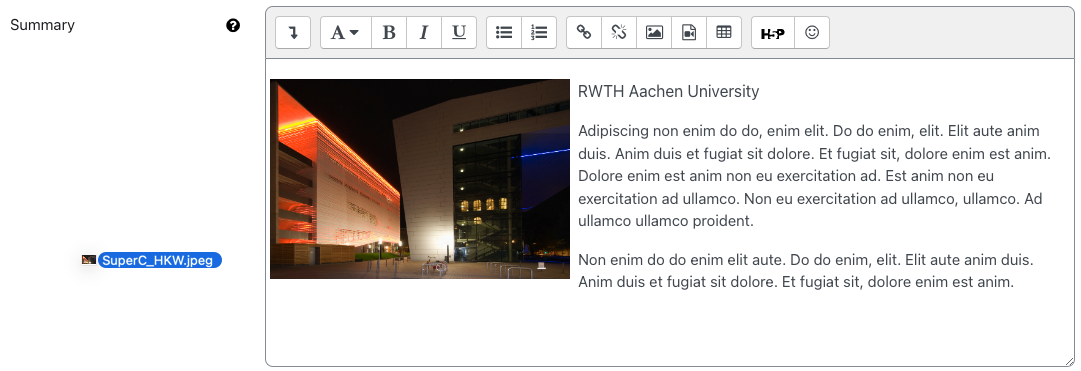
4. Detailed explanations of some functions of the Atto editor
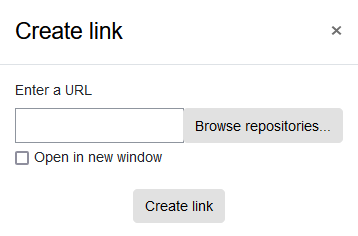
The "Create link" option allows you to create links to other websites or videos. Alternatively, you can use "Browse repositories..." to access various repositories (e.g. Opencast videos) via the File picker that contain files and, after selecting them, embed them directly in the text area.
When using the Book activity, you can use this option to link chapters and images. For example, you can anchor links between different book chapters or reference figures in other book chapters. Linking tables and equations from different chapters, however, is not possible.
Add audio and video annotations to text, anywhere an Atto text editor is present. Using WebRTC technologies, all recording is done instantly in the browser. To start recording, click the "Start Recording" button:
After recording, users can embed the annotation directly into the text they are currently editing. The recording will appear as an audio or video player in the published writing.
Note
This functionality allows users to add, delete or overwrite files in the present text area. This makes it more convenient, for example, to quickly re-use images in a label or page. The first time a file is added, it is added from the usual repositories, for example, Upload a file. Afterward, the uploaded files become available for reuse in the same text area by clicking on the "Manage Files"  icon. The files uploaded to the repository can be downloaded via the Download Center. The files remain in the repository until they are manually removed from it. If you just remove files from the text area of the editor, they will still remain in the repository and will therefore also be downloaded via a file download. It is therefore advisable to remove files that are no longer required not only from the text area but also from the underlying repository.
When you click on it, an equation editor opens. With the help of this editor, mathematical formulas can be created very easily without having to know TeX notation.
When you click on it, a matrix editor opens. With the help of this editor, you can create mathematical matrices very easily without having to know TeX notation. However, you can also write LaTeX code directly in the editor. This will be rendered to formulas via MathJax.
If you click on it, the chemistry editor will open. With the help of this editor, chemical formulas can be created very easily without having to know TeX notation. However, you can also write chemical formulas directly as LaTeX code in the editor. RWTHmoodle uses MathJax for rendering the formulas, extended by the mhchem package.
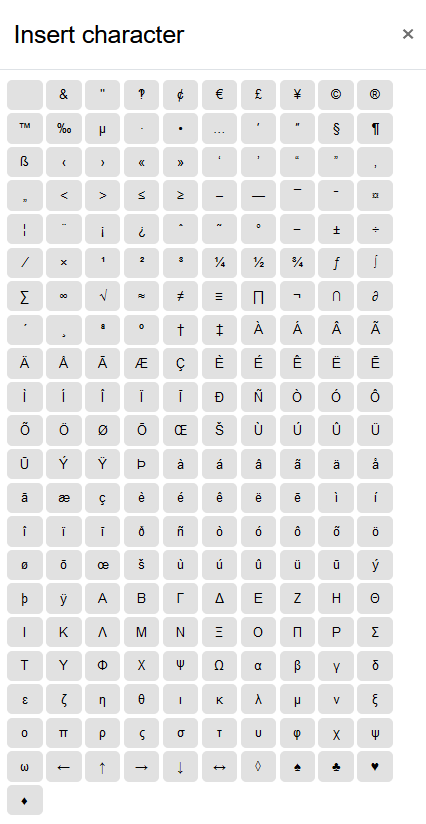
If you click on the "Insert character"  icon, a wide range of common special characters will be available. Insert them by mouse click into the text area of the editor where the cursor is located.
One of the tools available in the text editor is an automated accessibility checker which checks for some common errors in the text. These are usually things in the way the text is constructed that can prevent all users from having equal access to information and functionality. The list of problems that the accessibility checker looks for is:
- Images with missing or empty alt text (unless they have the presentation role)
- The contrast of font color and background color meets WCAG AA guidelines
- Long blocks of text are sufficiently broken up into headings
- All tables require captions
- Tables should not contain merged cells as they are difficult to navigate with screen readers
- All tables should contain row or column headers
In addition to this editor tool, you can also check other HTML-based content for accessibility in RWTHmoodle using the "Check Accessibility" block.
Screen readers basically treat a content editable region like a text box - which is wrong, because it can contain images, links, and more.
The screen reader helper provides additional information about the currently selected text (e.g. is it bold), as well as a listing of any images or links in the text.

