Sharing calendar (OWA)

Please note: In OWA – as opposed to Outlook – you can also assign permissions to view a calendar to e-mail accounts which are not part of your own e-mail domain, as long as both domains are listed in the central exchange of the University! |
Option 1 - Sharing a Calendar in the Outlook Web App
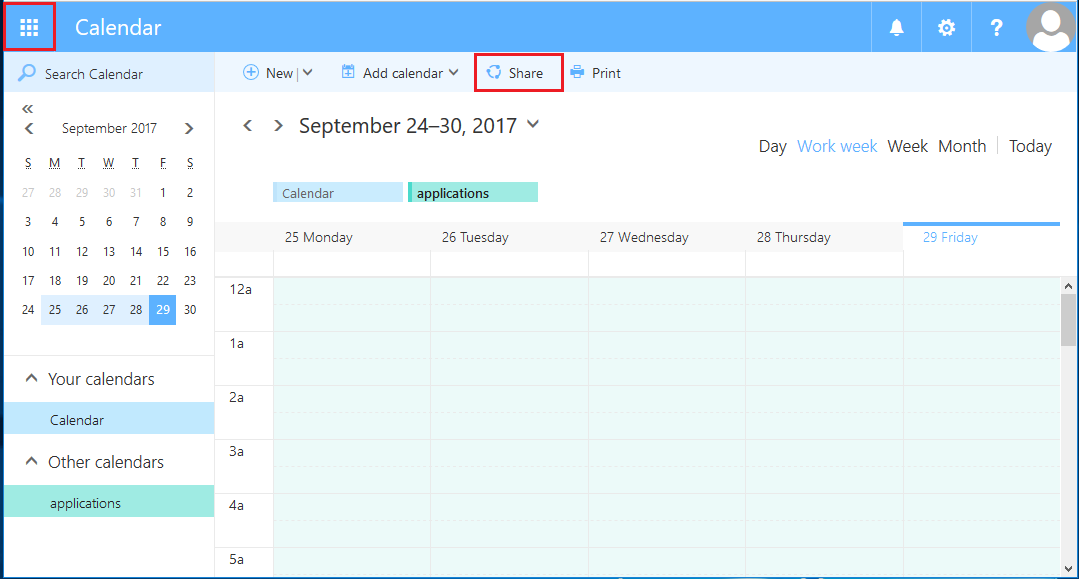
1. After the login, click on the module “Calendar” in the menu in the top left corner and select "Share".
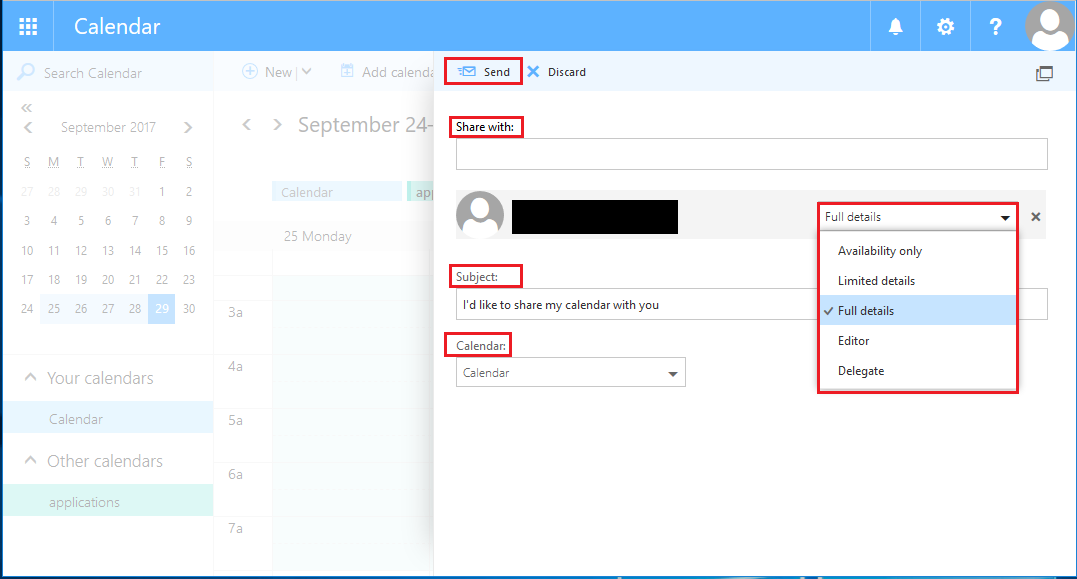
2. Enter the person with whom you want to share your calendar. Select, which permissions this person should have and which calendar should be shared.
If you want, you can also change the subject of the sharing e-mail. Click "Send" to send the e-mail.
Option 2 - Sharing a Calendar via a web link
The OWA also offers the possibility to share a calendar via a web link. With this option, the calendar can also be viewed outside of the central exchange.
Please note:
|
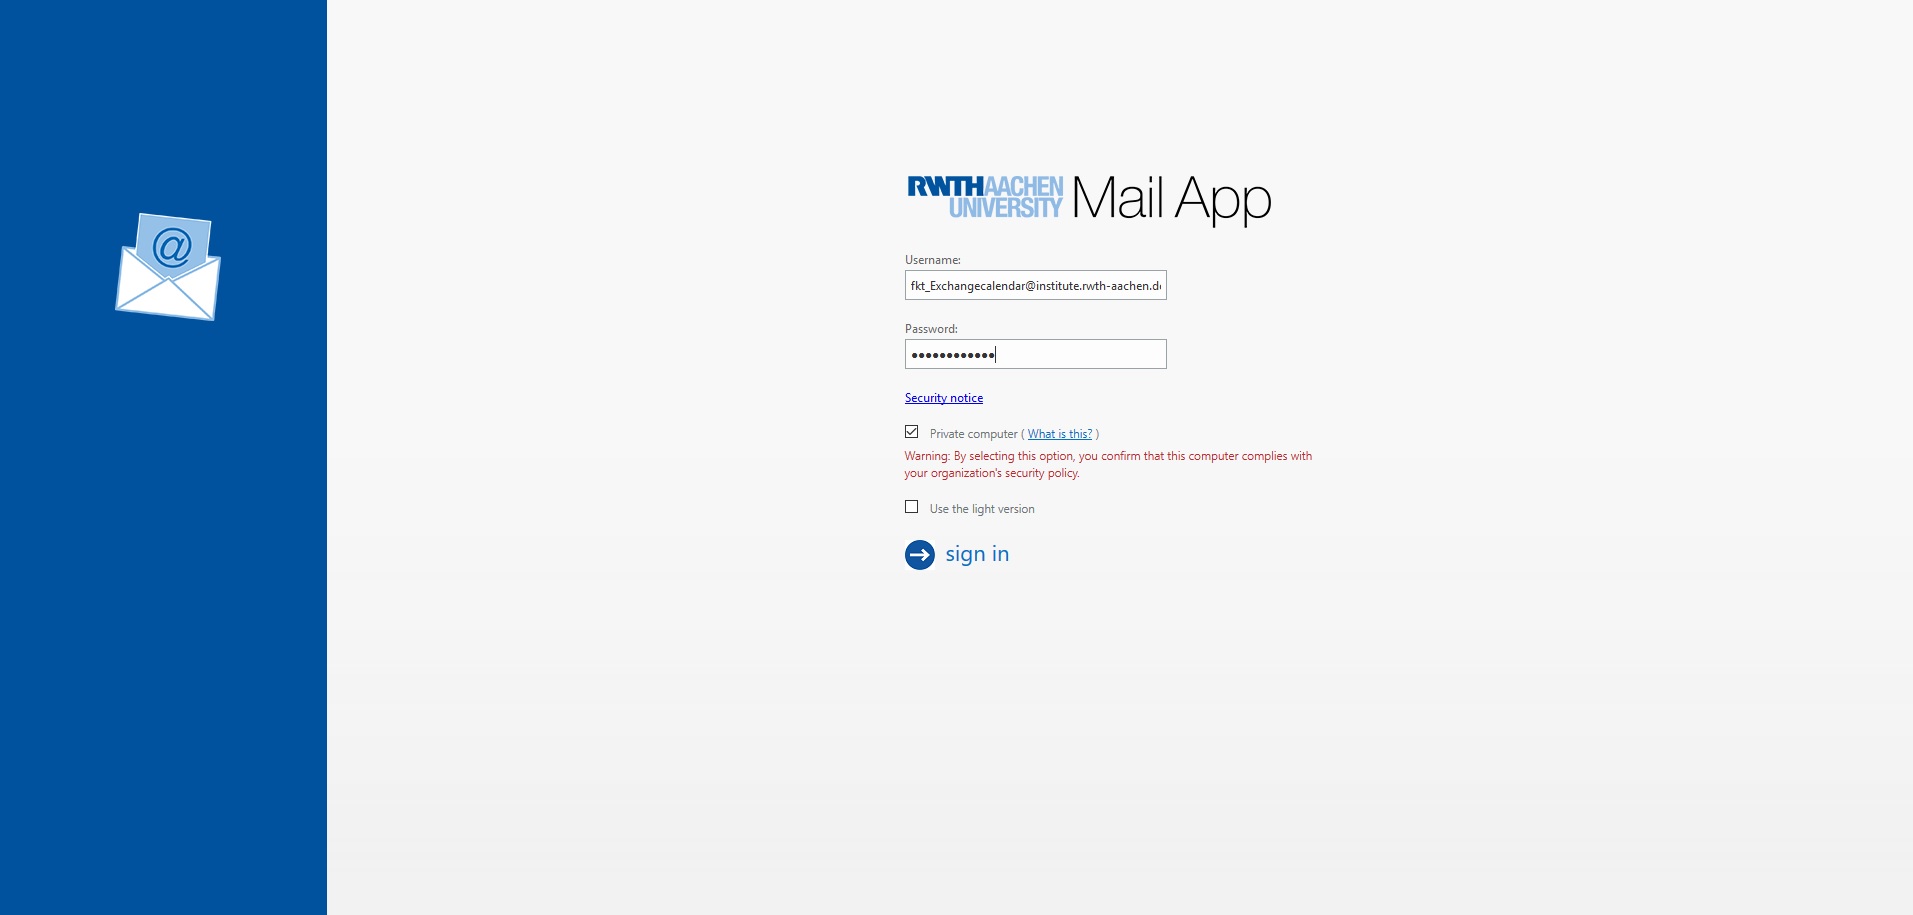
1. To set up calendar sharing, first, log into the OWA with the credentials of your functional mailbox.
You can find the username in the self-service under the tab Accounts and Passwords in the column username "RWTH-E-Mail-Account").
If needed, the password of the functional mailbox can also be changed there.
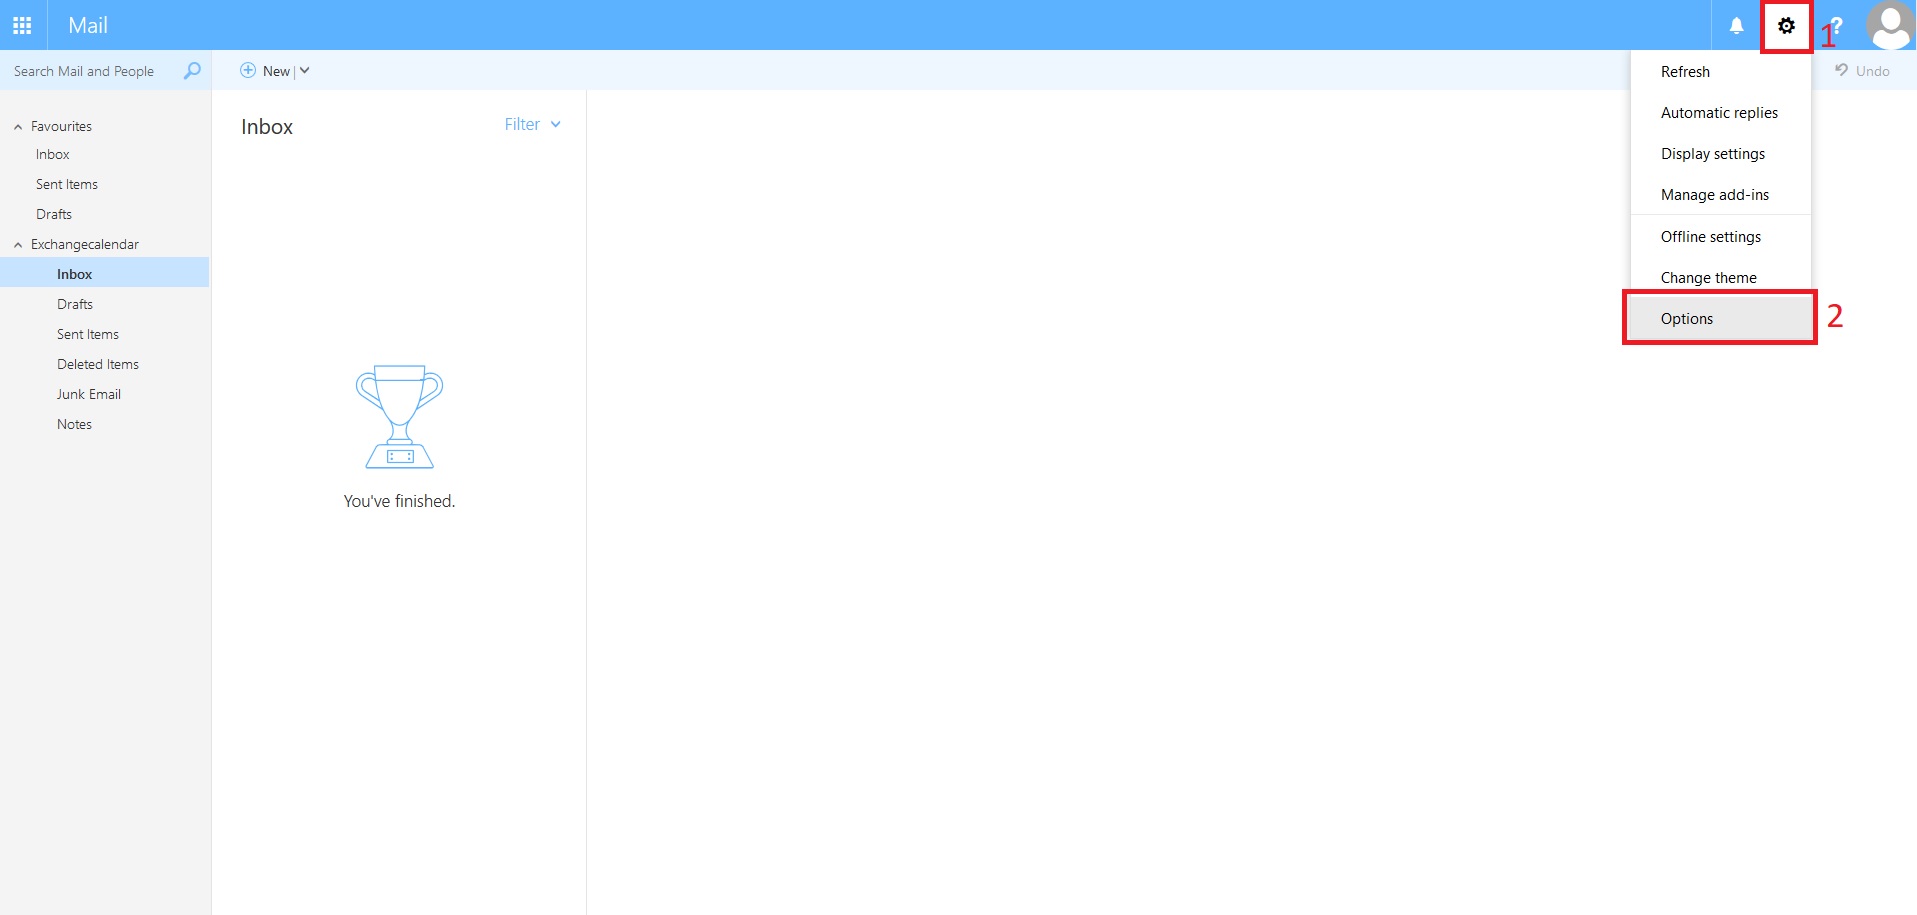
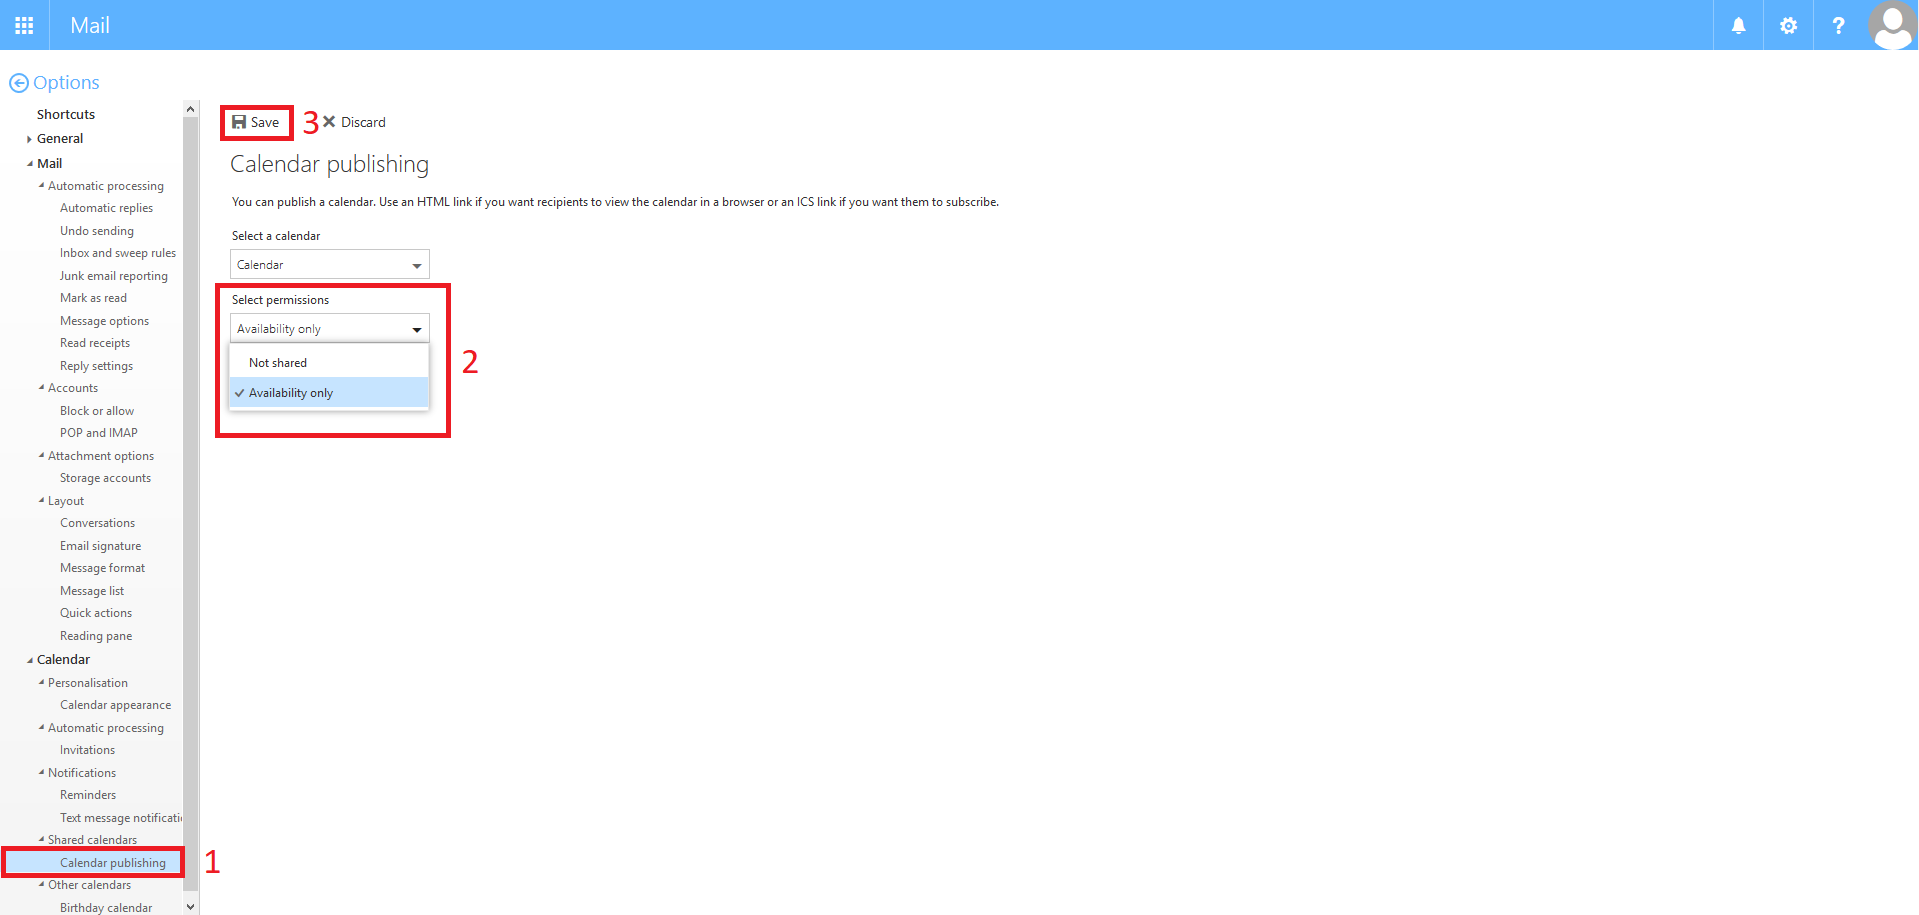
2. Now, click on the gear icon (1) at the top left corner of the window and select the options tab (2).
In the options under Calendar -> Shared calendars you will find the Calendar publishing (1)
Under Select permissions, select the Availability only (2) configuration and click Save (3).
The calendar can now be viewed via the generated web links.
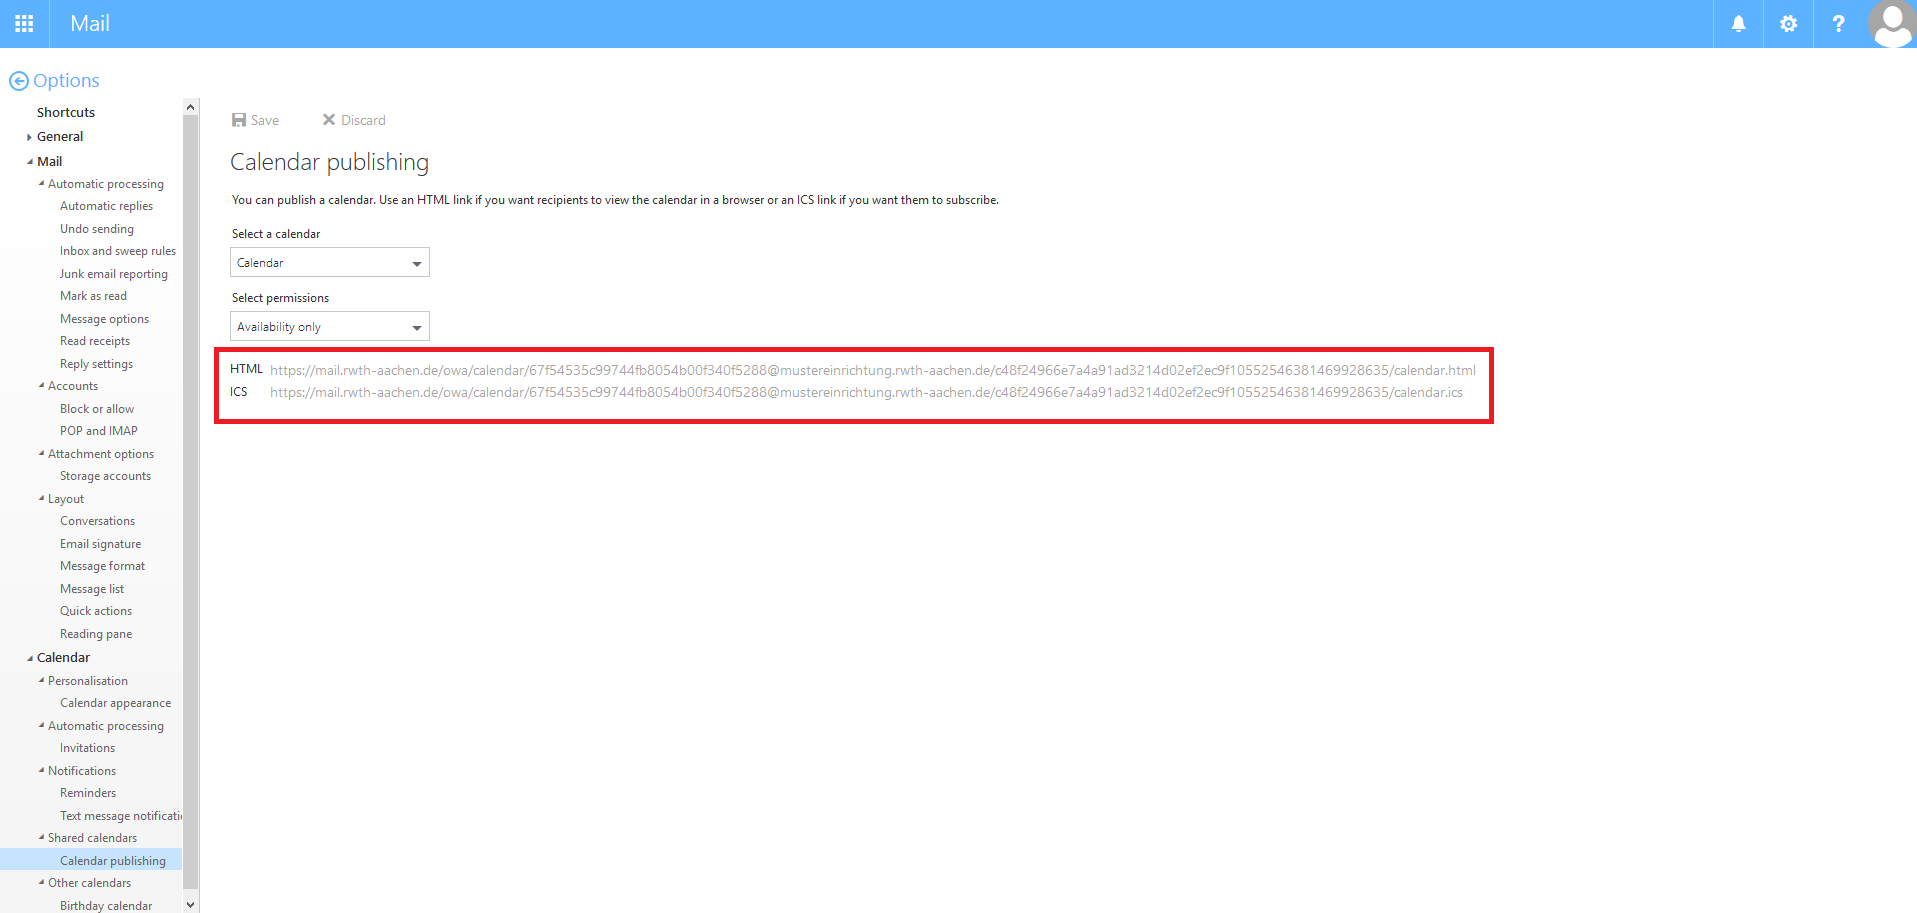
Please note: Calendars shared via web links can only be viewed but not edited. |
Editing Sharing Permissions
Please note: You can only access and edit existing permissions via the “Calendar Permissions” in OWA. It is not possible, as in Outlook, to assign new permissions. |
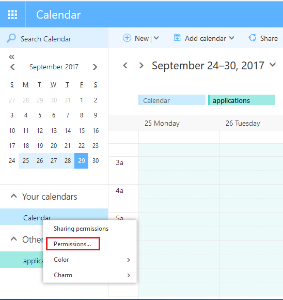
1. To edit permissions, right-click your calendar in the left-hand column and select "Permissions".
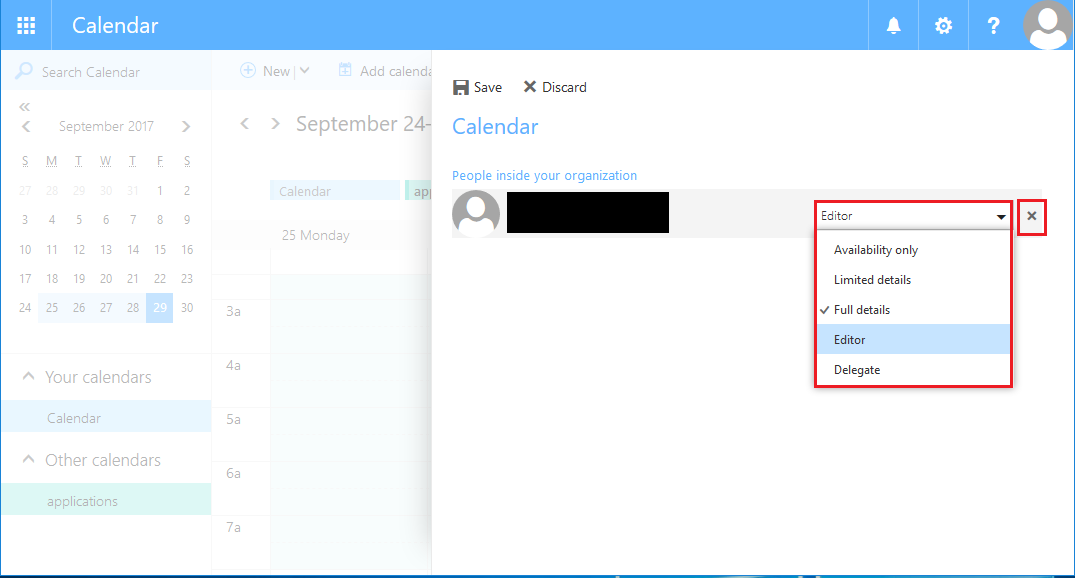
2. To change the authorisation level of a person or to delete a person and their permissions, click on the person and select the new permission you want to apply in the drop-down list.
To delete a permissin, click the "x".
Open a Calendar
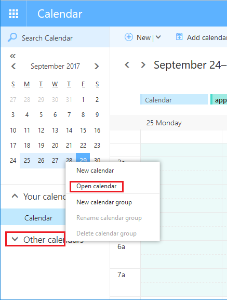
1. To add a calendar, right-click on "Other Calendars" in the left-hand column and select "Open Calendar".
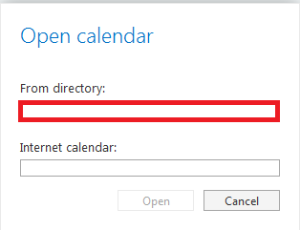
2. Enter the name of the person whose calendar you would like to open under “From directory”
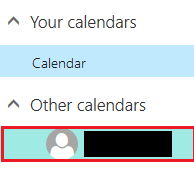
3. The calendar opens and is shown in the left-hand column.
Deleting a Calendar
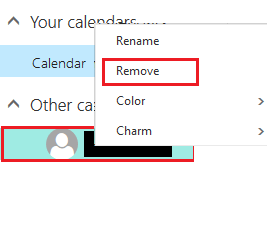
To delete an existing calendar, right-click on it and select “Remove”.
Integrating an Inbox
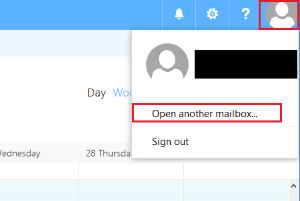
To integrate or open an inbox in the OWA, you need to click on your mailbox in the top right corner and select “Open another mailbox”.
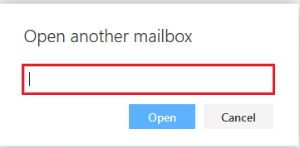
Enter the name of the person, whose inbox you want to open, and click "Open".
The integrated inbox can now be found in the left column under your own mailbox.

