


Thunderbird

On this page, you'll learn how to set up your RWTH email in Thunderbird as your email client.
You can set up your RWTH email in Thunderbird using Exchange or IMAP. The setup instructions were created using Thunderbird version 153.0.3.
The integration of functional mailboxes follows the same steps.
Mailboxes to which you have been assigned delegate permissions can also be integrated into Thunderbird, but require a different procedure.
Set up RWTHmail via EWS (Exchange)

Note
To set up your RWTH email in Thunderbird via EWS (Exchange), follow these steps:
Step 1
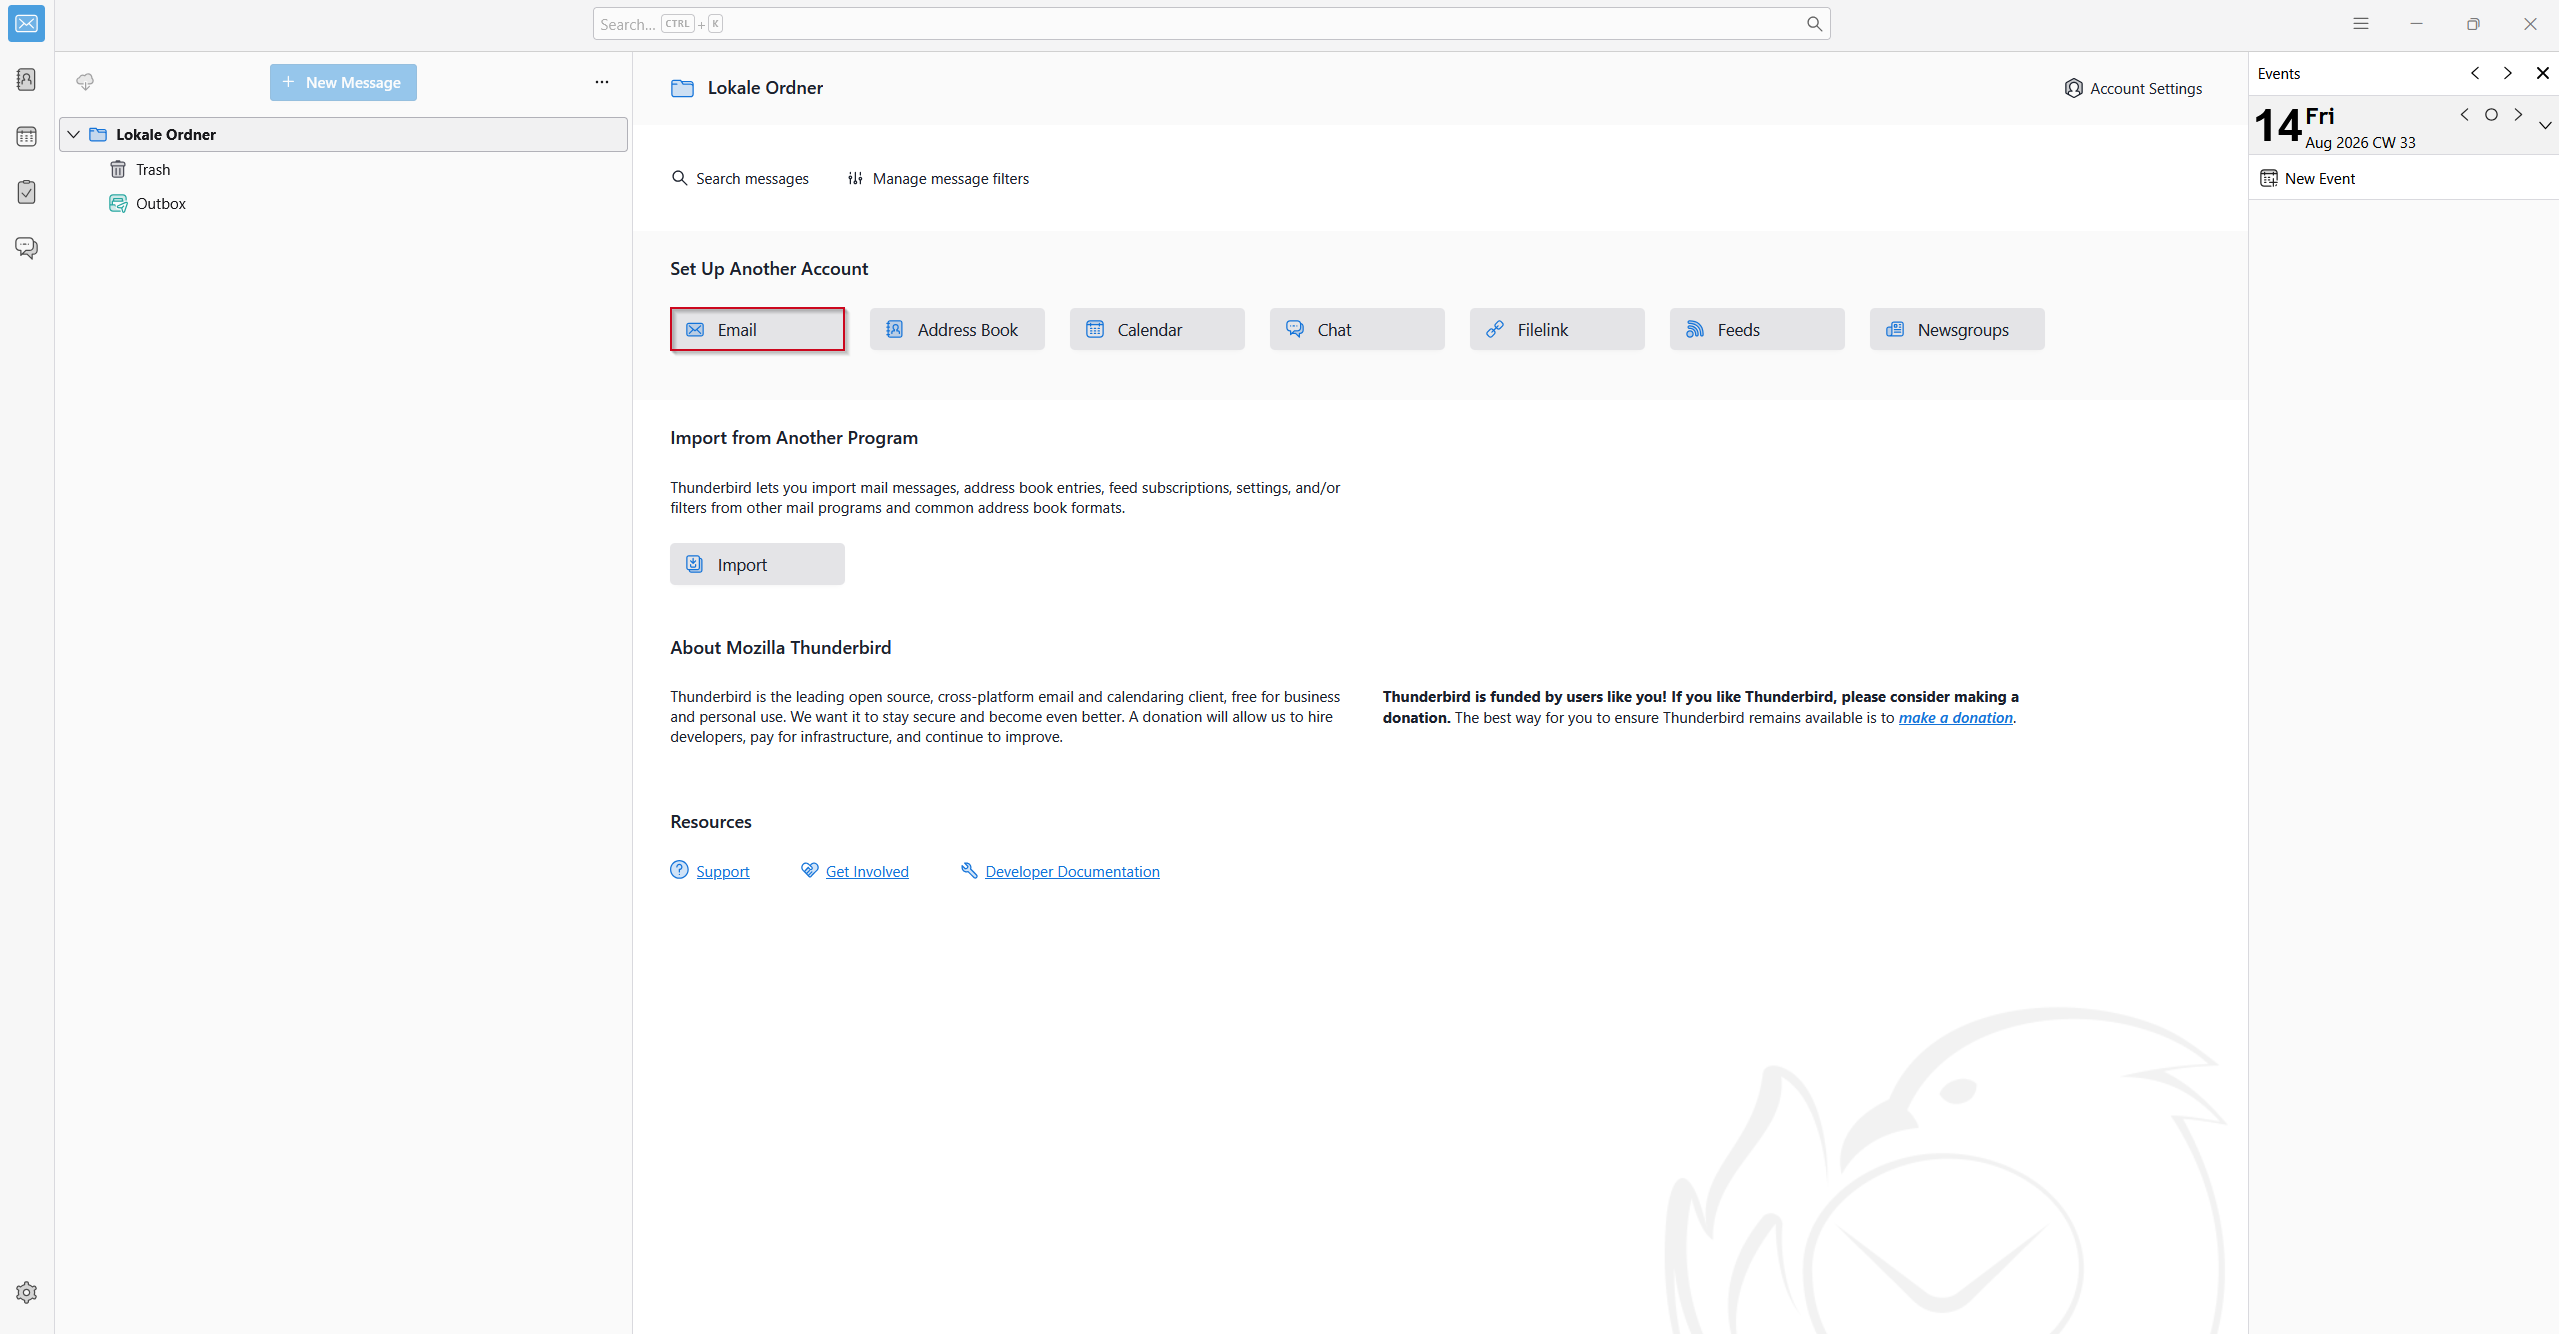
Launch Thunderbird and click Email in the Set Up Another Account section
Step 2
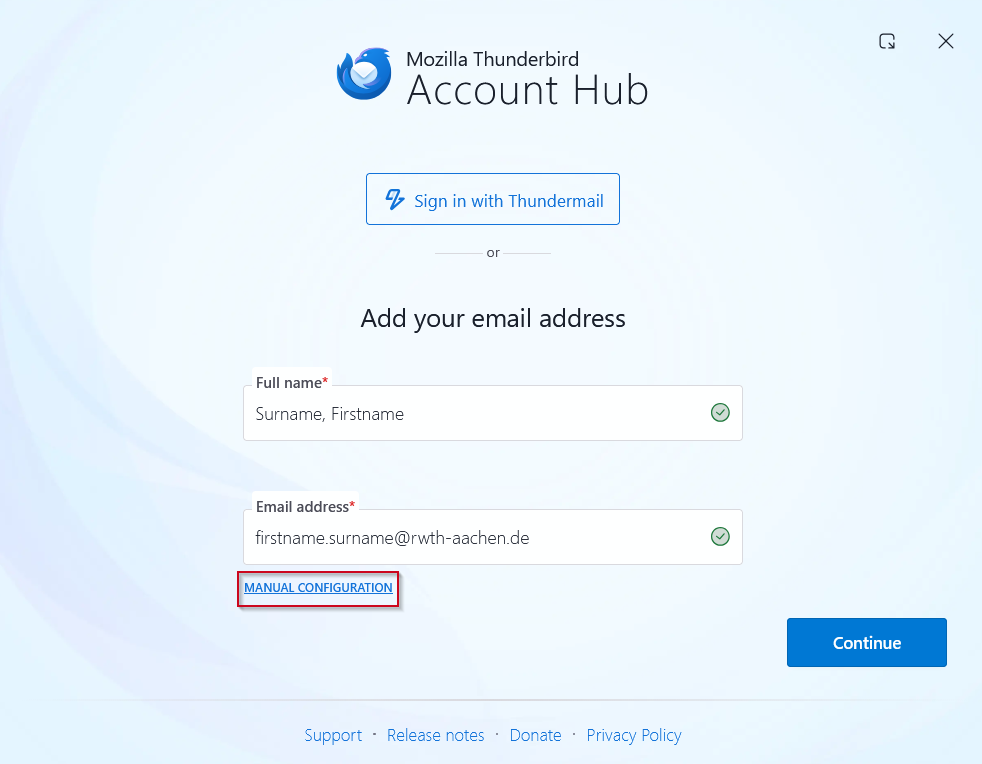
Enter your Full name and Email address and click on Manual Configuration.
Step 3
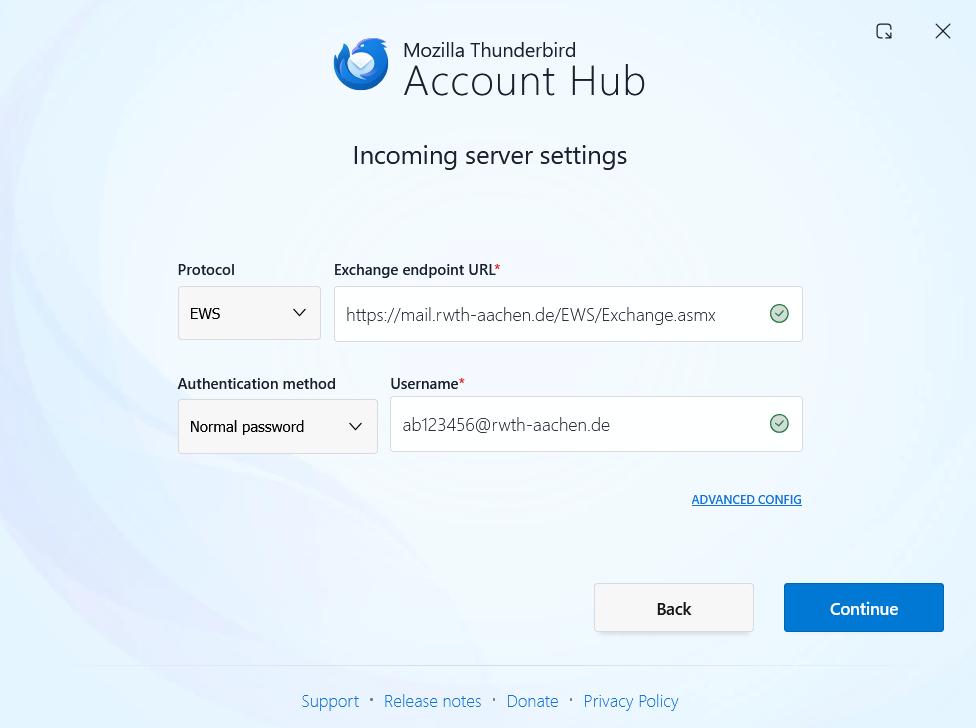
Fill in the following settings:
Note: If it is an institute e-mail address, the username and e-mail address will of course change according to your domain (e.g.: ab123456@xyz.rwth-aachen.de / name@xyz.rwth-aachen.de)
Exchange (EWS) – Server settings
- Procotol: EWS
- Server: https://mail.rwth-aachen.de/EWS/Exchange.asmx
- Authentification method: Password, normal
- Username: (Send an email to:) ab123456@rwth-aachen.de (the username for the RWTH E-Mail Account in the Selfservice)
- Password: Your RWTH E-Mail Account password in the Selfservice
Step 4
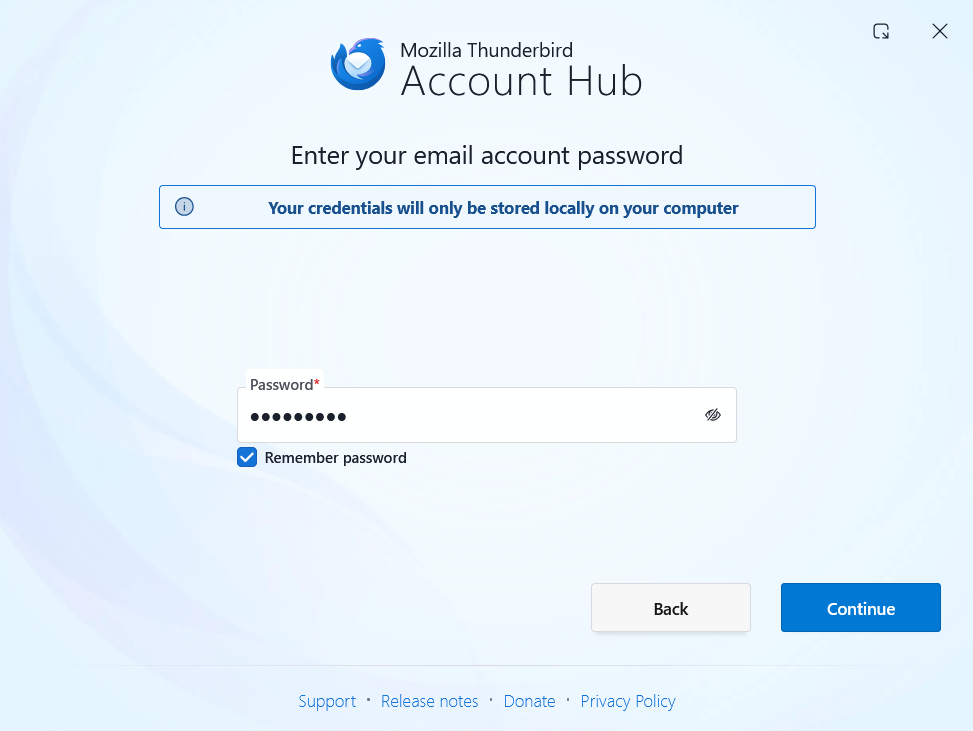
Enter the password for your RWTH email account and click Continue.
Step 5
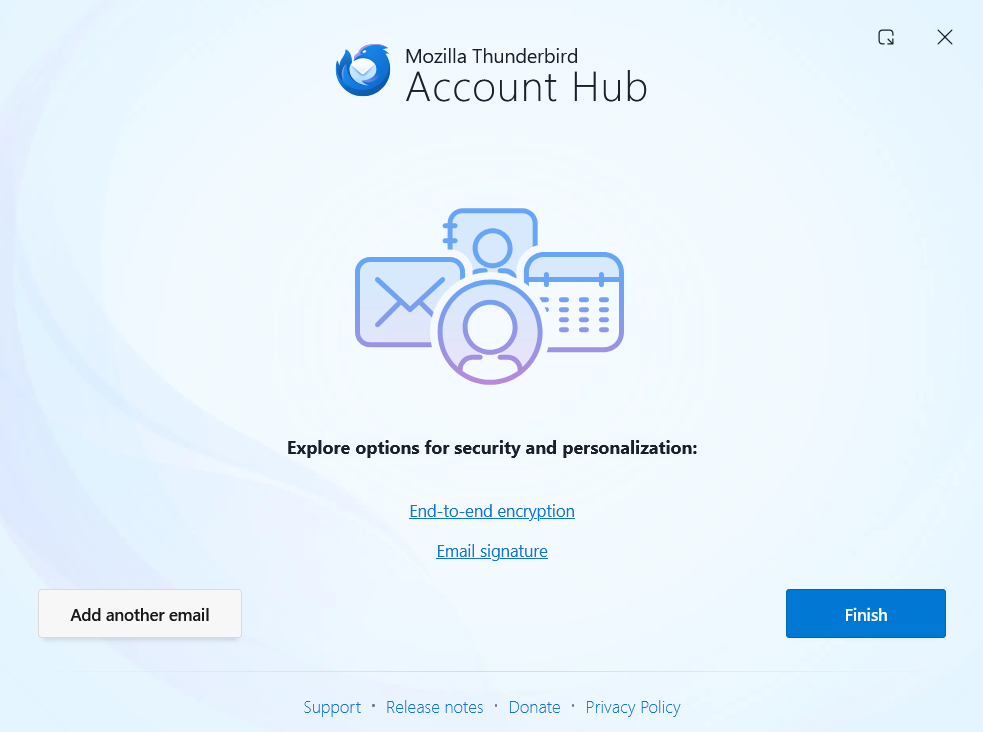
Click Finish to complete the setup.
Set up RWTHmail via IMAP
Note
To set up your RWTH email in Thunderbird via IMAP, you must first add the RWTH email account. You must then subscribe to all relevant folders so that they are displayed and can be accessed.
Add a new IMAP account
To set up your RWTH email in Thunderbird using IMAP, follow these steps:
Step 1
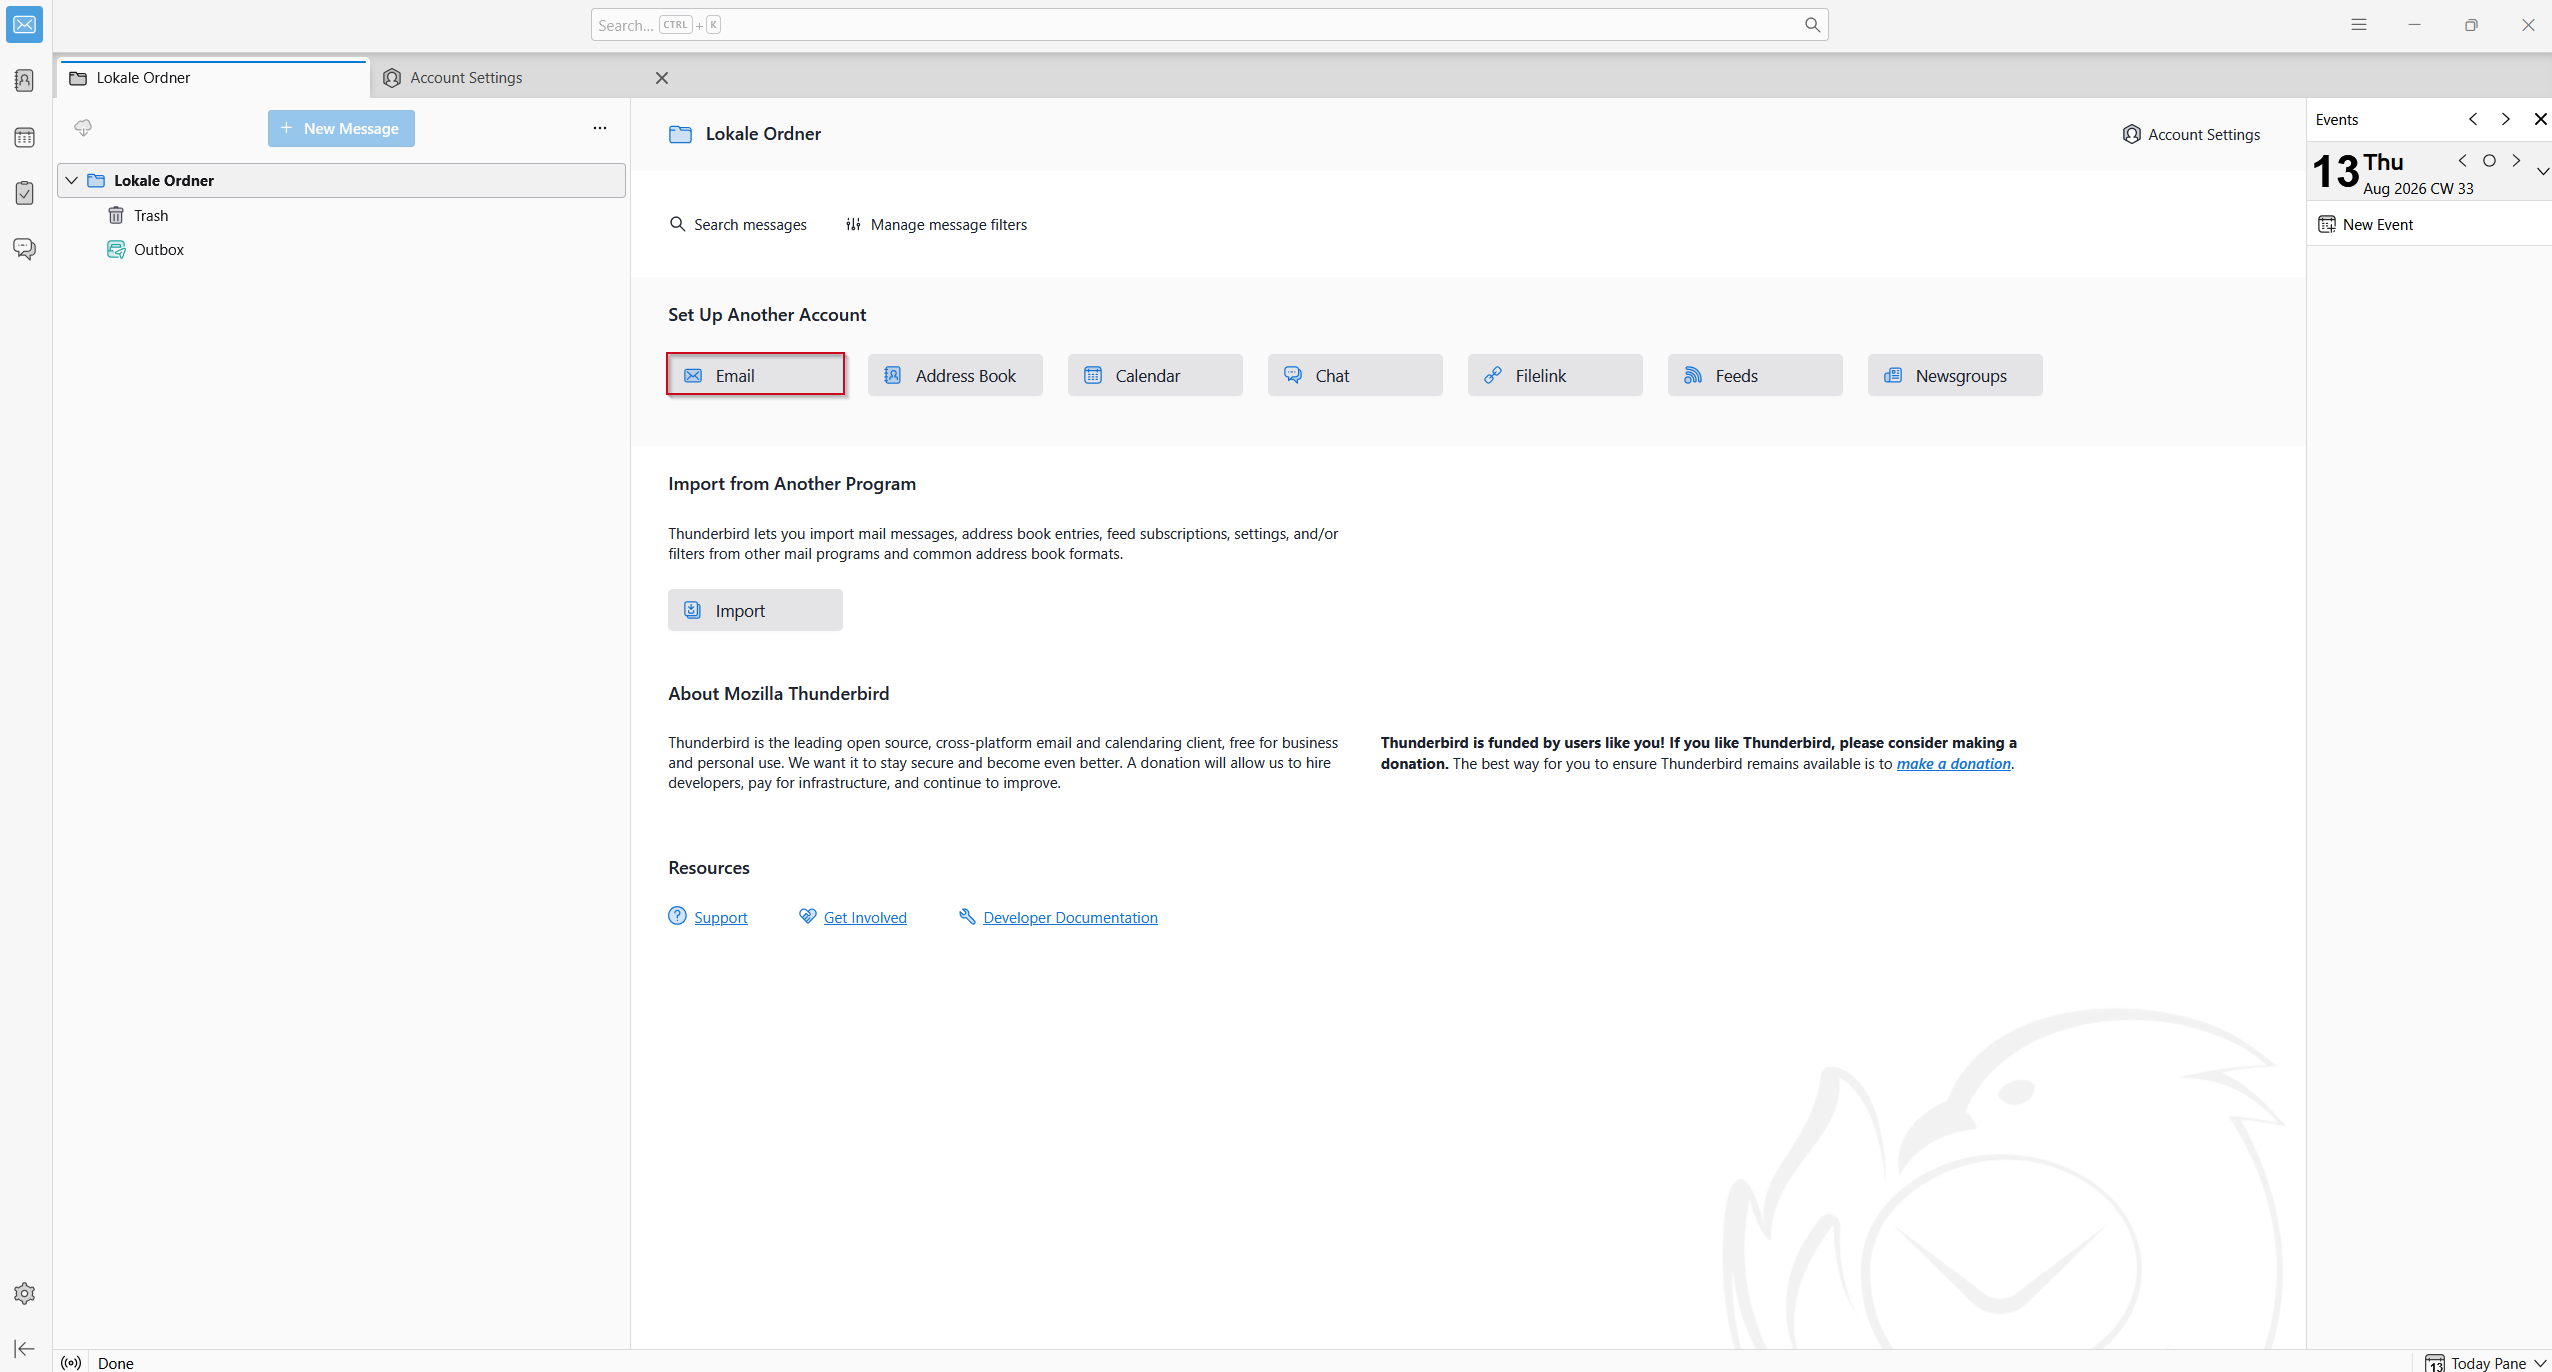
Launch Thunderbird and click Email in the Set Up Another Account section.
Step 2
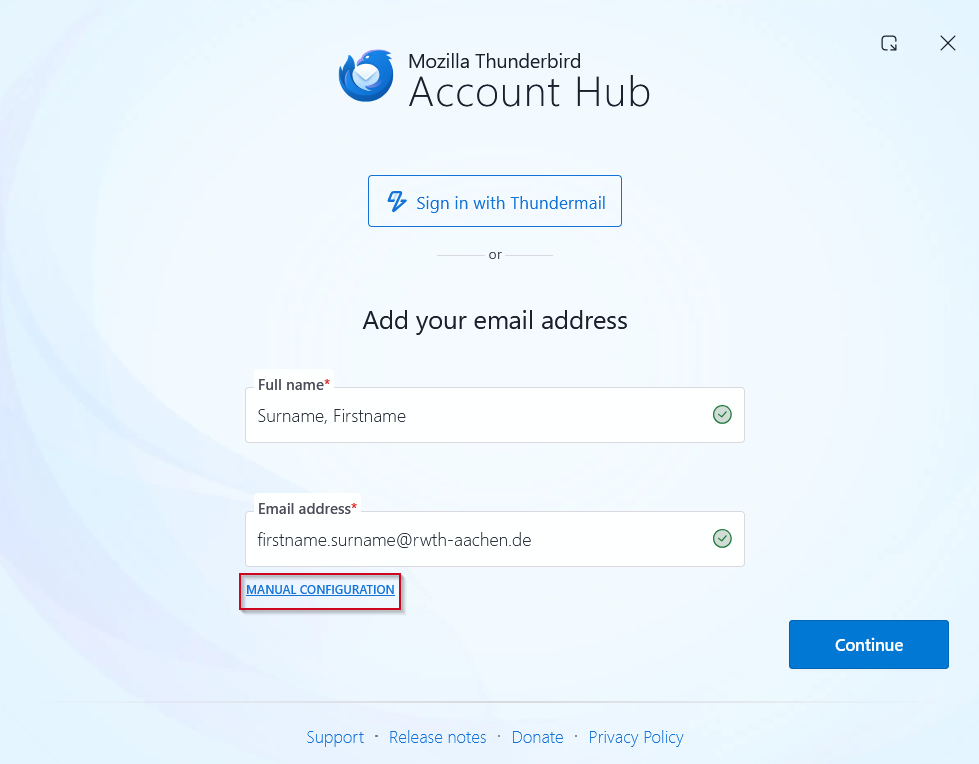
Enter your name and Email address and click on Manual Configuration.
Step 3
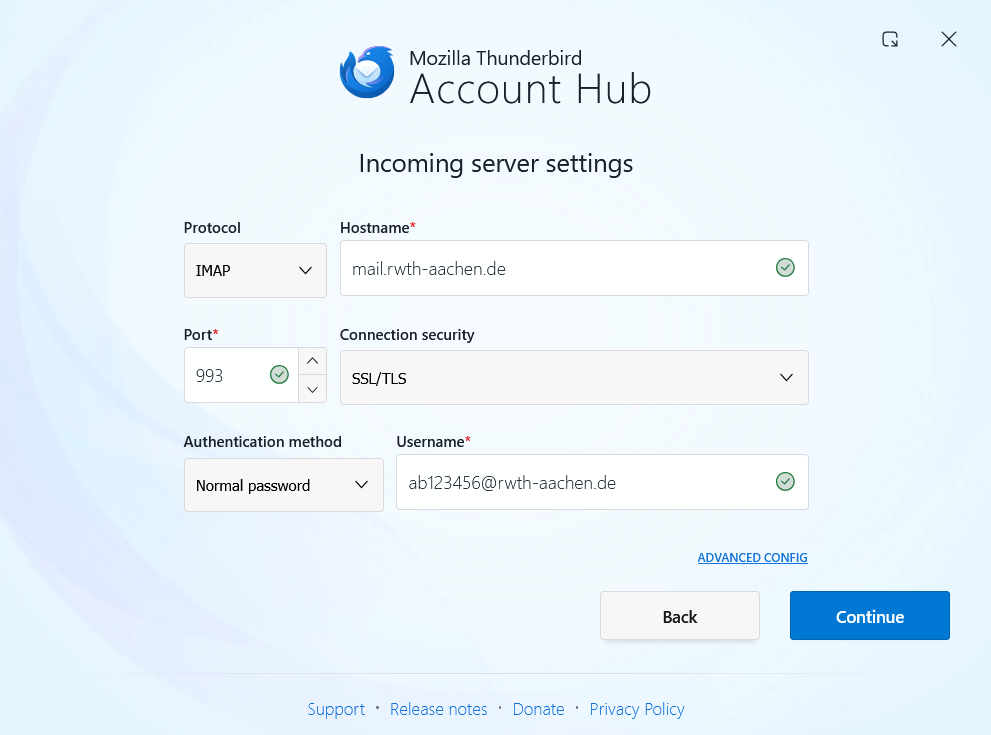
Fill in the following settings:
Note: If it is an institute e-mail address, the username and e-mail address will of course change according to your domain (e.g.: ab123456@xyz.rwth-aachen.de / name@xyz.rwth-aachen.de)
Incoming server settings
- IMAP-Server: mail.rwth-aachen.de
- Port: 993
- SSL (Encryption): SSL/TLS
- Authentification: Password, normal
- Username: ab123456@rwth-aachen.de (the username for the RWTH-E-Mail Account in the Selfservice (opens in new tab))
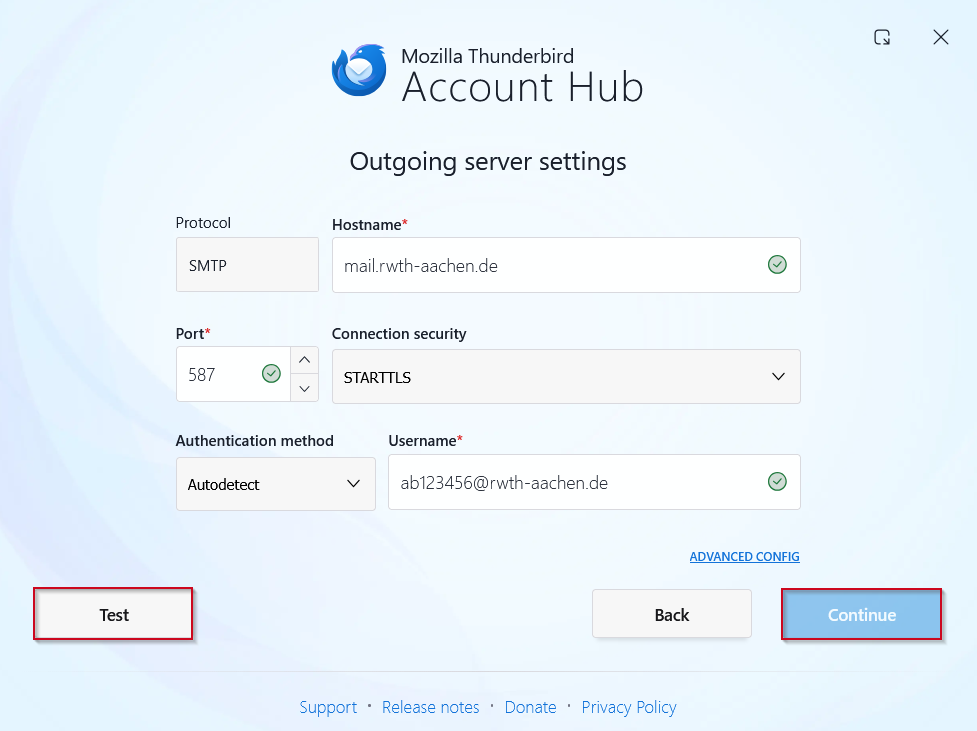
Outgoing server setting
- SMTP-Server: mail.rwth-aachen.de
- Port: 587
- SSL (Encryption): STARTTLS
- Authentification: Password, normal
- Username: ab123456@rwth-aachen.de (the username for the RWTH-E-Mail Account in the Selfservice (opens in new tab))
Step 4
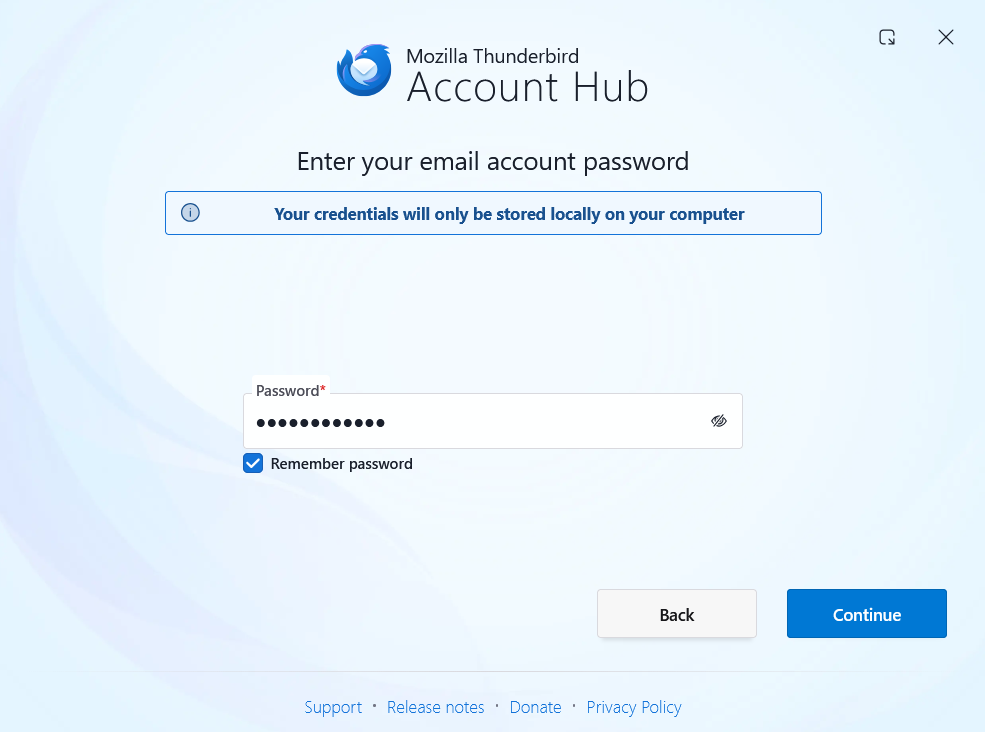
Enter the password for your RWTH email account and click Continue.
Step 5
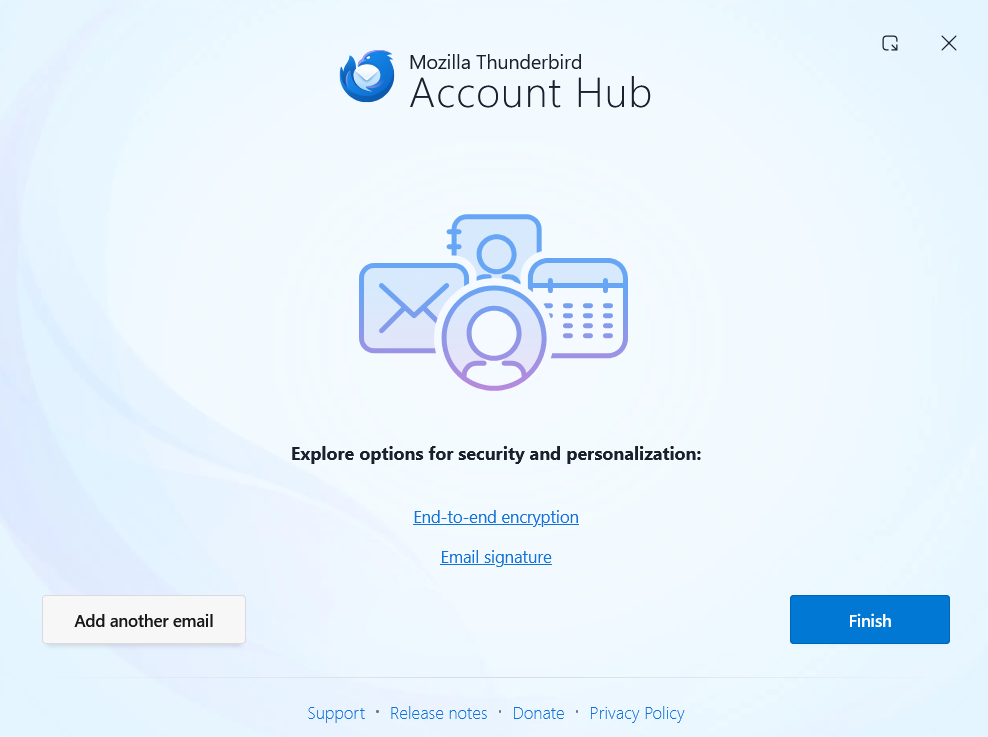
Click Finish to complete the setup.
Subscribe to an IMAP folder
To ensure that your folders are displayed and synchronized, you must subscribe to them in Thunderbird.
To subscribe to your folders, follow these steps:
Step 1
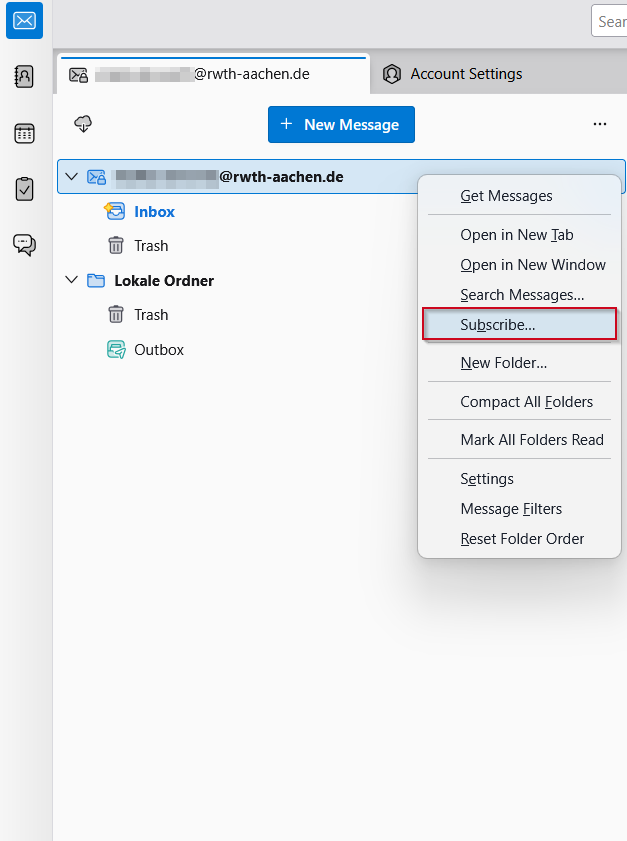
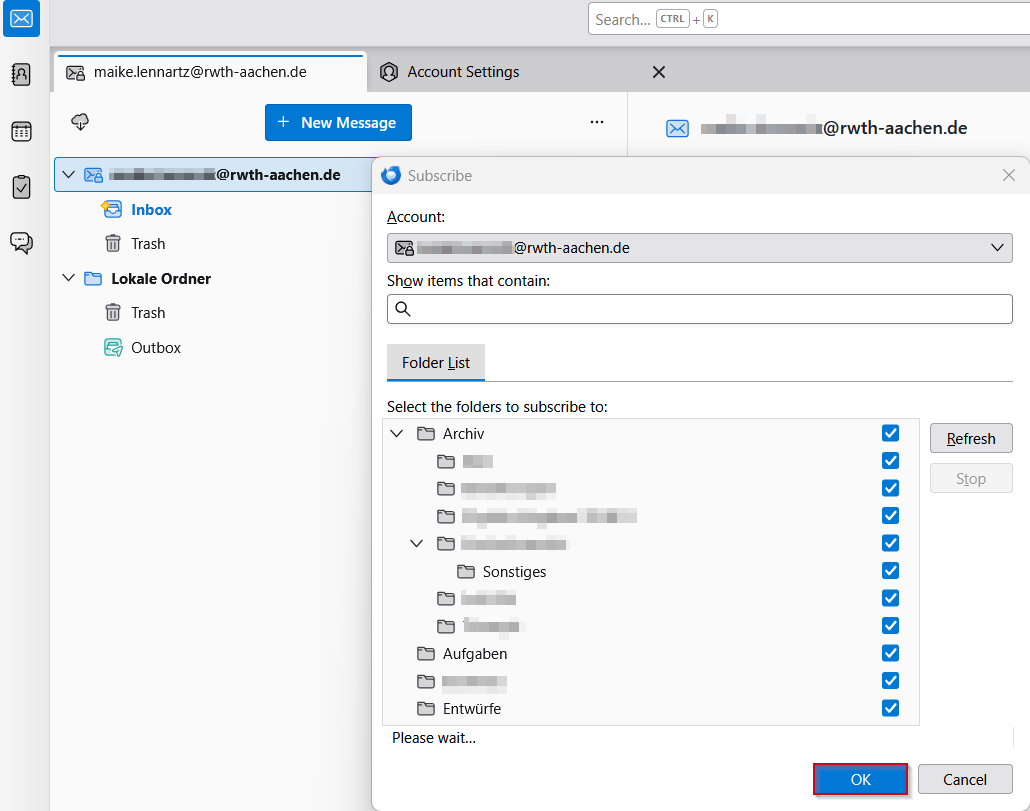
Right-click on the name of your account and select Subscribe....
Step 2
Check the box next to all the folders you want to subscribe to, and then click Update.
Confirm your selection by clicking OK.
Set up mailbox with full access rights
To integrate a mailbox in this way, you must first have been assigned delegate permissions by the owner of the mailbox.
For functional mailboxes, the easiest way to do this is via the Full access rights (access and view) and Send as (send emails) options. These can be configured in MailAdm.
If you do not have access to MailAdm, please contact your organization's mail administrator.
With full access rights, the access authorization is attached to your personal or official mailbox. The next time you start your email client or the RWTH MailApp, the second mailbox is automatically “connected”.
Depending on the settings, you can then see the inbox and/or also send emails via this mailbox.
To integrate such a mailbox into Thunderbird, please follow these steps:
Step 1
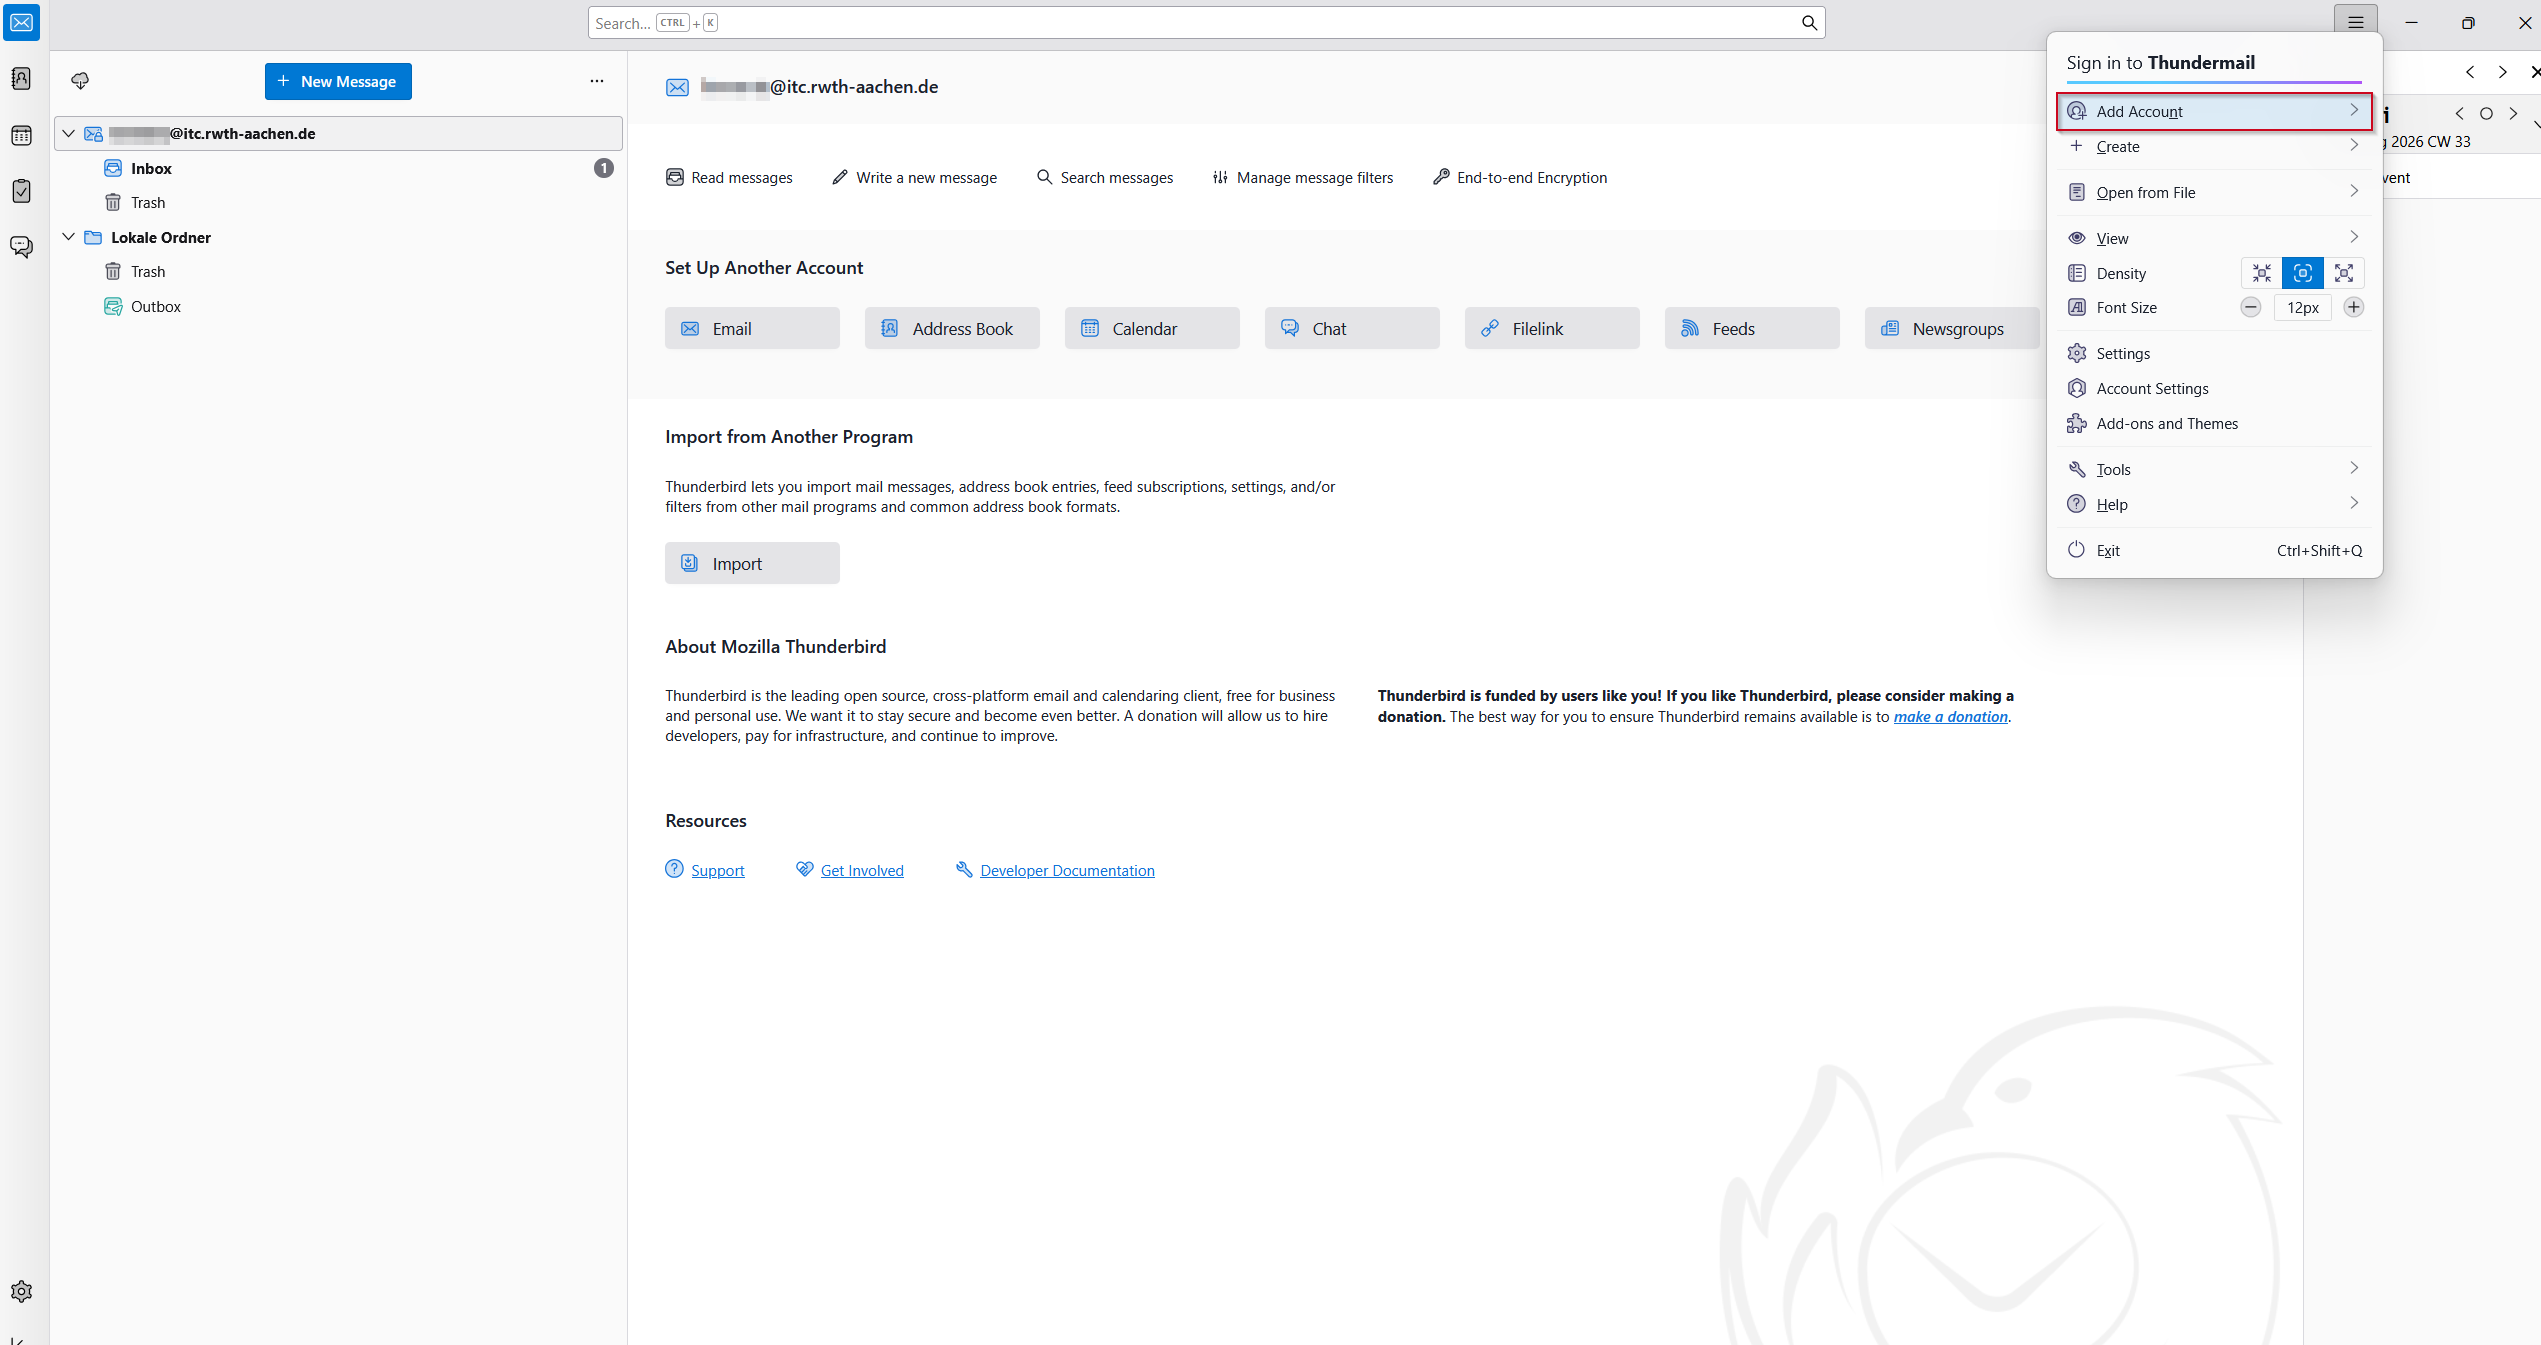
Open Thunderbird and click on the burger-menu at the top right of the start page and then on New account.
Step 2
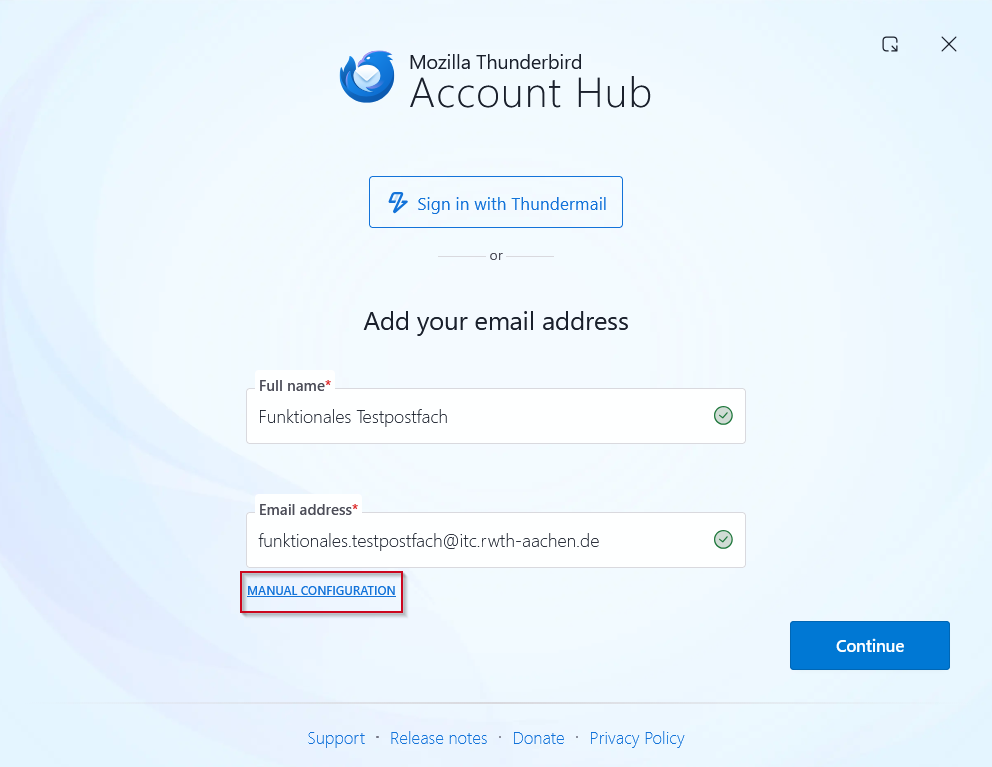
Enter the display name of the mailbox under Full name.
Note: It is best to choose the same name as the one stored in the mailbox to which you have been granted access rights.
Under E-mail address enter the actual e-mail address of the mailbox to which you have been granted access rights.
Then click on Manual configuration.
Step 3
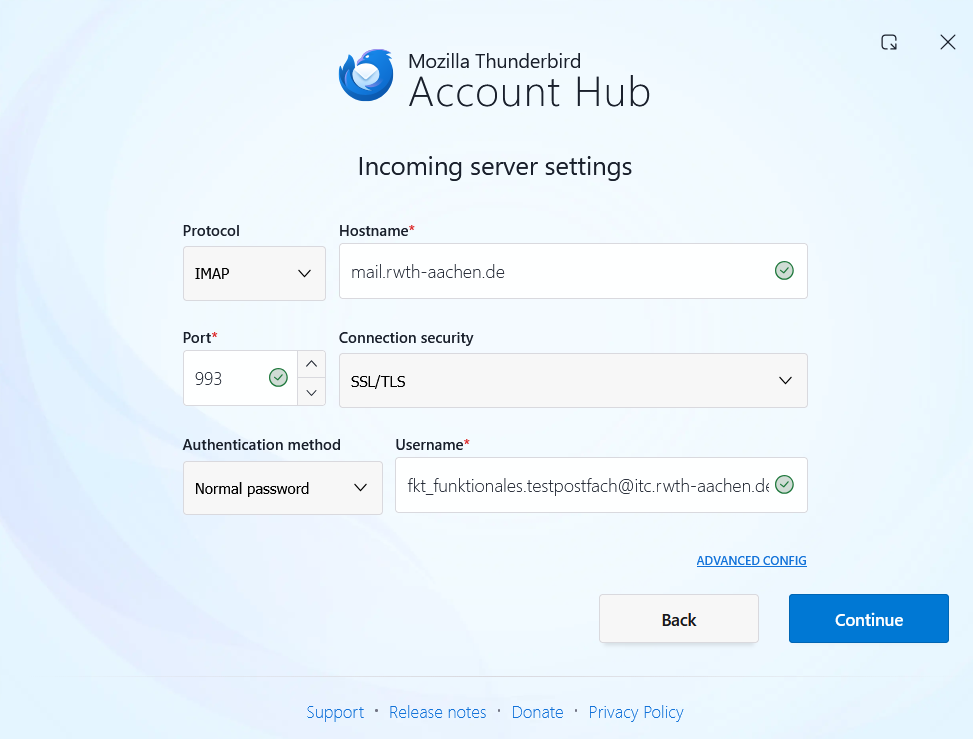
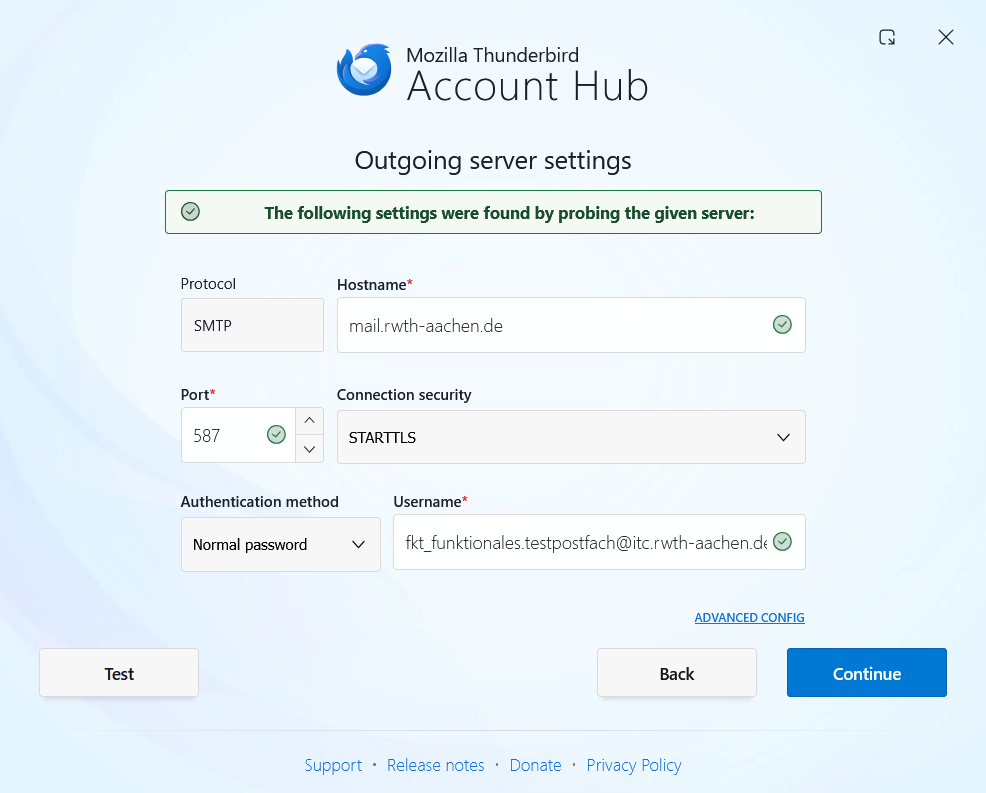
Then enter the following settings:
Incoming server settings
- IMAP-Server: mail.rwth-aachen.de
- Port: 993
- Connection security: SSL/TLS
- Authentication method: Passwort, normal
- Username*: ab123456@rwth-aachen.de/fkt_testpostfach@rwth-aachen.de
Outgoing server settings
- SMTP-Server: mail.rwth-aachen.de
- Port: 587
- Connection security: STARTTLS
- Authentication method: Passwort, normal
- Username**: ab123456@rwth-aachen.de
*Under Incoming mail server > User name, please enter the user name of your own email account with which you have been granted access to the mailbox.
Then enter a slash / and then the user name of the mailbox to which you have been granted access rights.
For functional mailboxes, the user name is made up of fkt_ and the name of the mail account.
So if the user name of your e-mail account is ab123456@rwth-aachen.de and the name of the mailbox to which you have been granted access rights is testpostfach@rwth-aachen.de:
ab123456@rwth-aachen.de/fkt_testpostfach@rwth-aachen.de
**Under Outgoing mail server > User name, please only enter the user name of your own e-mail account with which you have been granted access to the mailbox.
Step 4
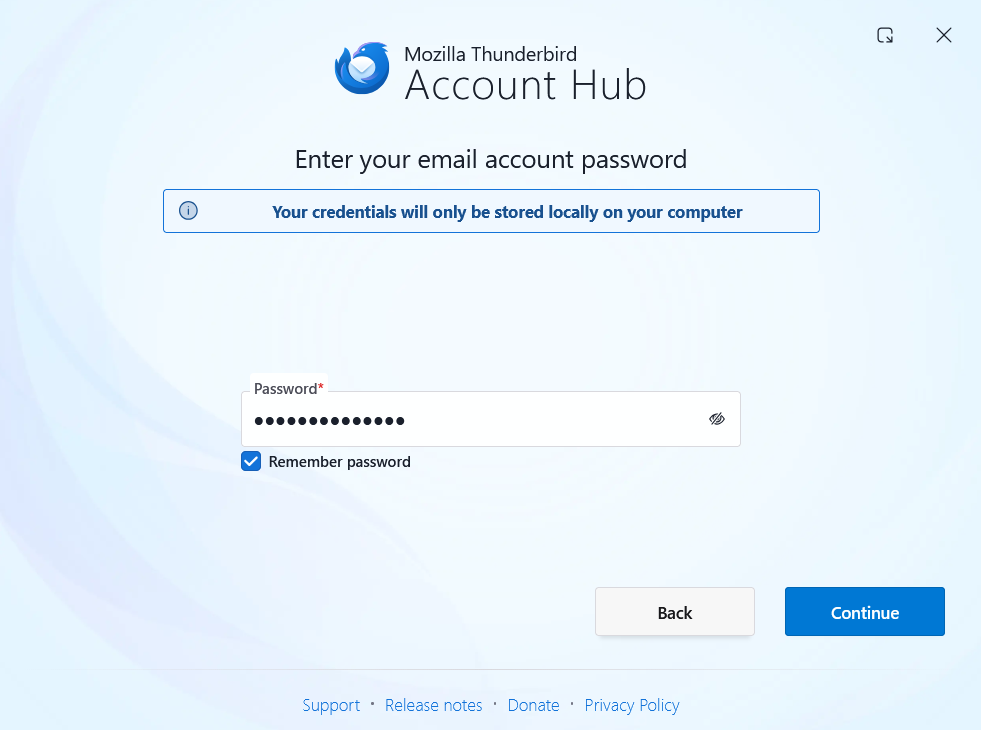
Under Password, enter the password for your own email account, with which you have been granted access to the mailbox.
Step 5
Once you have entered all the options, click Finish.
Step 6
In order for your folders to be displayed and synchronized, you must subscribe to your folders in Thunderbird.
To do this, follow the steps under 2. Subscribe to folders.
Weitere Informationen
