


Outlook

This article describes how you can set up different versions of Outlook as an e-mail client for RWTH e-mail.
For information security and data protection reasons, the following apps may not be used in the RWTH context:
- the free Outlook apps for Windows 10 and 11
- the Outlook apps on mobile devices (Android and iOS/macOS)
Please use the supported versions described in this article instead.
- Set up Outlook profile
- Set up Outlook 365
- Set up Outlook classic (Exchange)
- Set up Outlook classic (MacOs)
- Deactivate Autodiscover for Outlook
Please also note the information in the FAQ about login prompts when starting Outlook.

Please note:
Set up Outlook profile
The setup for your Outlook profile may be necessary if Outlook has never been configured on the computer and cannot be started without a valid configuration.
Step 1
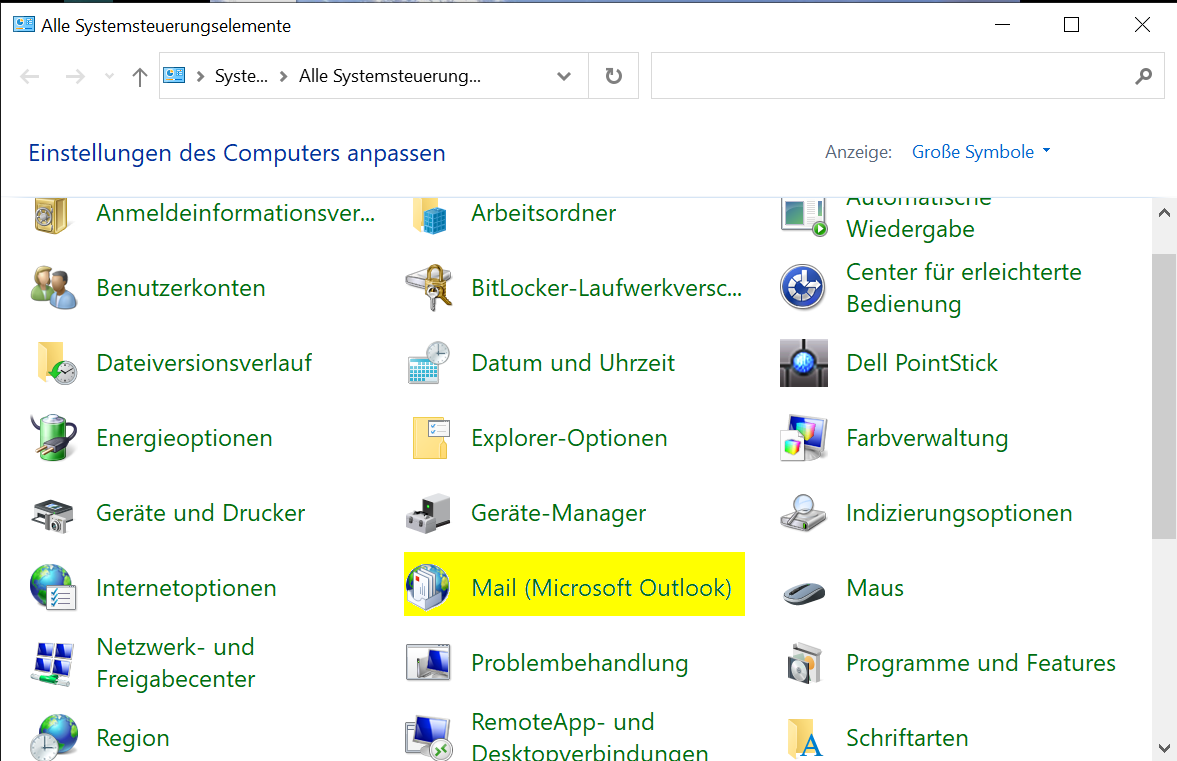
To do this, call up the Mail (Microsoft Outlook) item in the Windows Control Panel.
Step 2
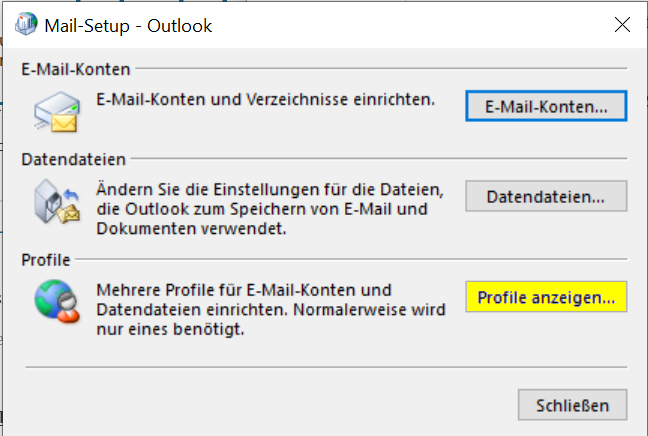
Select Show profiles.
Schritt 3
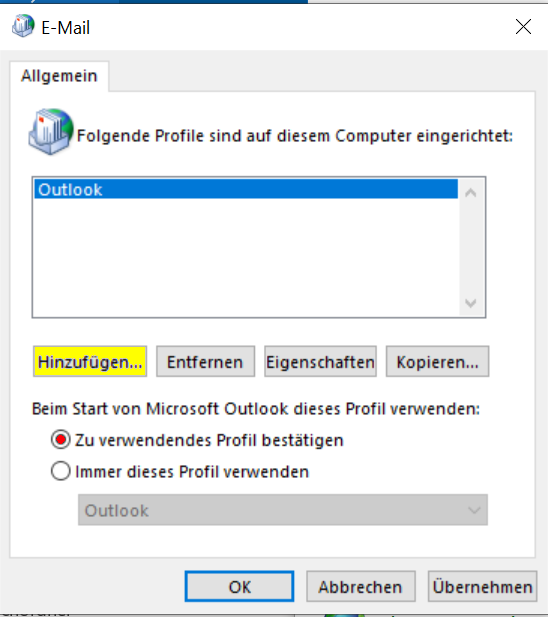
Select the Confirm profile to be used option and then click Add to create a new profile.
Step 4
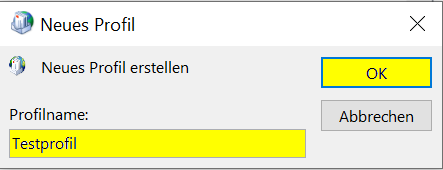
Assign a unique name for the profile and confirm with OK.
Step 5
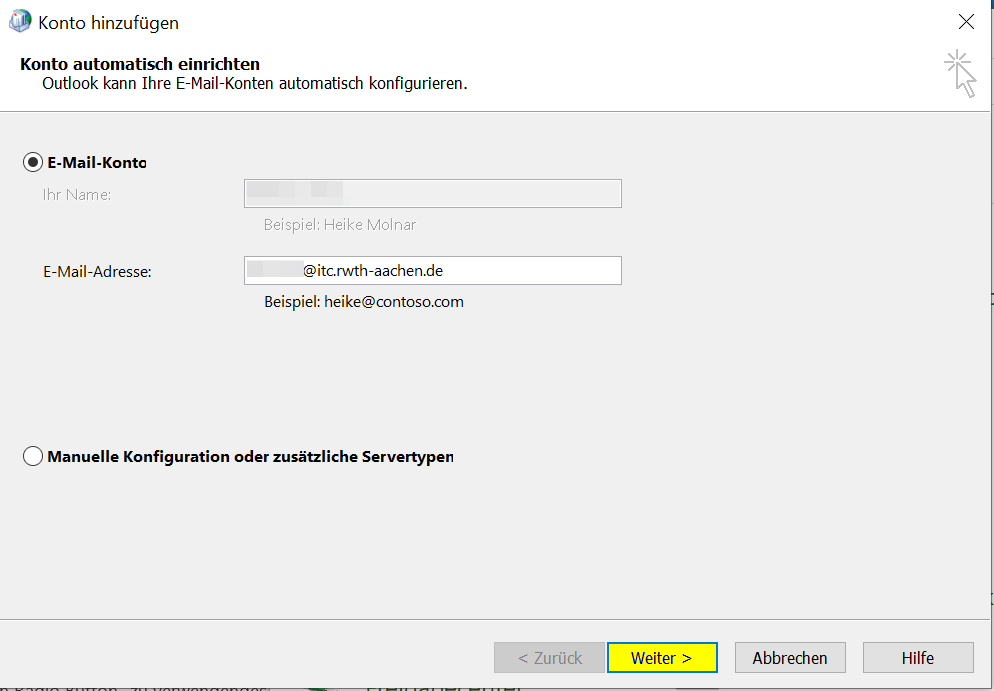
Enter your name (this will later become the display name) and your e-mail address.
Please make sure that the e-mail address has the format vorname.nachname@rwth-aachen.de or name@instutution.rwth-aachen.de.
As in the following graphic:
Step 6
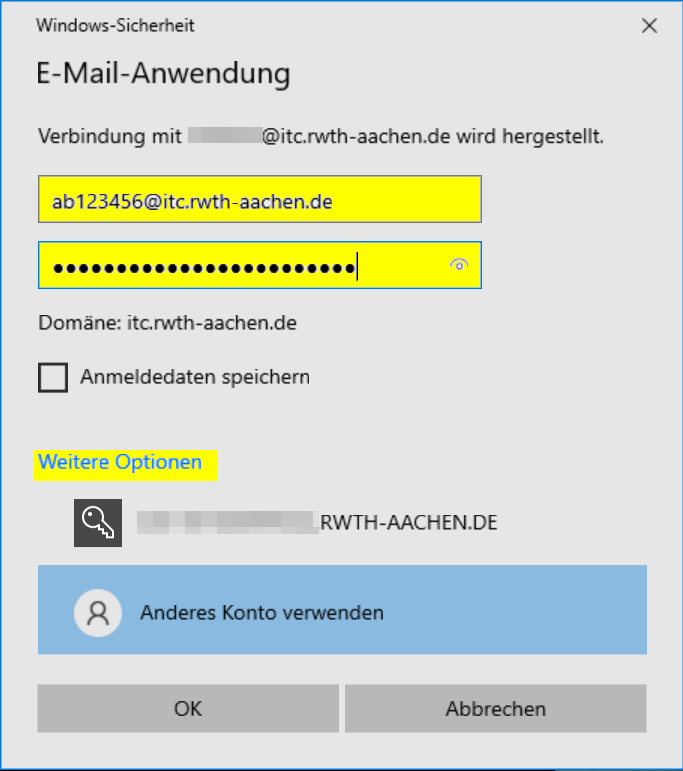
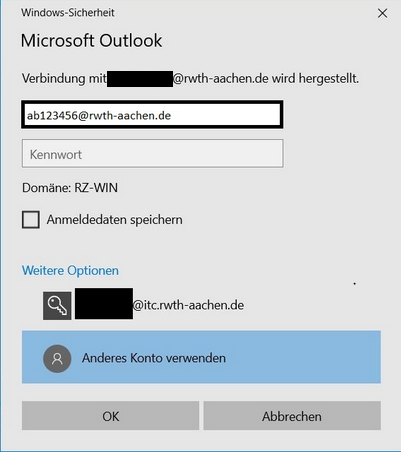
A Windows login window will appear. Under Further options, select the option Use another account and log in with your user name and password for the RWTH e-mail account.
Please make sure that the user name is in the format ab123456@rwth-aachen.de or ab123456@institution.rwth-aachen.de.
As in the following graphic:
Step 7
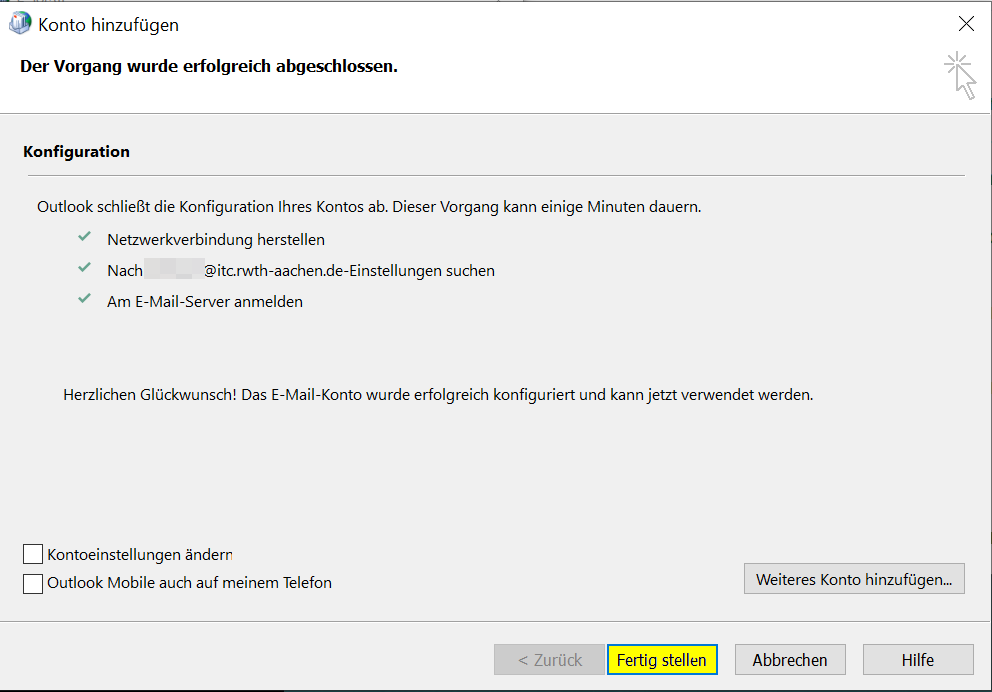
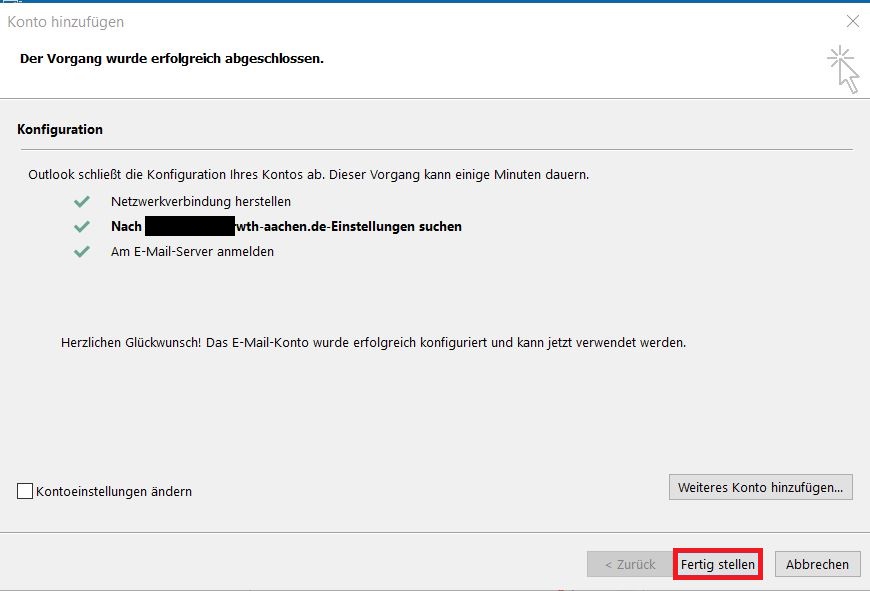
Outlook will now set up your profile. Once the setup is complete, click Finish.
Step 8
Start your Outlook and select the previously created profile.
Set up Outlook 365
You can download Outlook 365 as part of the Office package via your RWTH student or employee access from office.com.
If your Office 365 or Microsoft account is queried in the meantime, please deactivate the autodiscover function for Outlook.
Step 1
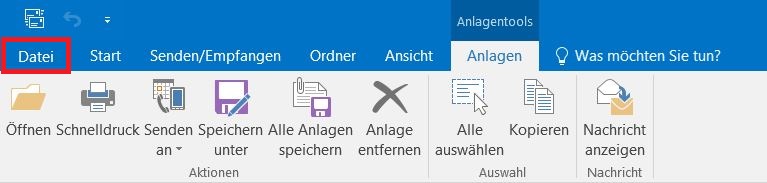
Start the software and click on File.

Step 2
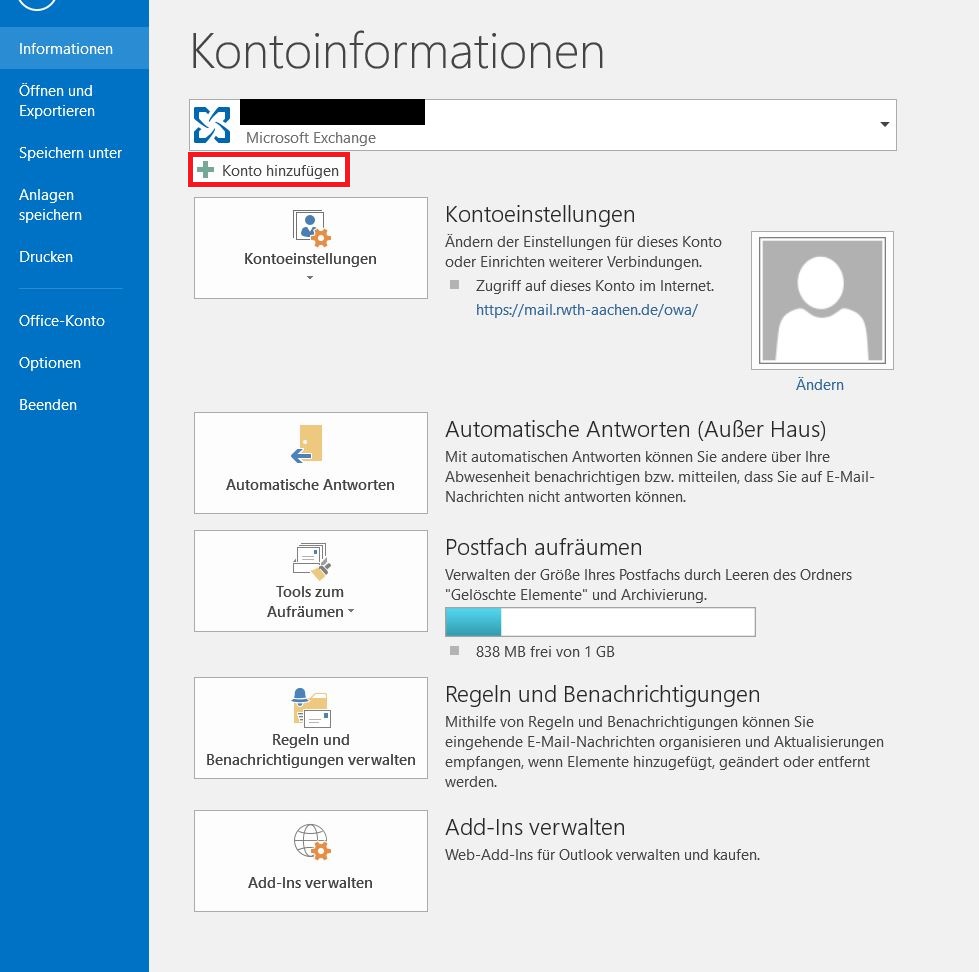
Use the Add account option to set up a new e-mail account.

Step 3
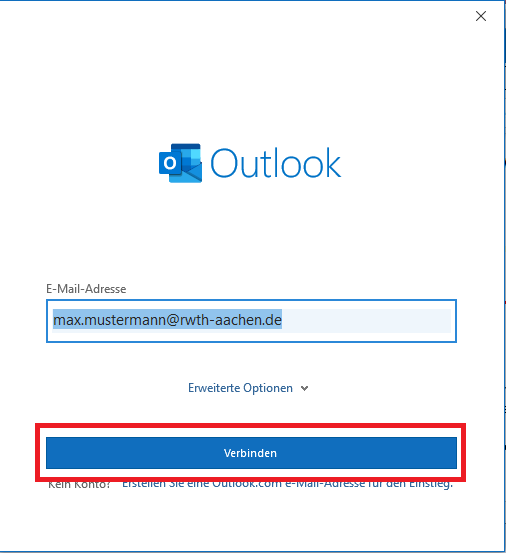
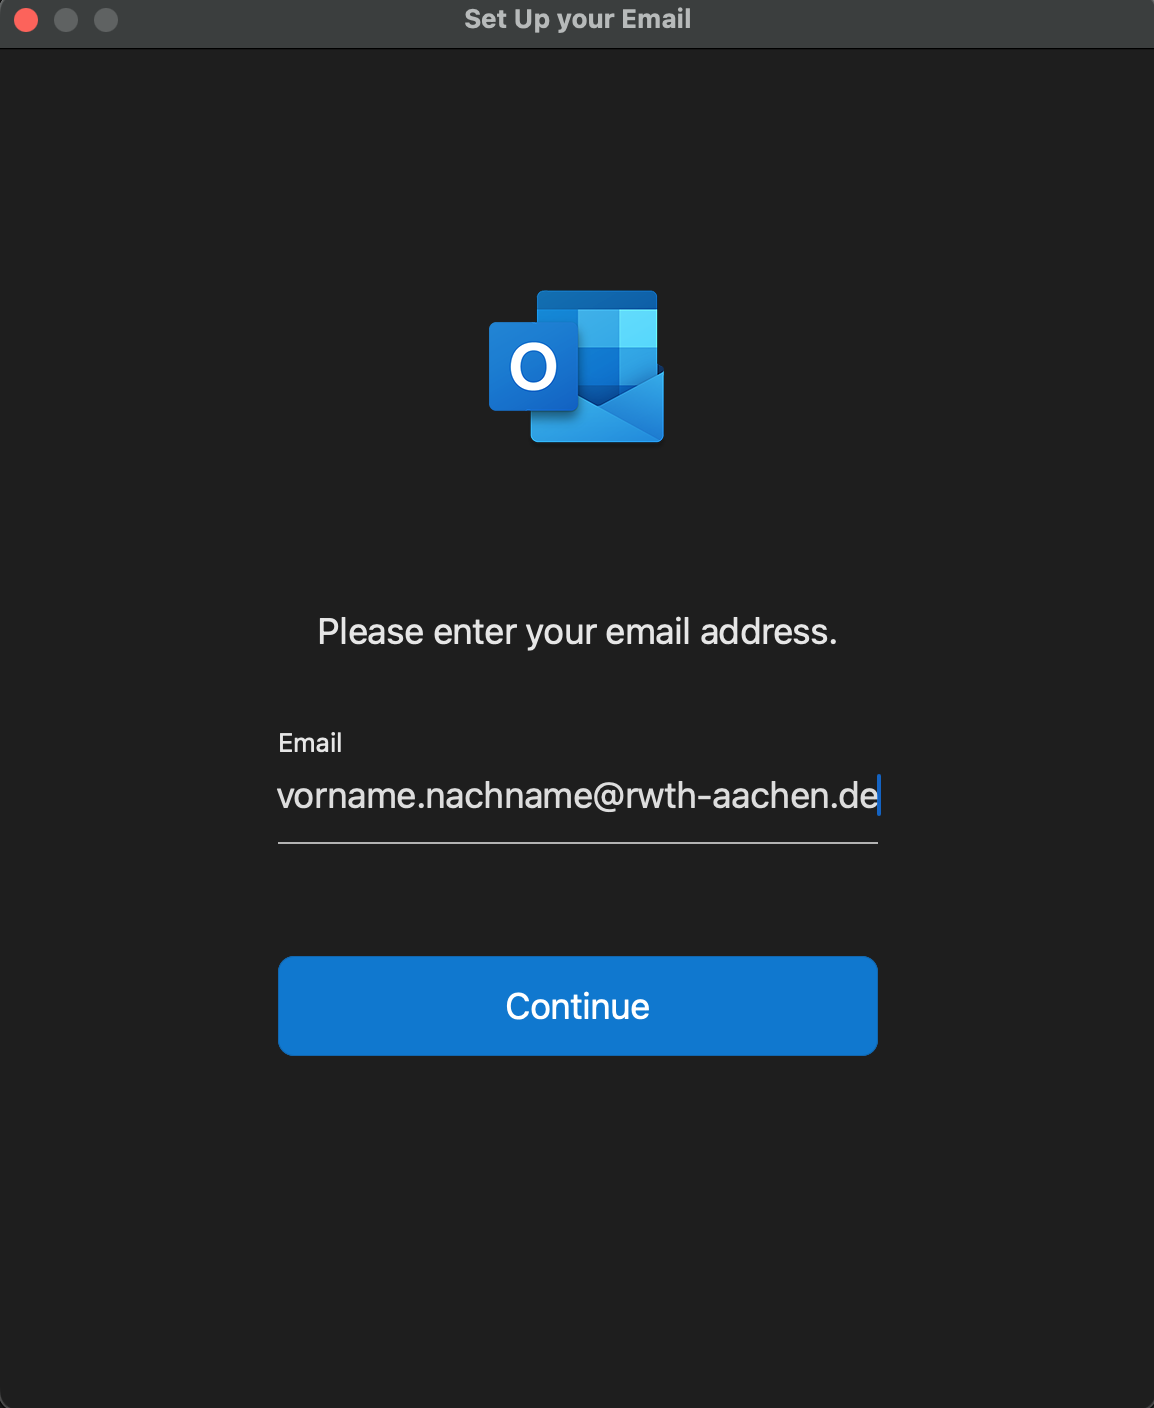
A window will open where you can enter your e-mail address. Then click on Connect.
Please note that...
- personal e-mail addresses must be entered in the form vorname.nachname@rwth-aachen.de, und
- e-mail addresses for employees must be entered in the form name@mustereinrichtung.rwth-aachen.de.
- Each institution decides for itself how the names are entered before the @
- functional e-mail addresses must be entered without the preceding “fkt_” from the user name.
Step 4
Select Exchange as the account type.
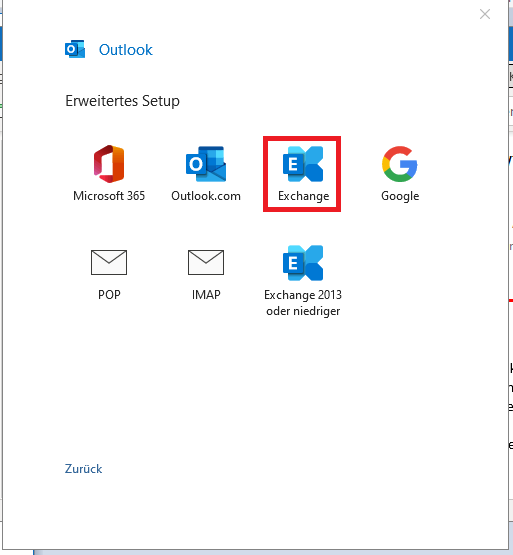
Step 5
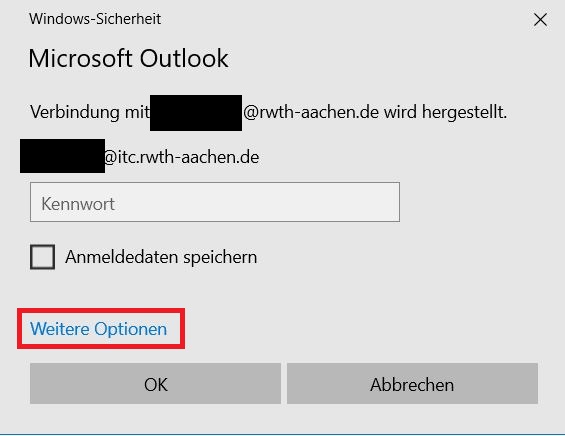
Do not enter anything at first and click on More options.

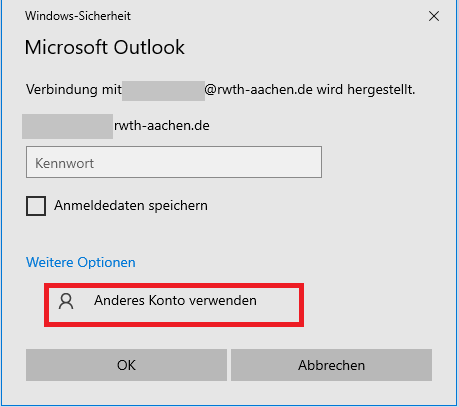
Step 6
Click on Use another account.
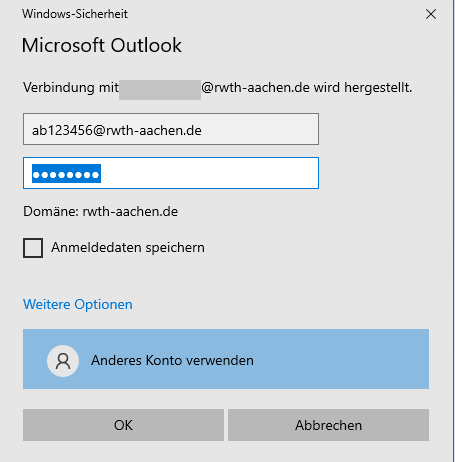
Step 7
Enter the credentials for your e-mail account:
- Username: ab123456@rwth-aachen.de or ab123456@institution.rwth-aachen.de
- For functional e-mail addresses (e.g. info@institut.rwth-aachen.de), please enter the user name in the form: fkt_info@institut.rwth-aachen.de
- Password: the respective password for the corresponding RWTH e-mail account
To save the login data, you can check the box Save login data. Click OK to complete the setup
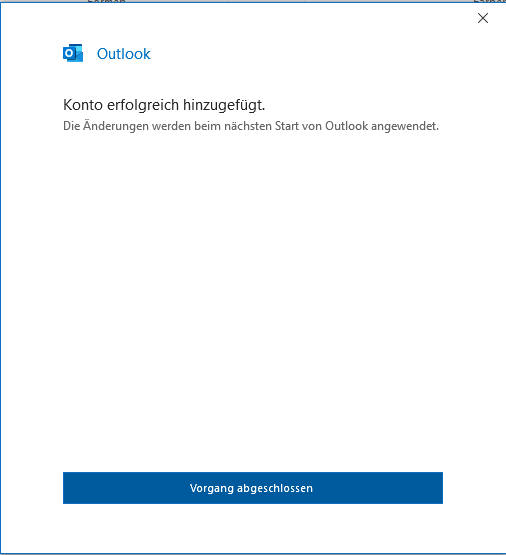
Step 8
The setup has now been successfully completed. Click on Process completed and restart Outlook.
If the check mark was not set in step 7 for Save login data, the data must be re-entered each time Outlook is restarted.
Set up Outlook Classic (Exchange)
If your Office 365 or Microsoft account is queried in the meantime, please deactivate the autodiscover function for Outlook.
Step 1
Start the software and click on File.
Step 2
Use the Add account option to set up a new e-mail account.
Step 3
A window will now open where you can enter the display name, e-mail address and password. Then click on Next.
Step 4
Please note that...
- personal e-mail addresses must be entered in the form firstname.lastname@rwth-aachen.de, and
- e-mail addresses for employees must be entered in the name@institution.rwth-aachen.de.
- functional e-mail addresses must be entered without the prefix fkt_ from the user name.
Outlook then searches for the e-mail server settings.
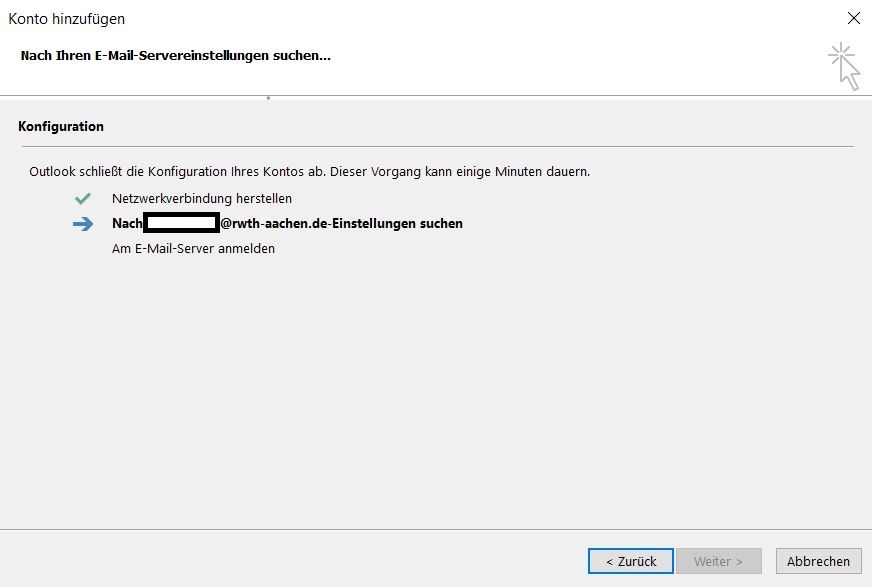
Step 5
Another window appears. Here Outlook automatically adopts everything that has already been set up in an existing account after the “@”.
Take the example below: A mailbox with [...]@rwth-aachen.de is to be set up, but Outlook has automatically adopted [...]@itc.rwth-aachen.de.
Step 6
Select More options and then Use another account.
Then enter the following:
- Username: ab123456@rwth-aachen.de or ab123456@institution.rwth-aachen.de
- Password: Your password for the e-mail account
If you set up a functional email address (e.g. info@institut.rwth-aachen.de), please ensure that the user data looks like this:
- Username: fkt_info@institut.rwth-aachen.de
- Password: Your password for the e-mail account
To save the login data, you can check the box next to Save login data. Then click on OK.
Step 7
Click on Finish to set up the account.
Step 8
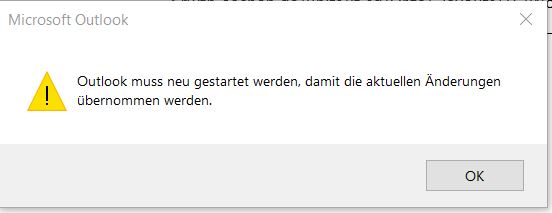
Click OK and restart Outlook as described in the message. After restarting Outlook, the account is integrated.
If the Save login data checkbox was not selected in the last step, the login data must be re-entered each time Outlook is started.
Set up Outlook Classic (MacOs)
With newer versions of Outlook, an error message may appear stating that Exchange is not available. In this case pleace click on the Help menu and Switch to older version/legacy mode.
Step 1
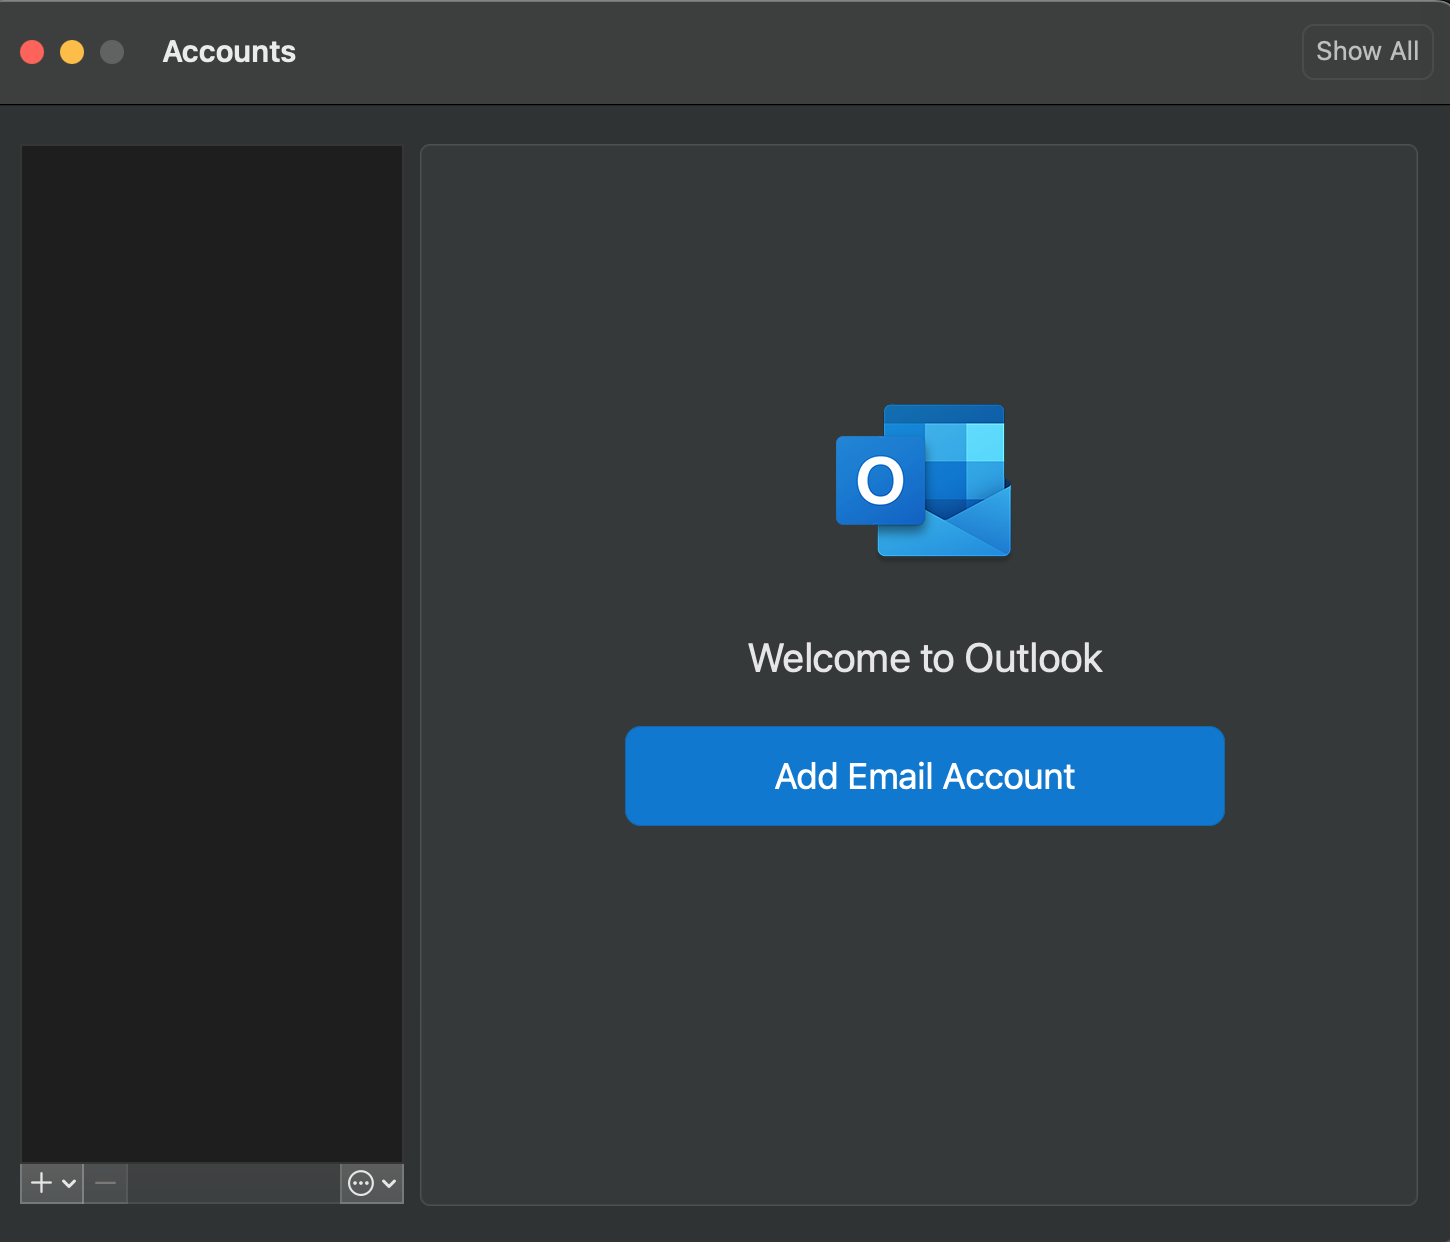
Open the settings in Outlook, click on Accounts / Add email account.
Step 2
Then select Exchange or Office 365.
Step 3
Enter the following data:
- E-mail address: firstname.lastname@rwth-aachen.de or name@institution.rwth-aachen.de
Then click on Continue.
Step 4
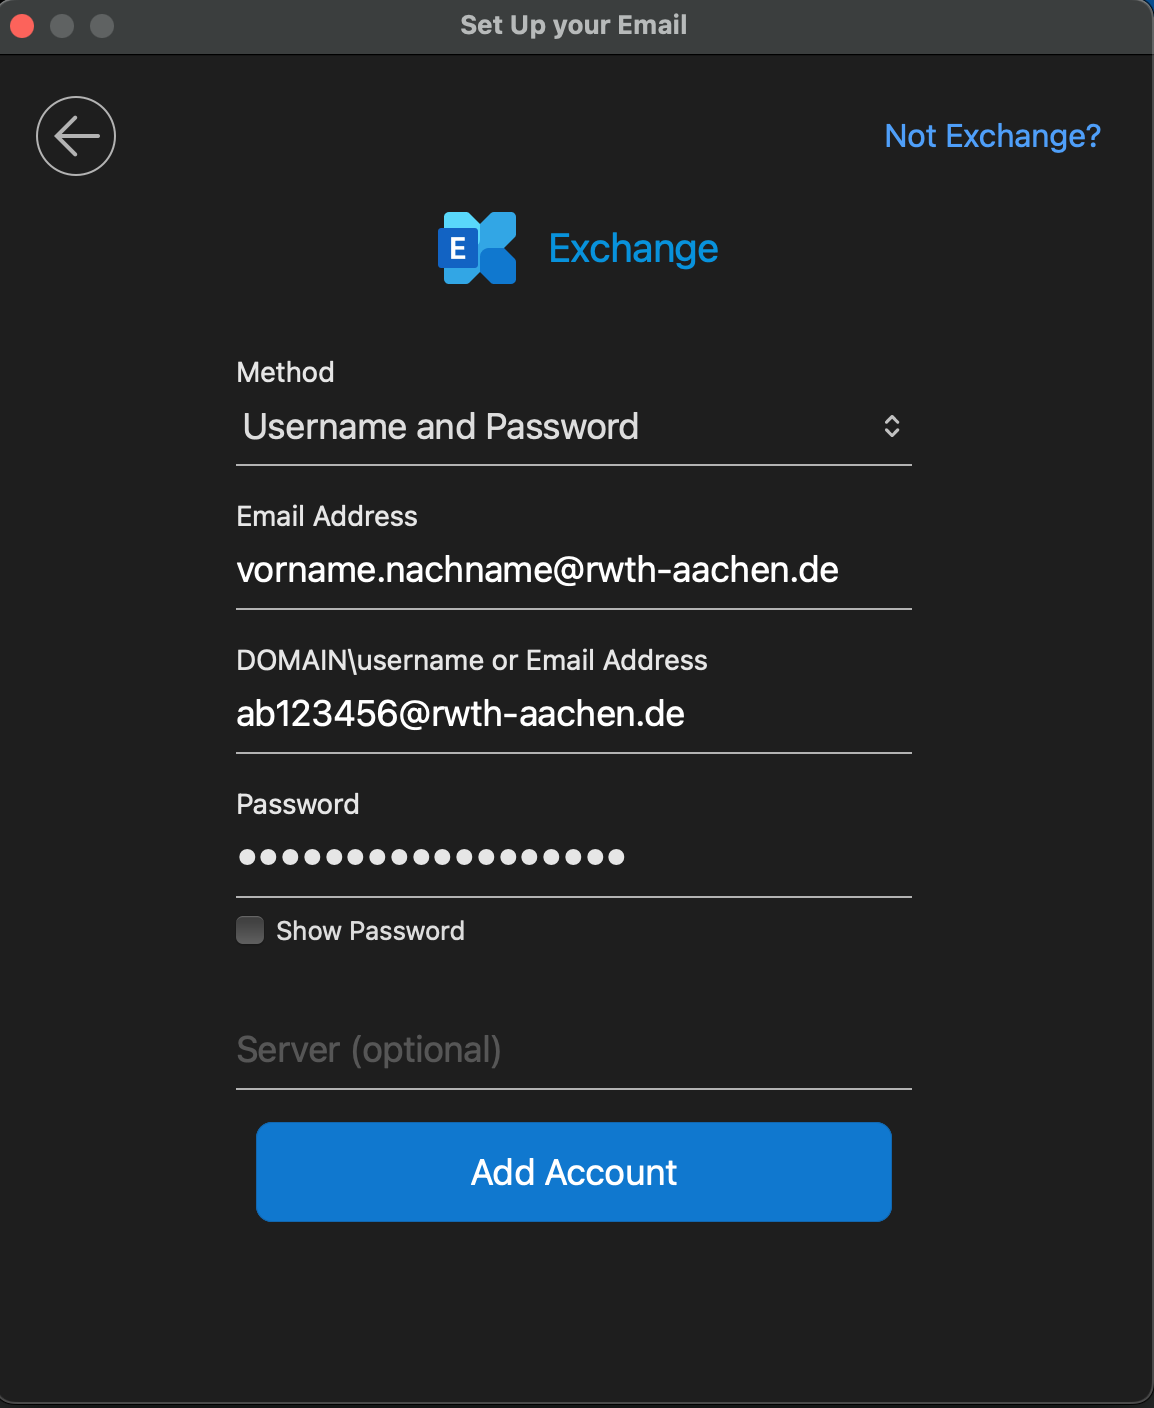
To connect to the Exchange, add the following data:
- Method: user name and password
- E-Mail-Address: firstname.lastname@rwth-aachen.de or name@institution.rwth-aachen.de
- Please use the same address as in the previous step
- Domain-\Username: username@rwth-aachen.de (e.g. ab123456@rwth-aachen.de or ab123456@institution.rwth-aachen.de)
- Password: Your password for the e-mail account
Step 5
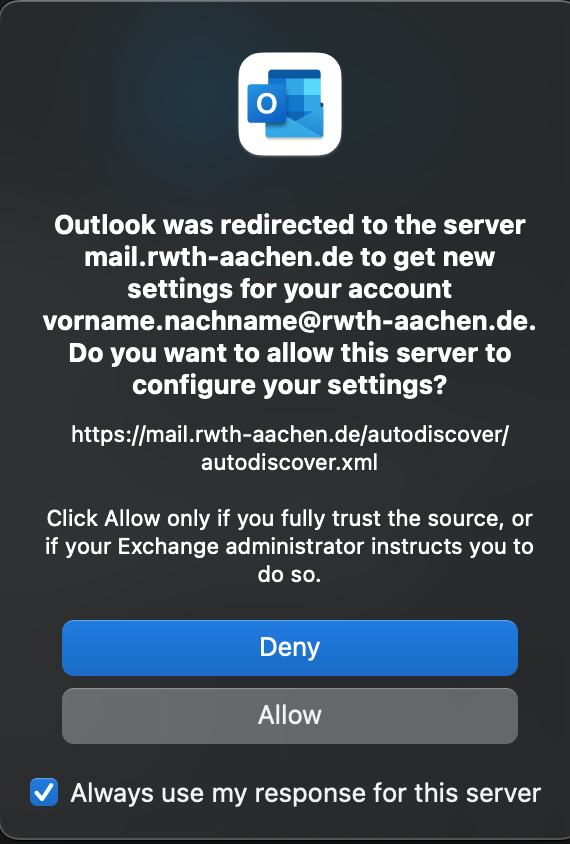
Outlook will now attempt to recognize the server data automatically.
Click on Allow to allow the setup to be carried out.
Step 6
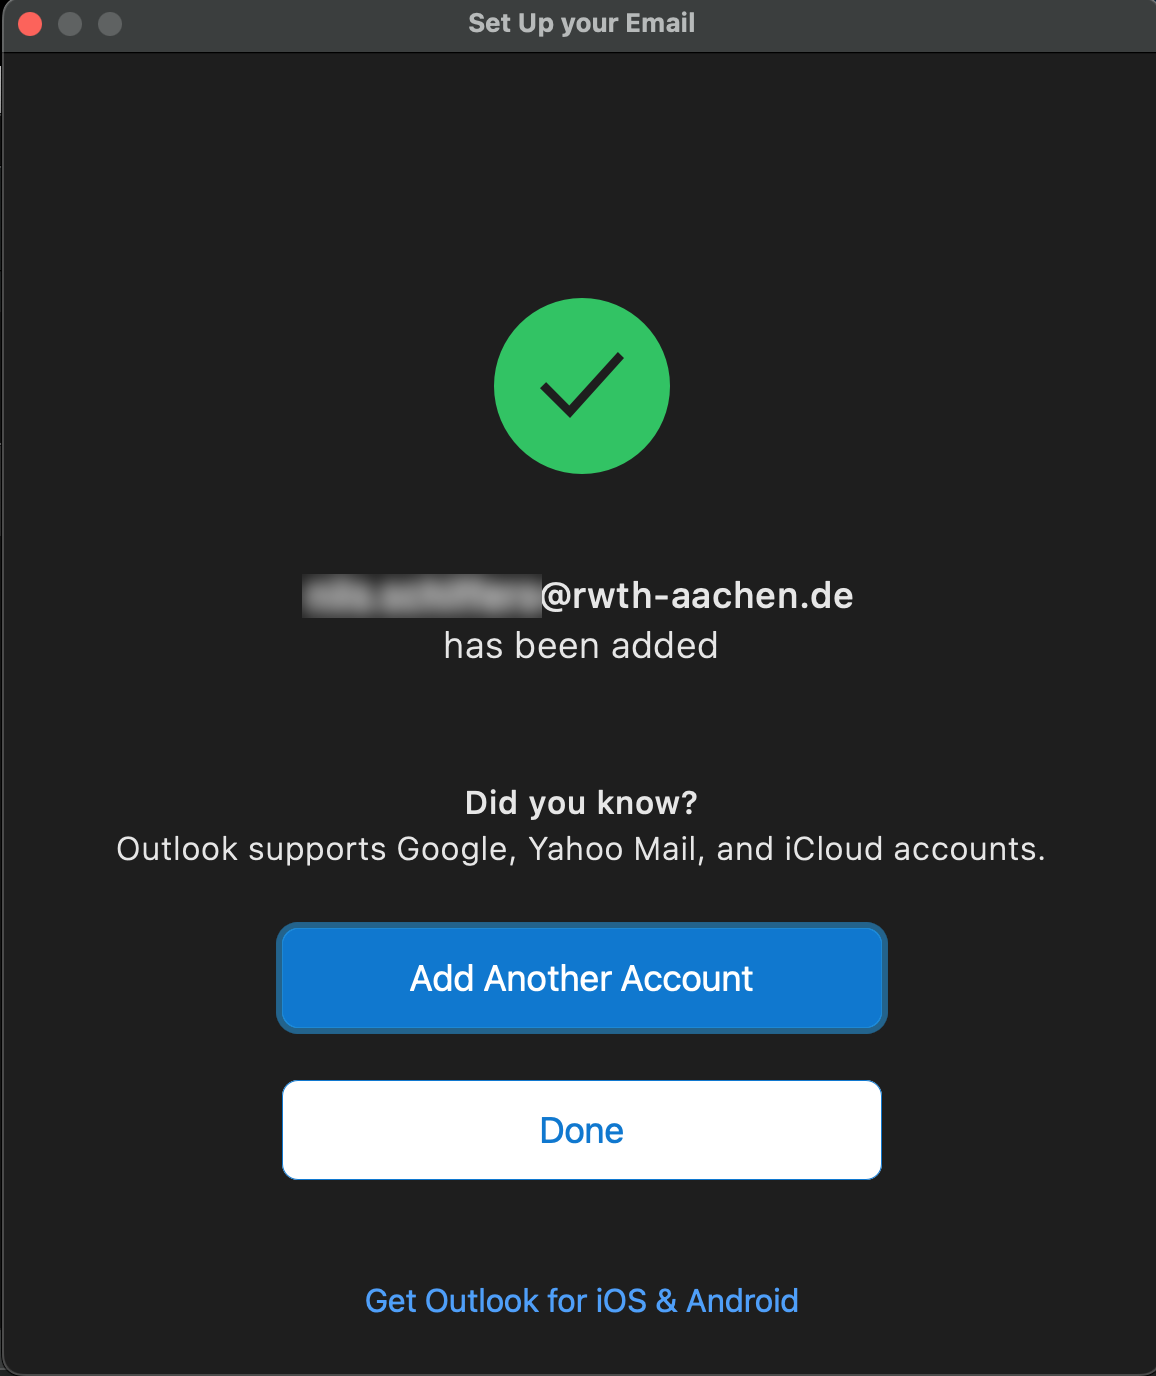
Click on Done to complete the setup.
Deactivate Autodiscover for Outlook
For certain Outlook versions (mainly Outlook 365 & Outlook 2019) there is a change in the autodiscover process.
This means that when selecting the account type, the Office 365 or Microsoft account is queried or the selection of “Exchange” is not possible.
This leads to a problem when connecting to the central mail system of RWTH Aachen University.
If this is the case when setting up your Outlook version, please deactivate the autodiscover function for Outlook.
To do this, set the following registry keys on your end device:
[HKEY_CURRENT_USER\Software\Microsoft\Office\16.0\Outlook\AutoDiscover] "ExcludeExplicitO365Endpoint"=dword:00000001 |
Step 1
Call up the Windows app Registry Editor:
- Press the Windows button + R and enter regedit in the Run window or search for regedit in the Windows search bar.
Step 2
Navigate to the path mentioned above:
- [HKEY_CURRENT_USER\Software\Microsoft\Office\16.0\Outlook\AutoDiscover]
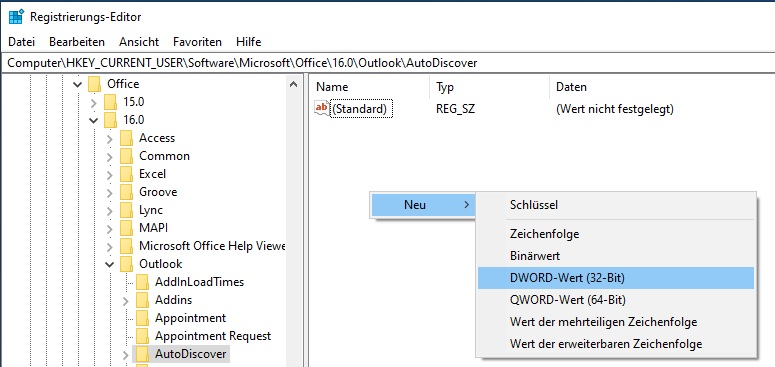
Step 3
Now right-click to create a DWORD value with the name “ExcludeExplicitO365Endpoint”.
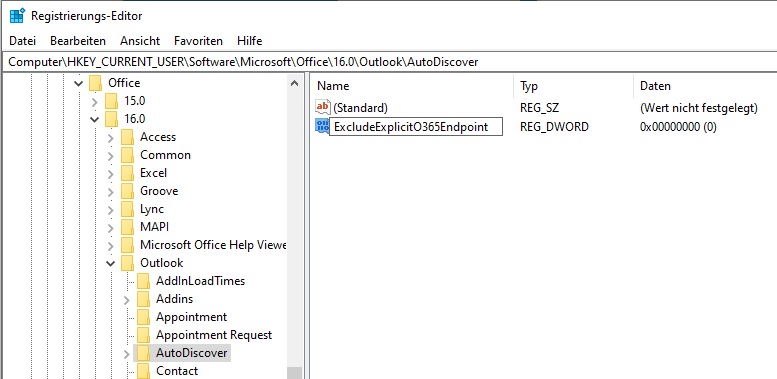
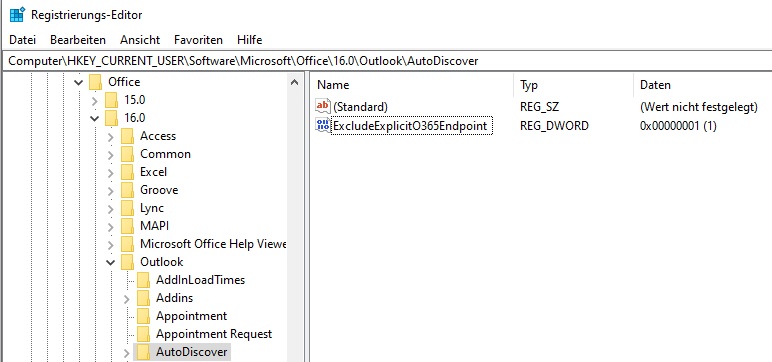
Step 4
Then double-click on the entry you have just created and change the value from 0 to 1.
Step 5
Then continue with the next step of the instructions for your respective Outlook version.
Additional Information
