


BlueCard

On this page you will find general information on your BlueCard and instructions on how to request one.

Please note
General information
Students can request their BlueCard and change their information in the IdM Selfservice.
The RWTH BlueCard is used:
- as student ID card
- as payment card in the canteens and cafeterias
- as library card
- for authentication during exams
- for admission checks to university sports
- for internal university elections
The following BlueCard features are optional:
- smart card chip
- ESC function
Information and FAQ are available on the website RWTH BlueCard.
If you have any further questions about the BlueCard, please contact the RWTH BlueCard Service Point.
Request a BlueCard
To request a Blue Card, you must upload a picture of yourself. Various image file types (.jpg, .png...) can be used with a minimum resolution of 200×200 pixels. Please save one to your hard drive, as it will be needed later in this guide.
Step 1
Log on to IdM Selfservice.
Step 2
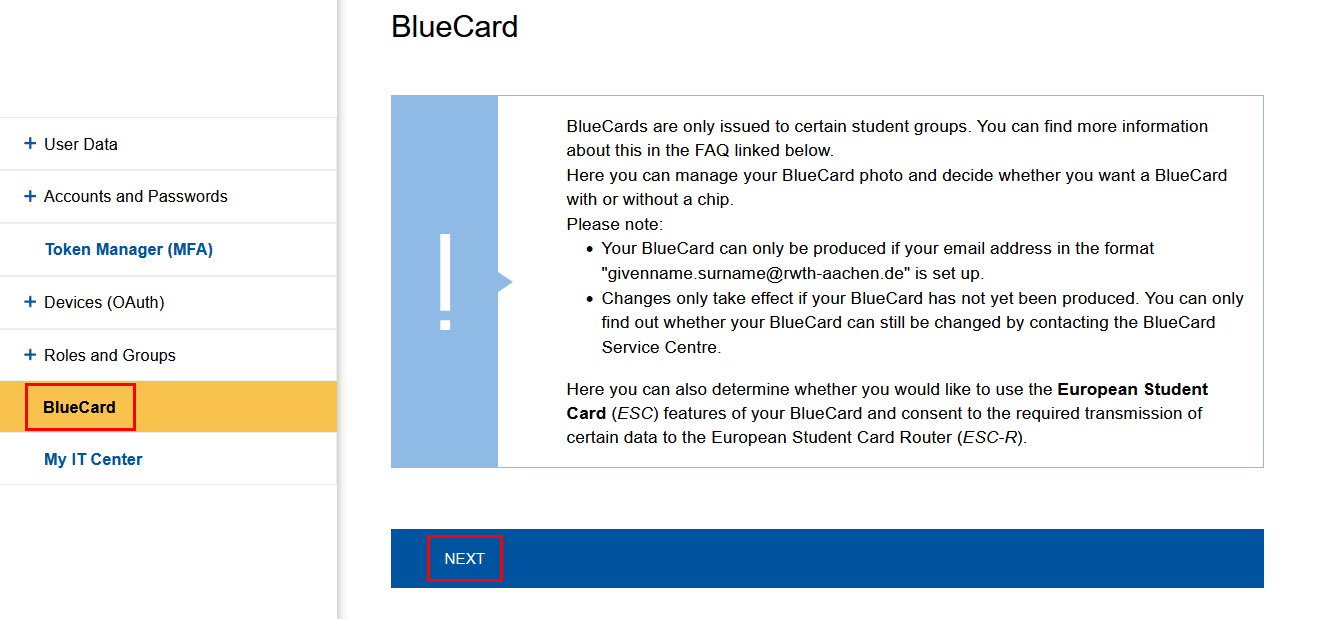
Click BlueCard in the menu.
Step 3
Click Next.
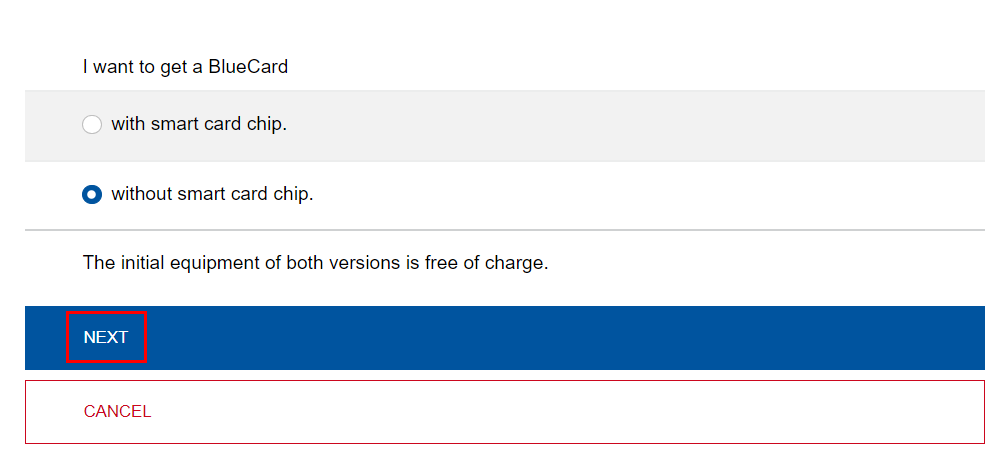
Step 4
Select whether you would like to have a BlueCard with or without a smart card chip and click Next.
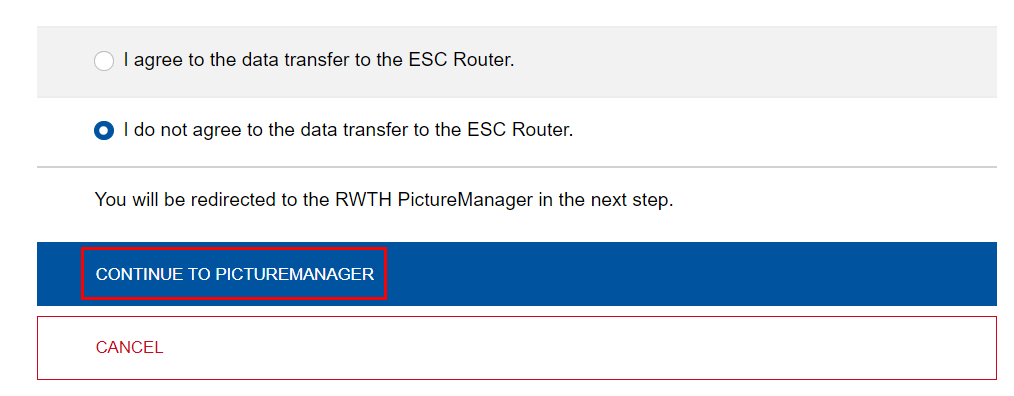
Step 5
Choose if you want to use the Europen Student Card function of your BlueCard. To use the function, agree to the data transfer to the ESC Router.
Step 6
Click on Continue to PictureManager.
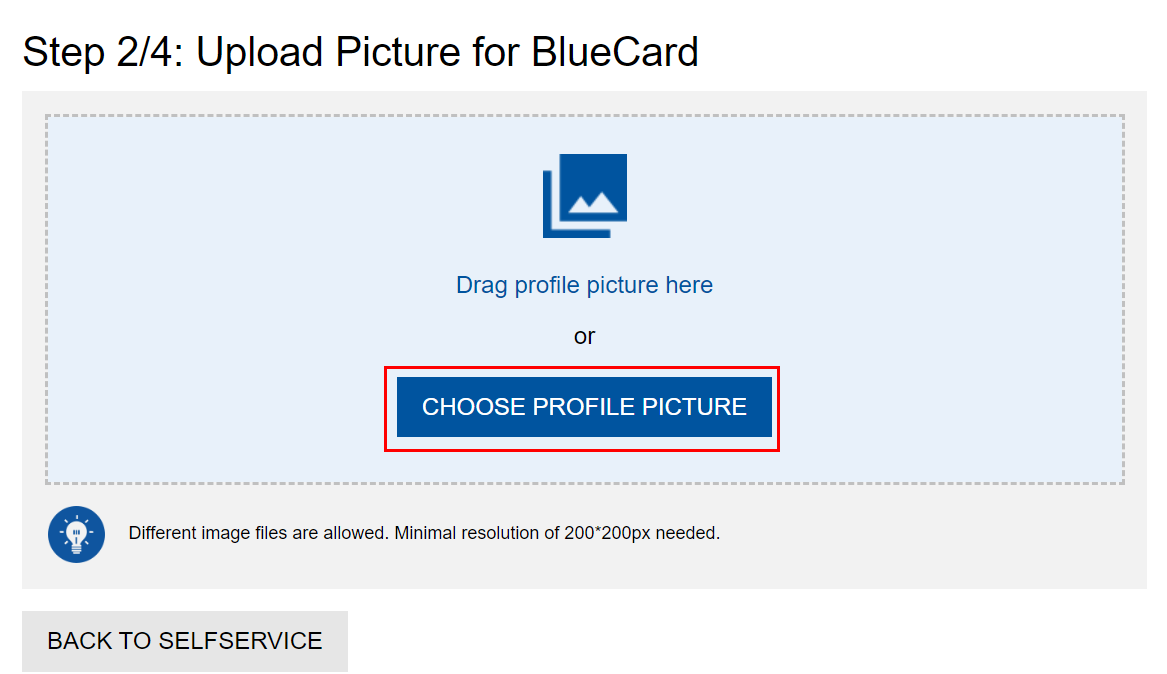
Step 7
The PictureManager opens. Click on Choose profile picture and navigate to your photo or drag & drop your picture.
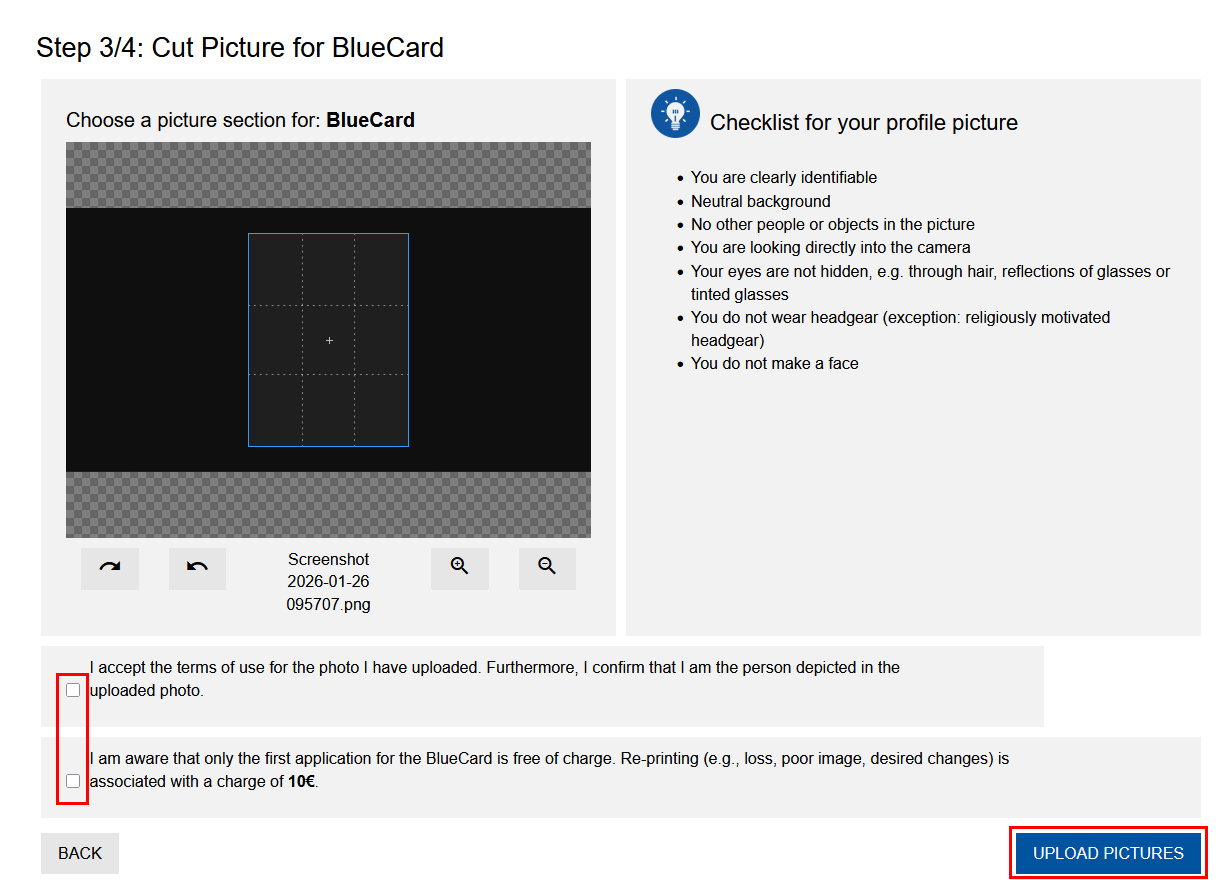
Step 8
If necessary, adjust the image frame and make sure that the picture follows the criteria under "Checklist for your profile picture."
Step 9
Read the information on data privacy and on the BlueCard and check the boxes next to them.
Step 10
Click Upload pictures.
Your request for the BlueCard is now complete. You will be notified of BlueCard completion via an email to your @rwth-aachen.de address.
