


Use the DFN-LDAP as an Address Book

You can configure Outlook to use the DFN-LDAP as an Address Book.
These instructions were created using Outlook for Microsoft 365 on Windows 10 (Last updated 30.12.2022). |

Use the DFN-LDAP as an Address Book (optional)
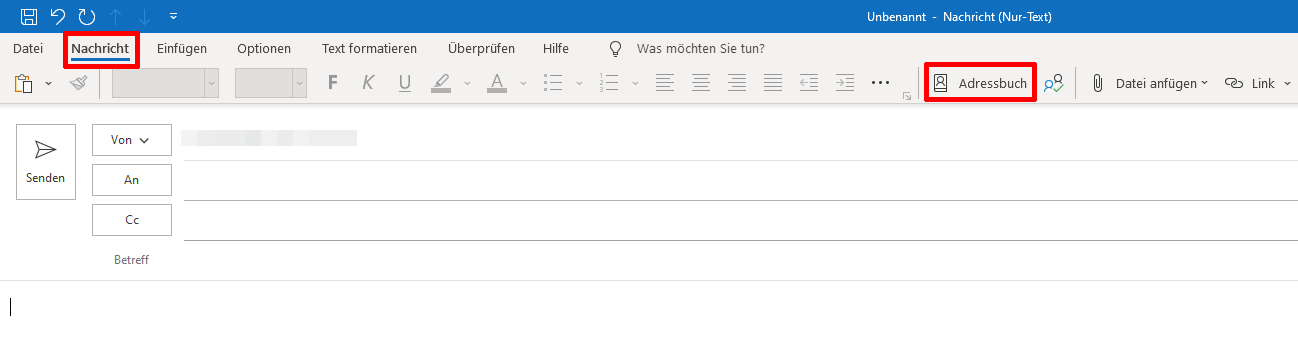 | You are trying to send an encrypted e-mail, and decide to look up the recipient in the DFN-PKI LDAP address book. |
|---|
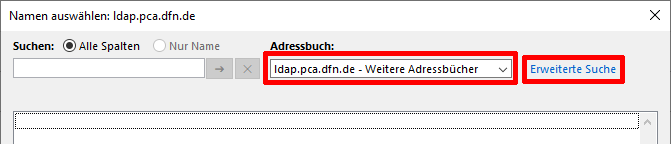 | You specify that your search should be inside the ldap-DFN-PKI address book and you want to make an extended search. |
|---|
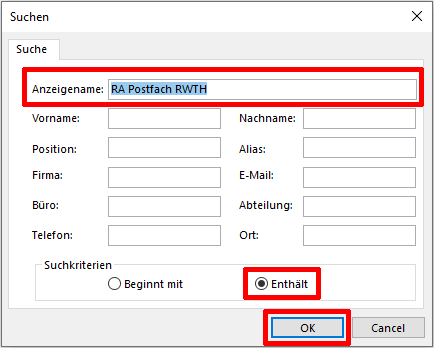 | Your search criterium is "RA Postfach RWTH" anywhere inside the "Common Name" field of the DFN-PKI user certificates. |
|---|
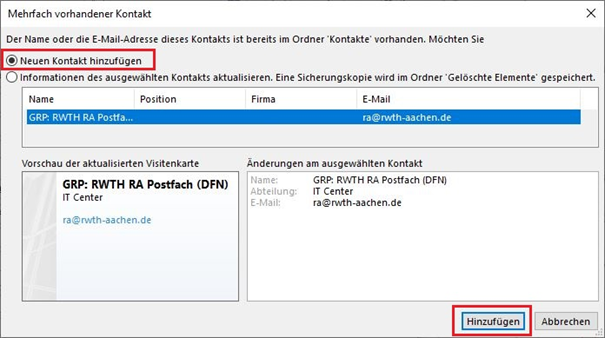
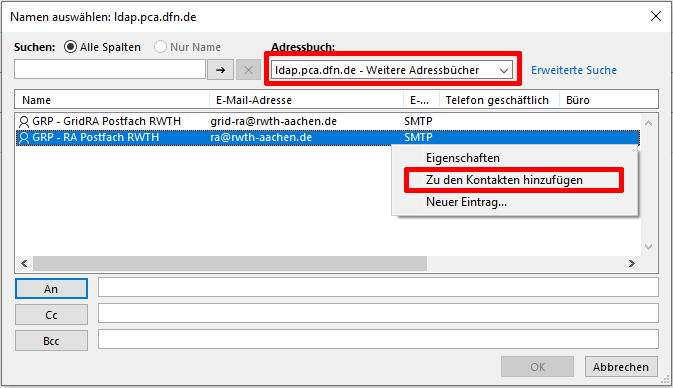 | You have found the recipient you are looking for, you now need to save them in your own contacts. |
|---|
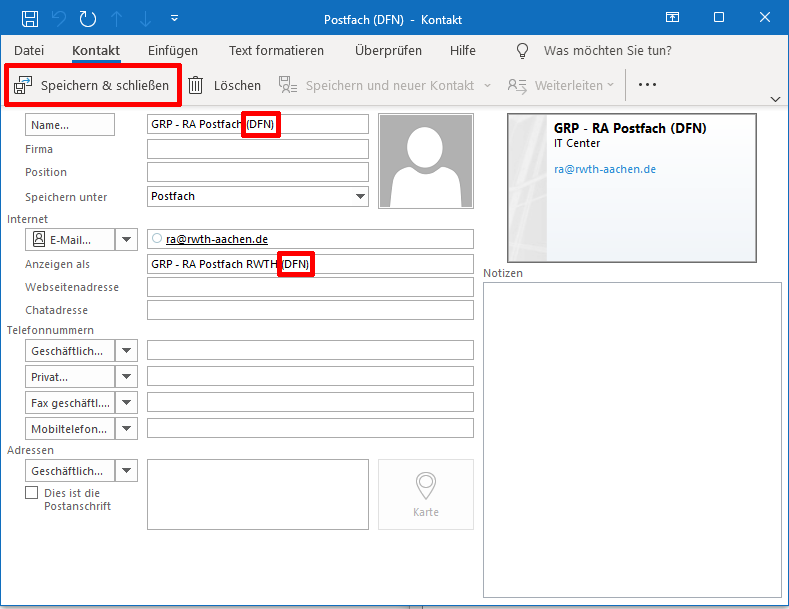 | Please note the user added "(DFN)" part in the Name. This helps you distinguish your contact as one imported from the DFN-PKI LDAP address book, i.e. with a user certificate (and a public RSA Key associated to it). |
|---|
 |
|---|
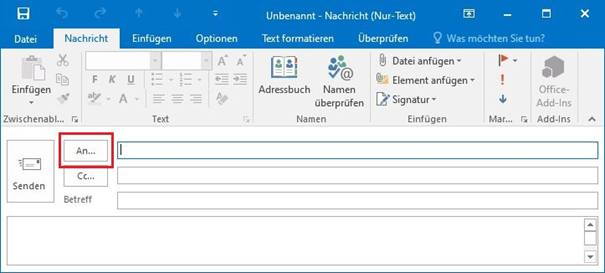 | You're back to wanting to send an encrypted e-mail, to the contact you previously explicitly found in the DFN-LDAP address book and saved as your "own" contact. |
|---|
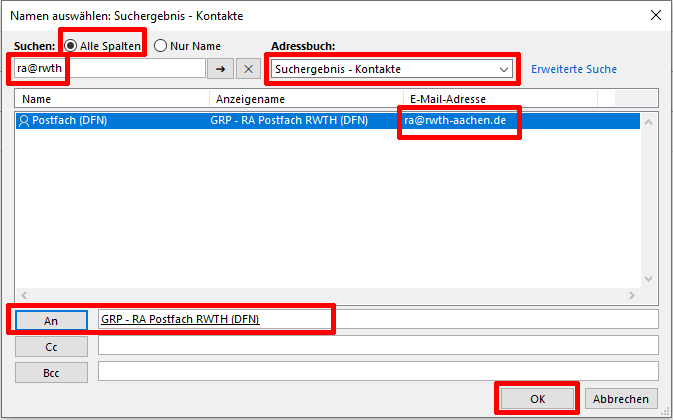 | You need to search among your own "Contacts", because you can only send an encrypted e-mail to an "own" contact, choose the one you tagged with "(DFN)". |
|---|
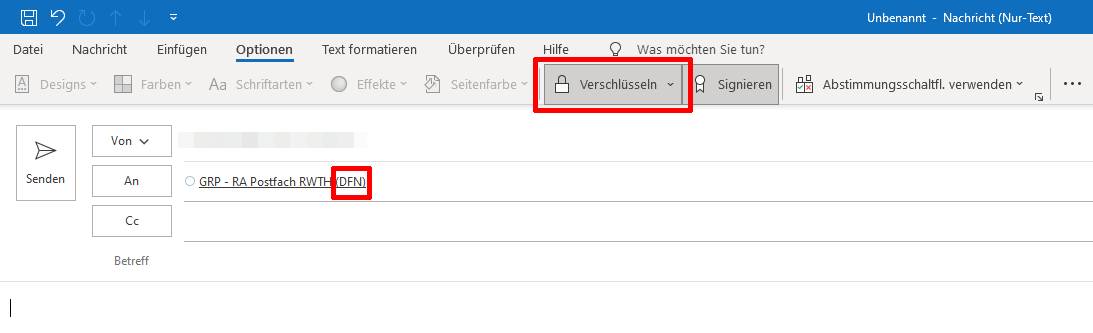 | Choose to "encrypt". |
|---|
