


Digitally sign documents using Adobe Acrobat

On this page, you will learn how to digitally sign documents in Adobe Acrobat and how to verify signatures within a document.
To digitally sign documents, you must first configure a digital signature.
Sign documents digitally
To digitally sign a PDF document, please follow the steps below.
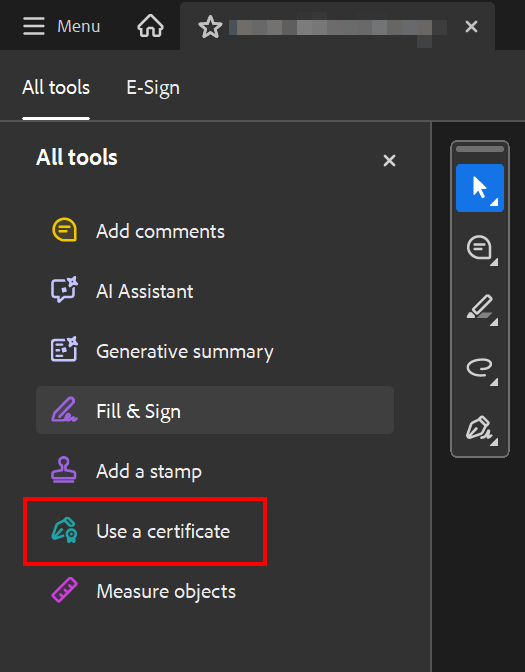
Step 1
Go to Tools > Use a certificate in Adobe Acrobat:
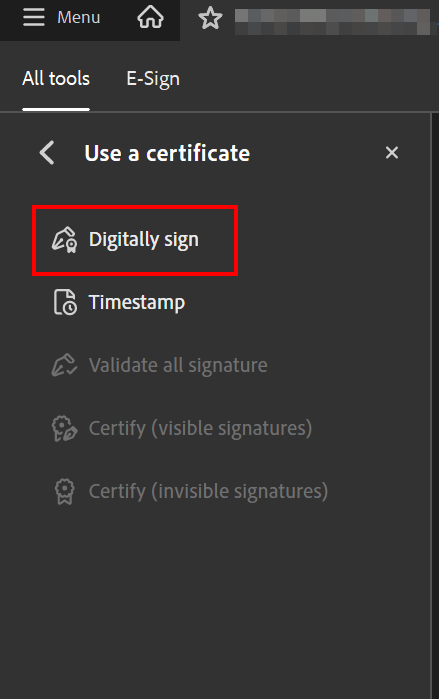
Step 2
In the toolbar, click Digitally Sign:
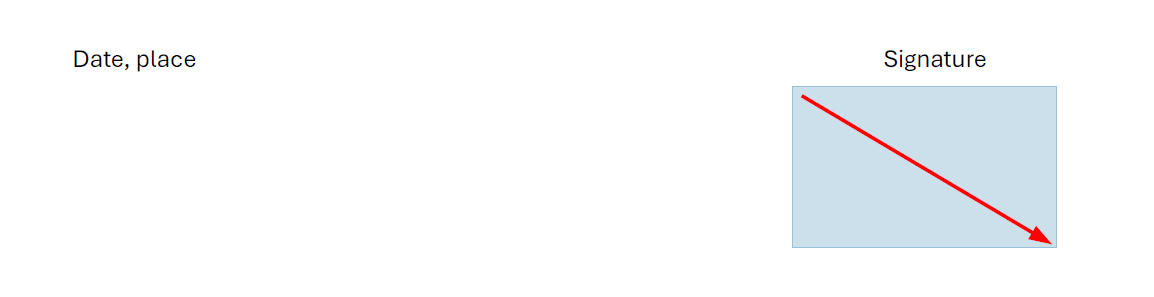
Step 3
Depending on the layout of the form, draw an area at the intended position in the form with the mouse where the electronic signature should be placed:
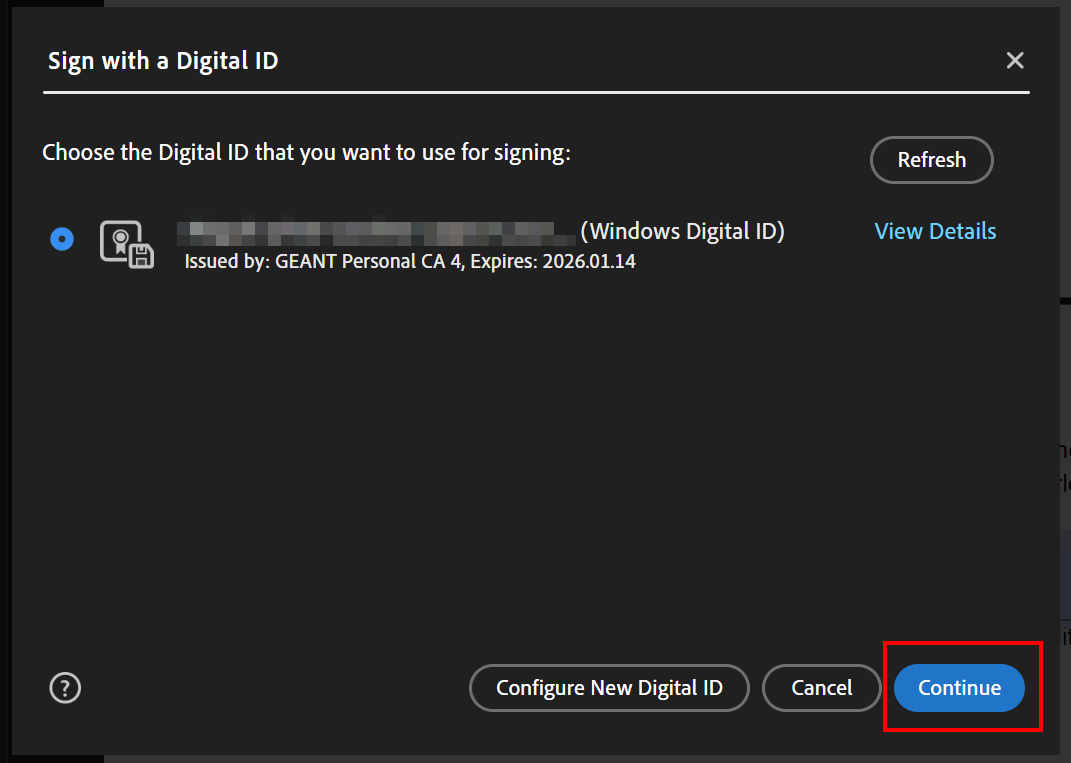
Step 4
A dialog window opens in which you can select the digital ID that should be used to sign the document. The preconfigured digital ID is already selected.
Please note:
Signing with digital IDs belonging to group certificates is not permitted. Group certificates can be recognized by the prefix GRP.
Confirm your selection by clicking the Continue button.
Step 5
If you are using the electronic signature for the first time, you may need to allow Acrobat Reader DC to access the private key of your personal user certificate depending on your Windows security settings. Confirm this by clicking Allow.
Step 6
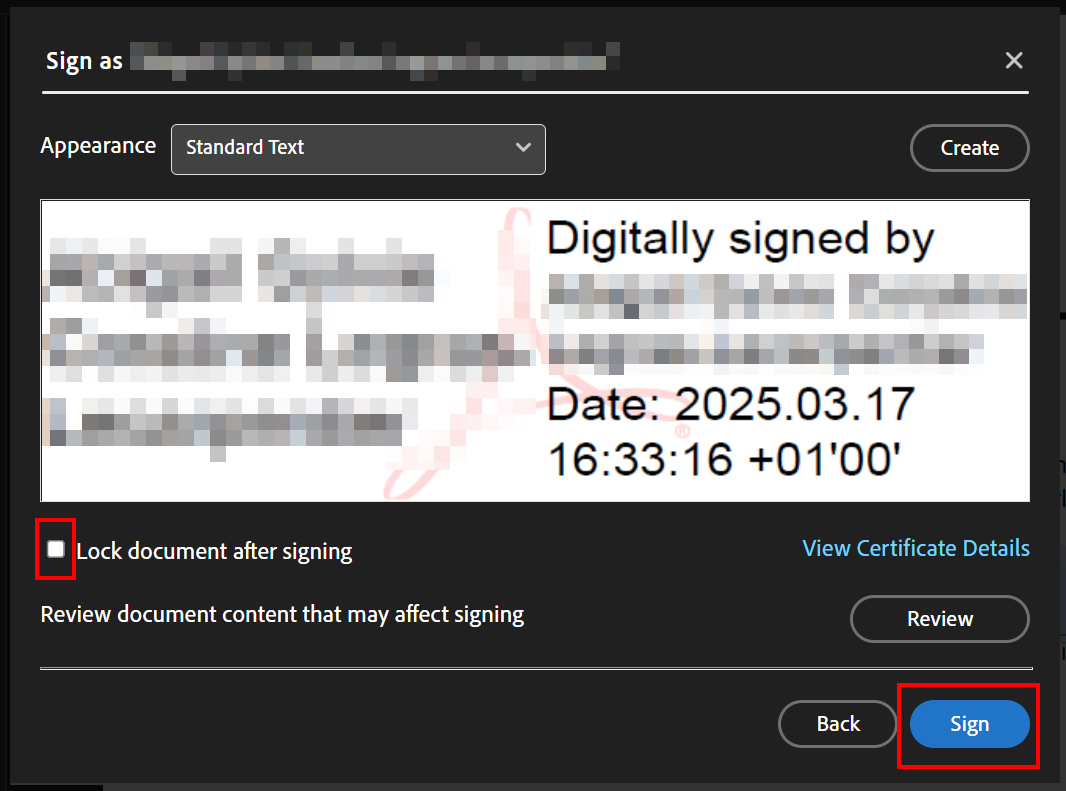
A preview window for the electronic signature opens. Please select the appearance option Standard Text.
Please note:
Select the option Lock document after signing only if you are the last person who needs to sign the document. The document cannot be changed afterwards.
Click Sign to start signing the document.
Step 7
Save the document under a new name. The digital signature will only appear in the document after it has been saved.
Step 8
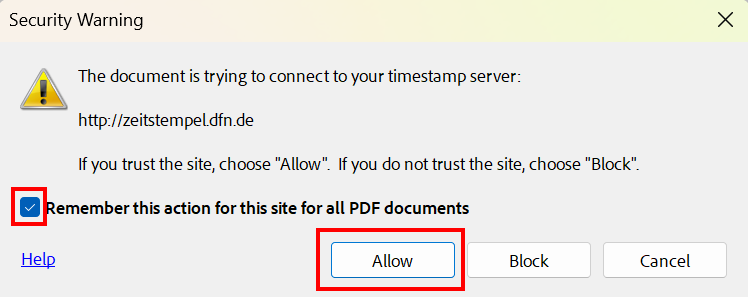
If a security warning regarding the DFN timestamp server appears before or after opening the Save As dialog, you can activate the option Remember this action for all PDF documents. This means you only need to confirm the message once by clicking Allow.
If you do not have internet access during the signing process or the DFN timestamp server cannot be reached for other reasons, an error message will appear:
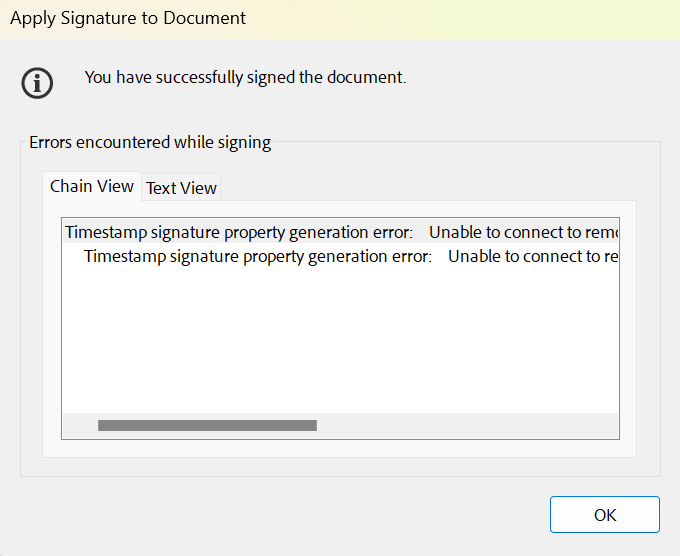
In this case, the local system time of your computer is used instead of the DFN timestamp server. Since this time can be manipulated, this is not acceptable for documents with deadlines. Ensure that the DFN timestamp server is reachable and repeat the signing process.
Step 9
If the message Signed and all signatures are valid appears in the status bar after saving the document, the document has been successfully signed electronically.
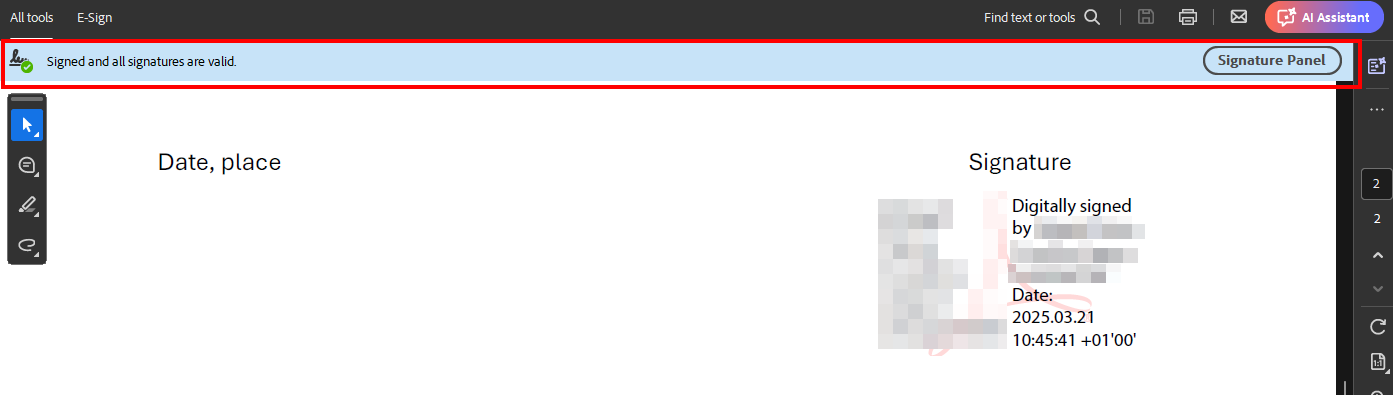
The document can no longer be modified if you activated the option Lock document after signing.
Please note:
If the document must be signed by several people, the checkbox may only be activated by the last person signing the document. All previous signers should leave this option unchecked.
Verify digital signatures
To verify digital signatures, please follow the steps below.
Step 1
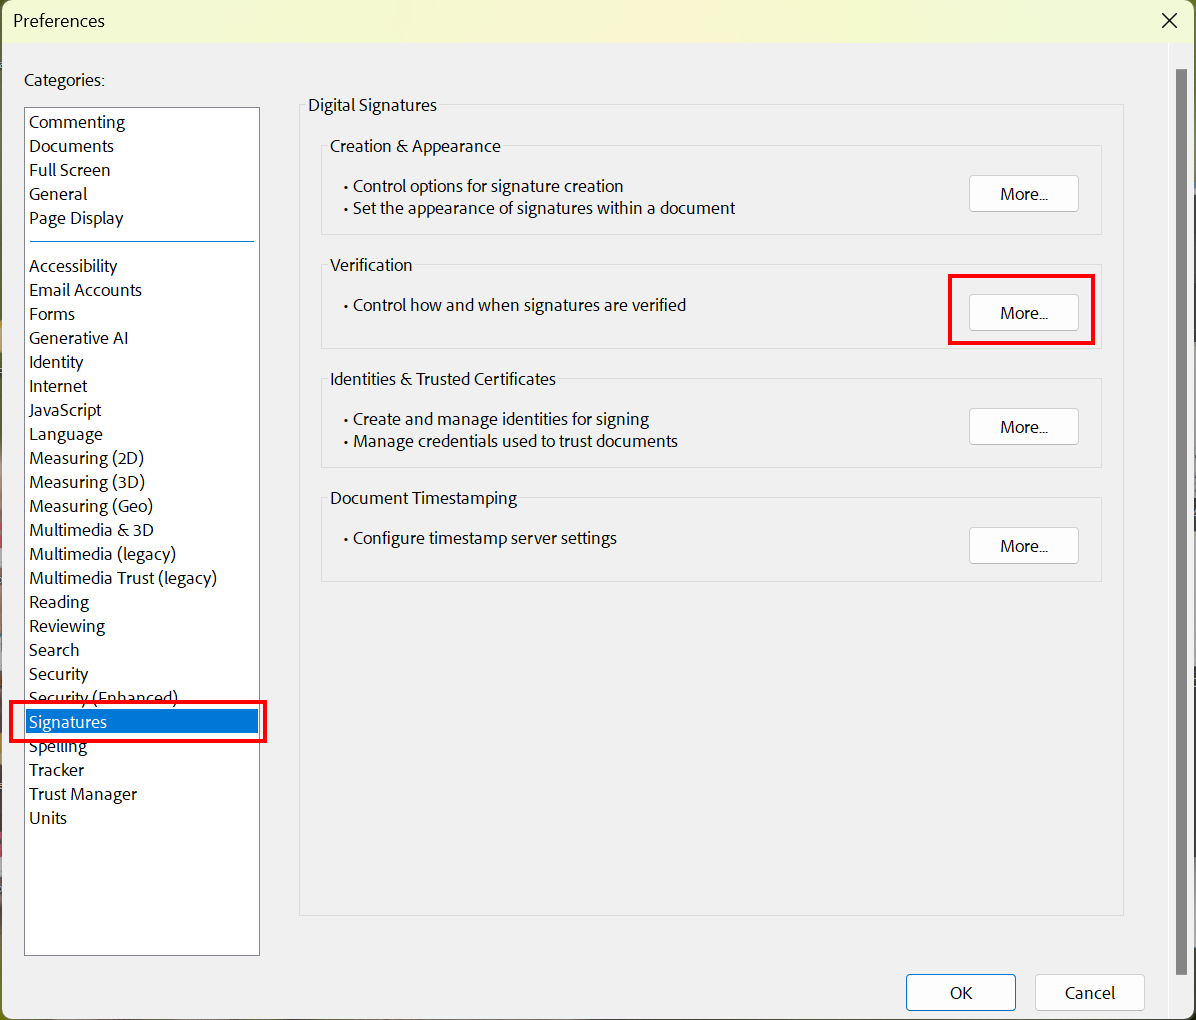
Configure Acrobat Reader DC carefully for verifying electronic signatures. In the dialog window Preferences, under the navigation item Signatures, click the button More in the section Verification.
Step 2
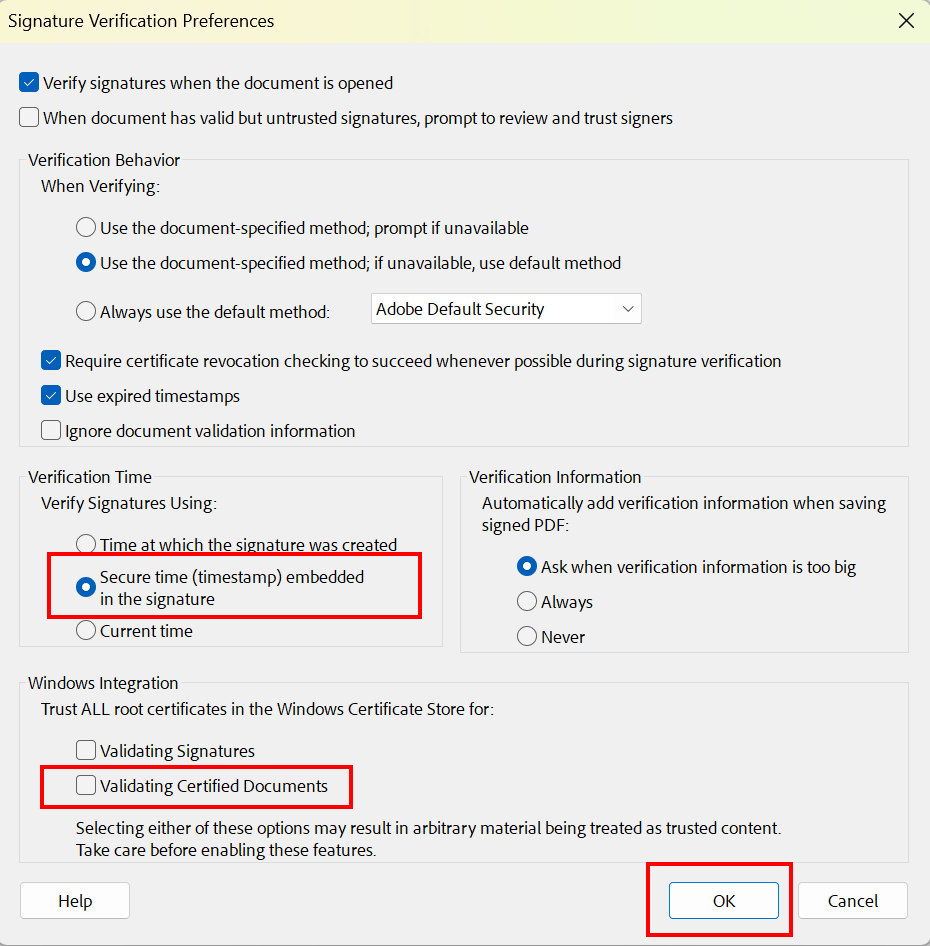
The dialog menu Signature Verification Preferences opens. In the section Verification Time, change the verification criteria to Secure time embedded in the signature (timestamp).
Please note:
It is not recommended to use certificates from the Windows certificate store. Therefore, disable Verify signatures and Verify certified documents in the Windows Integration section.
Since both checkboxes cannot be disabled at the same time, repeat the process for the checkbox Verify signatures separately and confirm with OK.
If you still want to use trusted certificates from your Windows certificate store, export them and import them similar to the T‑TeleSec GlobalRoot2 certificate.
Step 3
Open a signed PDF document in Acrobat Reader DC. If the message Signed and all signatures are valid appears in the status bar, all electronic signatures in the document are valid:

Step 4
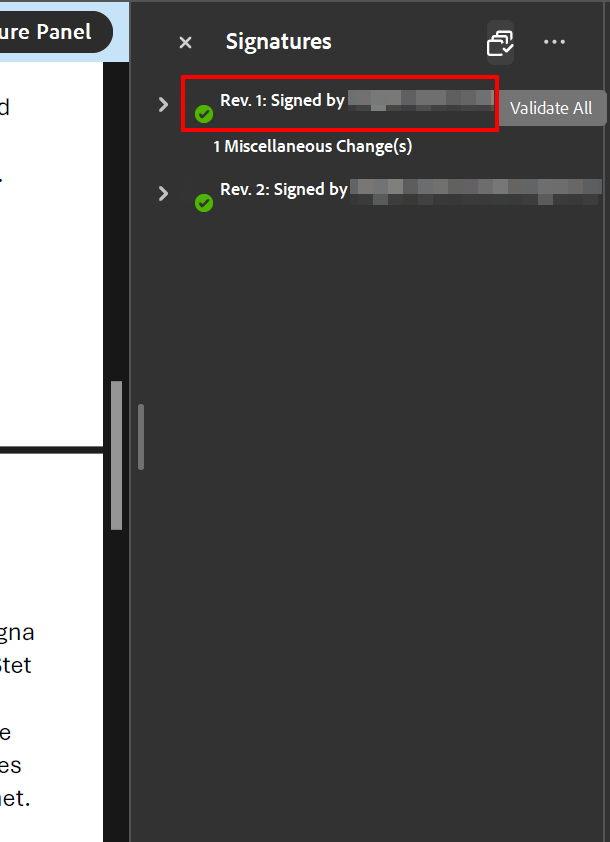
If you want to check the details of the electronic signatures, click the Signatures Panel button to open the list view of all electronic signatures in the document:

Step 5
Click a digital signature to jump to the corresponding location in the document:
You can also click directly on the electronic signature in the document to verify its validity.
Step 6
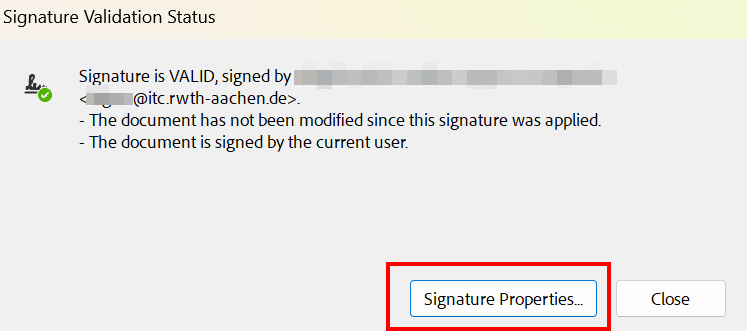
Clicking the signature opens the dialog window Signature Validation Status. Click the button Signature Properties to view further verification details for the signed document:
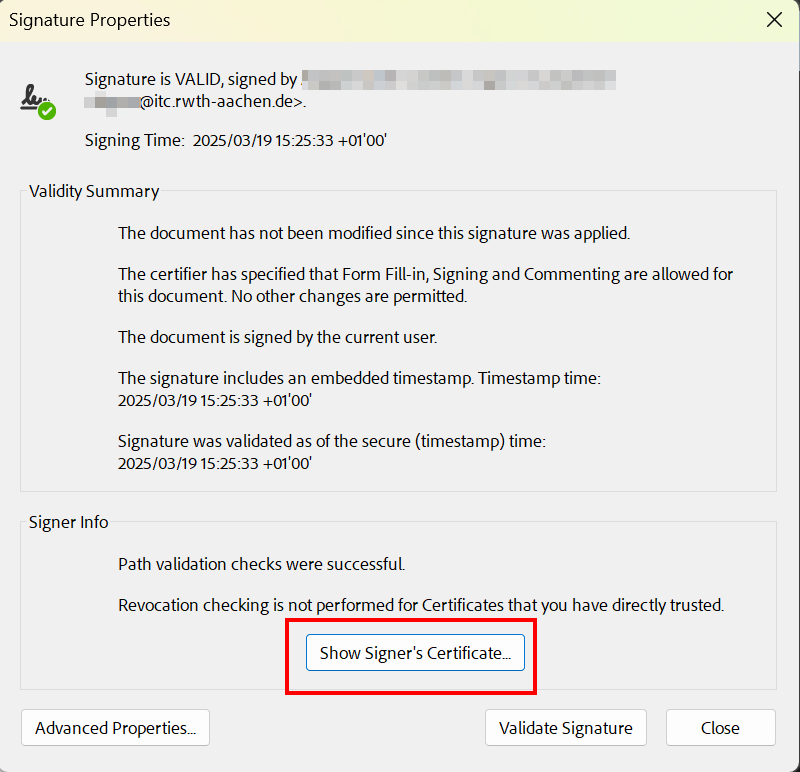
Step 7
Another dialog window displays information about the validity and verification of the signature. Depending on the settings used when signing the document, the valid signature confirms different aspects.
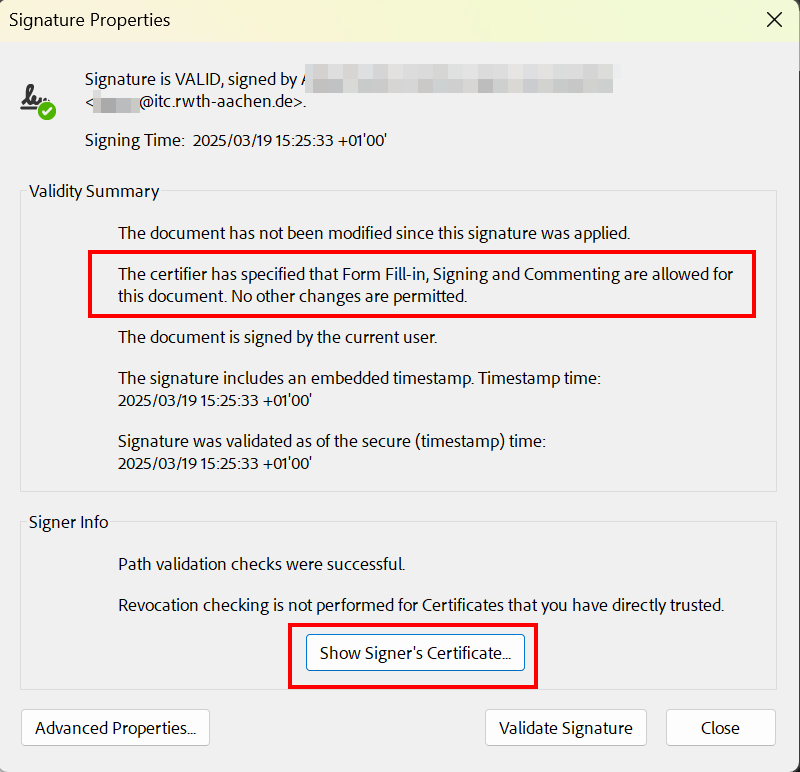
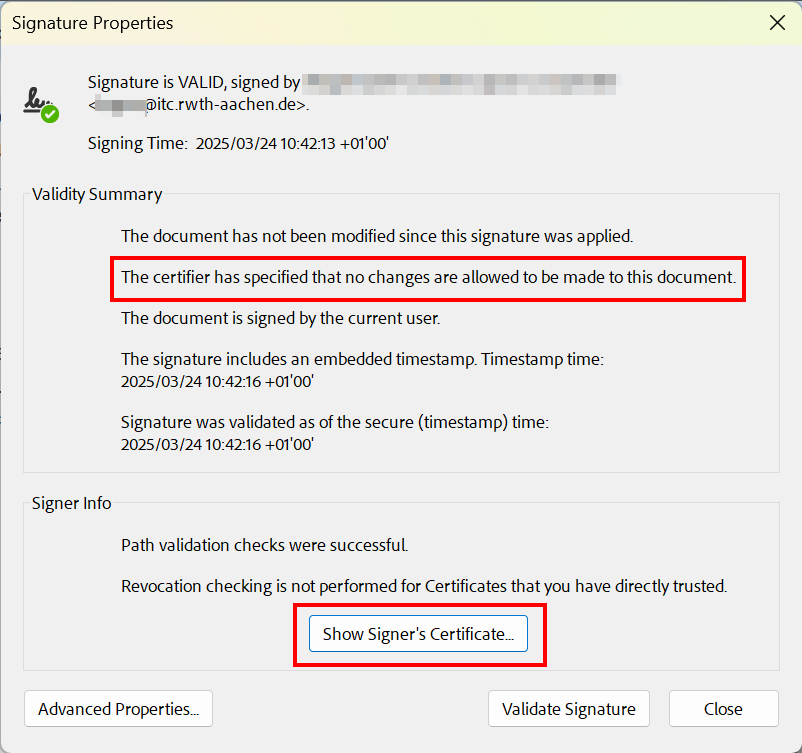
By clicking Show Signer’s Certificate, you can check the certificate properties such as the validity period or the timestamp.
The authenticity of the embedded timestamp service can be verified by clicking Advanced Properties in the previous dialog. If the signature uses the DFN timestamp service, a summary of the associated certificate will be displayed.
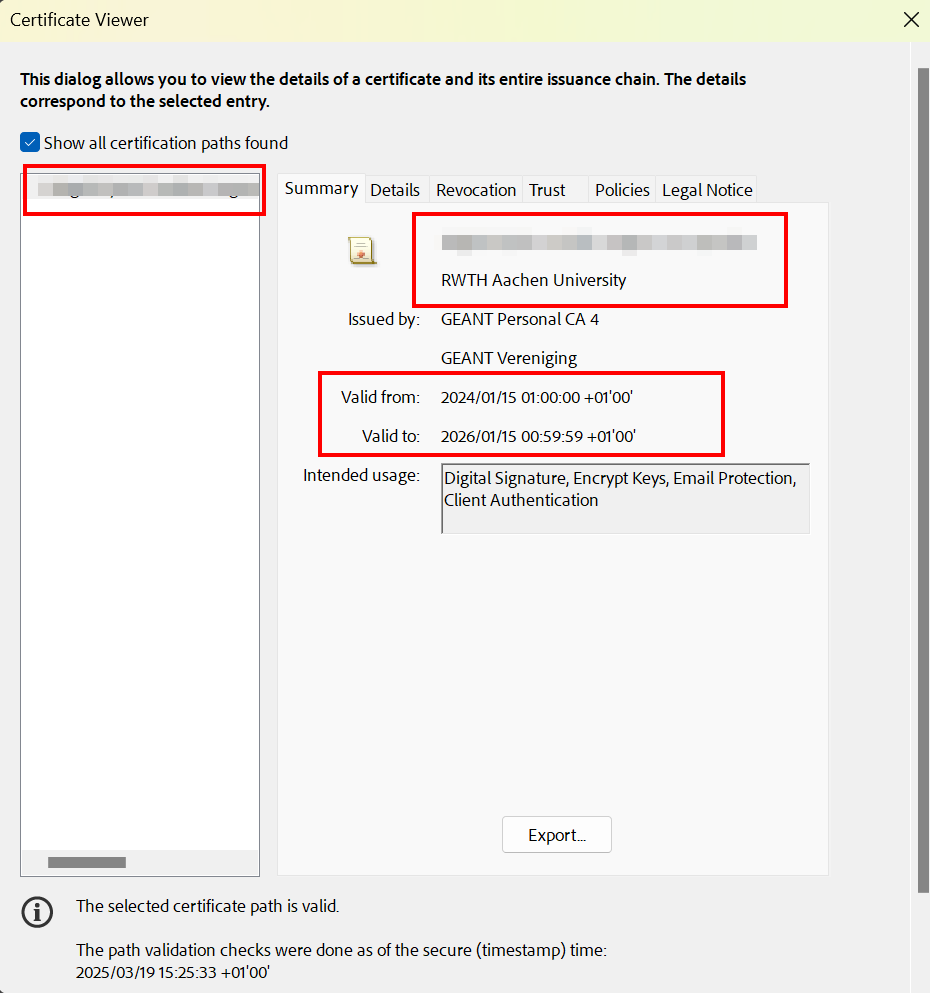
Step 8
The certificate viewer contains several modules. Use the tabs to display additional details about the user certificate and all other certificates in the certificate chain:
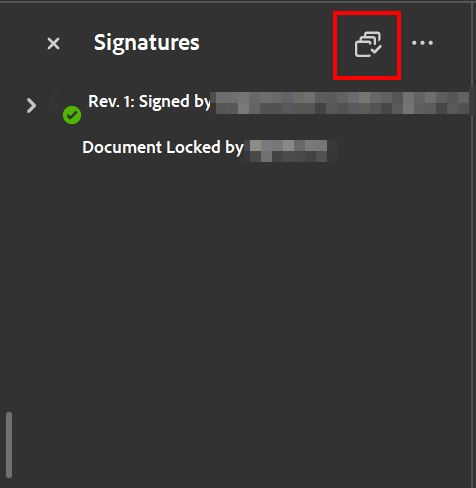
Step 9
If the document contains several electronic signatures, you can start the validation process for all signatures simultaneously by clicking the button Validate All:
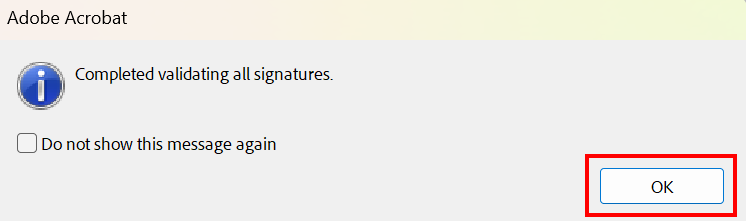
Step 10
When verifying all signatures simultaneously, a message window appears. You can disable this message for future checks using the checkbox:

Please confirm the validation by clicking OK.
Step 11
If the message There are problems with at least one signature appears during verification, this may indicate that the certificate of the digital ID used for signing has expired or that not all root certificates have been added under Trusted Certificates.
