Integrate DFN-LDAP as address book

You can configure Outlook to send digitally signed and/or encrypted e-mails.
These instructions were created using Outlook 2016 on Windows 10 (Latest update 23.04.2020). |

Configure the DFN-LDAP Address Book (optional)
Why you might want to use the DFN-PKI LDAP Server: If the recipient of an encrypted e-mail also has a DFN-PKI user certificate (most higher education facilities in Germany do), then you can send this encrypted e-mail without a prior handshake, i.e. exchange of digitally signed e-mails. |
|---|
|
|---|
|
|---|
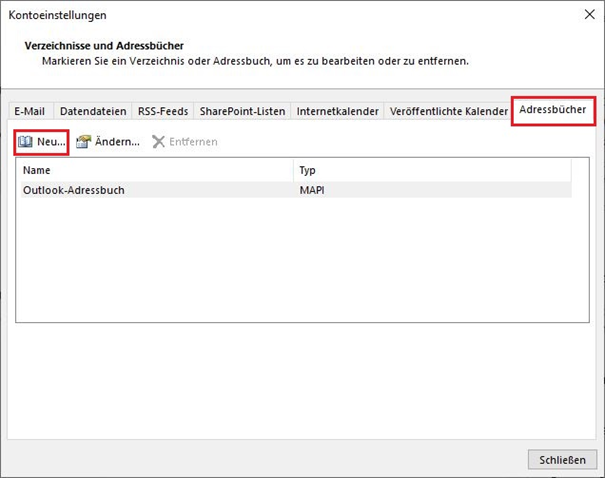 | You define a new Address Book. |
|---|
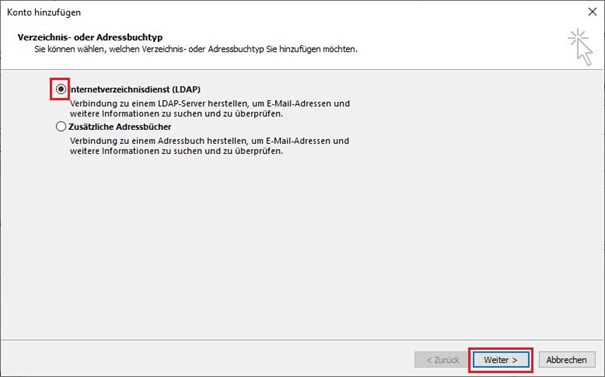 | Your new address book is a LDAP Server. |
|---|
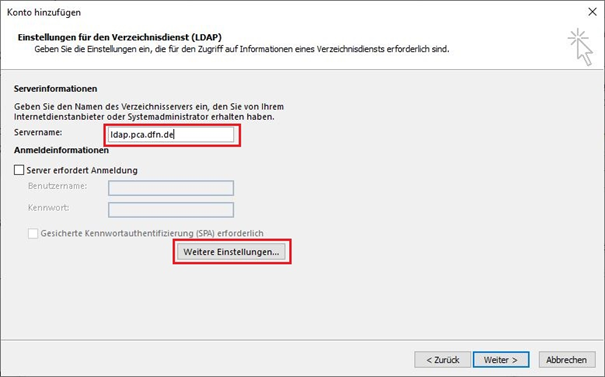 | The Servername is "ldap.pca.dfn.de" |
|---|
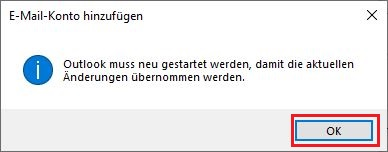 | This is just informing you that you need to restart Outlook, clicking on "OK" doesn't do it. You need to manually restart Outlook before you can use the new Address Book. |
|---|
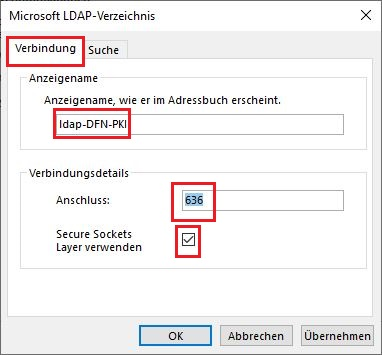 | This tells Outlook to use a secure connection to the LDAP Server. With "Anzeigename" you name your LDAP address book, e.g. "ldap-DFN-PKI".With "Anschluss" you define your TCP Port to the LDAP Server, the value "636" enforces a secure connection. |
|---|
 | Here you define the scope of your search within the LDAP (directory structure). Your widest search scope can be "ou=DFN-PKI,o=DFN-Verein,c=de". |
|---|
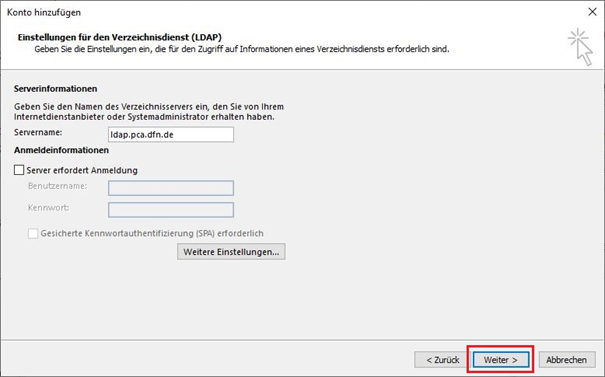 |
|---|
 |
|---|
 |
|---|
|

