


Configuring trusted certificates

Open Preferences
Start Acrobat Reader DC without opening a document.
Open Preferences by clicking Menu, and then clicking Preferences.

Navigate to the trusted certificates
The certificate chain/root certificate of the user certificates used at RWTH Aachen University is not included in the default settings of Adobe Acrobat DC.
To check or import the required root certificates, select the Signatures.
Under "Identities & Trusted Certificates", click More.

The "Digital ID and Trusted Certificate Settings" window opens.
Select Trusted Certificates from the menu.

Preinstalled certificates
Please note
Depending on the configuration of your trust services security settings, the Adobe Root CA G2 certificate and possibly the Adobe Root CA certificate are available by default.
The USERTrust RSA Certification Authority root certificate must be removed, and it is recommended that all pre-installed certificates be removed.
The Adobe root certificates may be reinstalled automatically, this is not a problem.

To validate an advanced electronic signature issued by both DFN-PKI and GÉANT/TCS, you need three root certificates (April 2025):
- The root certificate "T-TeleSec GlobalRoot Class 2" (rootcert_telesec.crt) of the DFN-PKI certificate chain.
- The root certificate "AAA Certificate Services" (root_cert_comodo.cer) from the Sectigo user certificate chain.
- The root certificate "HARICA Client RSA Root CA 2021" (HARICA-Client-Root-2021-RSA.cer) from the HARICA user certificate chain.
Please save above certificates locally using the linked URLs.
To import your root certificates into Adobe Acrobat DC, click Import in the top navigation.

The "Choose Contacts to Import" dialog box opens.
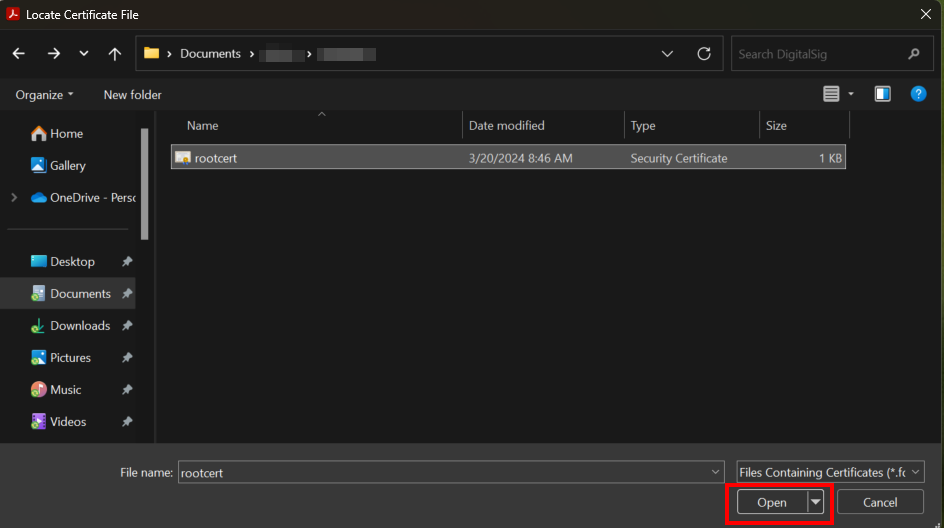
Click Browse.

Select for example the "T-TeleSec GlobalRoot Class 2" (file name rootcert_telesec.crt) certificate and click Open.
Please note
Sometimes .crt files do not appear in the list of files. If this is the case, please use one of these workarounds:
- In the field where you can type the name of the file, type "*.crt" and press Enter. Adobe should then display all files of type .crt.
- Rename the file from rootcert_telesec.crt to rootcert_telesec.p7b
Classify the certificate as trustworthy
The imported certificate is now listed under "Contact", here T-Telesec GlobalRoot Class 2.
Click on the certificate.

The certificate will now appear under "Certificates".
Click the certificate, and then click Trust.

The "Import Contact Settings" dialog box opens.
Under "Trust", select the check box next to "Use this certificate as a trusted root" and select the check box next to "Certified documents".
Click OK.

Confirm Import
Confirm the import by clicking Import.

Click OK.

Repeat the import process for the remaining root certificates
Repeat the process for the GÉANT/TCS Root Certificates (AAA Certificate Services/Sectigo and HARICA).
You should see all three root certificates (and the Adobe Root CA G2 certificate). Once all certificates have been imported, the configuration is complete. You can close the window "Digital ID and Trusted Certificate Settings".

