Importing your own .p12 file into the Windows certificate store
Please note
GÉANT/TCS certificates for functional e-mail addresses are issued without a CN (Common Name). This makes it difficult to configure the certificate via the Outlook Trust Center if you use several (functional) e-mail addresses, as it is impossible to identify a corresponding certificate for a functional e-mail address.
To solve the problem, you can change the display name of the certificate.
To be able to sign documents electronically or send signed or receive encrypted e-mails, you must first import your personal user certificate into the Windows certificate store.
To do so, please search fo the certificate file on your computer and execute it with a double mouse click:
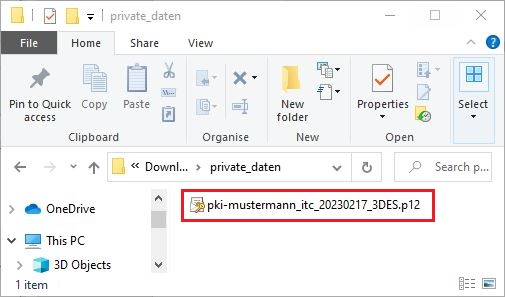
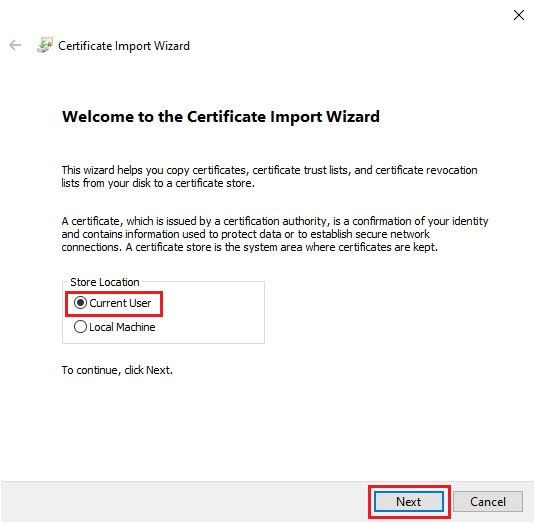
This will launch the Certificate Import Wizard:
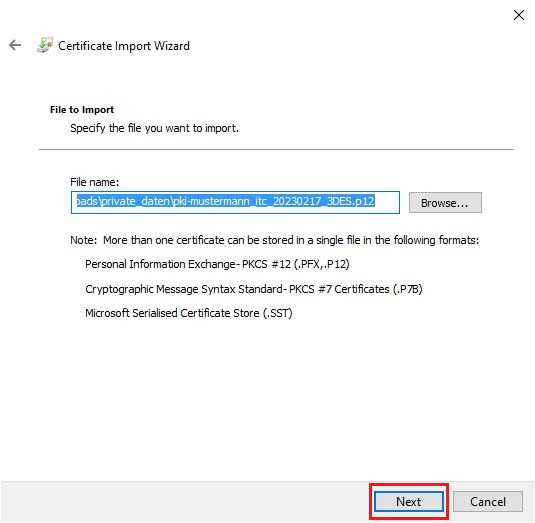
In the next step, you are to choose a certificate file. In your case, the file has already been chosen:
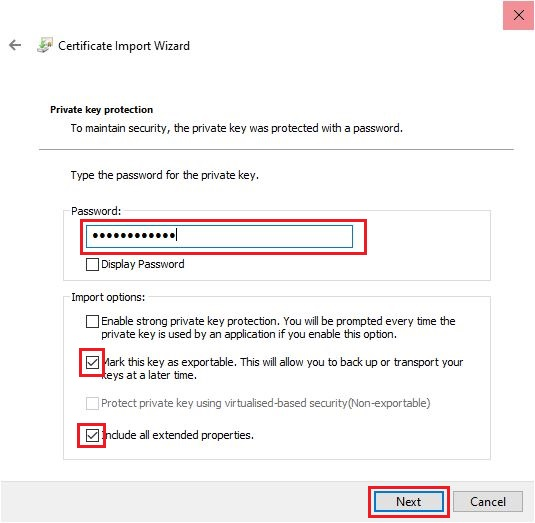
Next, enter the password you have set when creating the .p12 file.
Choose import options:
- We recommend that you do NOT select "strong private key protection". However, we do strongly urge you to make sure that at all times your computer can not be used by other persons.
- Should you wish to set "strong private key protection", be aware of the following complication. You will be asked (in three popups not shown here) to set a Windows CryptoAPI password to protect your private key. This password will need to be entered every time your email application or your document application creates a digital signature. In the long run this can grate on the most noble constitution.
- Choose "Mark key as exportable" to be able to generate a .p12 file from the Windows certificate store.
- This is optional, but a useful backup option were you to loose your.p12 file.
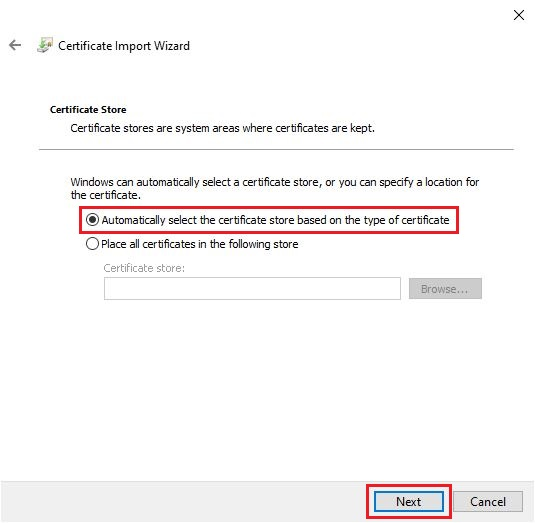
Choose a certificate store:
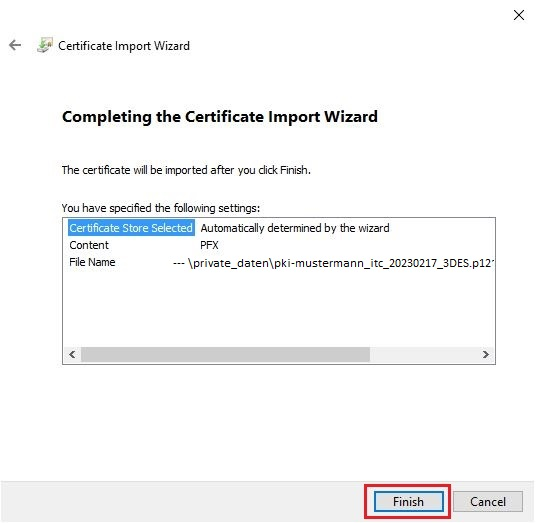
Click "Finish" to start the certificate import:
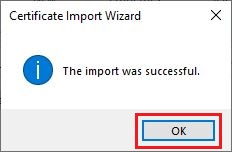
Click OK to complete the procedure:
