Configure Outlook to encrypt outgoing e-mails (optional)

This article descirbes how to configure Outlook so that you can send digitally encrypted emails.
The instructions were created with Outlook 365 version 2501 on Windows 11.
To be able to send encrypted emails, the recipient's public RSA key must be known. One of two requirements must therefore be met:
- There has already been a handshake with the email recipient account (you have already received a signed / encrypted email from the recipient).
- The DFN-LDAP or RWTH-LDAP must have been integrated as an address book and the DFN-LDAP or RWTH-LDAP must be used when sending.
In both cases, the recipient must be explicitly saved as a separate ‘contact’.
To configure encryption in Outlook, carry out the following steps:
Step 1
First log in to Outlook or open your mailbox.
Step 2
In the Outlook mailbox, click on File and select Options at the bottom left.
Step 3
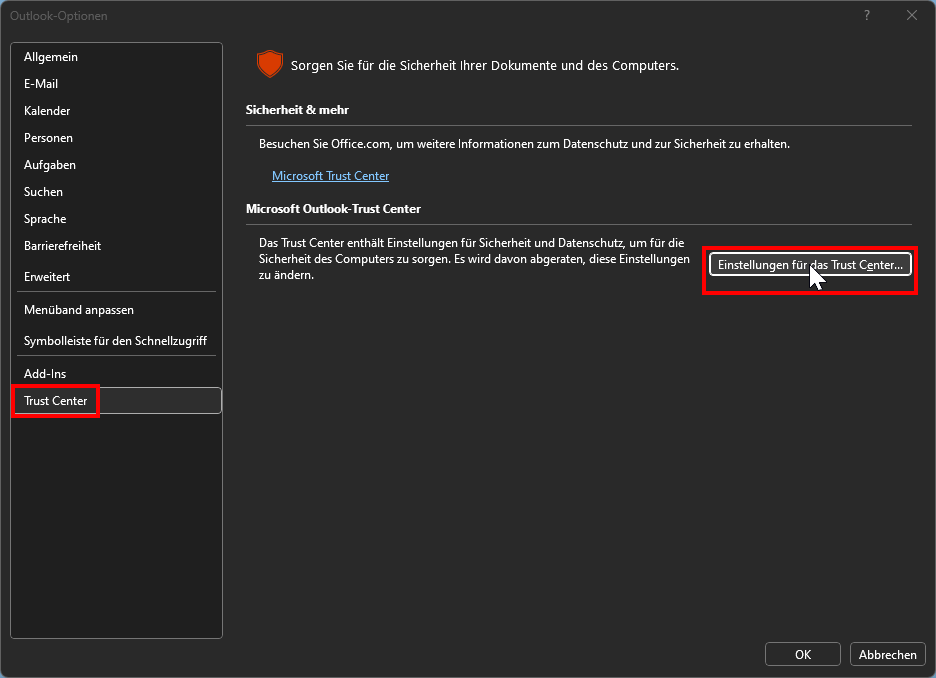
In the window that opens, select the Trust Centre option at the bottom and click on Trust Centre settings... .
Step 4
Select the Email security option in the Trust Centre.Here you can select several options for email encryption and signing.
To configure encryption, tick the Encrypt content and attachments for outgoing messages box.
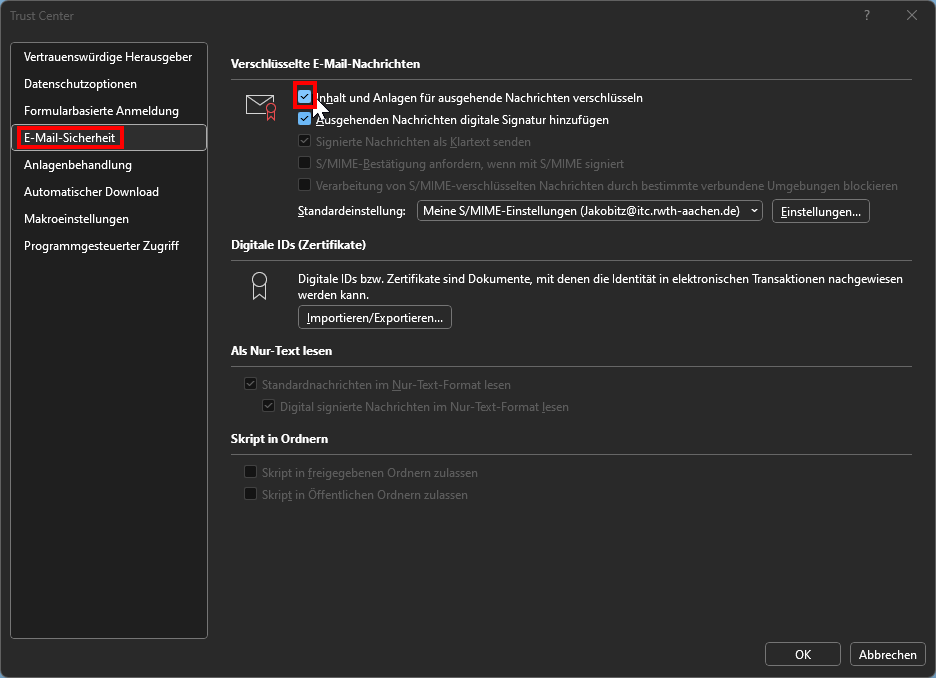
With this setting, Outlook attempts to encrypt all outgoing emails. This only works if the encryption prerequisites are met.
Step 5
When you now send an email, it is automatically encrypted.
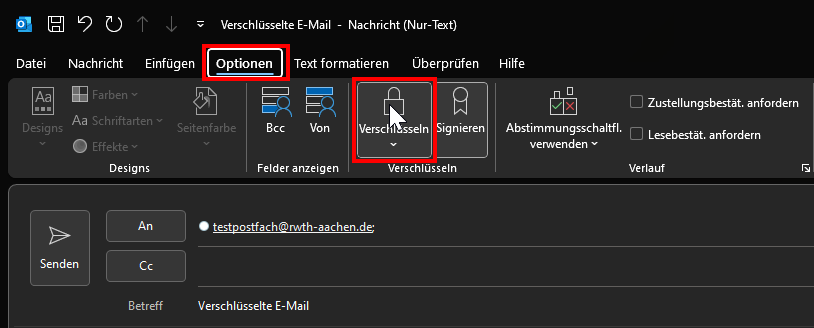
If you have not activated the setting in step 4, but still have an active user certificate, you can manually select for each email whether it should be encrypted.
To do this, select the Options tab after you have clicked on Send new email.
If the recipient's public RSA key is not recognised and therefore the requirements for encryption are not met, you will receive the following message.

Please check again whether the DFN-LDAP or RWTH-LDAP have already been integrated as an address book. Outlook must be restarted after integration.
In addition, the DFN-LDAP or RWTH-LDAP must be used when sending.
Step 1
If all settings are correct, the emails are now encrypted and signed and will also arrive at the recipient in this configuration.
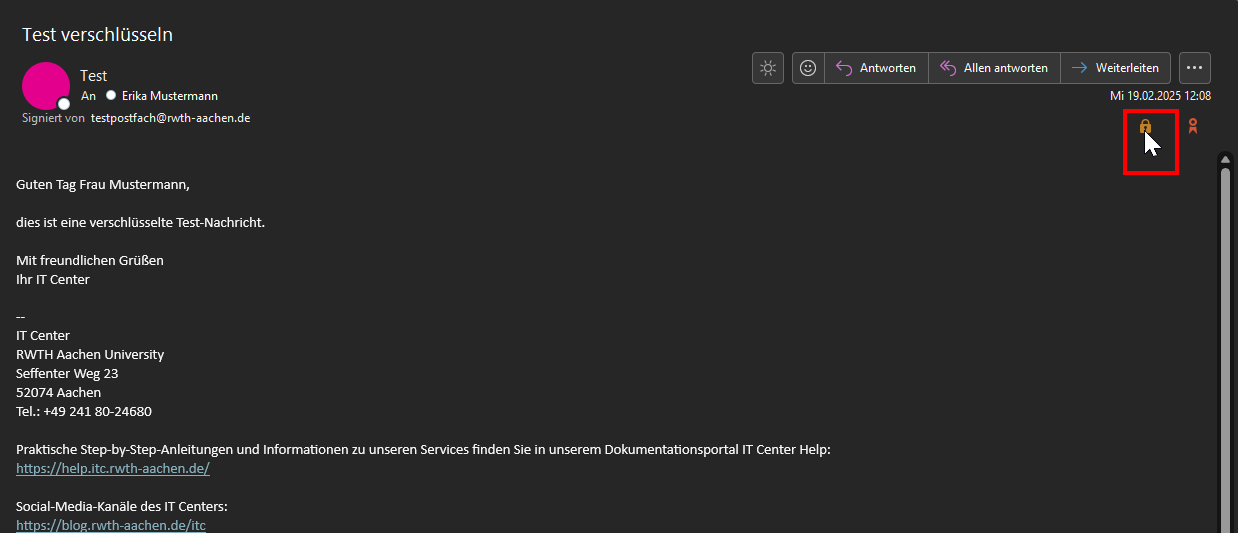
You can check for yourself under Sent items whether the lock symbol is visible on the respective email.
The subject can also be read by all recipients of encrypted emails.
The email text can only be read by recipients if Outlook recognises the ‘own’ user certificate (of the recipient).
Step 2
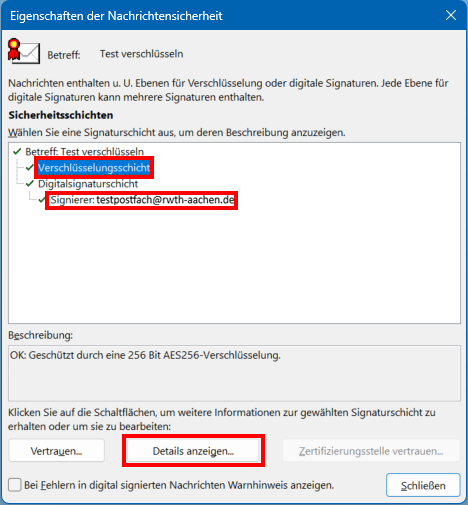
If you want to find out more details about the encryption and the certificate, click on the lock symbol for an encrypted e-mail.
Step 3
As soon as you are in the Message Unit Properties window, you can select different signature layers and Display the details for each... .