Apple Mail (iOS)

This guide describes how to import a user certificate on an iOS device and subsequently set up Apple Mail to digitally sign your emails.
Digital signatures allow the recipient of an email to verify...
- the identity of a sender
- that an email has not been modified while being transmitted
This guide may also be used to replace an old (e.g. about to expire) certificate with a new one.

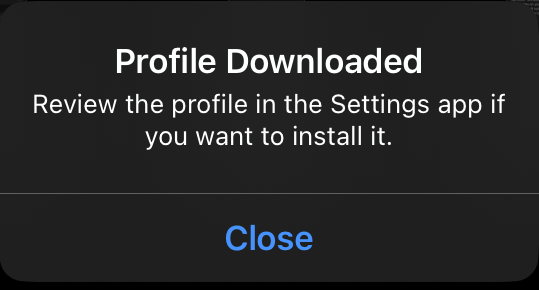
Import the certificate file to your device. The file can have the format .p12 or .pfx, such a file contains all your cryptographic keys, your S/MIME certificate and the certificate chain. Select the appropriate file. This will result in a notification that a profile has been downloaded.
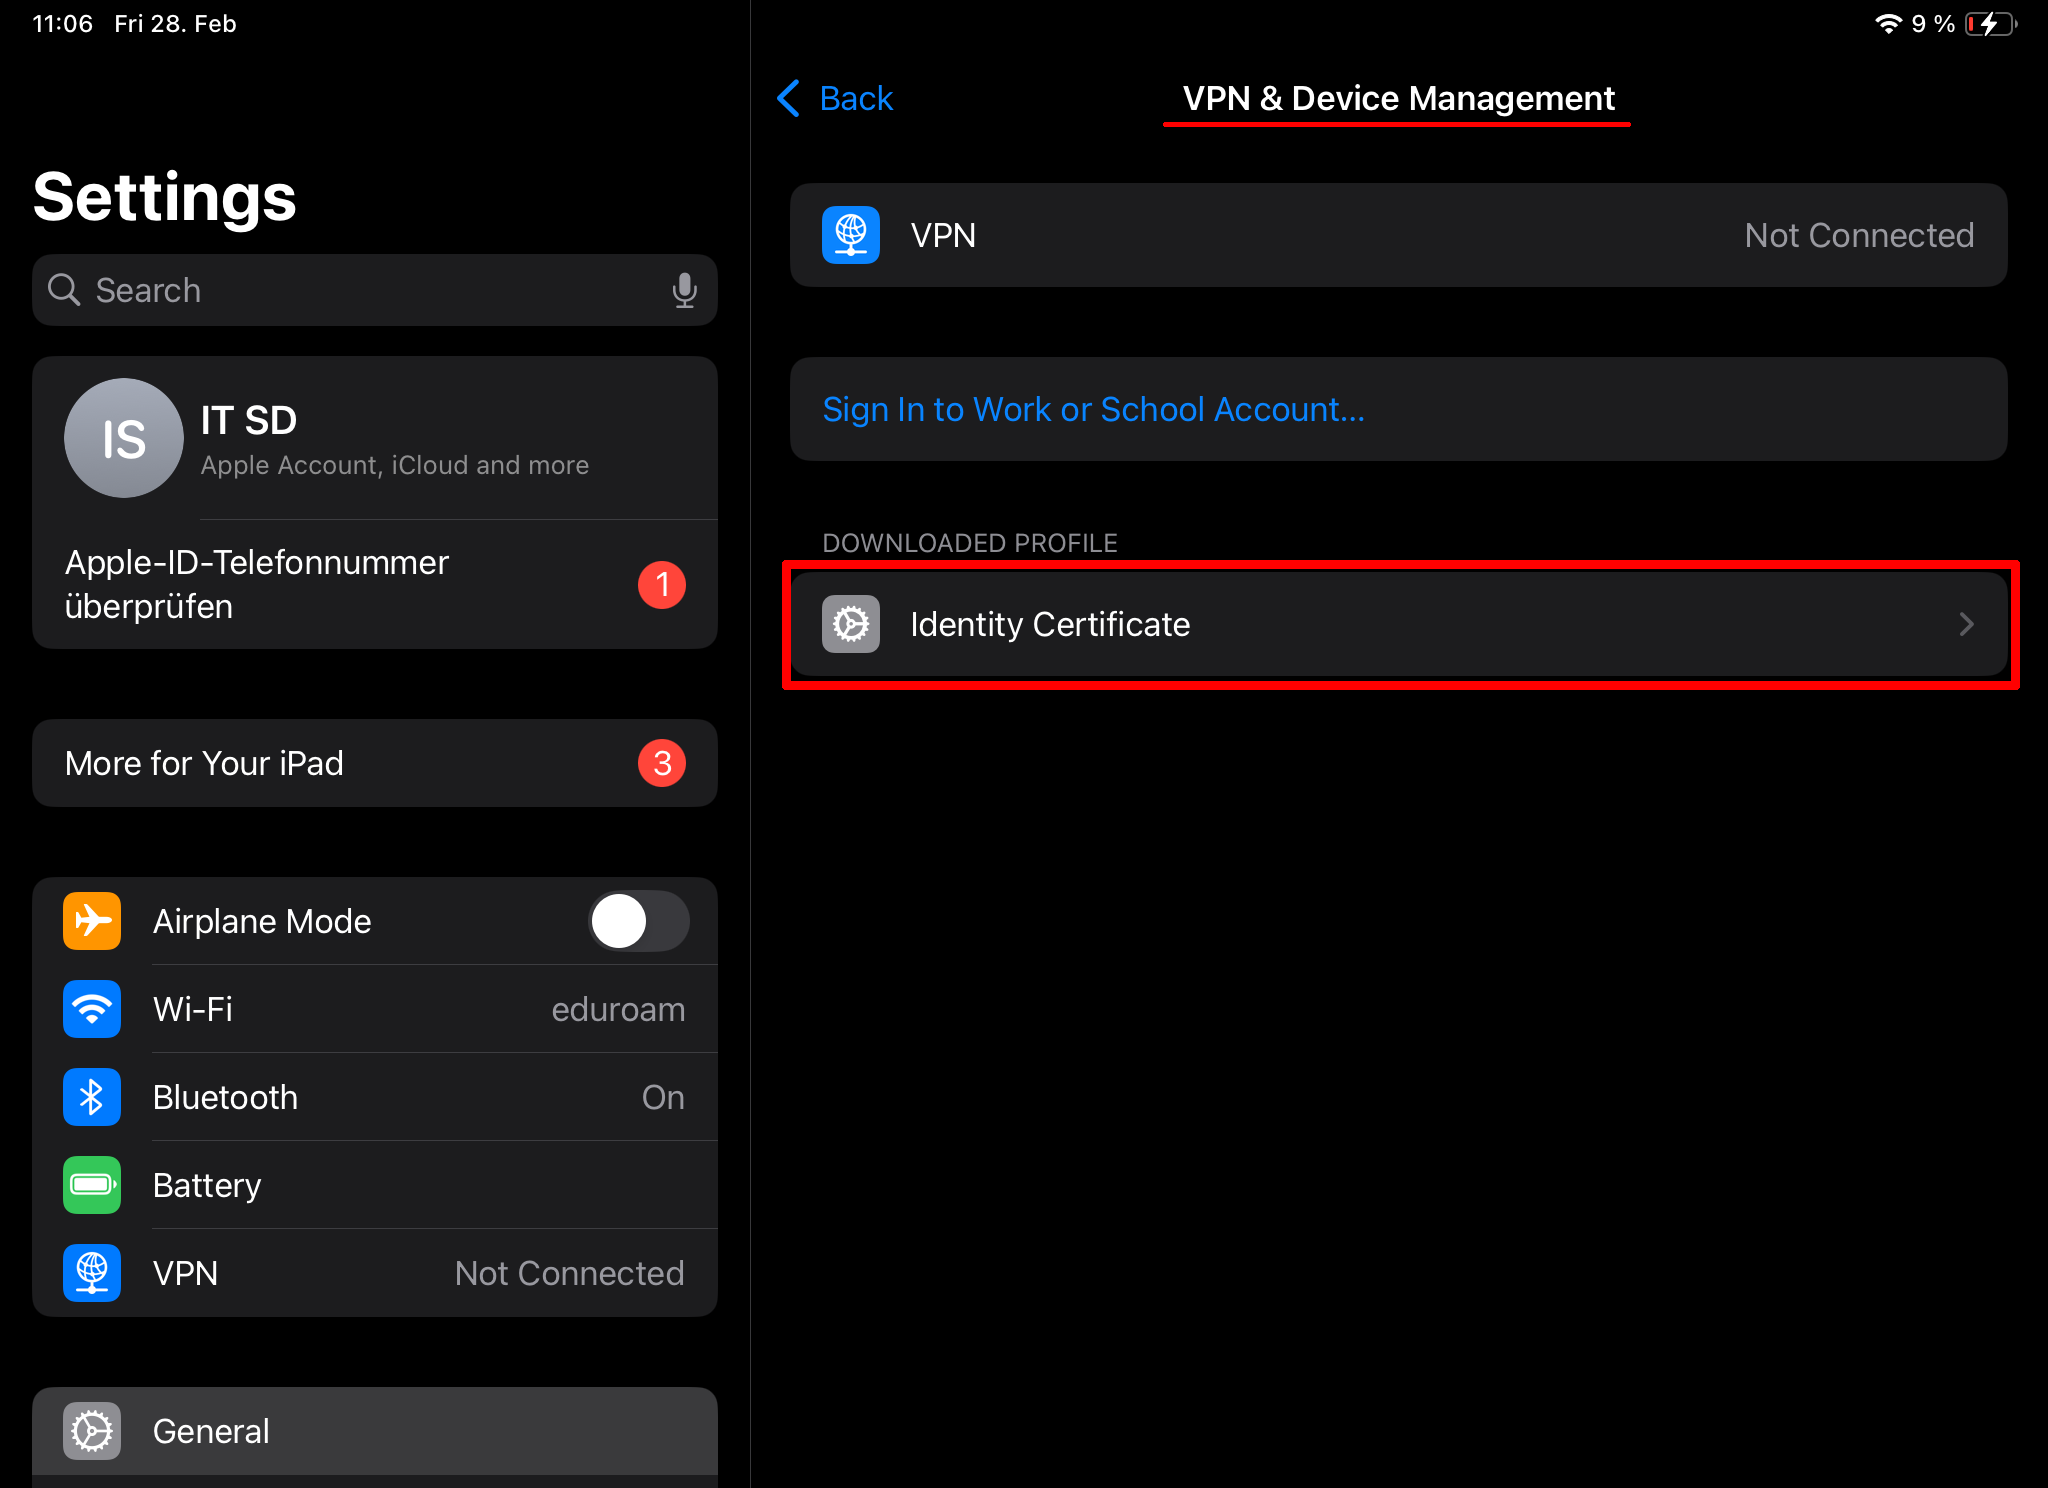
Go to your settings and search for "VPN & Device Management". Select "Identity Certificate" in the list of downloaded profiles.
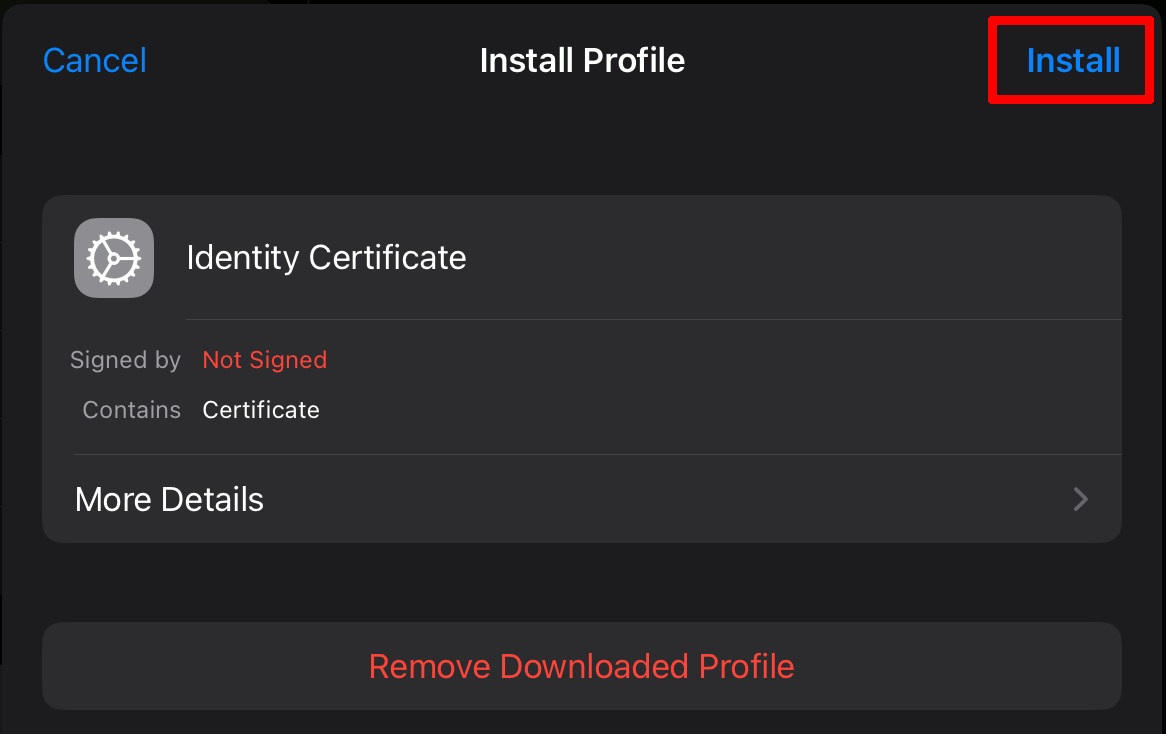
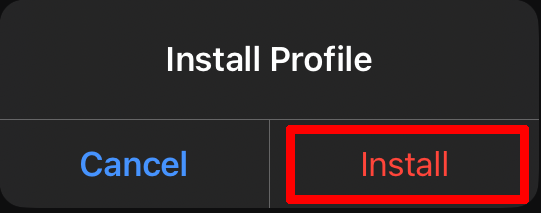
"Install" the profile.
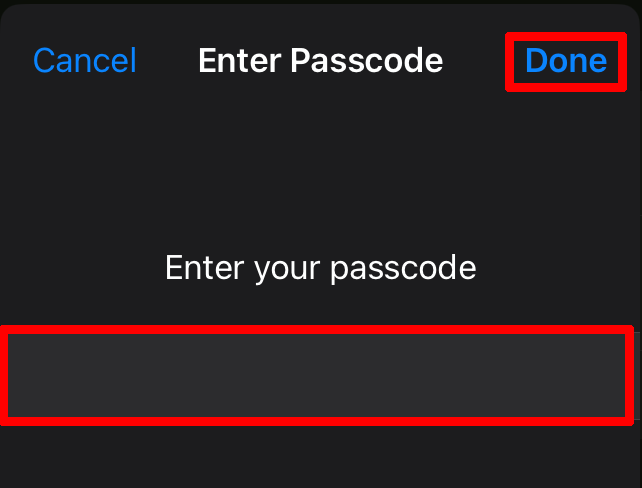
Confirm the installation with your device's passcode and select "Done".
Confirm that you want to "Install" the profile even though it is not signed.

Select "Install" again.
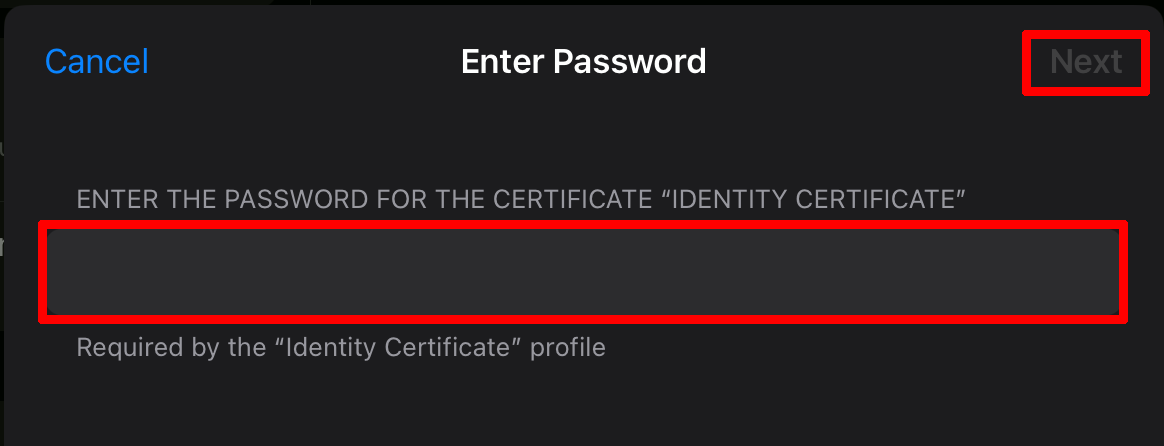
Enter the password for your certificate file. This is the password that you defined when you saved/created the used .p12 file. If you do not know the password for your .p12 file, you may be possible to export a new certificate file from a device on which the certificate is already installed. Select "Next" to continue.
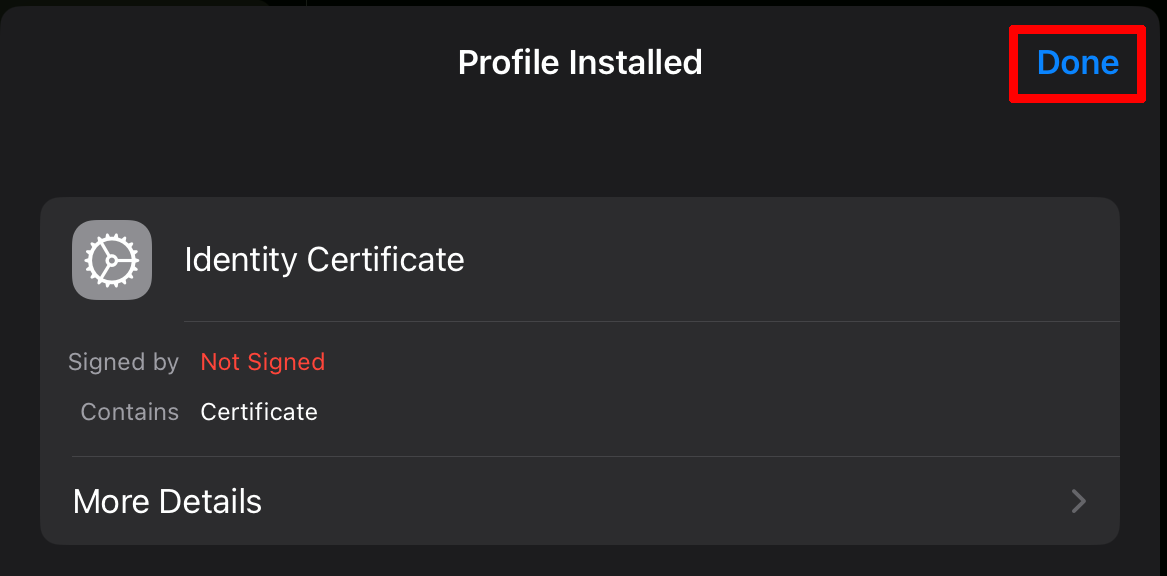
You will be shown a confirmation that the profile was installed. This means that your cryptographic keys and your certificate have been imported onto your device. You can close the dialogue with "Done".
Setting up Apple Mail to digitally sign your emails
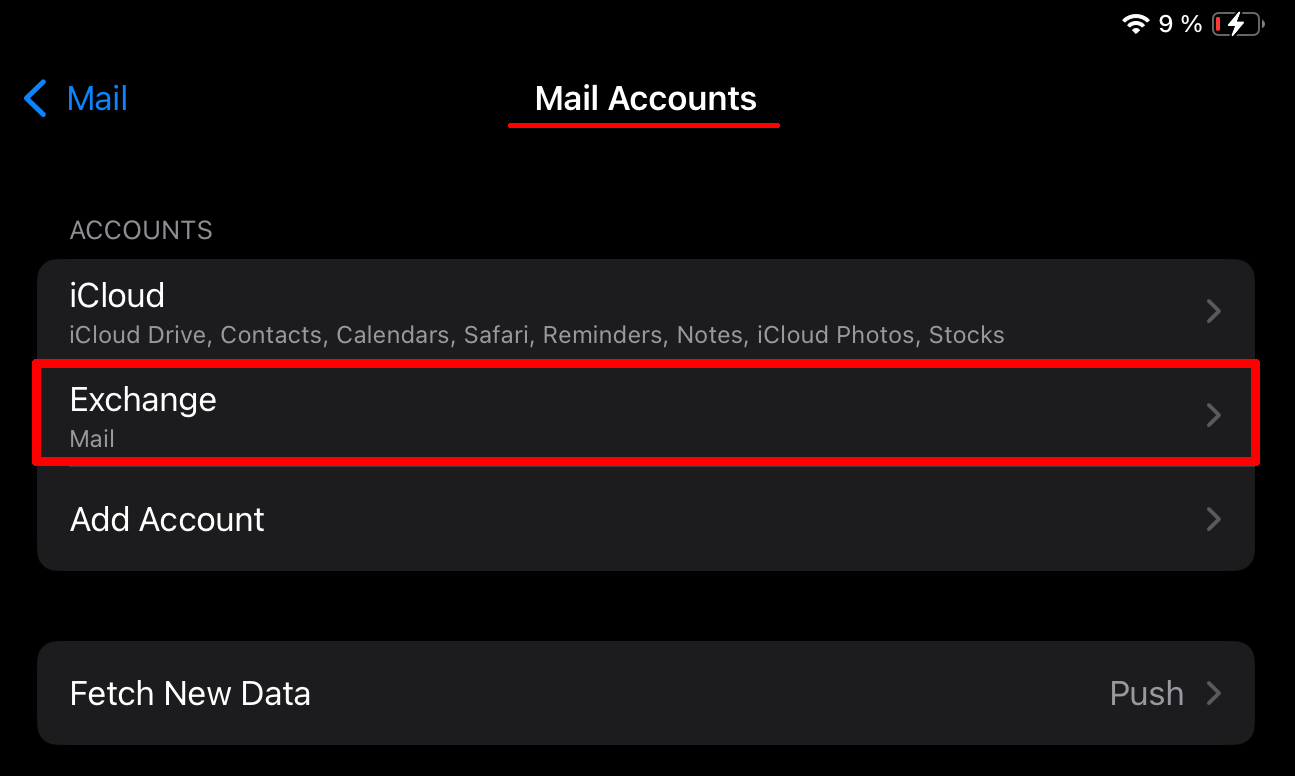
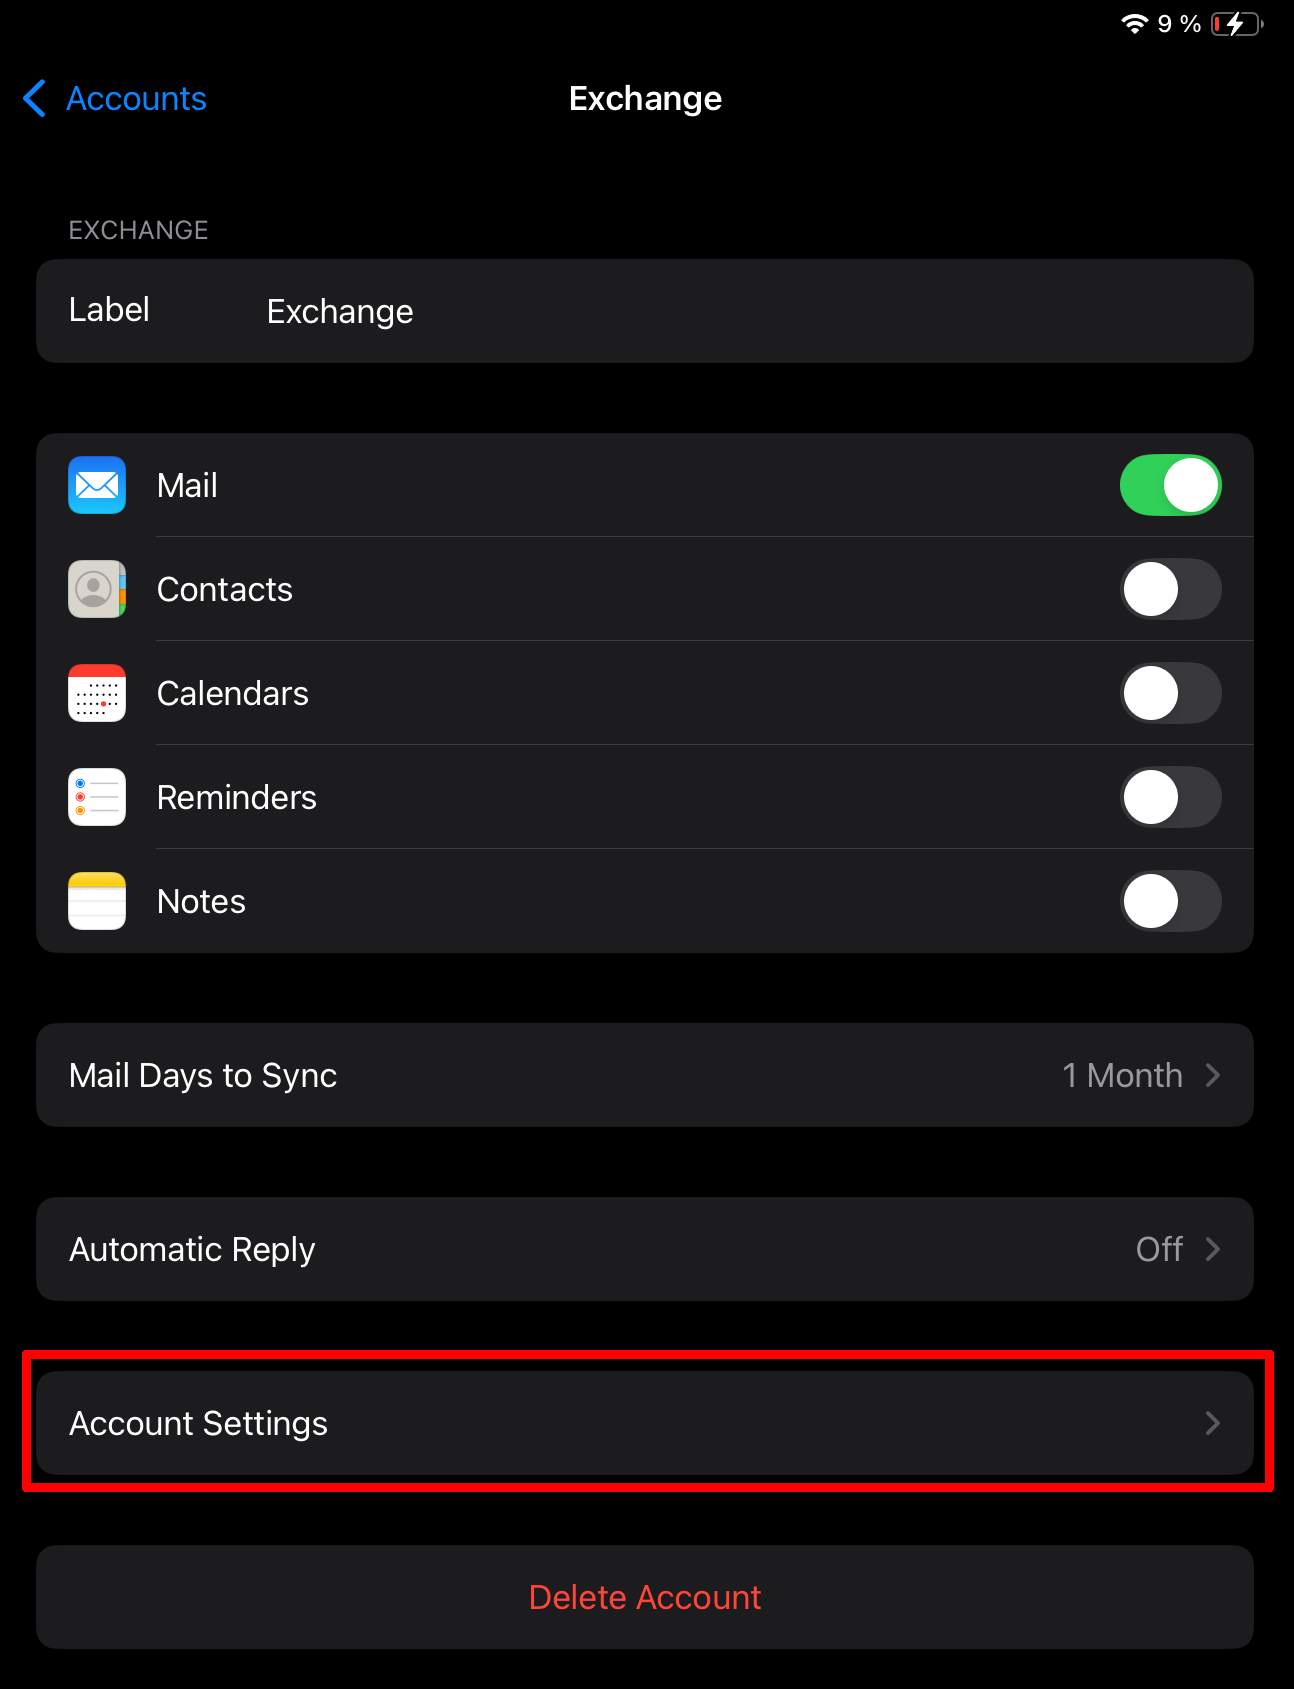
Go to your settings and search for "Mail Accounts". This setting shows a list of accounts that are configured on your device. Select the account for which your S/MIME certificate was issued. In this example this is the account which has been configured to use Exchange for an RWTH email account.
Open the "Account Settings".
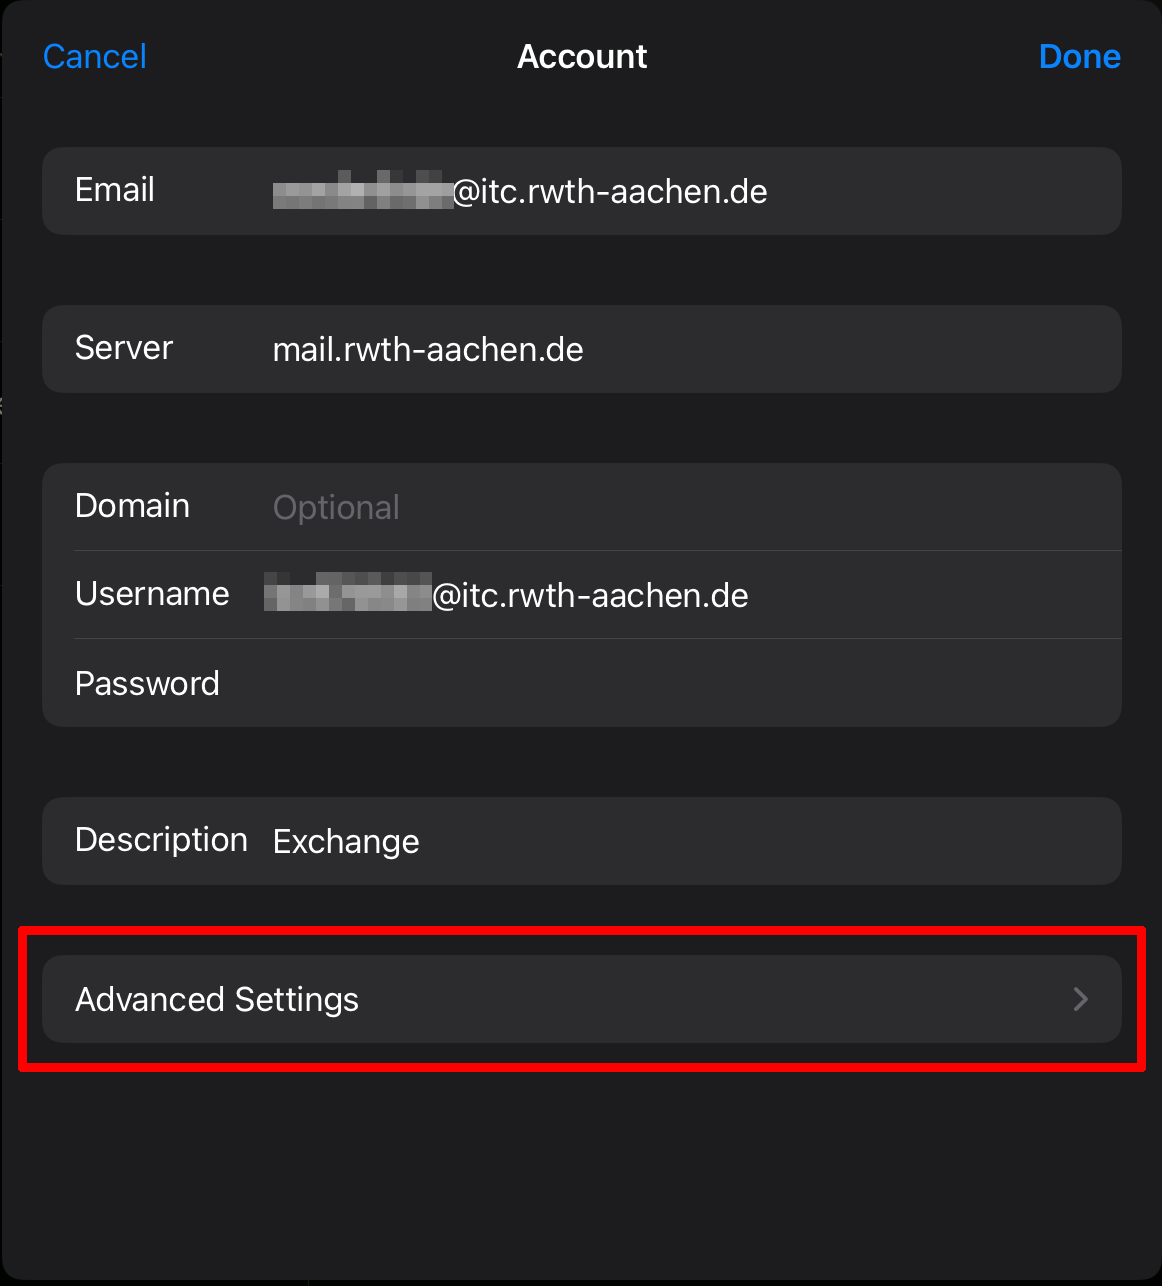
Open the "Advanced Settings".
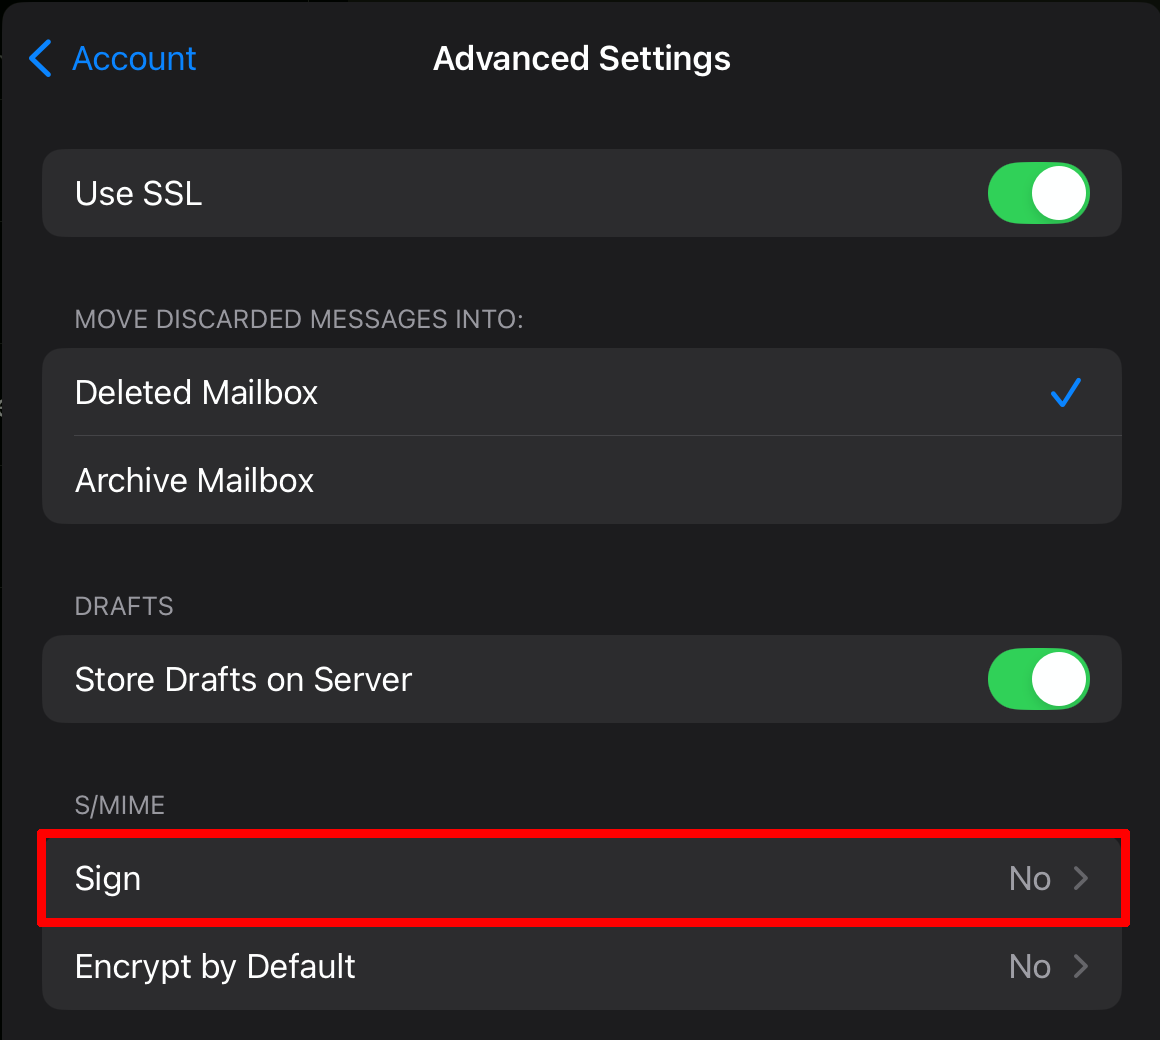
By default the "Sign" option will be set to "no". Select it to open the setting.
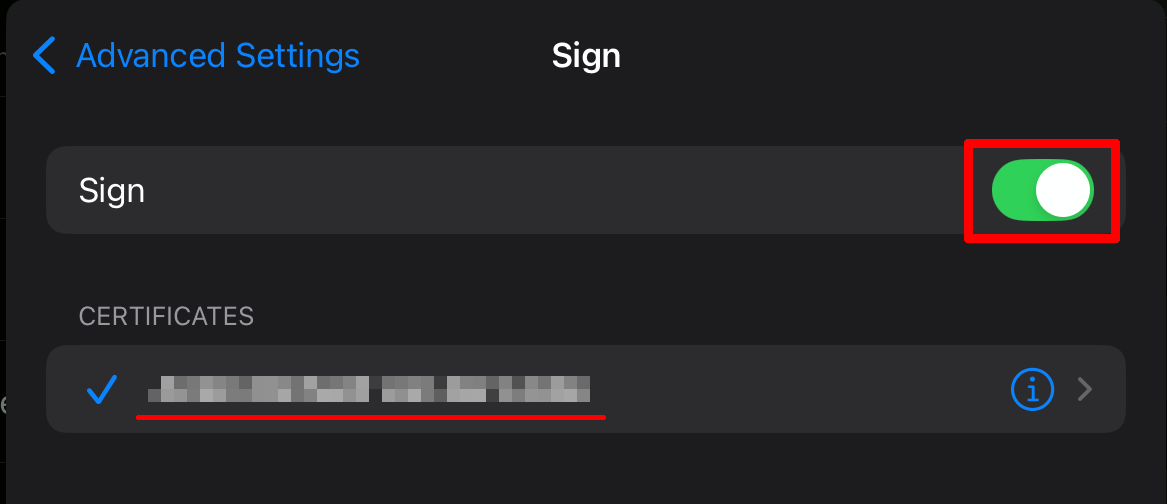
Select the slider so that it is green. You can select which certificate should be used from the list of certificates that are installed on the device. If you return to the advanced settings, "Sign" should be set to "yes".
You can exit the settings. Apple Mail is now configured to digitally sign outgoing emails for the applicable email address.

