


eduroam from a network socket (Windows 10/11)

This page describes how to connect to eduroam from the network socket.

You can configure your device in 3 to 4 steps:
- Start automatic configuration
- Settings for Ethernet-Authentication (Windows 11 only)
- Network settings (Windows 10 and 11)
- Connecting to eduroam
1. Start automatic configuration
Step 1
Search for the Services application via the windows-searchbar.
Step 2
Search for Wired AutoConfig in the Name column. The Status column is empty.
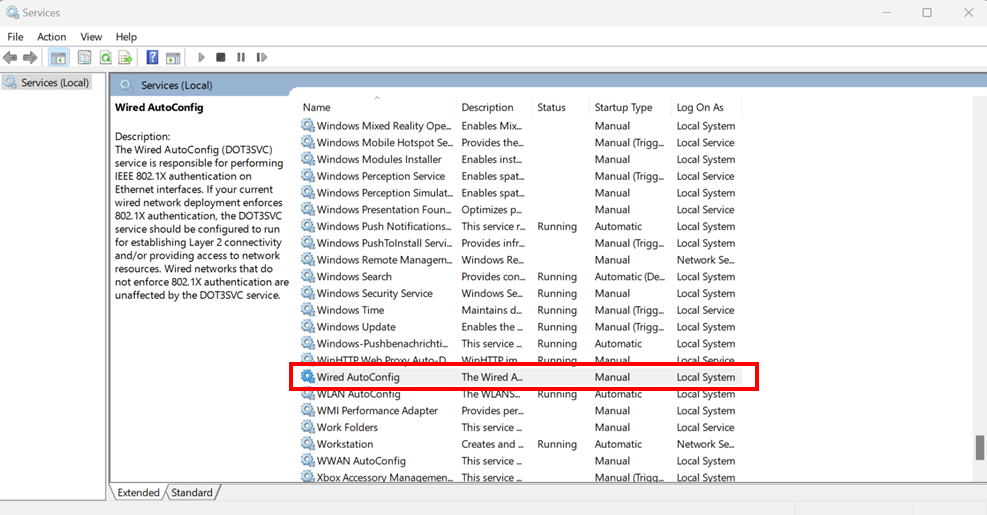
Step 3
Open on Wired AutoConfig with a double-click, to open the properties.
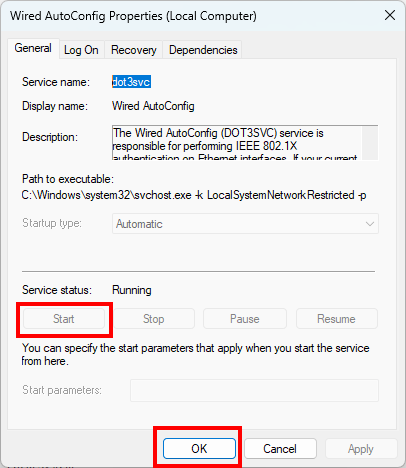
Step 4
If it is not started already, click on Start under Service status.
Step 5
The service status now shows as Running. Click OK.
Step 6
Close the Services application.
If you are using Windows 10, go to Network settings (Windows 10 and 11).
If you are using Windows 11, please continue reading.
2. Settings for Ethernet-Authentication (Windows 11 only)
Step 1
Open the settings.
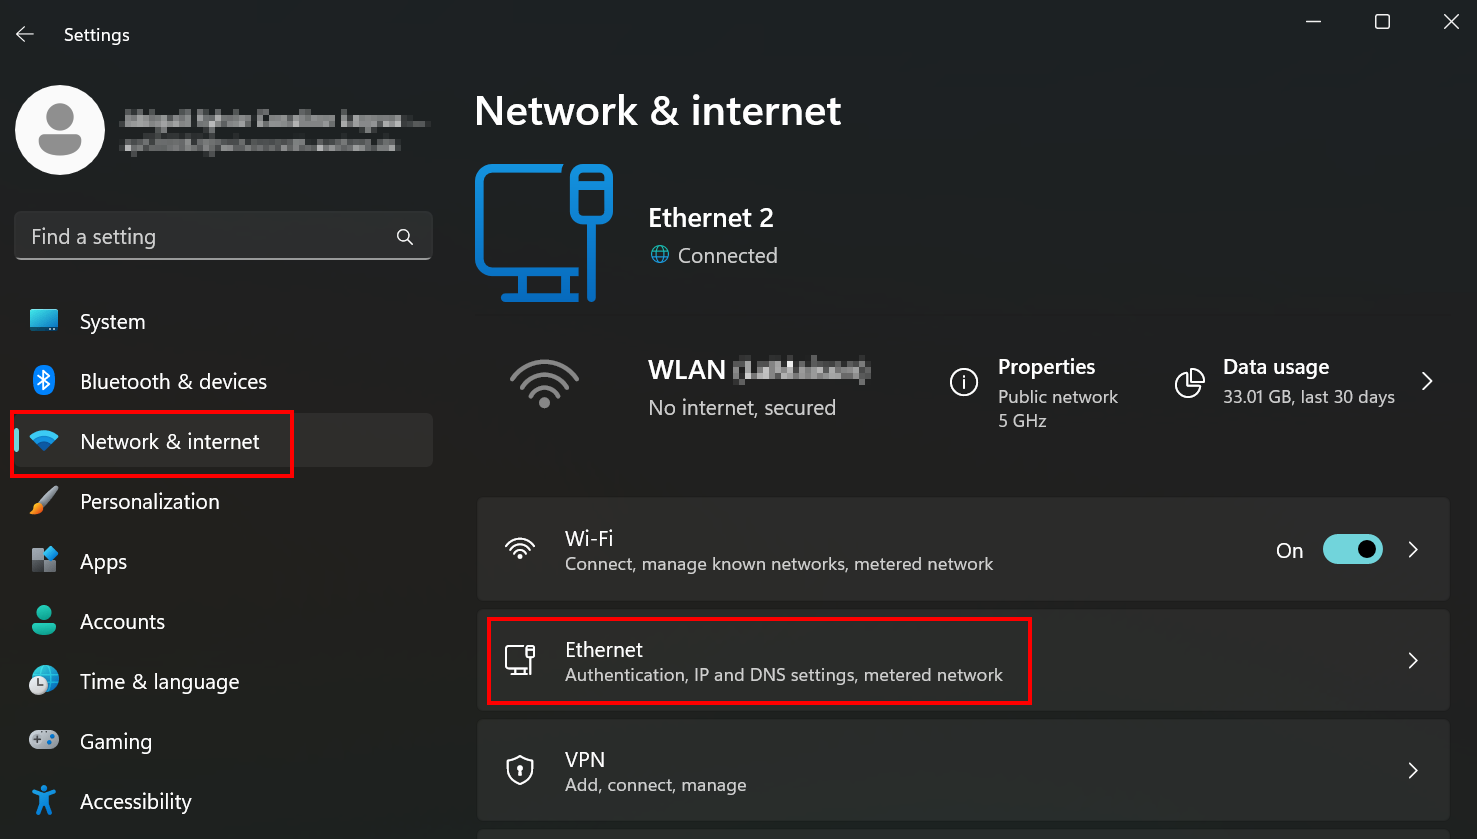
Step 2
Click Network & Internet.
Step 3
Click Ethernet.
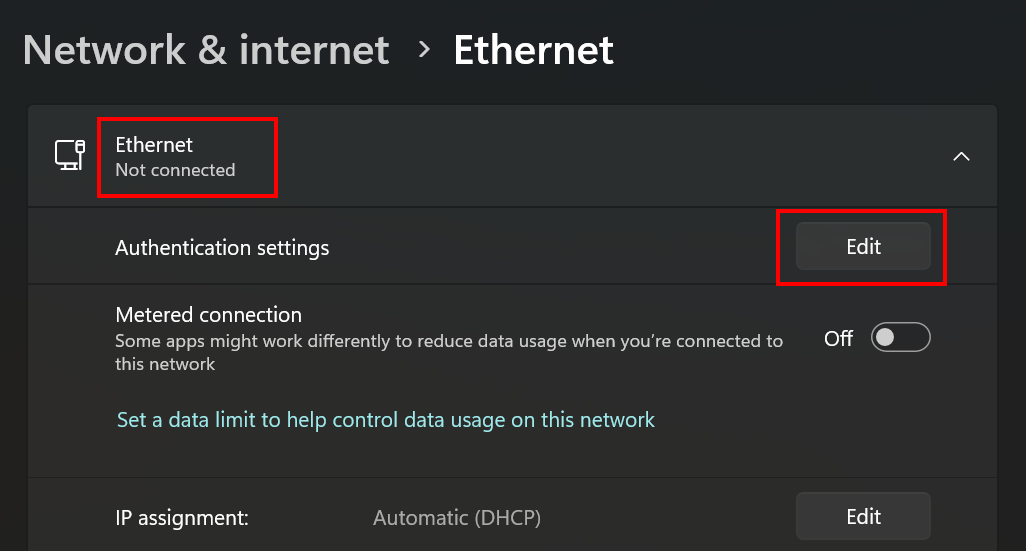
Step 4
Click on an unconnected Ethernet connection.
Step 5
Click Edit next to Authentication settings.
Step 6
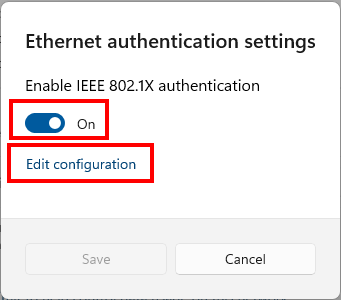
Activate IEEE 802.1X authentication.
Step 7
Click Edit configuration.
Step 8
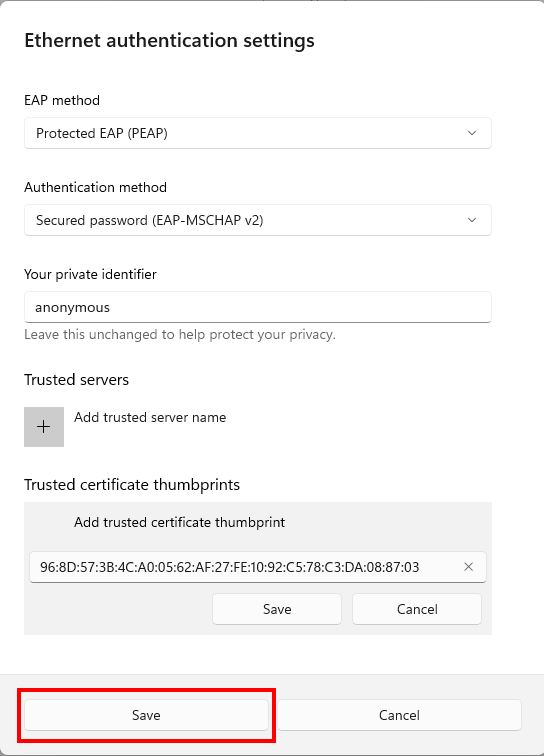
Set the following settings:
- EAP-Method: protected EAP (PEAP)
- Authentication method: Secured password (EAP-MSCHAP v2)
- Your private identifier: anonymous
- Trusted Server: leave empty
- Trusted certificate fingerprints: Copy the value from the general configuration of eduroam. It is located under Radius certificate GÉANT/TCS, next to SHA1 fingerprint.
Step 9
Click Save.
3. Network settings (Windows 10 and 11)
Step 1
Make sure that your device is not connected to the network socket.
Step 2
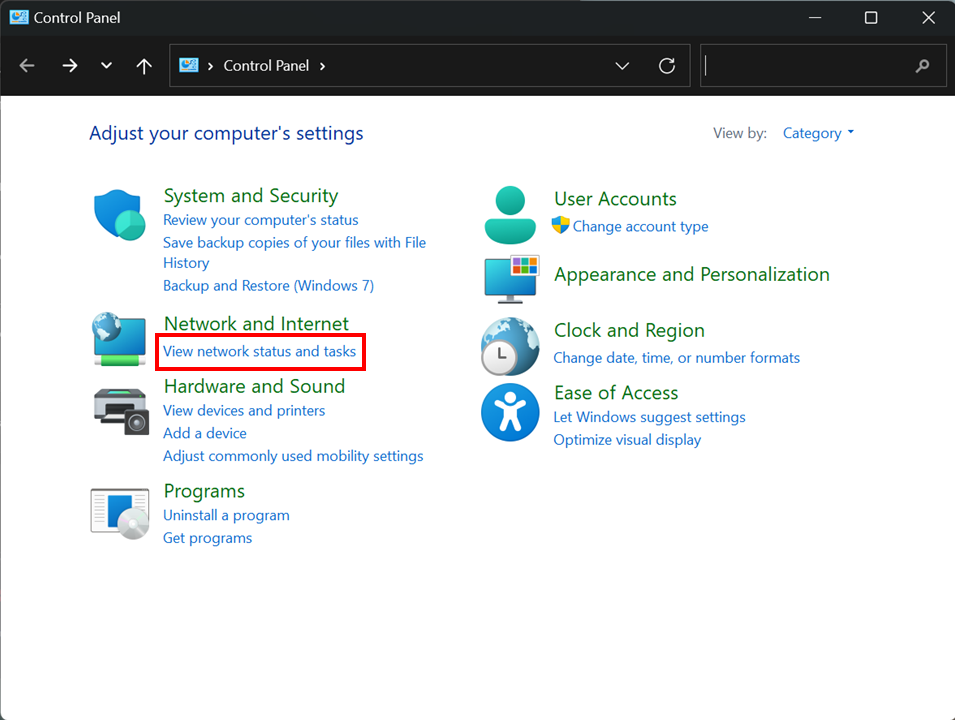
Search for Control Panel.
Step 3
Click View network status and tasks under Network and Internet.
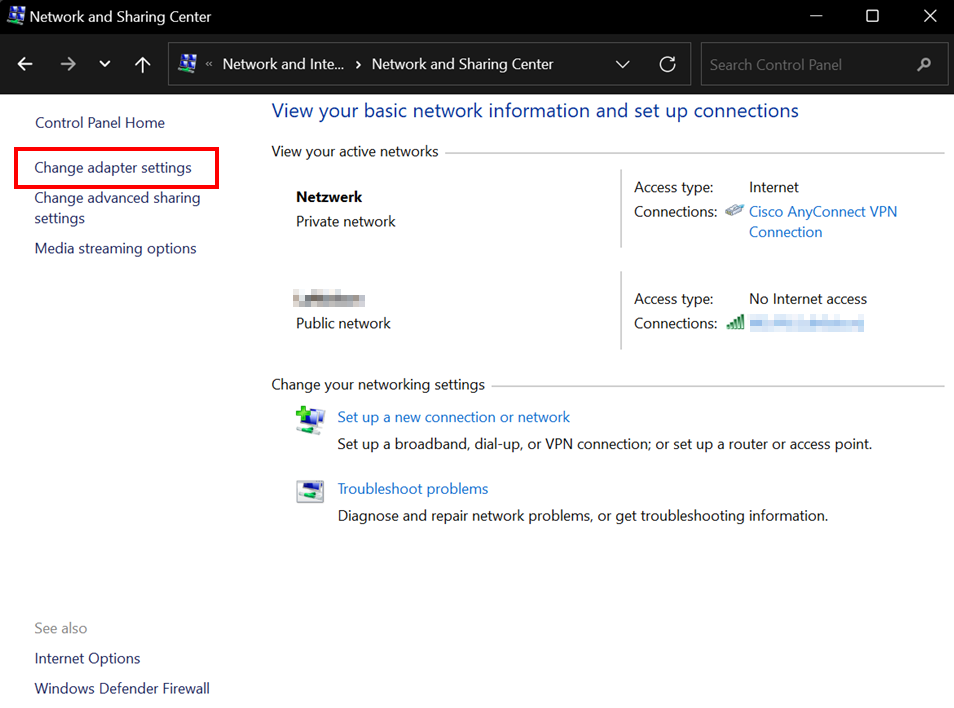
Step 4
Click Change adapter settings.
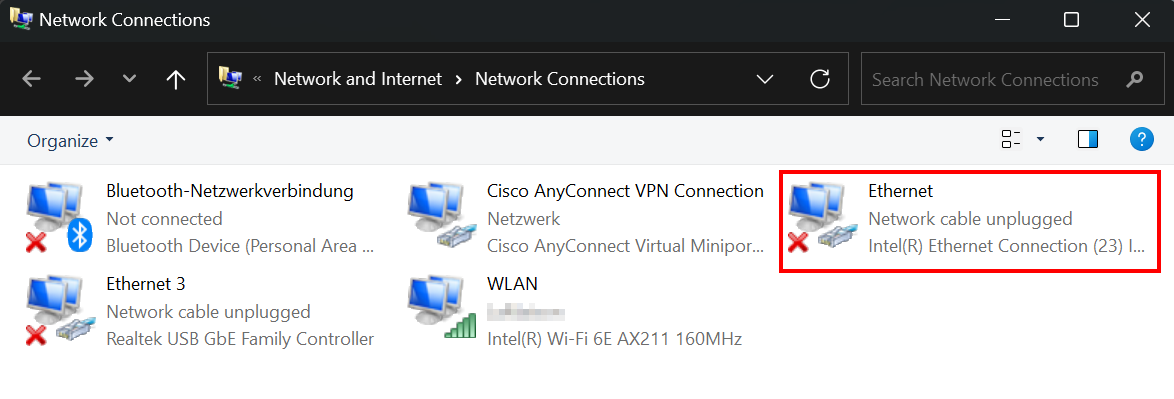
Step 5
Double-click on Ethernet.
Step 6
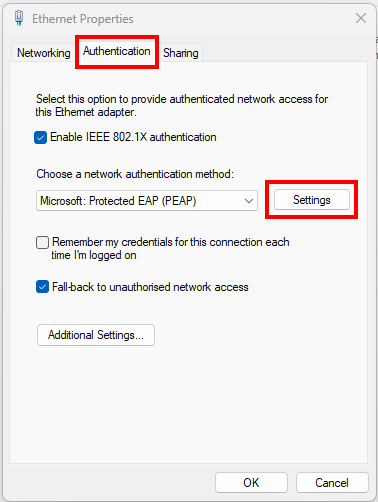
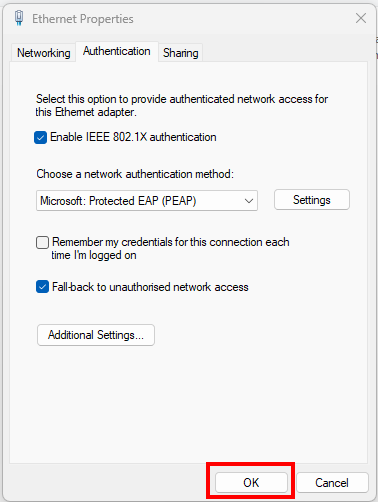
Click Authentication.
Step 7
Activate Enable IEEE802.1X authentication.
Step 8
Choose Protected EAP (PEAP) as network authentication method.
Step 9
Click Settings.
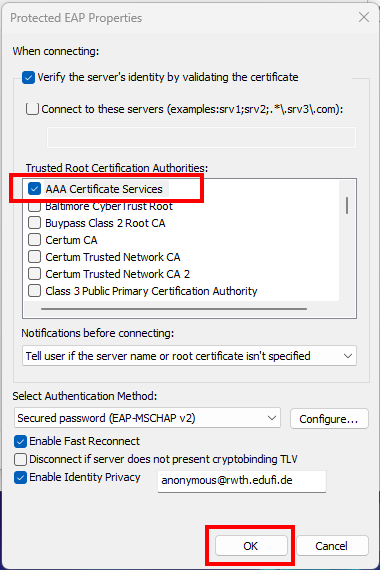
Step 10
Choose AAA Certificate Service under Trusted Root Certification Authorities.
Optional
If you want to activate identity privacy, please make sure that the domain part of this entry matches your username (here: @rwth.edufi.de).
Step 11
Click OK.
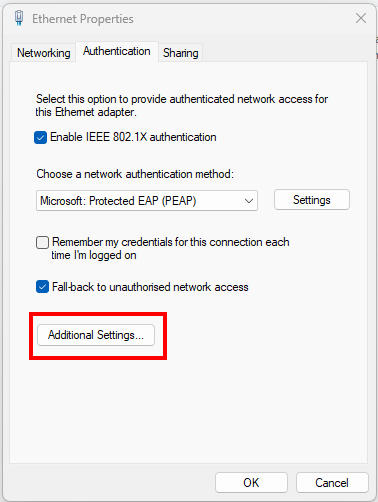
Step 12
You are now back to the authentication tab. Click Additional Settings.
Step 13
Tick the checkbox next to Specify authentication mode.
Step 14
Select User authentication from the drop-down menu.
Step 15
Click OK.
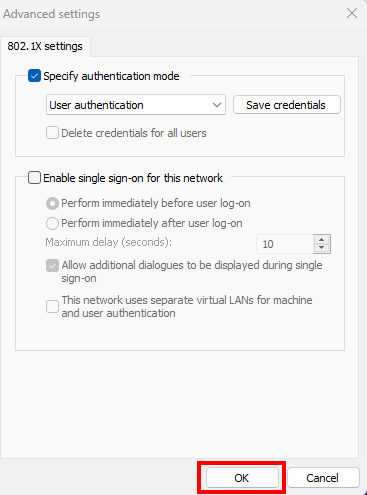
Step 16
Click OK.
4. Connecting to eduroam
Step 1
Connect your device to the network socket.
Step 2
Enter your eduroam login credentials.
Step 3
Click OK.
Your device is now connected to eduroam.
