


Windows

Follow the step-by-step instructions to install the Commvault backup software:

- Login to the Commvault Command Center at: https://console1.dasi.rwth-aachen.de/ with <egal@rwth-aachen.de>

- Redirecting to RWTH Single Sign-On
Note:
- Before entering the RWTH identifier (ab123456) and password, please check here that the transmitted personal data should be displayed.
- If necessary, you can read your context ID (cid) from the line "Roles and groups" here. This information is equivalent to your group name in Commvault.


Commvault Download Area:
In the Command Center download area, you can find the installation packages currently available to you.
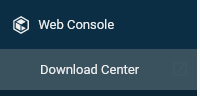
To do this, click on "Webconsole" in the side menu and then on "Download Center".
- Select Package
Select the appropriate package for your operating system.
- Implementation
Unzip the folder "Commvault Set up Windows"
- Starting the installer
Run Setup.exe from the installation package. The installation wizard opens.
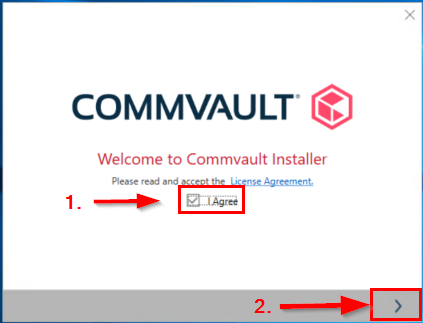
- Confirmation of the license terms
Check the 'I Agree' box to confirm the license agreement.
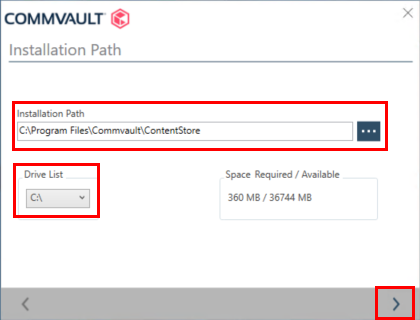
- Check the installation directory and adjust if necessary.
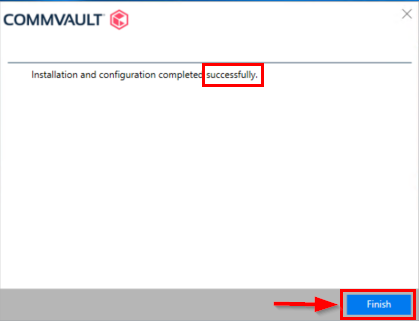
- After the successful installation you can close the installation wizard with 'Finish'.

After successful installation, you can proceed with the configuration of your first server. Initially you will be asked for a server name. Here you can find instructions for the server name - FQDN.
Once the installation process is completed, proceed with Client assignment to groups
Note:
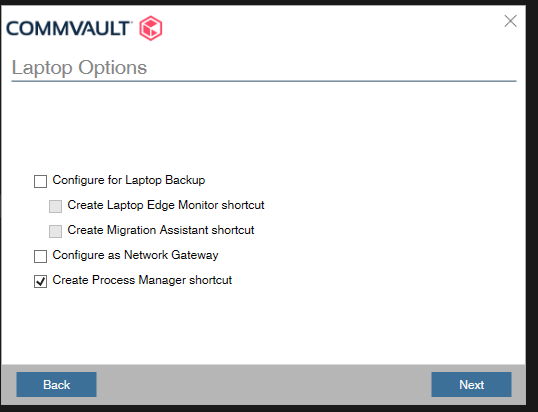
- In some versions, the following window appears after agreeing to the license terms. For a successful installation, nothing needs to be changed in the preselection.
Error message "Client FQDN does not exist".
When installing the Commvault software, you must choose a short name that corresponds to the FQDN. Unlike the Linux installation, the Windows installation does not ask you to specify a name (the FQDN).
This results in the Windows device names being used in the Commvault interface. Thus, when registering clients in Commvault, the client FQDN is not the FQDN from the DNS, but the Windows device name. Instead of the FQDN "Rechnername.Institut.rwth-aachen.de", Commvault automatically creates e.g. "Rechnername.win.Institut.rwth-aachen.de" from the Windows domain.
To avoid this error you have to change the name manually before installing your server.
1. Uninstall the Commvault Client.
2. Then, before reinstalling, open the "install.xml" file in the unzipped Windows installation files.
3. In the line <clientEntity hostName="" clientName="" GUID="..." /> manually enter the host name and the name of the client.
4. The installer will then transfer the newly entered data instead of the generic Windows name.
5. Now you can integrate the server with the full FQDN.

Related content:
- Client assignment to groups
- Instalation Commvault Software - Linux
- FQDN
Installing Commvault Locally on Windows Computers Using the Installation Package (dasi.nrw) (the link will redirect you to doku.dasi.nrw).
