


MacOS

Follow the step-by-step instructions to install the Commvault backup software for mac-OS Clients:

- Login to the Commvault Command Center at: https://console1.dasi.rwth-aachen.de/ with <egal@rwth-aachen.de>

- Redirecting to RWTH Single Sign-On
Note:
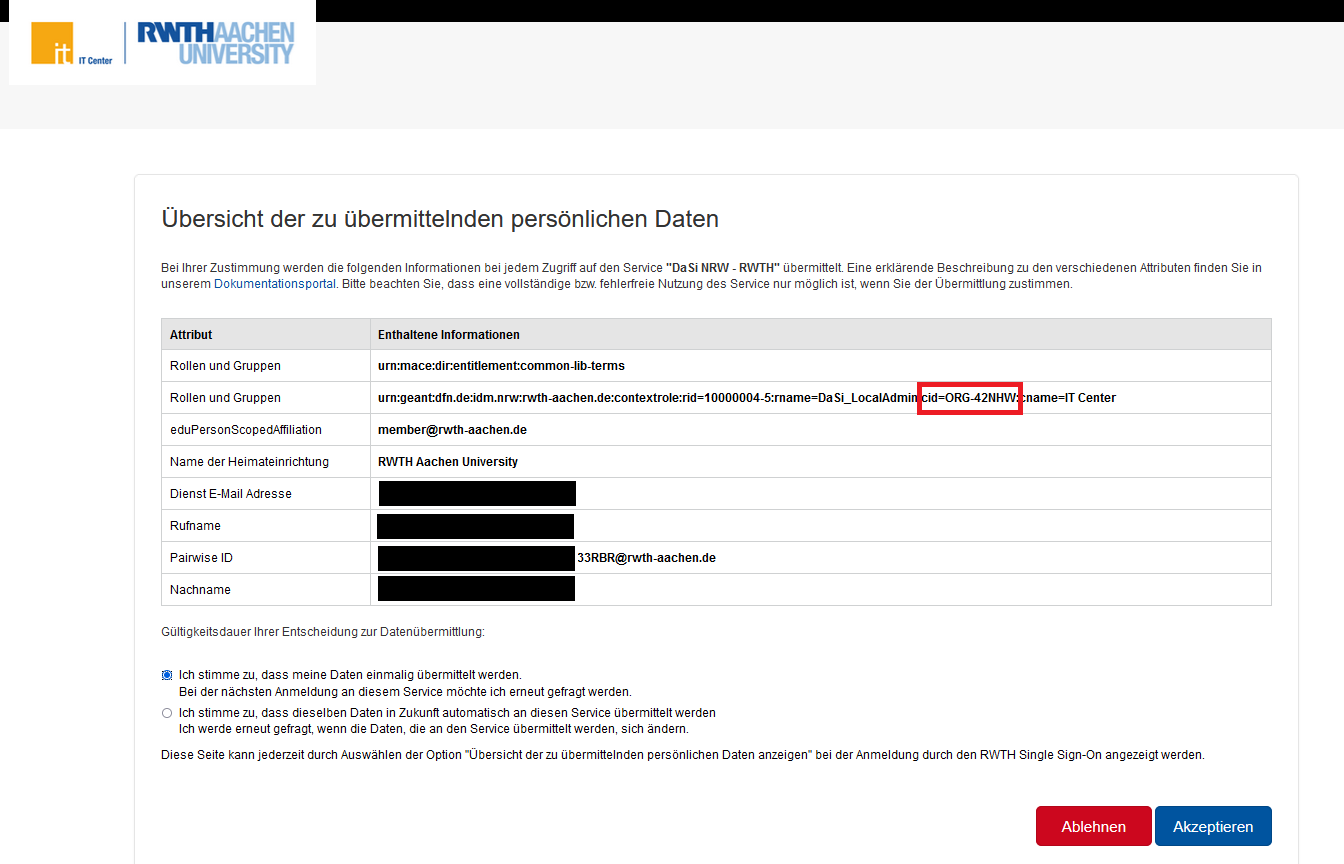
- Before entering the RWTH identifier (ab123456) and password, please check here that the transmitted personal data should be displayed.
- If necessary, you can read your context ID (cid) from the line "Roles and groups" here. This information is equivalent to your group name in Commvault.

Commvault Download Area:
In the Command Center download area, you can find the installation packages currently available to you.
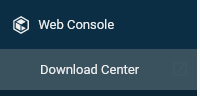
To do this, click on "Webconsole" in the side menu and then on "Download Center".
- Select Package
Select the appropriate package for your operating system.
For installation on macOS server please select "Commvault Setup macOS RWTH".
Please follow the steps below carefully, as this is a current workaround. The package is targeted for endpoints by default.
- Launch the installer and run the installation
Executable via command line e.g. with the following command: sudo installer -pkg macOS-Commvault.pkg -target /
- Checking the Services
After installing the package, make sure that "Edge Monitor" is running and, if necessary, check that the services in "Process Manager" are running.
Workaround: macOS client assignment
- Follow the instructions "Client assignment to groups".
- After a new login on the console (https://console1.dasi.rwth-aachen.de/), the client should show up under "Protect > Laptops".
- Convert MacOS-client to File Server
If you want to register your client as a file server, please email the IT Service Desk (servicedesk@itc.rwth-aachen.de) with your request and the name of the client shown to you in the Commvault web interface, asking for conversion due to workaround.
- After successful registration, your client should now be found under "Protect > File Servers".
- To complete the setup, you now need to assign a server plan to your client. The instructions for doing this can be found at: Server plan allocation
Notes about the exclude of connected TimeMachine hard disks:
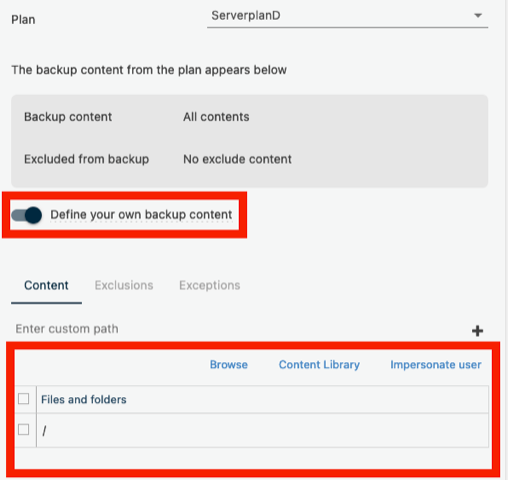
If a TimeMachine hard disk is connected, a backup loop is created by the symlinks in the system and the RO file system. Therefore, we recommend to adjust the server plan and to exclude the following paths from the backup.
- Activate "Define your own Backup content" and save "/".
- Under "Exclusions", exclude these paths accordingly. Replace "HDD" with the actual name of the mounted disk on the client.

- Now edit the following configuration files on the client and change the mentioned value:
- /etc/CommVaultRegistry/Galaxy/Instance001/Session/.properties.
- Set "nPreferredIPFamily" to the value "0", save and then run "commvault restart".
- The process "cvlaunchd" needs full disk access for the backup.
- Either add this manually under "Security & Privacy
- or in case of device management by MDM: allow full disk access via MDM profile (which is automatically installed after the installation of Commvault and an inventory check in MDM).
Note for guidance on full disk access for cvlaunchd:
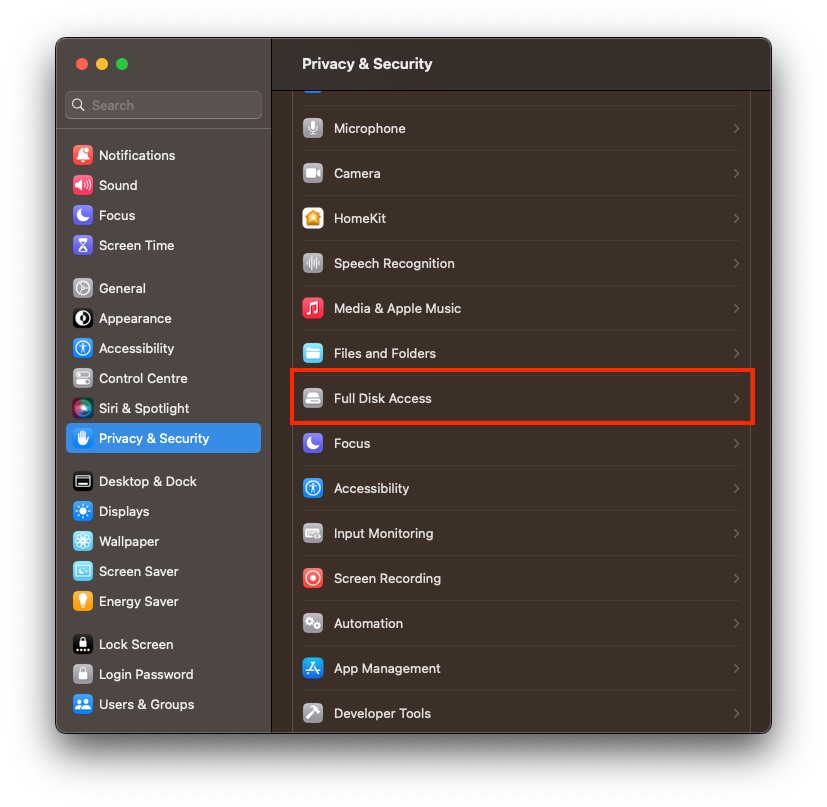
From Ventura:
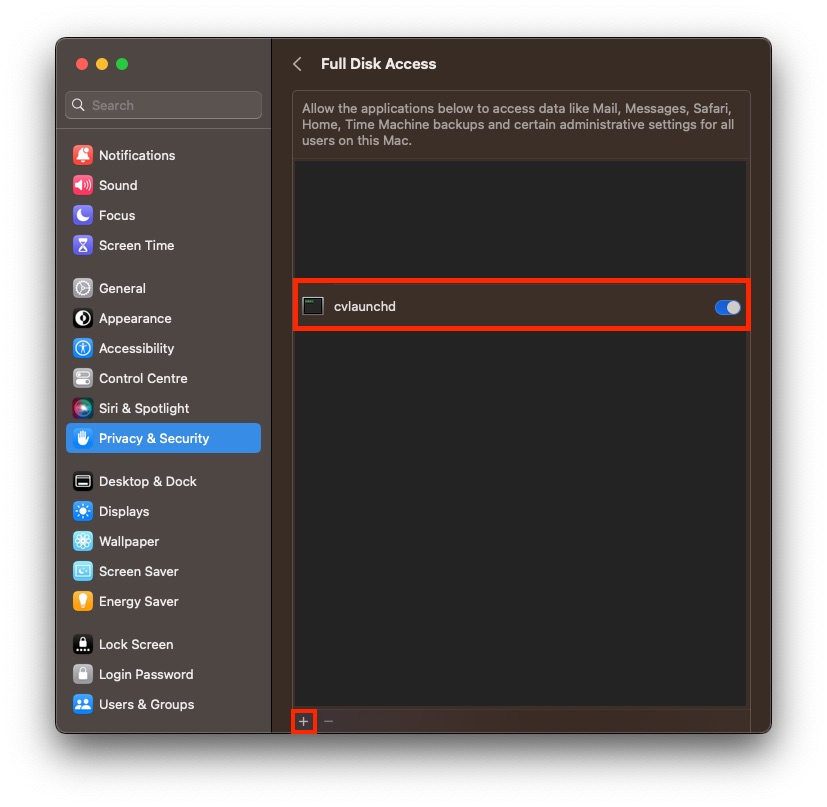
System Settings > Privacy & Security > Full Disk Access > With "+", add "/opt/commvault/Base/cvlaunchd"
(System Settings > Privacy & Security > Full Disk Access > "see above").
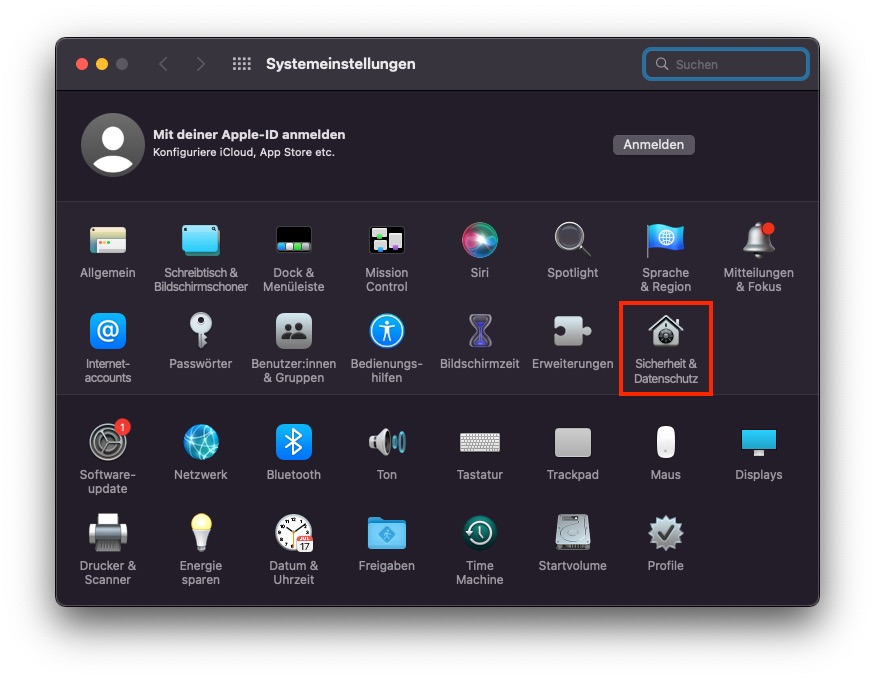
Until Monterey:
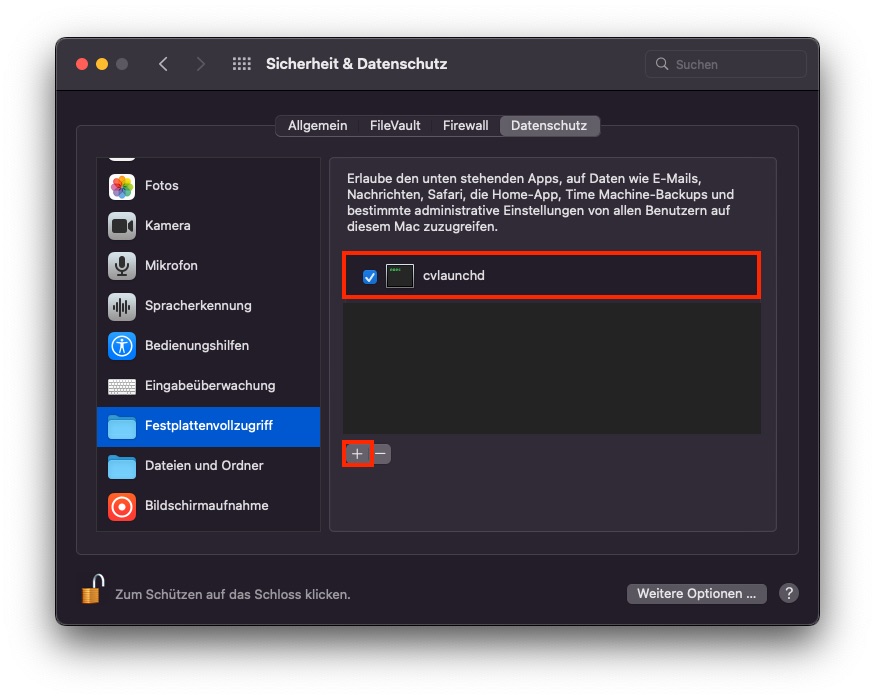
System Preferences > Security & Privacy > Privacy > Full Disk Access > With "+", add "/opt/commvault/Base/cvlaunchd"
(System Preferences > Security & Privacy > Privacy > Full Disk Access > "see above". )
Trouble Shooting: Case "Client not ready" or Client has no connection to Commvault:
Some knots had no connection to the CommServe after the initial setup. The following could provide a solution:
- Stop Commvault "sudo commvault stop" - in the terminal.
- edit "/etc/CommVaultRegistry/Galaxy/Instance001/CommServe/.properties" and in the line "sCSHOSTNAME commserve1.dasi.rwth-aachen.de" enter "sCSHOSTNAME console1.dasi.rwth-aachen.de" instead.
- Then the firewall/proxy setting of Commserve will also be a problem, as it may not have been created correctly. Edit the following path "/opt/commvault/Base/FwConfig.txt" and replace "cvfwd=commserve1.dasi.rwth-aachen.de:8403" with "cvfwd=console1.dasi.rwth-aachen.de:8403".
- Sometimes the "[outgoing]" section appears twice. Delete accordingly so that only one entry of this section exists.
- Start Commvault "sudo commvault start" - in the terminal.
- Check the log in "/opt/commvault/Log_Files/cvfwd.log" and check the connection (Check readiness in the Commvault web interface).
- It may happen that the steps have to be repeated several times until the "FwConfig.txt" no longer contains only a few lines but is filled with many entries and then looks like this or similar: [soon]

Related content:
