


Setting up MFA for VPN (Authenticator App)


Note
On this page you will learn, how to set up a second factor for the multi-factor authentication using an authenticator app and use it to log in to the VPN:
Please watch our tutorial on setting up a token for VPN.
Alternatively, you can use the following tokens for multi-factor authentication in the VPN:
Set up a valid token
To set up a valid token via the token manager in IdM Selfservice, proceed as follows:
Step 1
Sign in into the IdM Selfservice.
Step 2
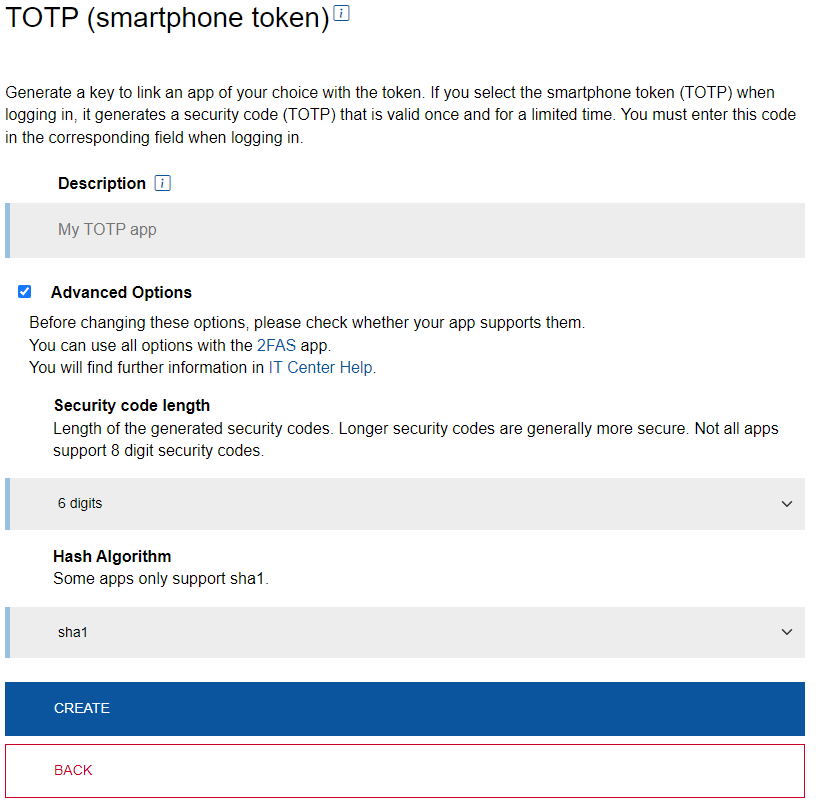
Choose Authenticator app e.g. for smartphone (TOTP) in the Token Manager in IdM Selfservice.
Optional: Add a description (e.g. the name of your app) and select a security code length and hash algorithm under Advanced Options.
Step 3
Click on Create.
Step 4
Add a new service or a new account in your Authenticator App and scan the QR-Code with you device or enter the TOTP Key into the app.
Step 5
Enter a one-time-password (OTP) shown in the app in to the field Verify TOTP an click Finish to complete the procedure.

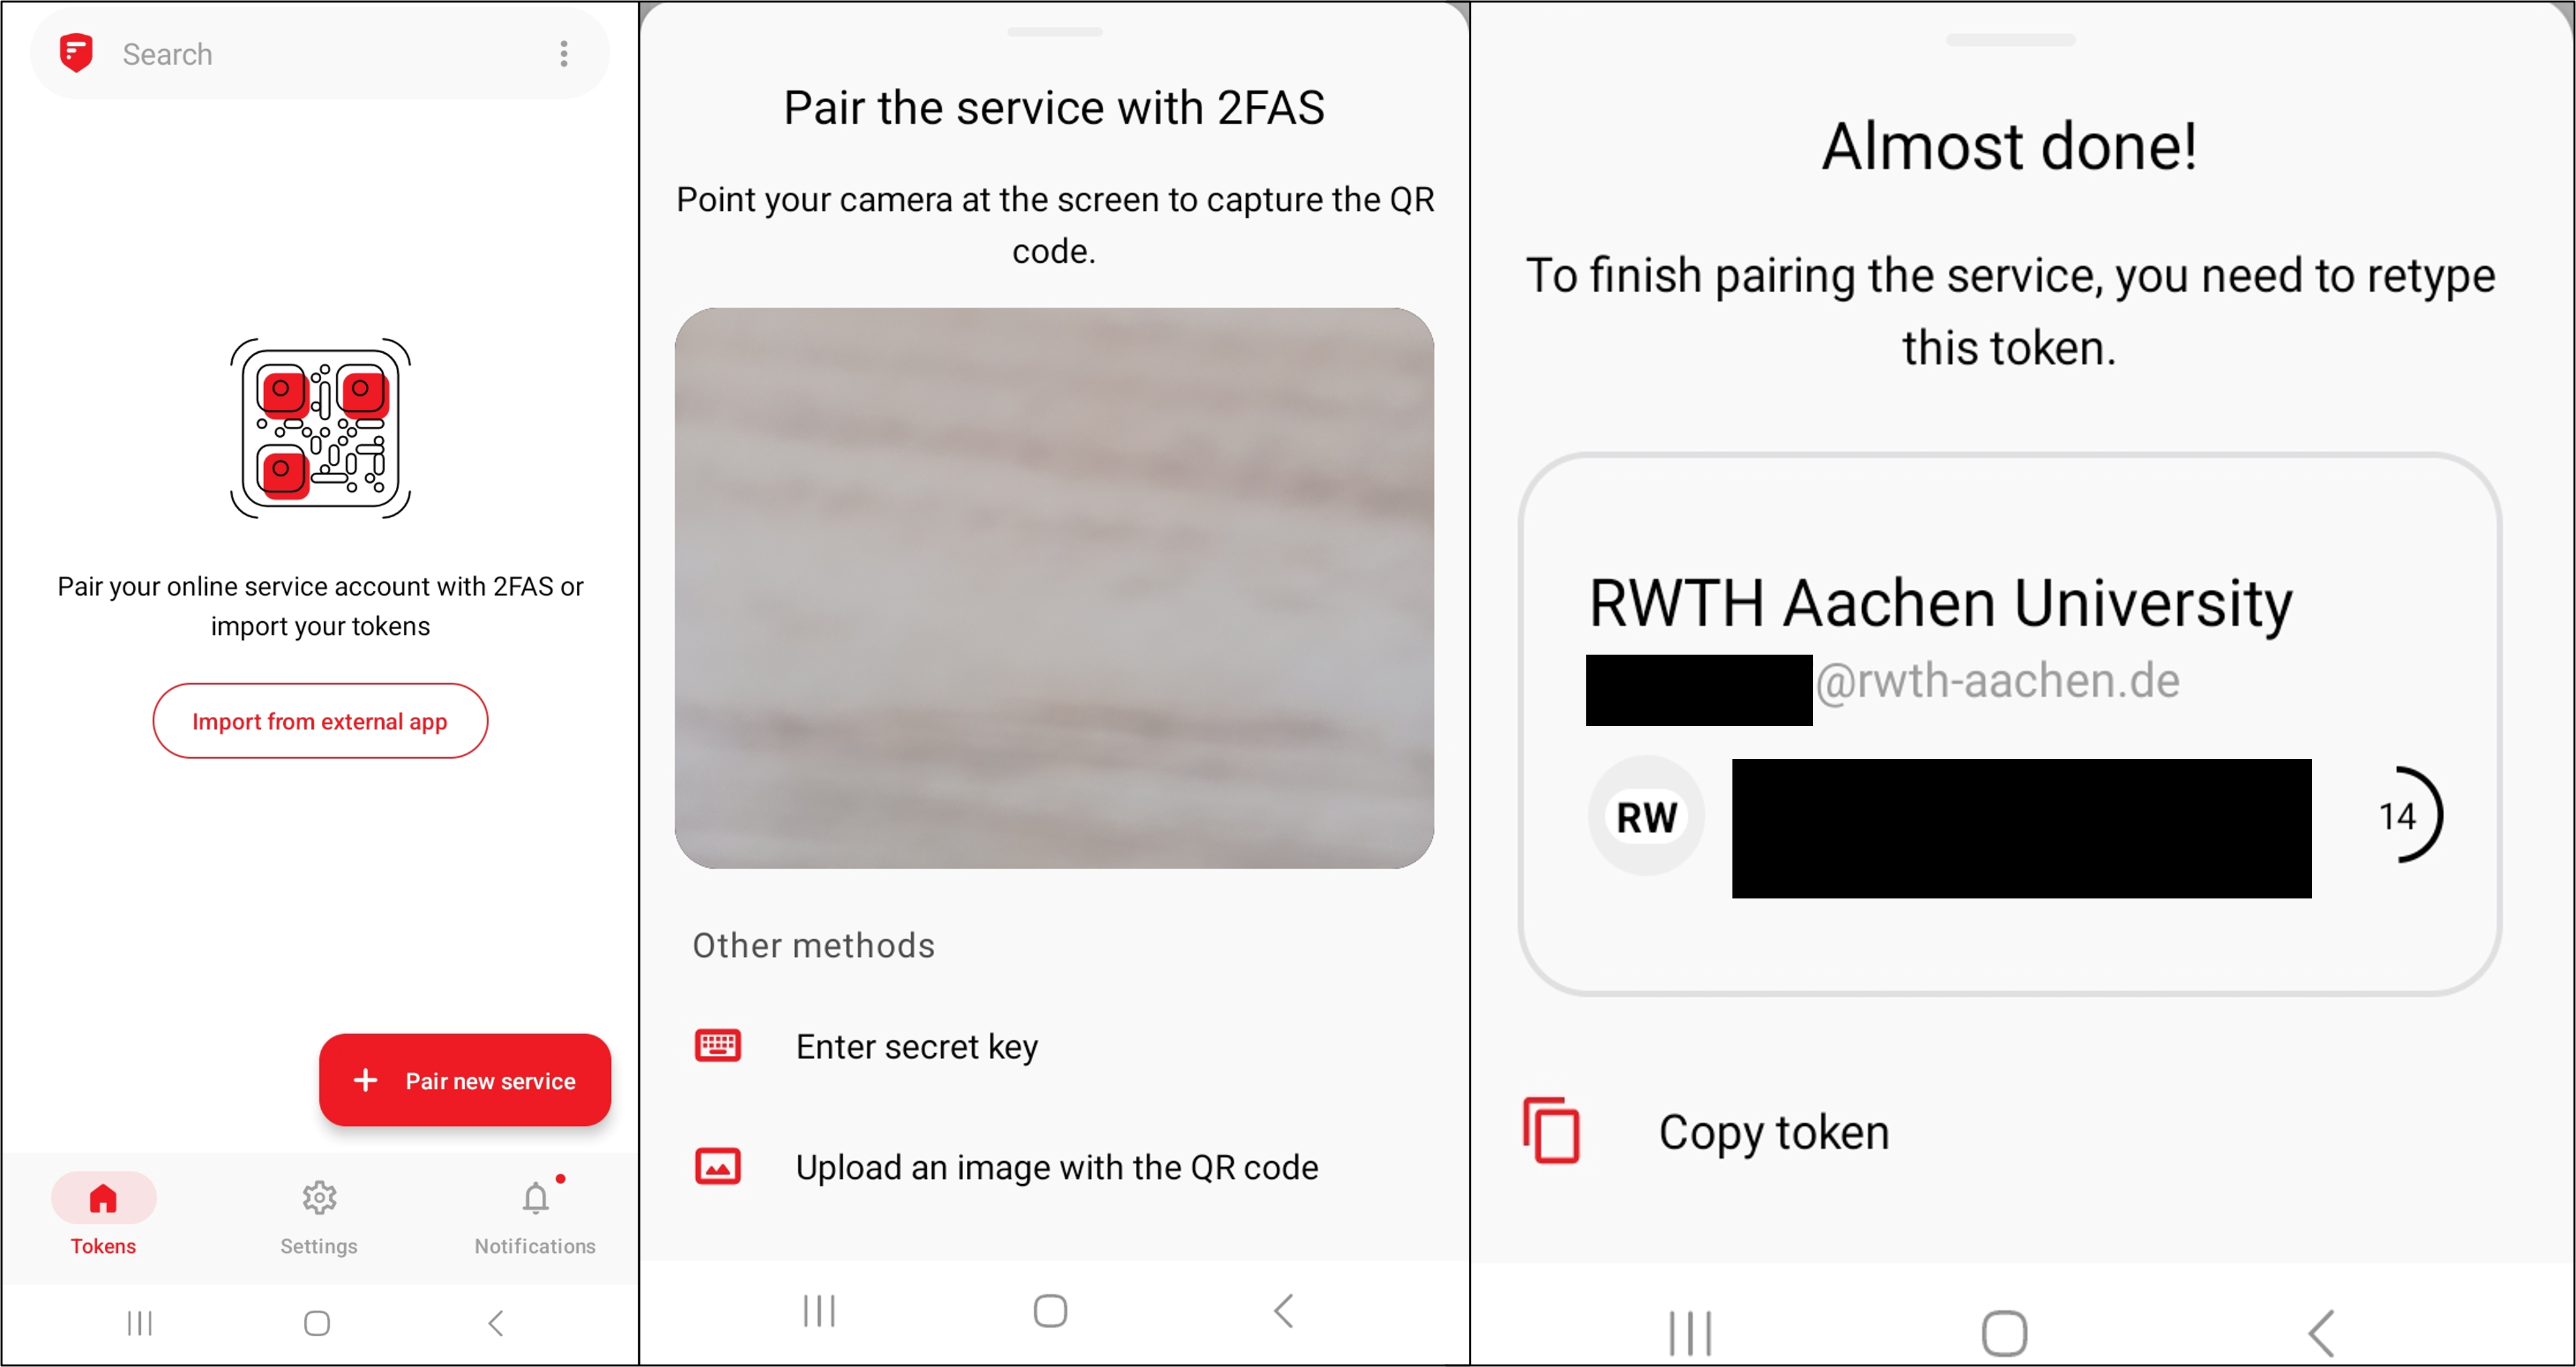
Example: Set up tokens in the 2FAS app
The steps in the app are the following (the cost free 2FAS App is used as an example) of a TOTP App:
Step 1
Open the app and click on pair new device.
Step 2
Scan the QR-code from the Token Manager with the app.
Step 3
Enter the one-time-password (OTP) from the app into the field in your browser and click Finish.
You can now use the app as a Authenticator App e.g. for Smartphone (TOTP). A new one-time-password (OTP) is generated every 30 seconds.
Important:Ensure that no unauthorized third parties are able to access the app.
Connect to the VPN
To connect to an RWTH VPN, proceed as follows:
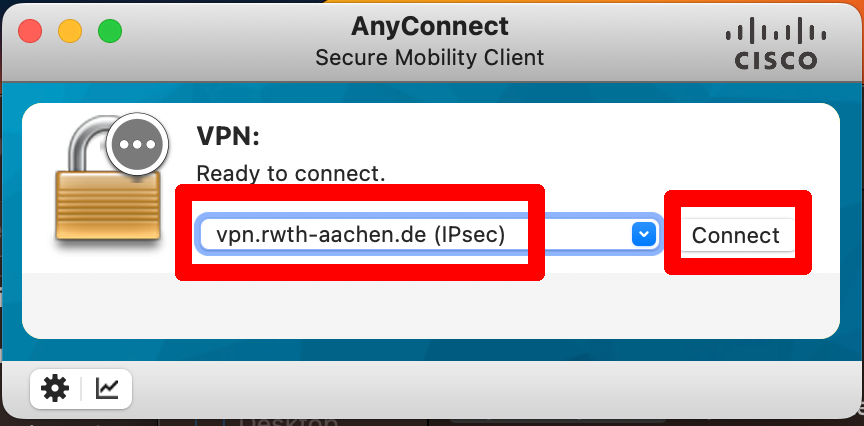
Step 1
Start AnyConnect and enter you vpn server (e.g. vpn.rwth-aachen.de). Establish the connection by selecting Connect.
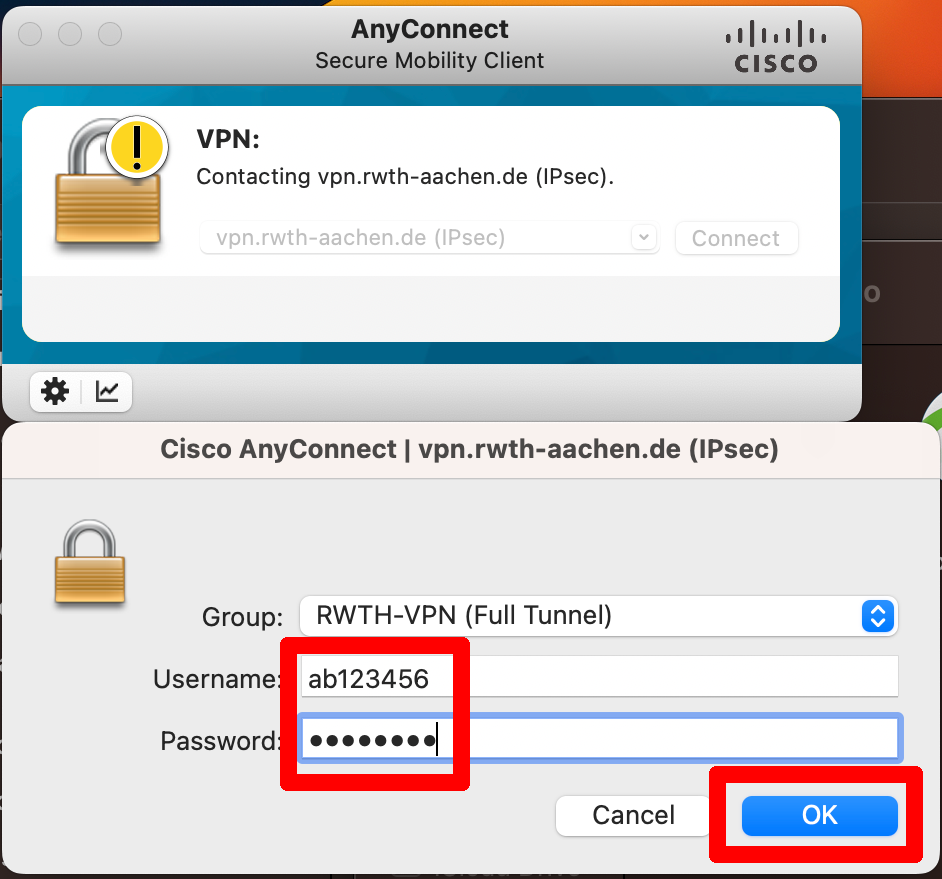
Step 2
Enter the following information:
- Group: Choose the group RWTH-VPN (Full Tunnel) or RWTH-VPN (Split Tunnel)
- Username: Your username in the format ab123456.
- Password: Your VPN password.
The VPN password can be changed in the IdM Selfservice.
Select OK to continue.
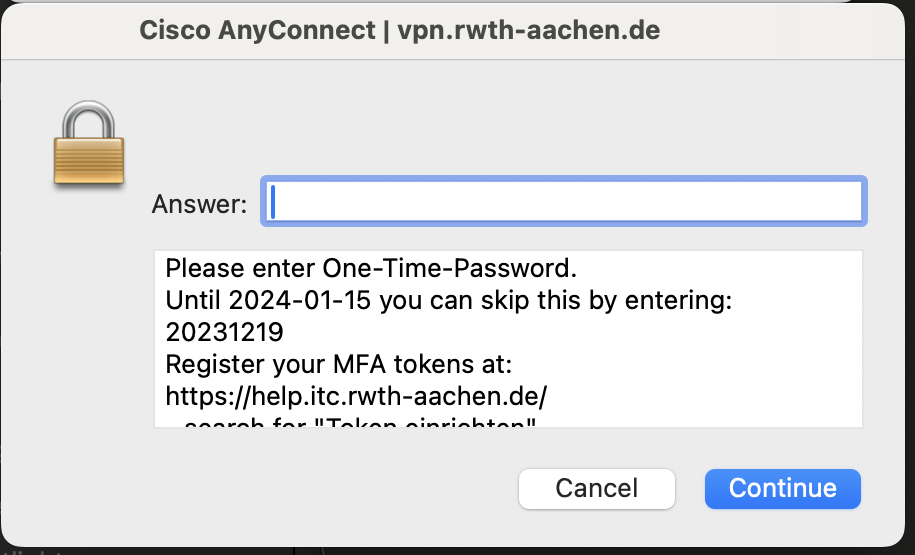
Step 3
Enter a valid one time password.
Note: Email tokens do not work for connecting with any VPN.
The connection should now have been established successfully. You can stop your connection at any time by selecting Disconnect.
