


Cisco Secure Client (AnyConnect) for Android

On this page you will find a guide to connect to RWTH VPN with an Android device.

Important
- Requirements
- Install Cisco Secure Client
- Create a new VPN connection
- Configure VPN
- Establish or disconnect connection to RWTH VPN
Requirements
In order to establish a VPN connection to an RWTH VPN via the Cisco Secure Client on an Android system, the following conditions must be met:
- Fully configured VPN account in IdM SelfService (opens in new tab)
- Connection data for central RWTH VPN:
- Server: vpn.rwth-aachen.de
- Tunnel: Full tunnel (all data traffic via the RWTH network) or split tunnel (only RWTH internal addresses are accessed via VPN)
- VPN username: Format ab123456
- VPN password
Below you will find a step-by-step guide:
Install Cisco Secure Client
To install Cisco Secure Client, proceed as follows:
Step 1
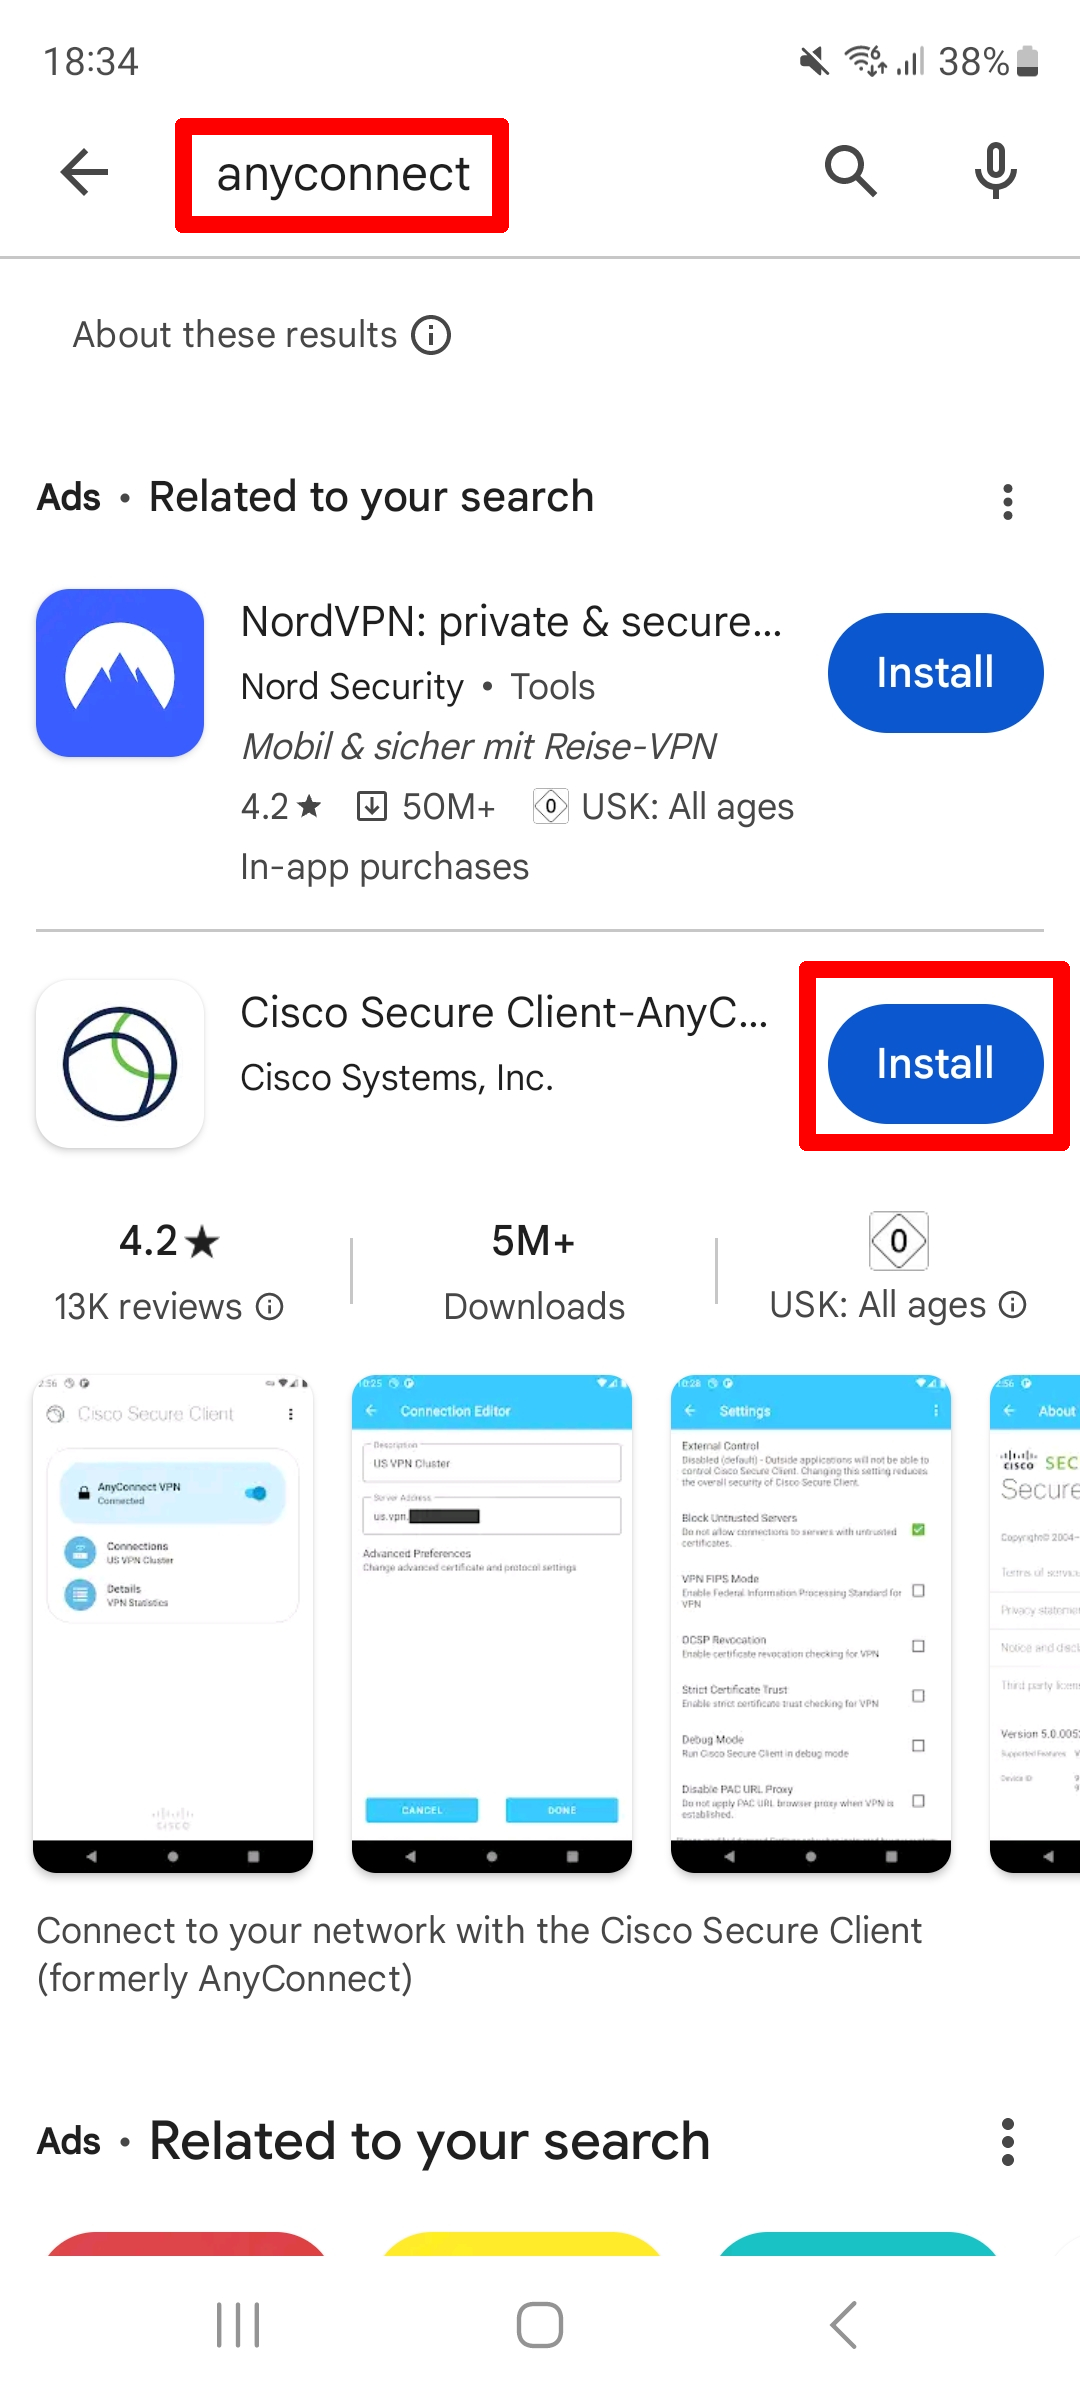
Search for anyconnect in your device's app store and install the Cisco Secure Client app.
Step 2
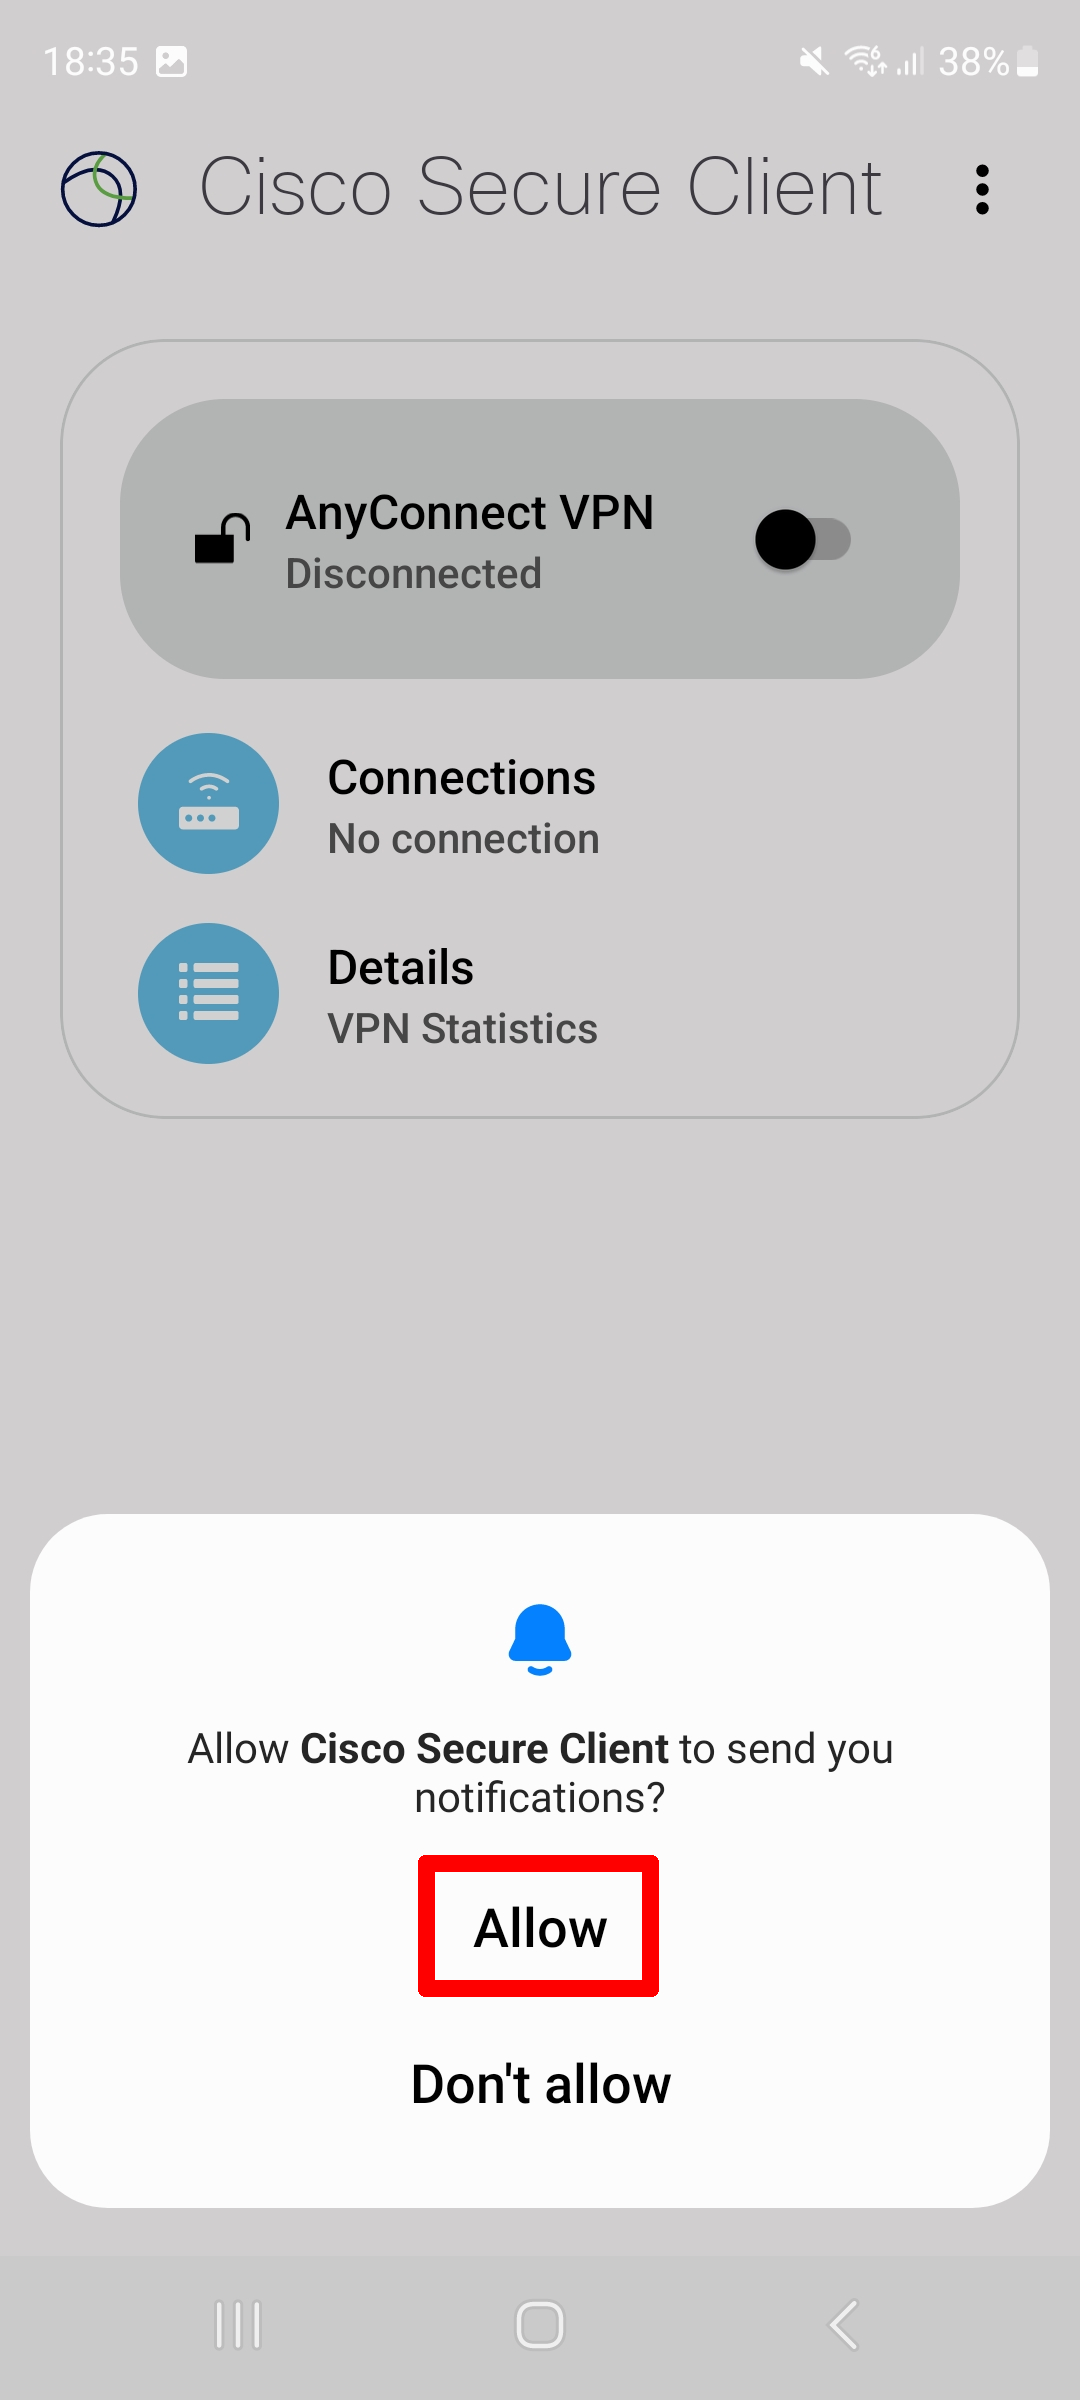
Start the Cisco Secure Client app.

Step 3
Accept the EULA with OK.

Step 4
To enable notifications, select Allow.
Create a new VPN connection
Before a connection can be established, VPN connections must be preconfigured in the Cisco Secure Client app.
To configure a connection to the RWTH VPN, proceed as follows:
Step 1
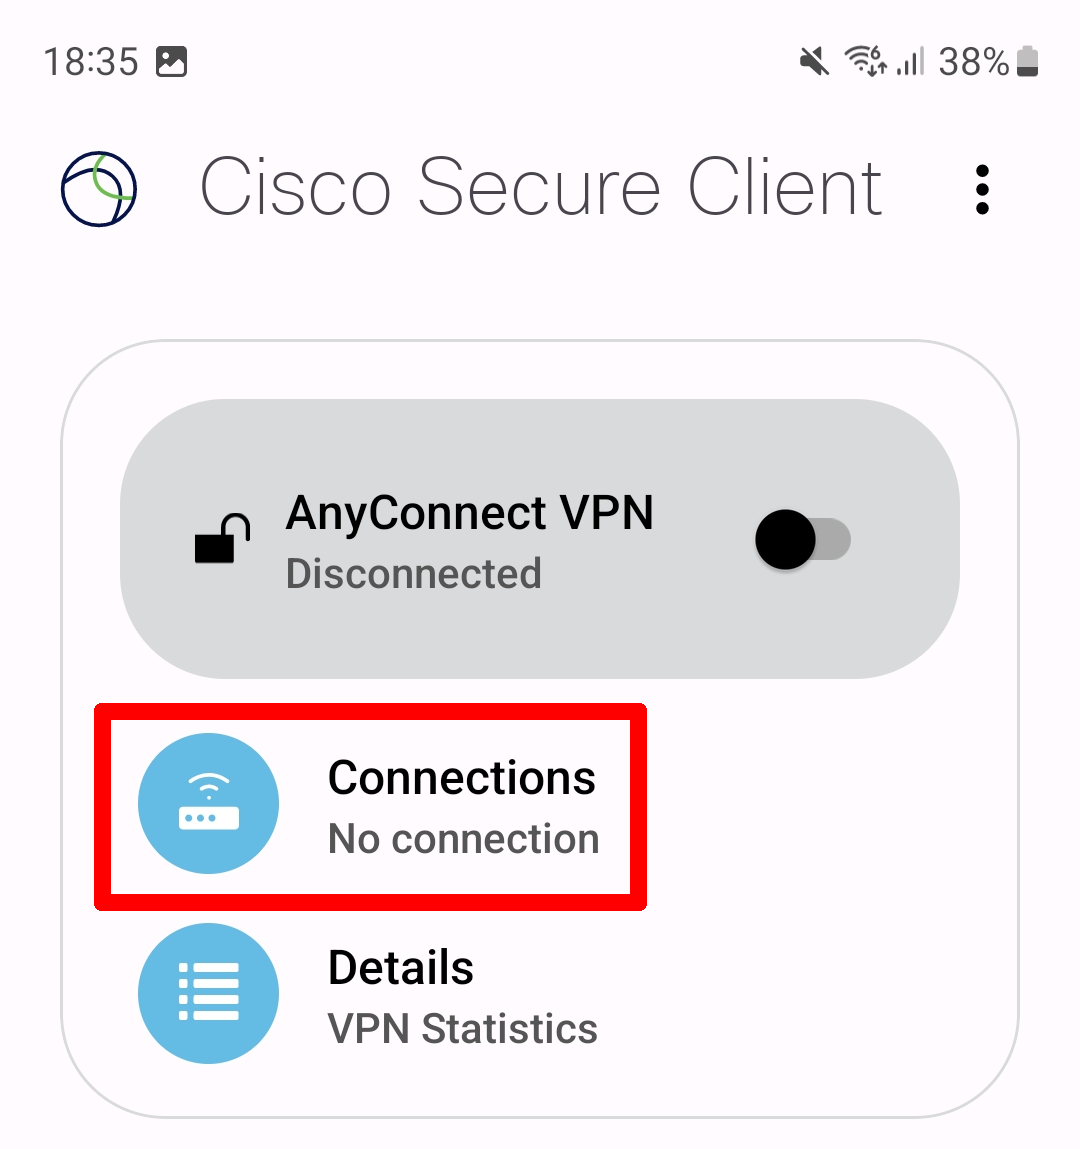
Select Connections.
Step 2
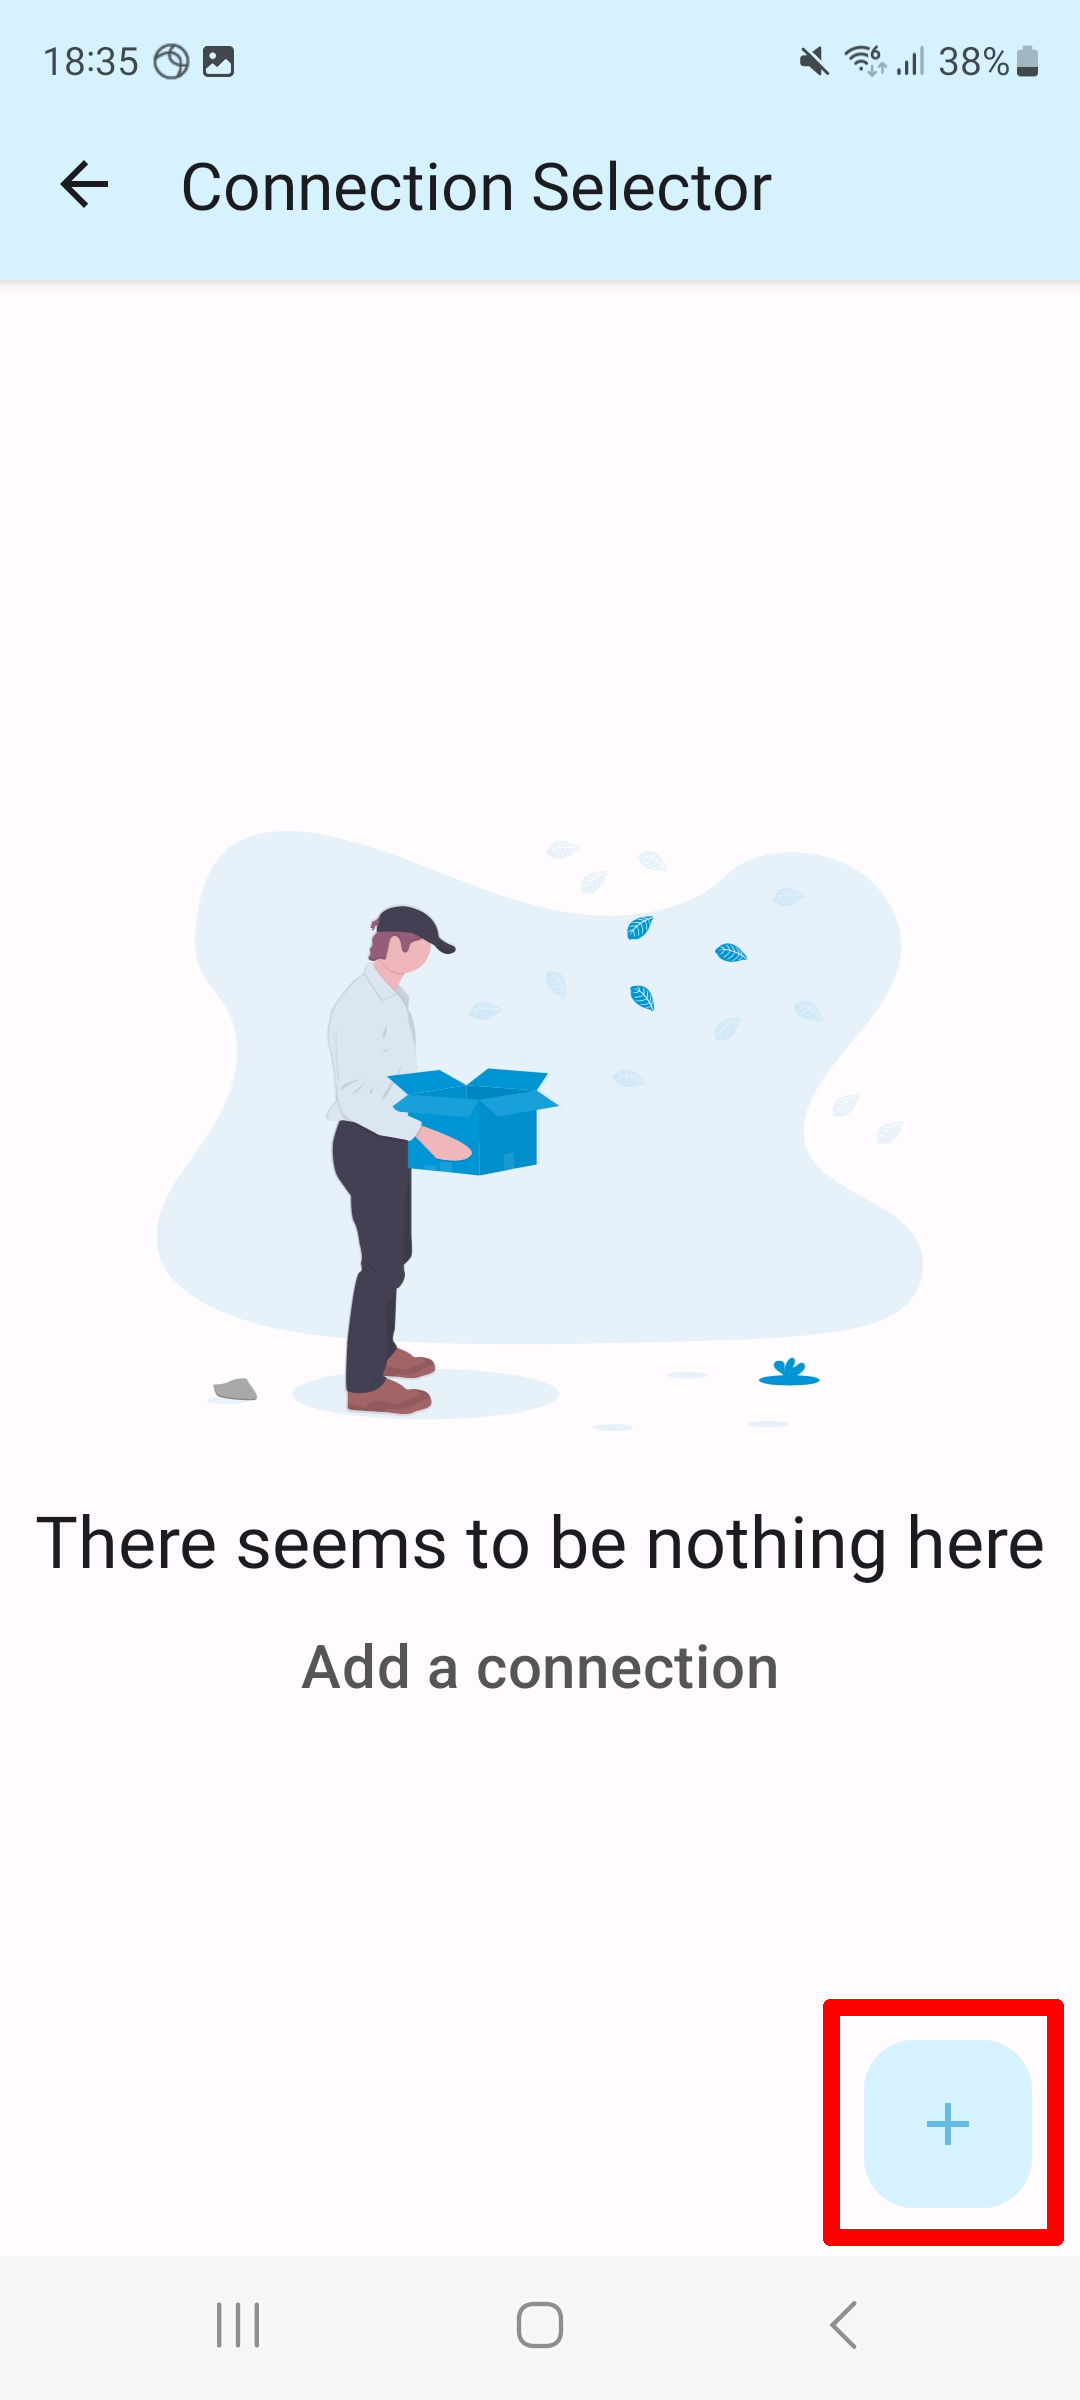
Select the plus button at the bottom right.
Step 3
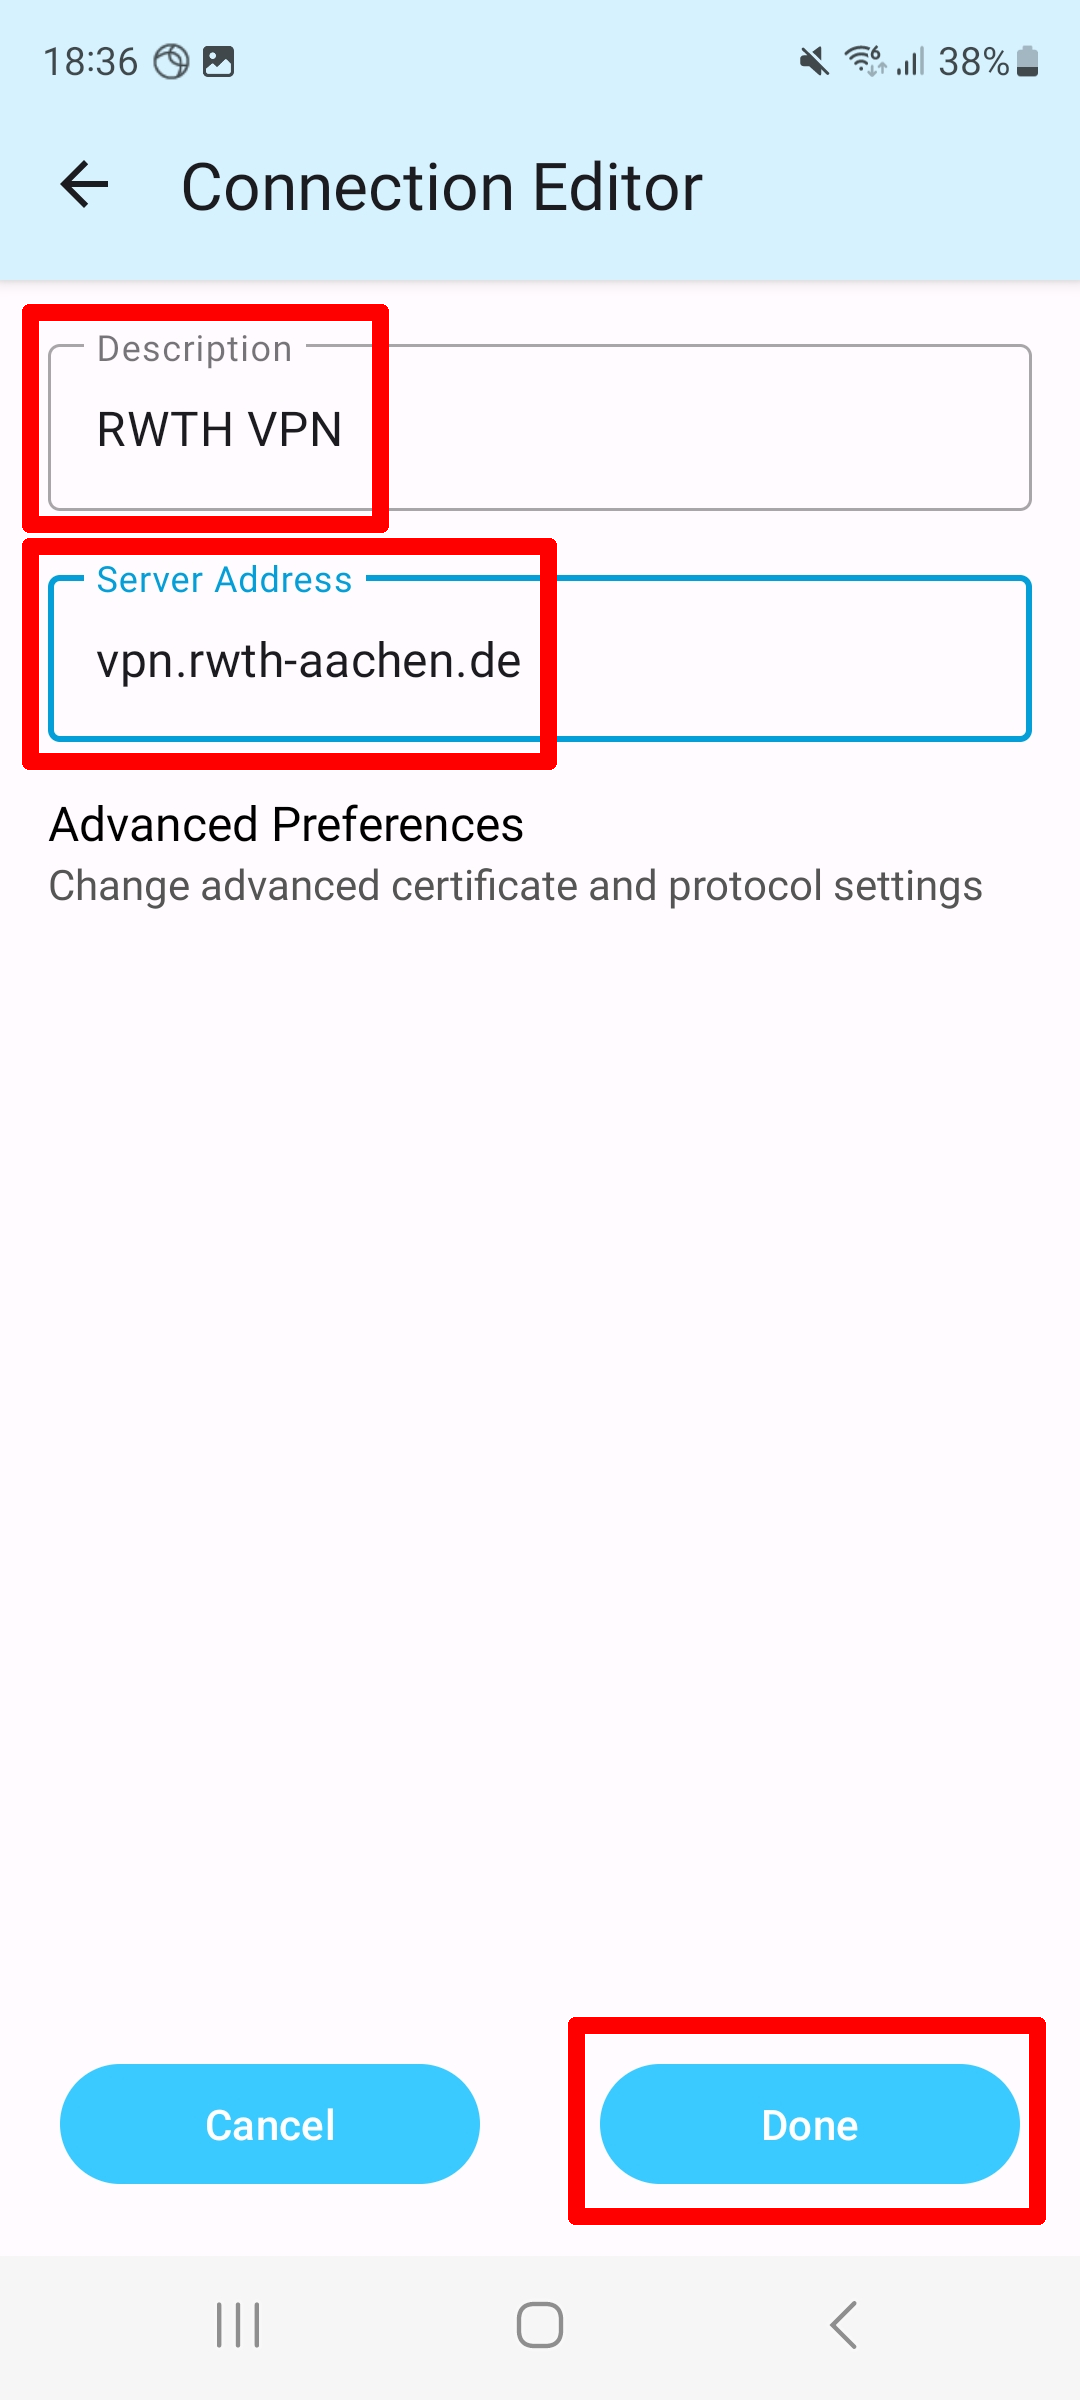
Enter the connection information in the Connection Editor:
- Description: Can be chosen freely, e.g. RWTH VPN
- Server Address: vpn.rwth-aachen.de
- If asked for Certificate: automatic
Once you have entered all the information, you can proceed with Done.
Step 4
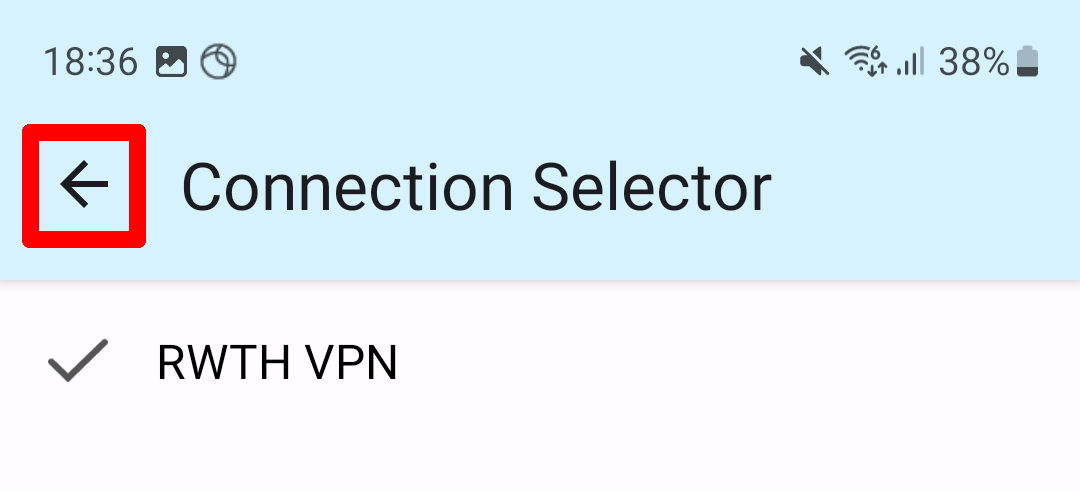
Choose the back arrow to return to the main menu.
Configure VPN
Once the VPN has been created, it must be configured so that a connection to the RWTH VPN can be established.
To configure the connection you have created, proceed as follows:
Step 1
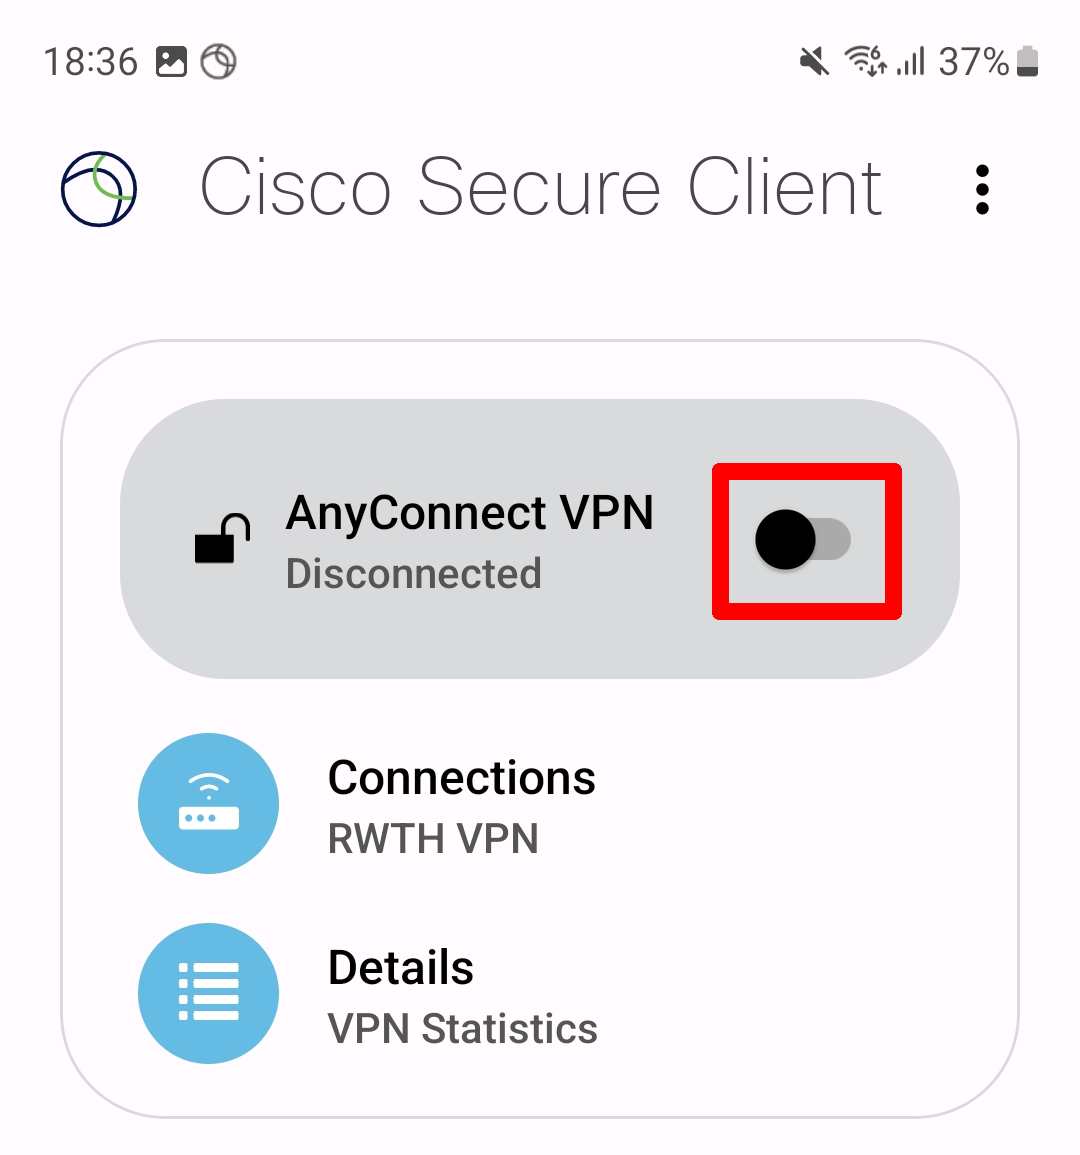
Acitivate the slider next to AnyConnect VPN to establish the VPN connection
Step 2
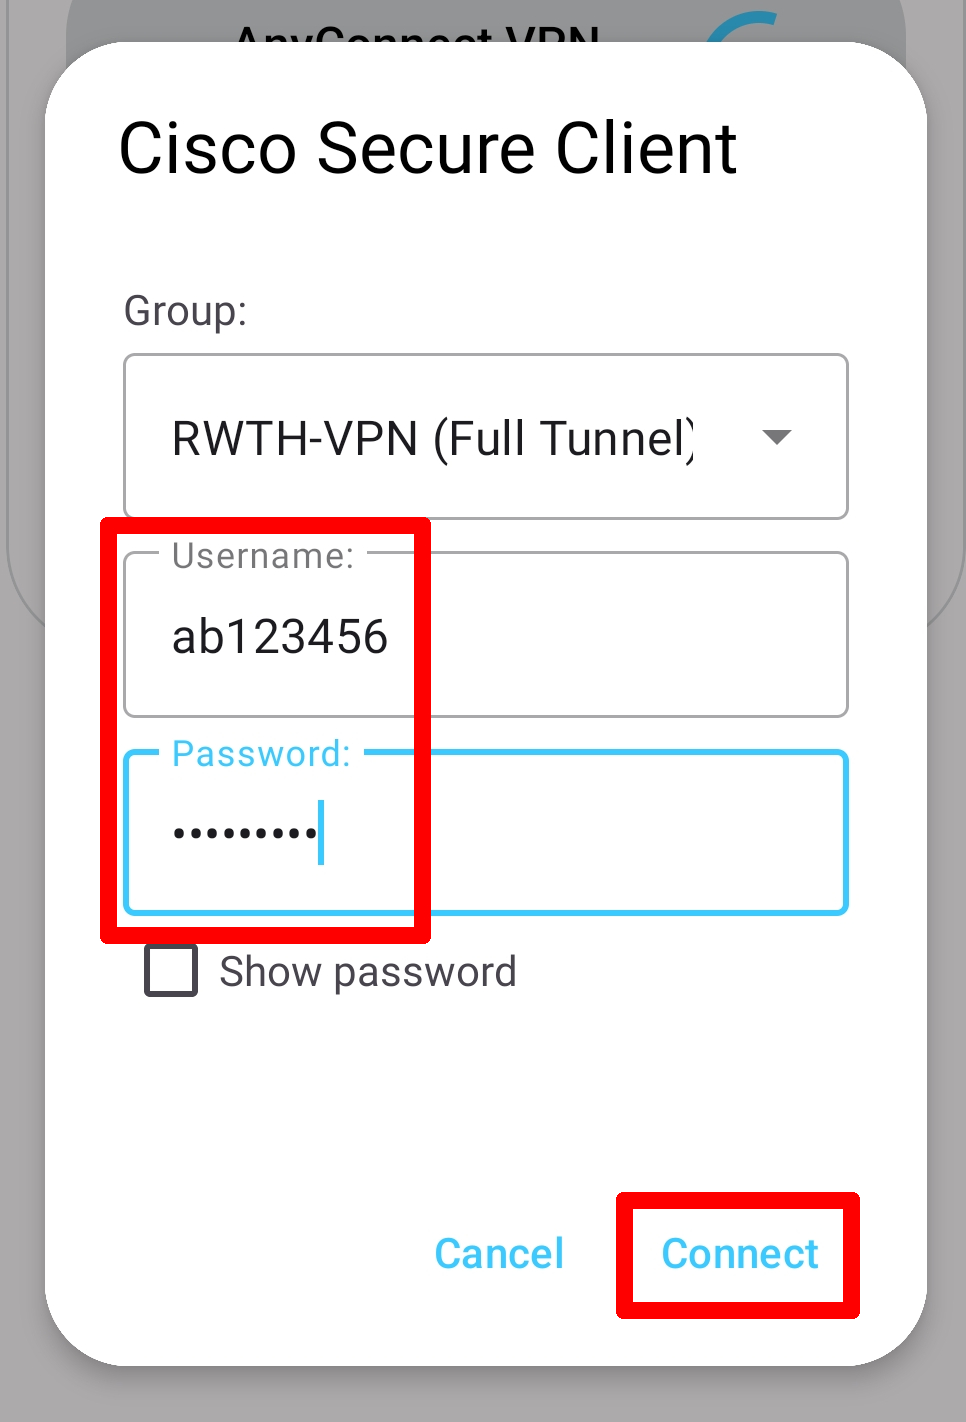
The first time that you activate the connection, you will be asked for the login details of your VPN account:
- Group: RWTH-VPN (Full Tunnel) is set by default in the app
- Username in the Format ab123456
- Password for your VPN Account. This can be changed in the IdM Selfservice (opens in new tab) if required
Once all the information has been entered, select Connect.
Step 3
Enter the one-time password in the input field and select Continue.

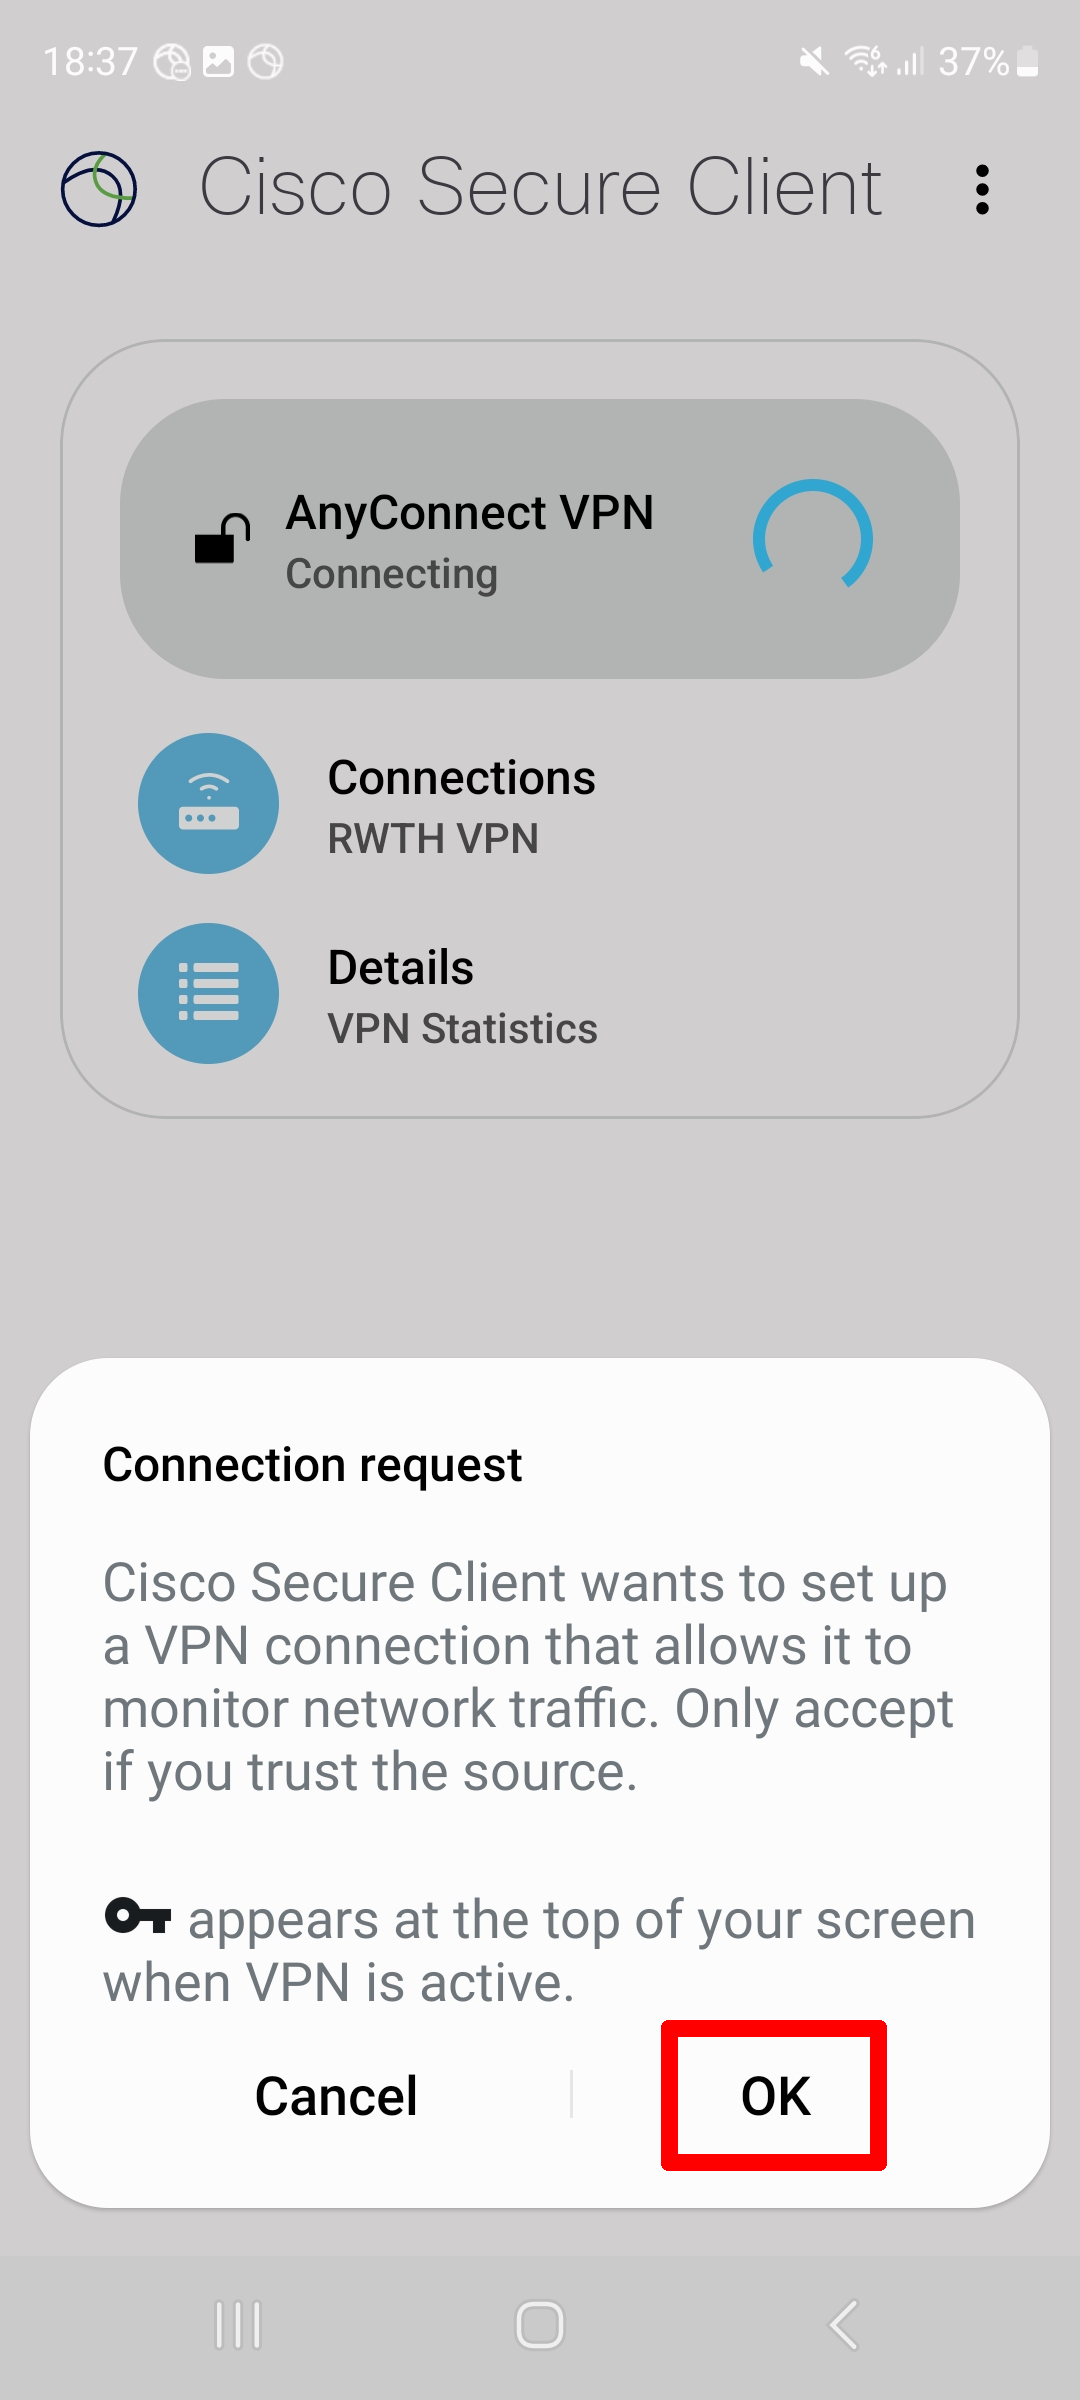
Step 4
Authorize the connection request with OK.
Establish or disconnect a connection to RWTH VPN
Activate the slider to establish or disconnect the VPN connection.
The last connection used will be used automatically.
If the VPN connection was successful, a key icon will appear at the top of the display and the status Connected will be shown.

