


Cisco Secure Client (AnyConnect) for iOS


Be aware
This guide was made using an iPhone X running iOS 16.1.
In order to establish a VPN connection to an RWTH VPN via the Cisco Secure Client on an iOS system, the following conditions must be met:
- Fully configured VPN account in SelfService
- Connection data for central RWTH VPN:
- Server: vpn.rwth-aachen.de
- Tunnel: Full tunnel (all data traffic via the RWTH network) or split tunnel (only RWTH internal addresses are accessed via VPN)
- VPN username: Format ab123456
- VPN password
To establish a connection to the RWTH VPN, proceed as follows:
Step 1
Open the appstore and search for "Cisco Secure Client" for download.
Select Get and then Open the App.
Select Install if prompted.

Step 2
Open Cisco Secure Client and accept that AnyConnect sends notifications by selecting Allow.

Step 3
Click on No connections.

Step 4
Select "Add VPN Connection".

Step 5
Next type in the corresponding server address:
- vpn.rwth-aachen.de for the RWTH vpn
- vpn.institute.rwth-aachen.de for vpn connection to an institute network
Under “Description,” you can enter any description for the VPN connection, e.g., “RWTH.”
Then select Save.

Step 6
Authorize the VPN configuration by selecting Allow.
You may need to confirm this with your device code/PIN.

Step 7
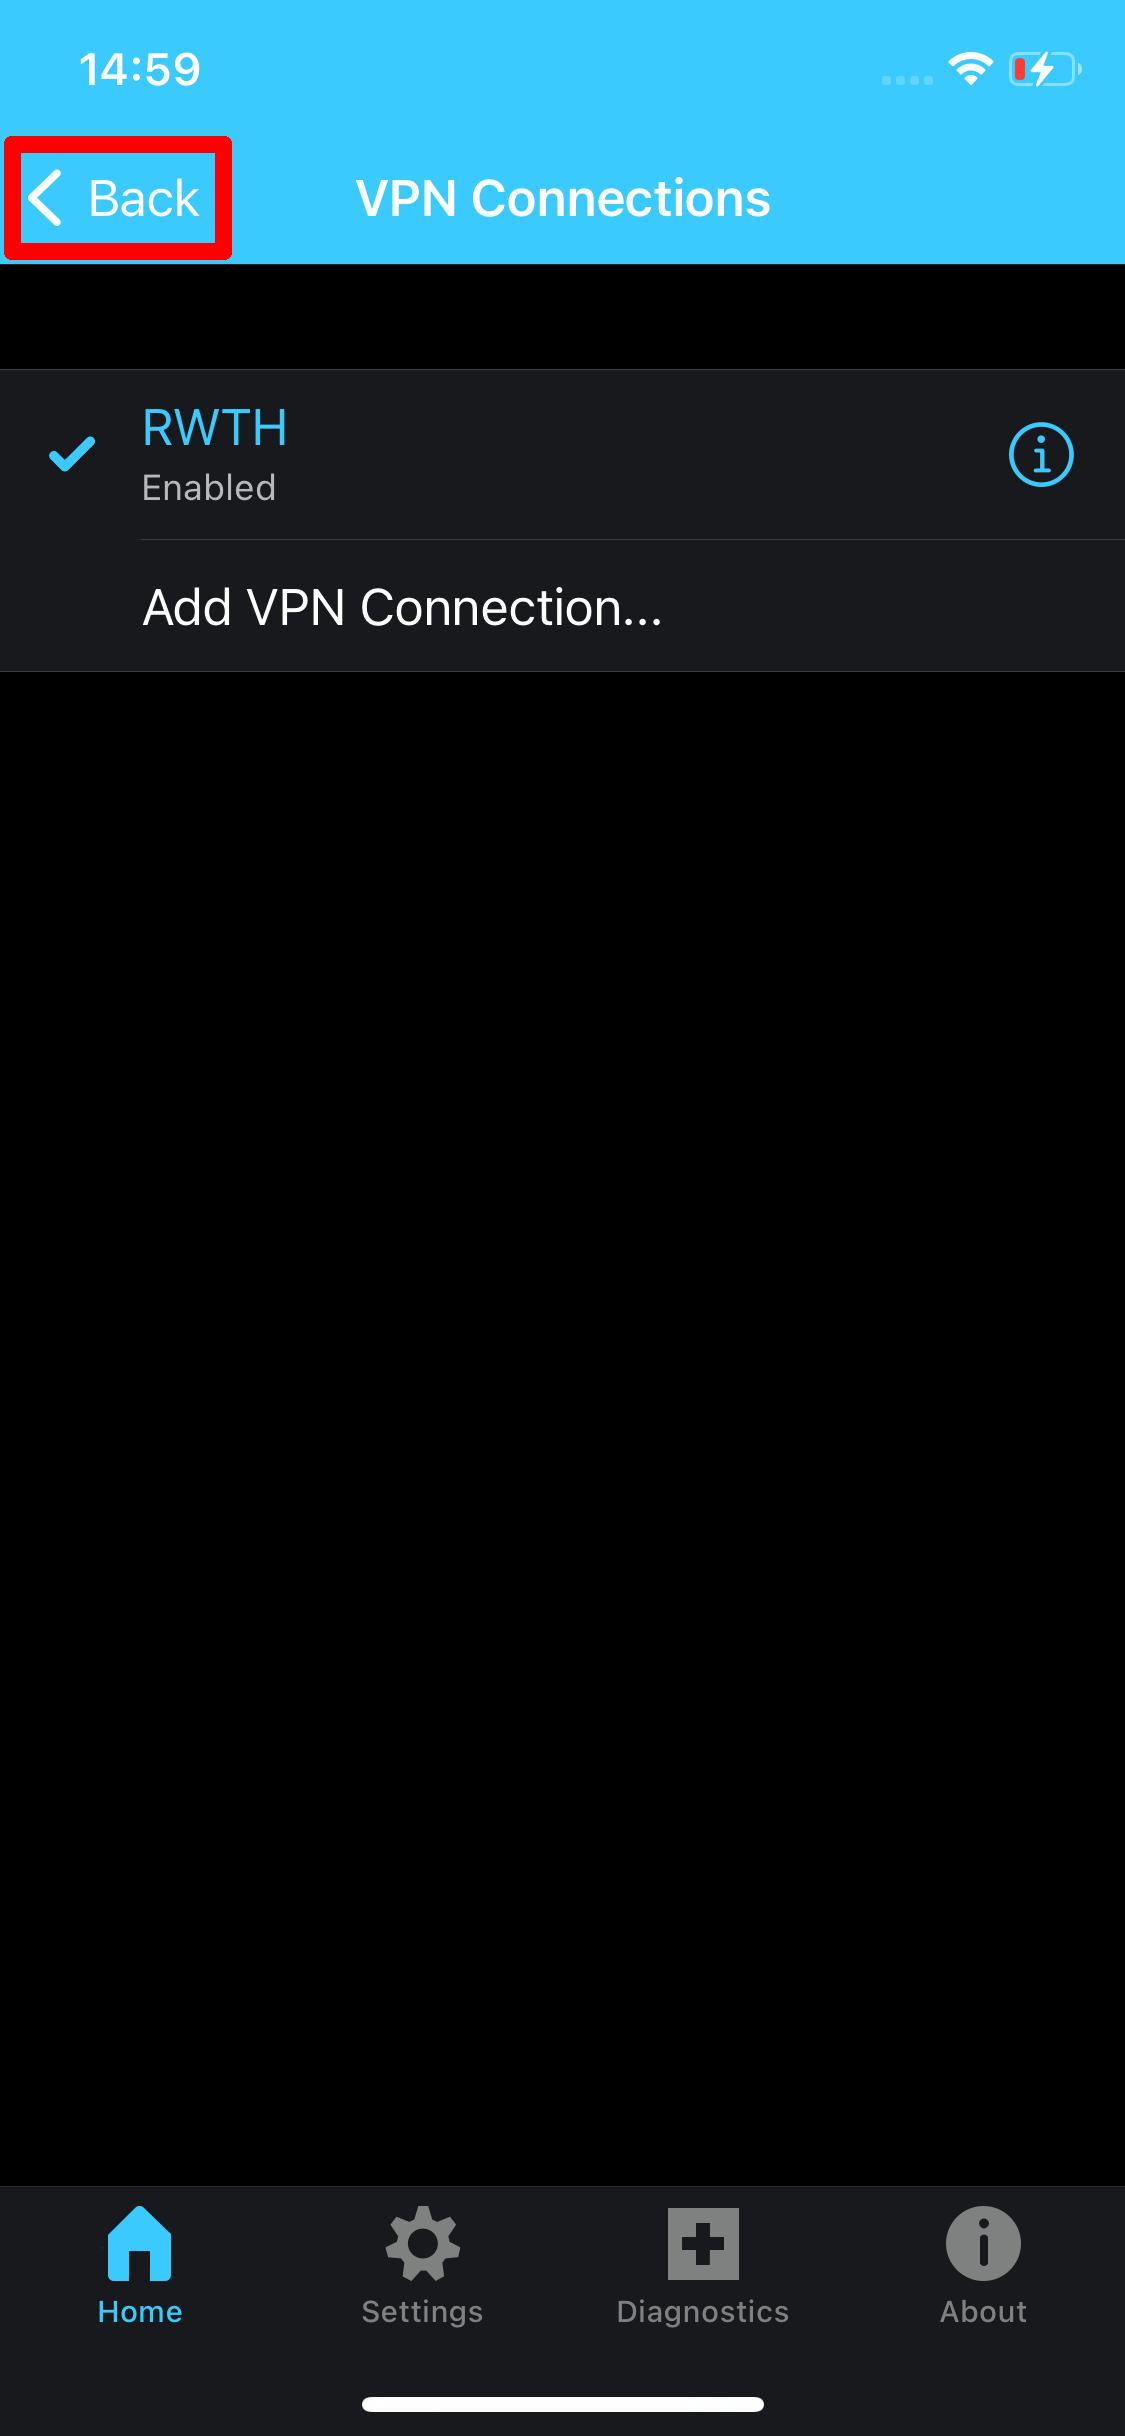
If the VPN connection has been set up correctly, it will be displayed as activated.
You can return to the app's main menu by tapping Back.
Step 8
Activate the VPN connection by using the slider next to "AnyConnect VPN".

Step 9
Enter your username (format: ab123456) and your VPN password.
The “Full Tunnel” group is automatically selected by AnyConnect.
Then select Connect to establish the connection to the VPN.

Step 10
Enter a one time password.
You can generate a one time password by using a token such as an authenticator app.

Step 11
The vpn connection can be deactivated either via AnyConnect or the settings
It's the same procedure for reactivating an existing VPN connection.

