Cisco Secure Client (AnyConnect) for Windows

In order to establish a VPN connection to an RWTH VPN via Cisco Secure Client on a Windows system, the following conditions must be met:
- Supported operating systems:
- Windows 11 (64-bit)
- Microsoft supported versions of Windows 10 x86 (32-bit) and x64 (64-bit)
- Microsoft-supported versions of Windows 11 for ARM64-based PCs
- Fully configured VPN account in SelfService
- Ready installation file Cisco Secure Client (AnyConnect) for Windows (cisco-secure-client-win-5.1.8.122-core-vpn-webdeploy-k9.msi).
- Connection data for central RWTH VPN:
- Server: vpn.rwth-aachen.de
- Tunnel: Full tunnel (all traffic via RWTH network) or split tunnel (only RWTH internal addresses are accessed via VPN)
- VPN-Username: Form ab123456
- VPN Kennwort (see step 1)
To connect to the RWTH VPN, the following steps are necessary:
Install Cisco Secure Client
To install the Cisco Secure Client, proceed as follows:
Step 1
Run the downloaded file.
Step 2
Click Next in the first installation window.

Step 3
Select “I accept the terms in the License Agreement” and click Next again.

Step 4
To complete the installation, click on Next and finally on finish to finish the installation.

Cisco Secure Client is now installed.
Log in to the RWTH VPN
To connect to the RWTH VPN, proceed as follows:
Step 1
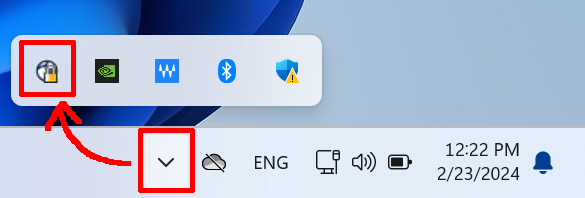
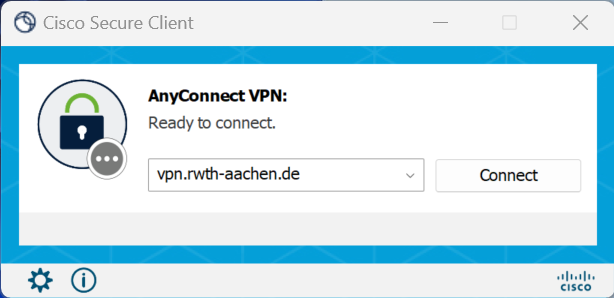
Start Cisco Secure Client and enter the address “vpn.rwth-aachen.de” or a valid address for an organizational VPN, then click Connect.
Step 2
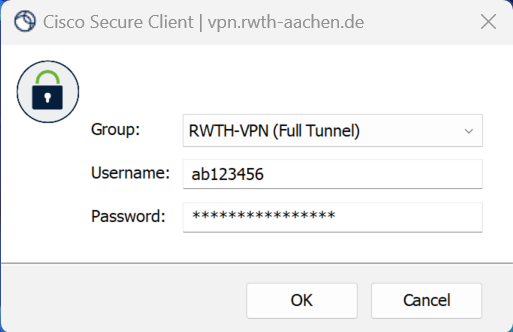
Select a connection type, RWTH VPN (full tunnel*) or RWTH VPN (split tunnel*), and then enter your username (format: ab123456) and your VPN password.
- *Full tunnel: All data traffic runs via the RWTH network.
- *Split Tunnel: Only data traffic directed to RWTH systems runs via the RWTH network. Local home network devices remain accessible.
Step 3
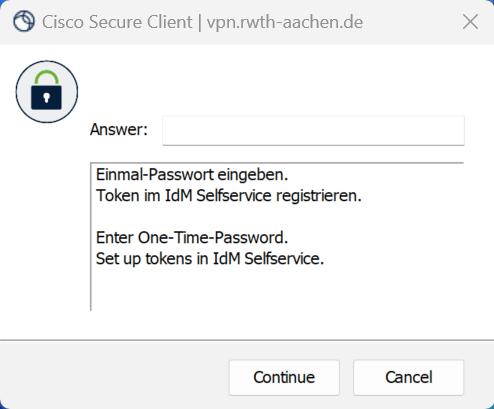
Enter the code for the multi-factor authentication.
The code can be generated by using a token such as an authenticator app.
Disconnect from the RWTH VPN
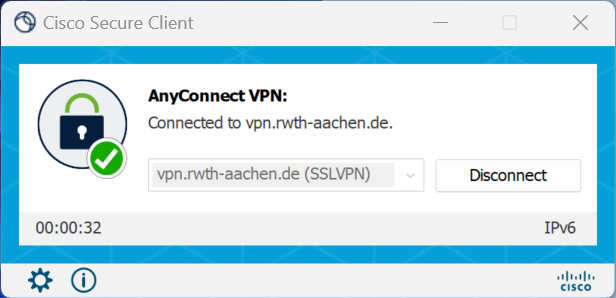
To end the VPN connection, click on "disconnect"
