As an administrator

After logging-in, Administrators have access to additional configuration settings, which can be found in the upper toolbar. If you do not have an account for Mailman, you must first register.
Adding and Removing Members and Administrators
Using the tab “members”, administrators can add or remove moderators and members.
New subscribers can be added using the option “mass operations > mass subscribe”. Please only enter one e-mail address per line.

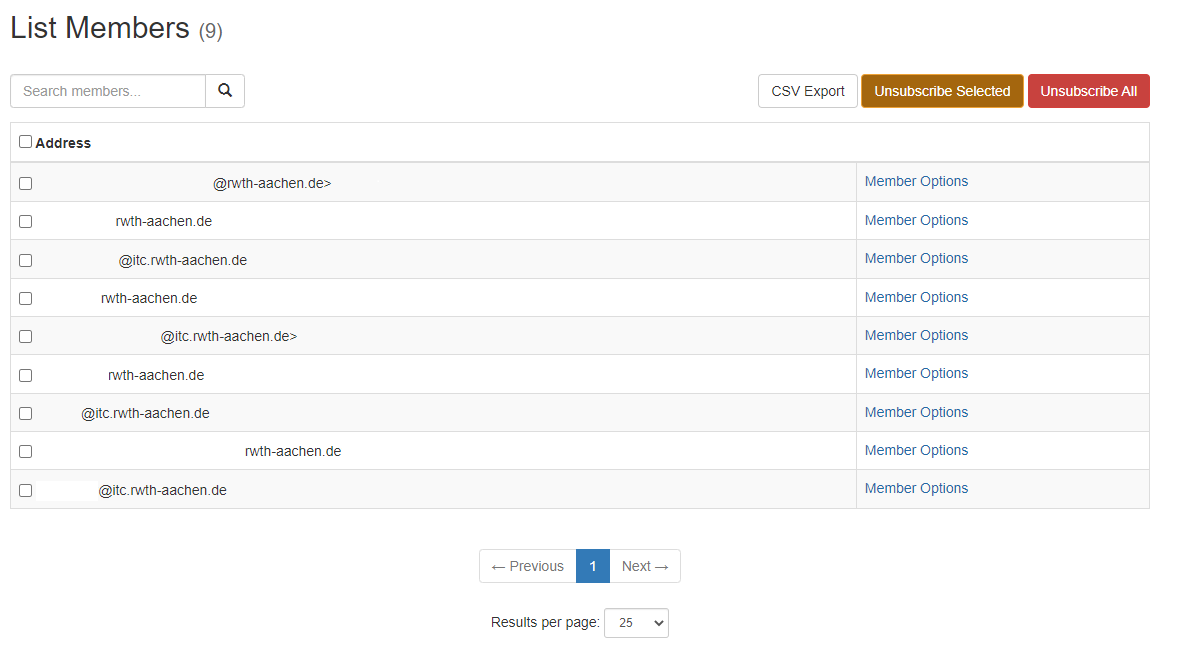
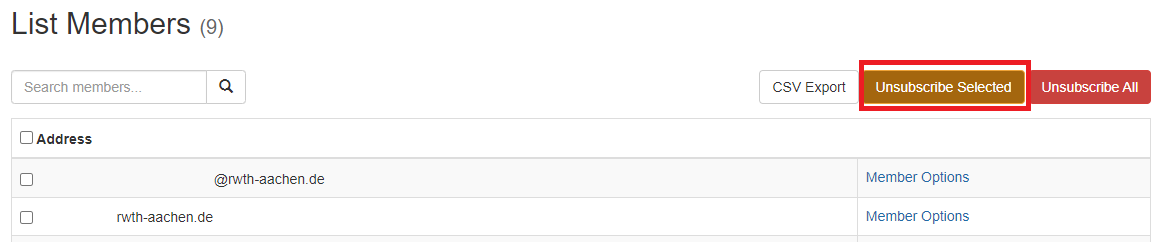
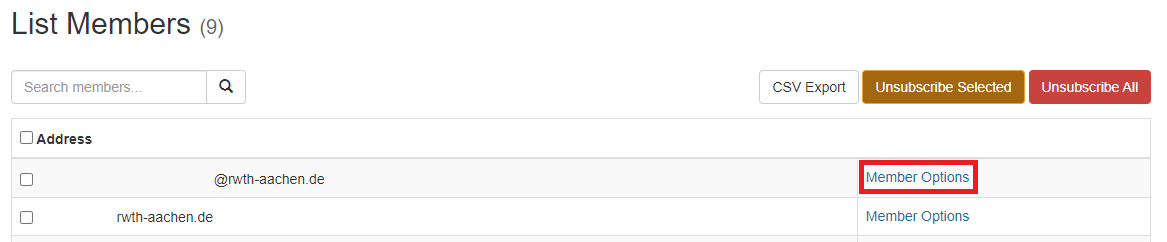
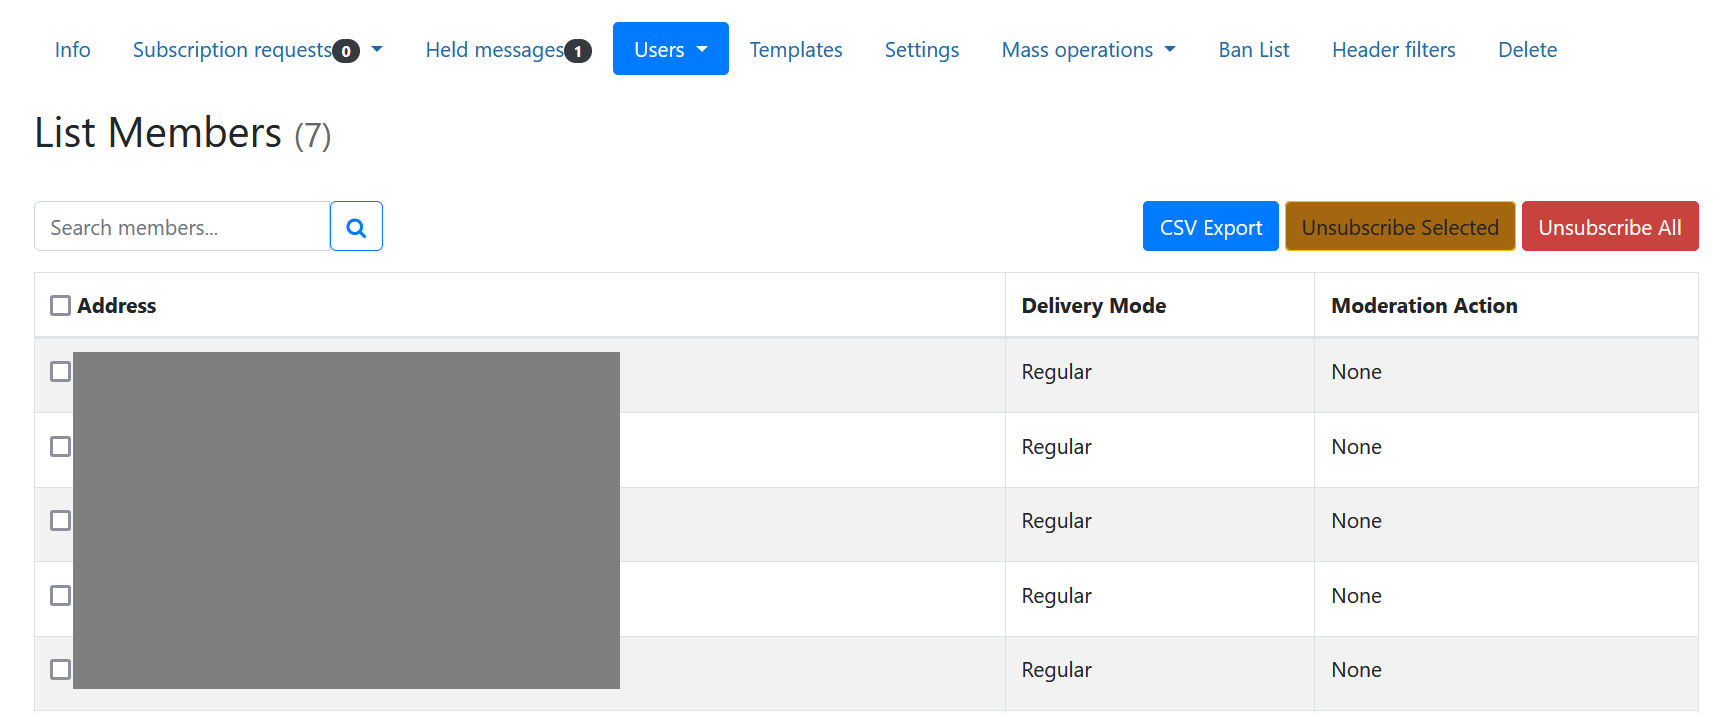
To remove members from a list, check the mark next to the members in question and click on “unsubscribe selected”.
Please Note: Do not hit “remove all members” if you want to unsubscribe a select group. This option will remove ALL members from your list.
Muting a subscriber
You can prevent that a member of a certain list receives the messages from that list. You can find this setting by heading to “users > members” and finding the user in question, then click on member options.
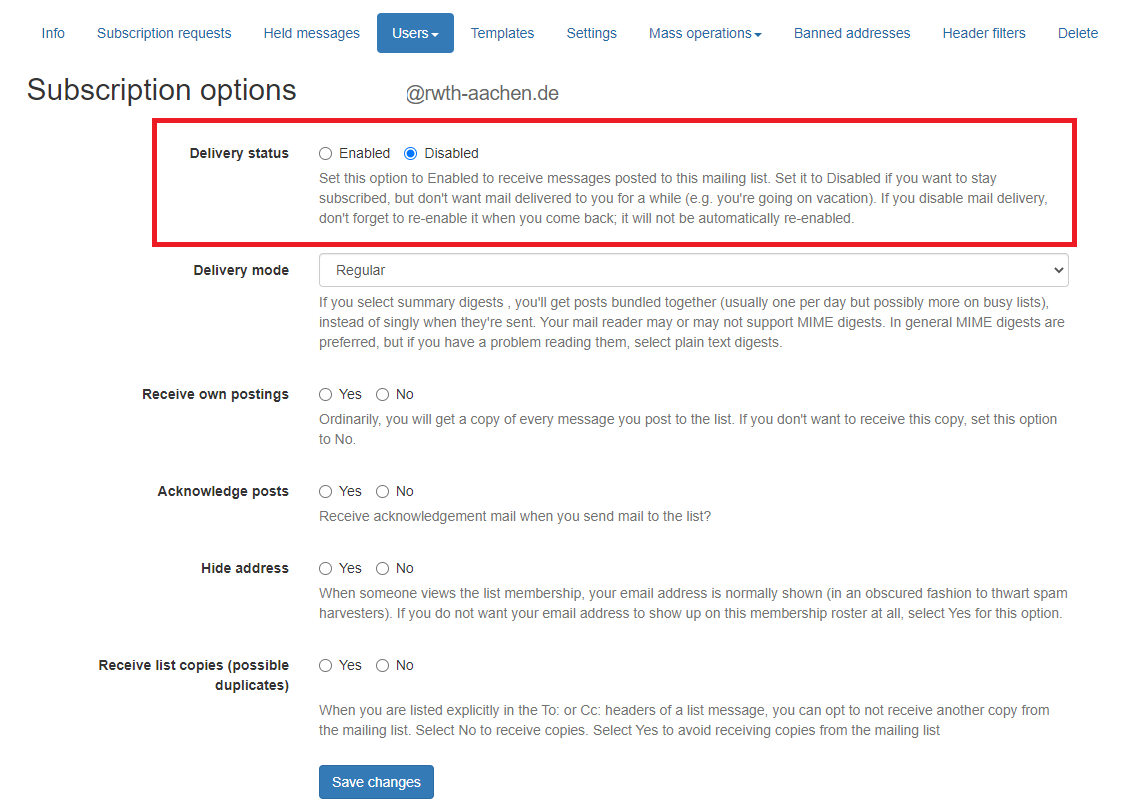
In those user settings, you can deactivate their “delivery status”.
Moderate specific Users
If you intend to change the settings for specific users, this option is also available in the user settings. This can be useful if, for example, you wish to grant a single user permission to send messages to a list which usually does not receive messages.
Settings concerning this topic can be found under the menu point “administration options”.
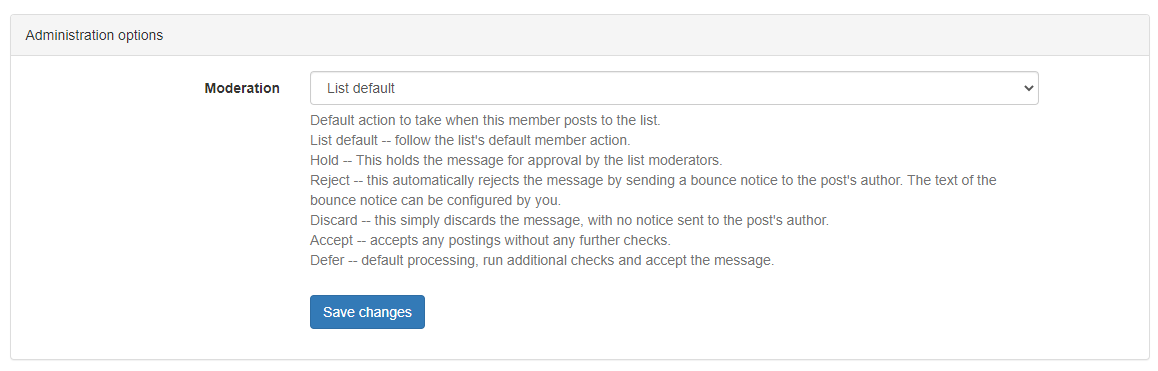
Please choose the appropriate setting. If you want to authorise a user to send to a list without need for moderator approval, select “accept immediately”.
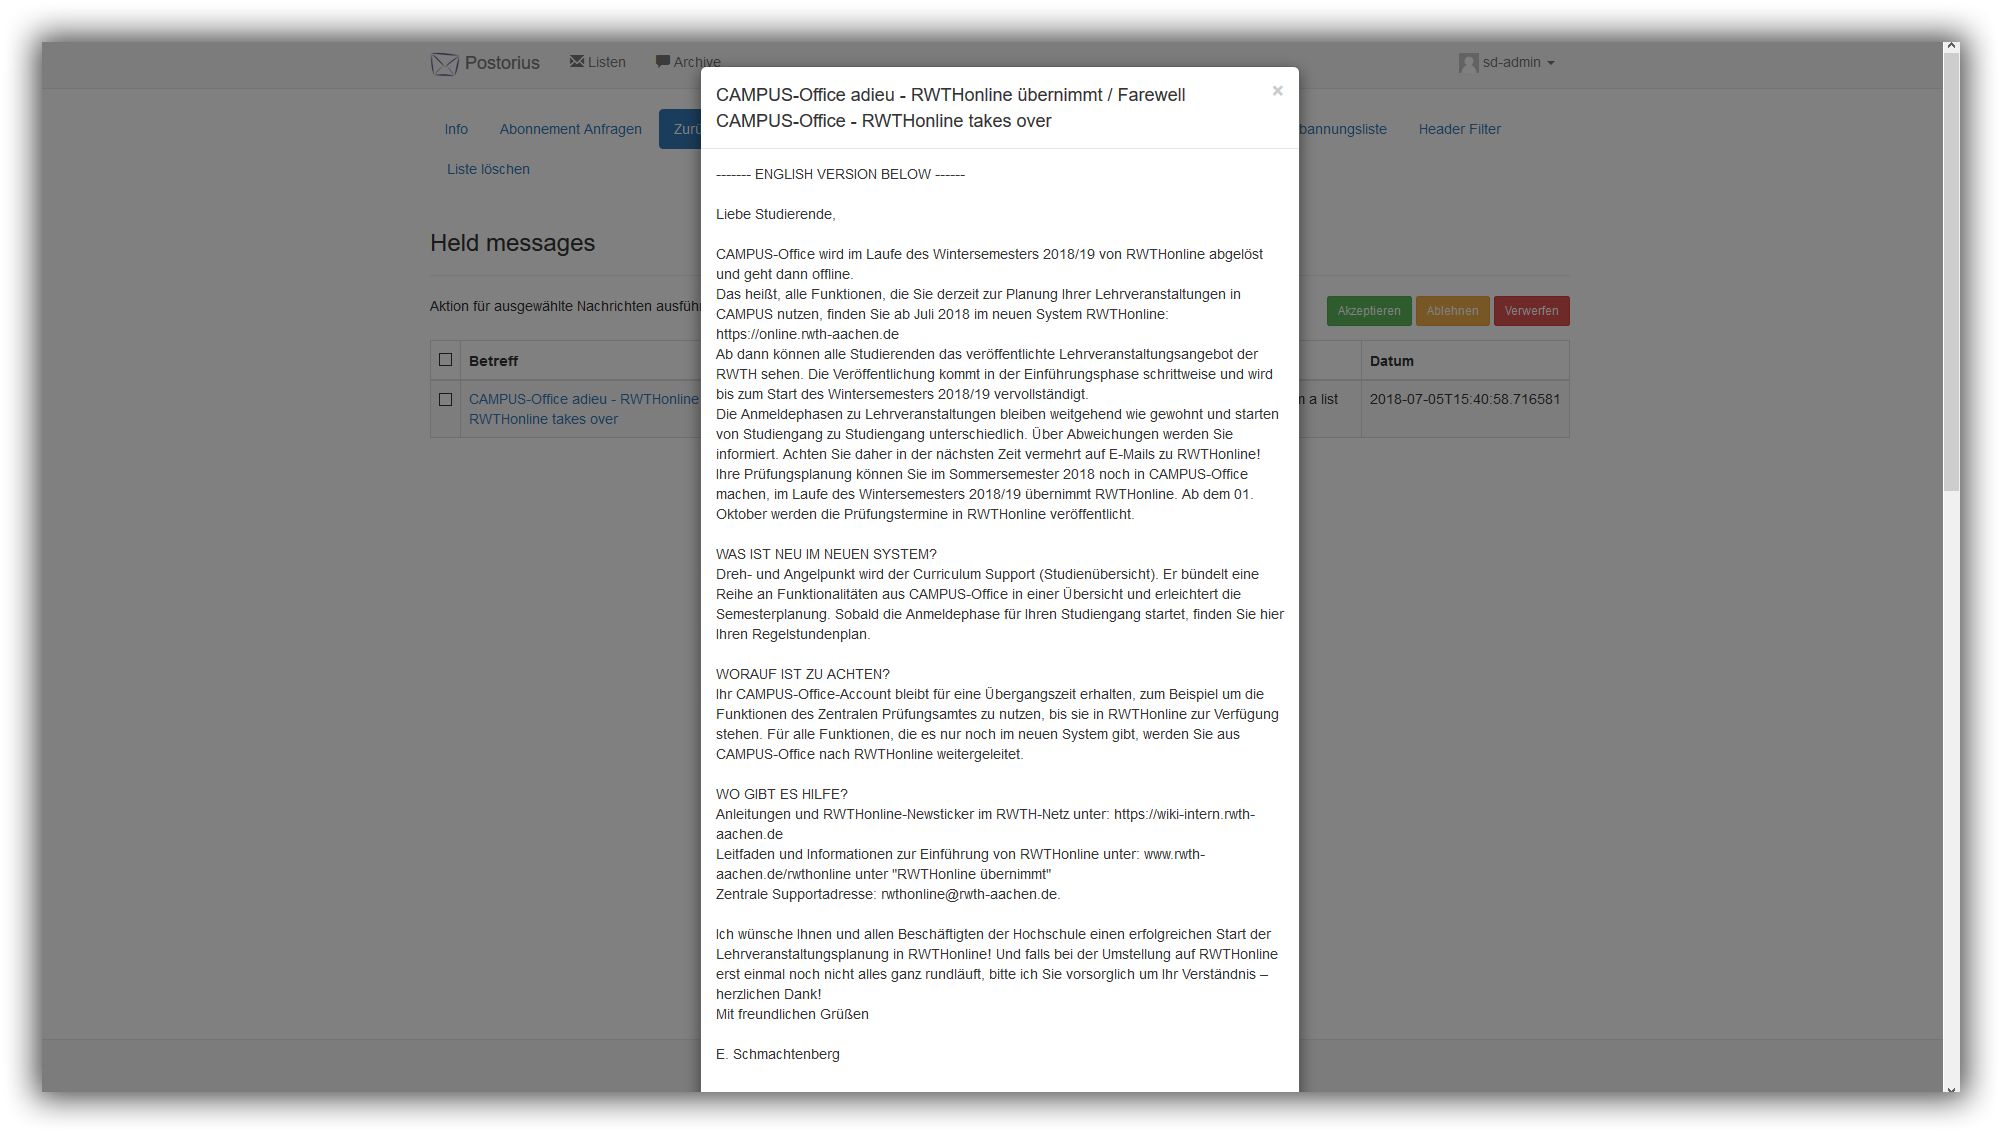
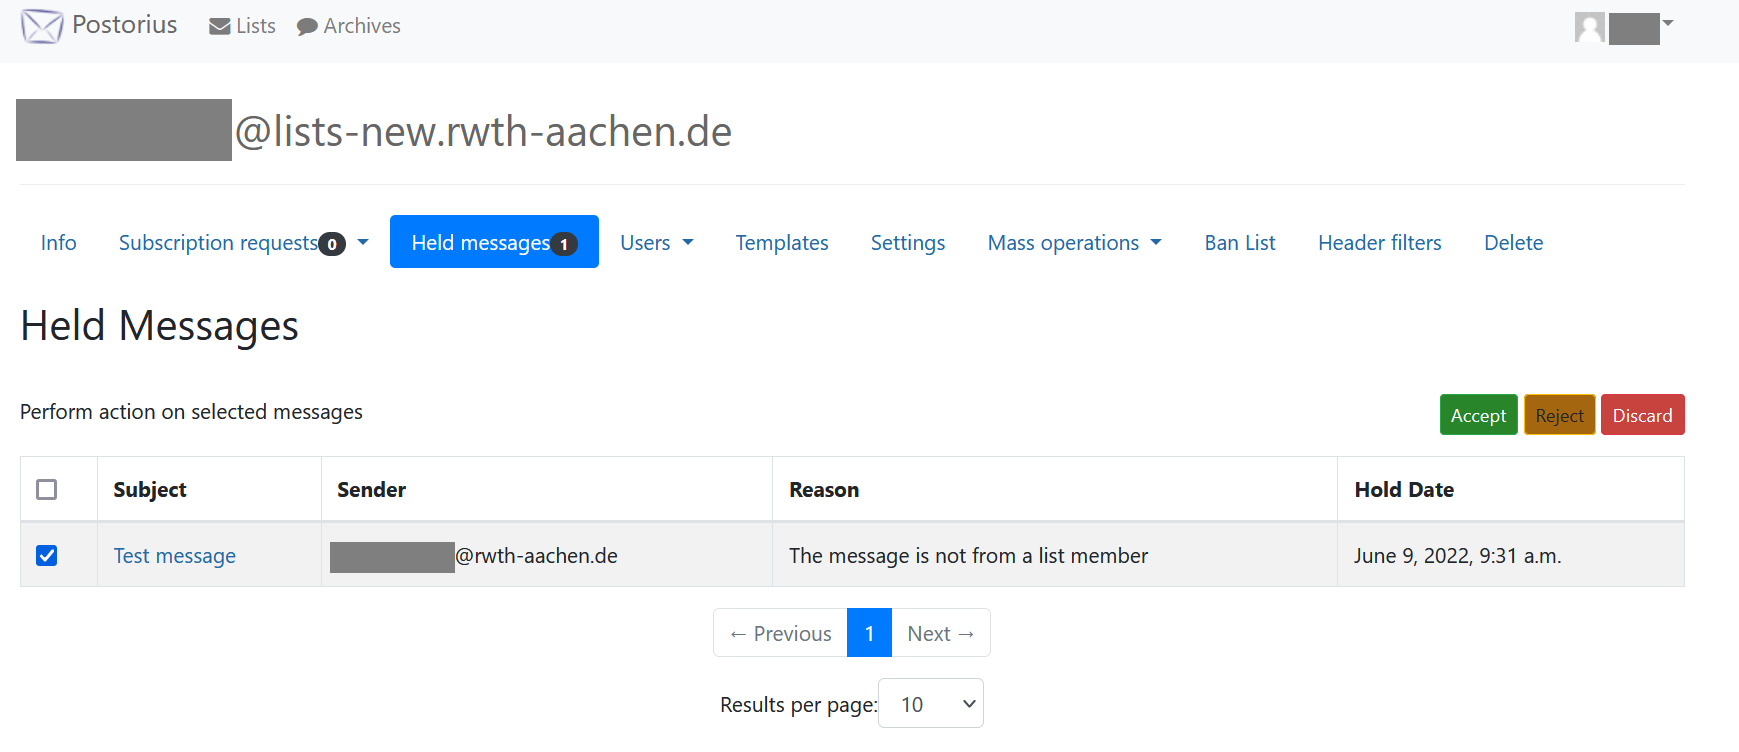
Held-back Messages
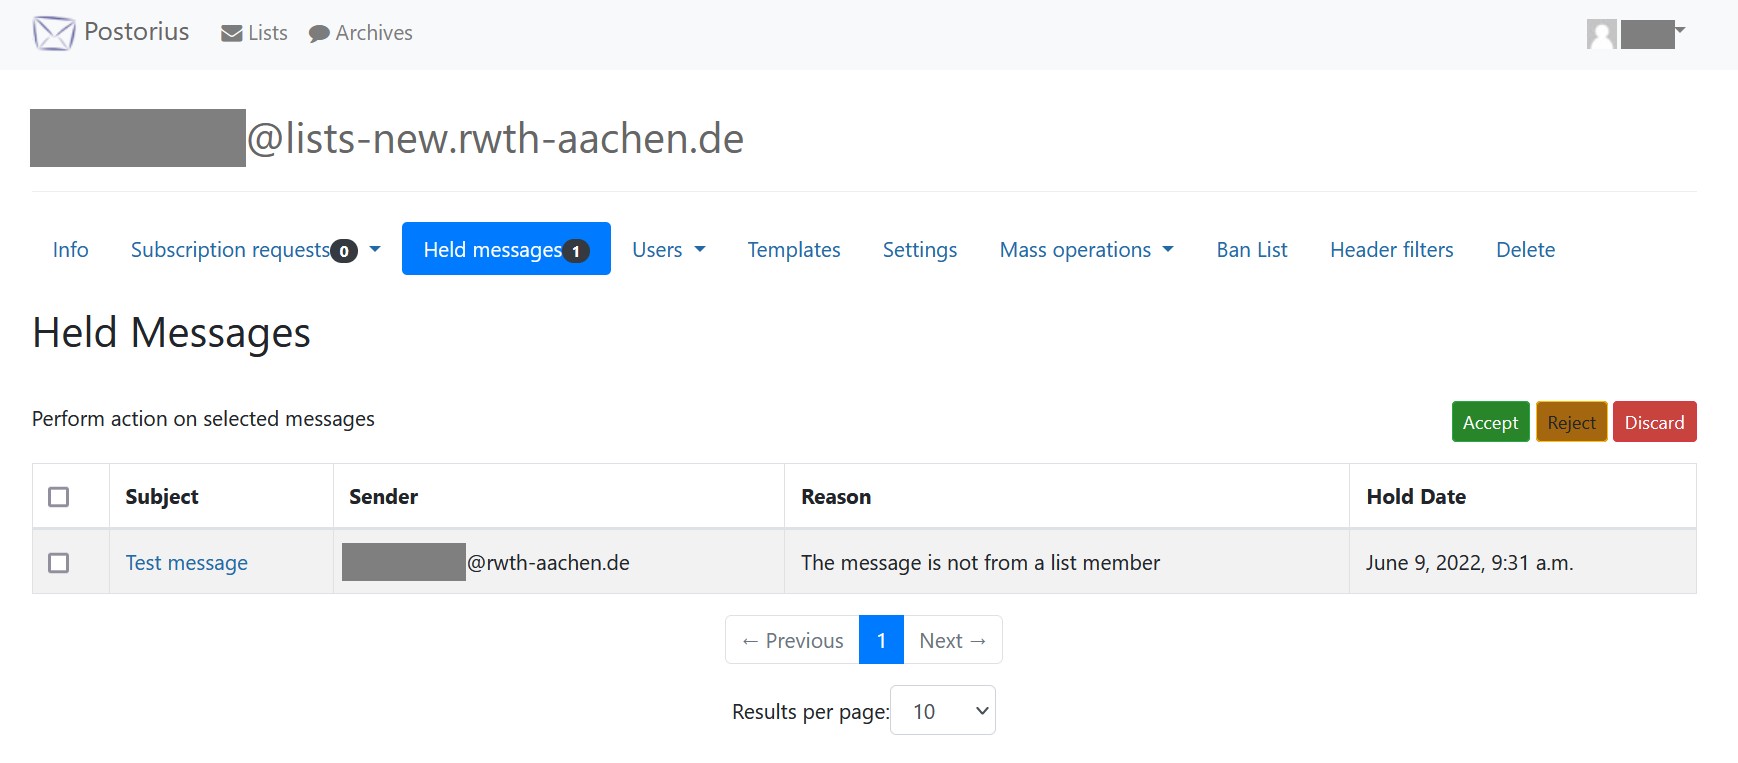
To edit the text, click on held-back messages and select the desired message by clicking on the subject line. This pulls up an information window, which contains the text of the message.
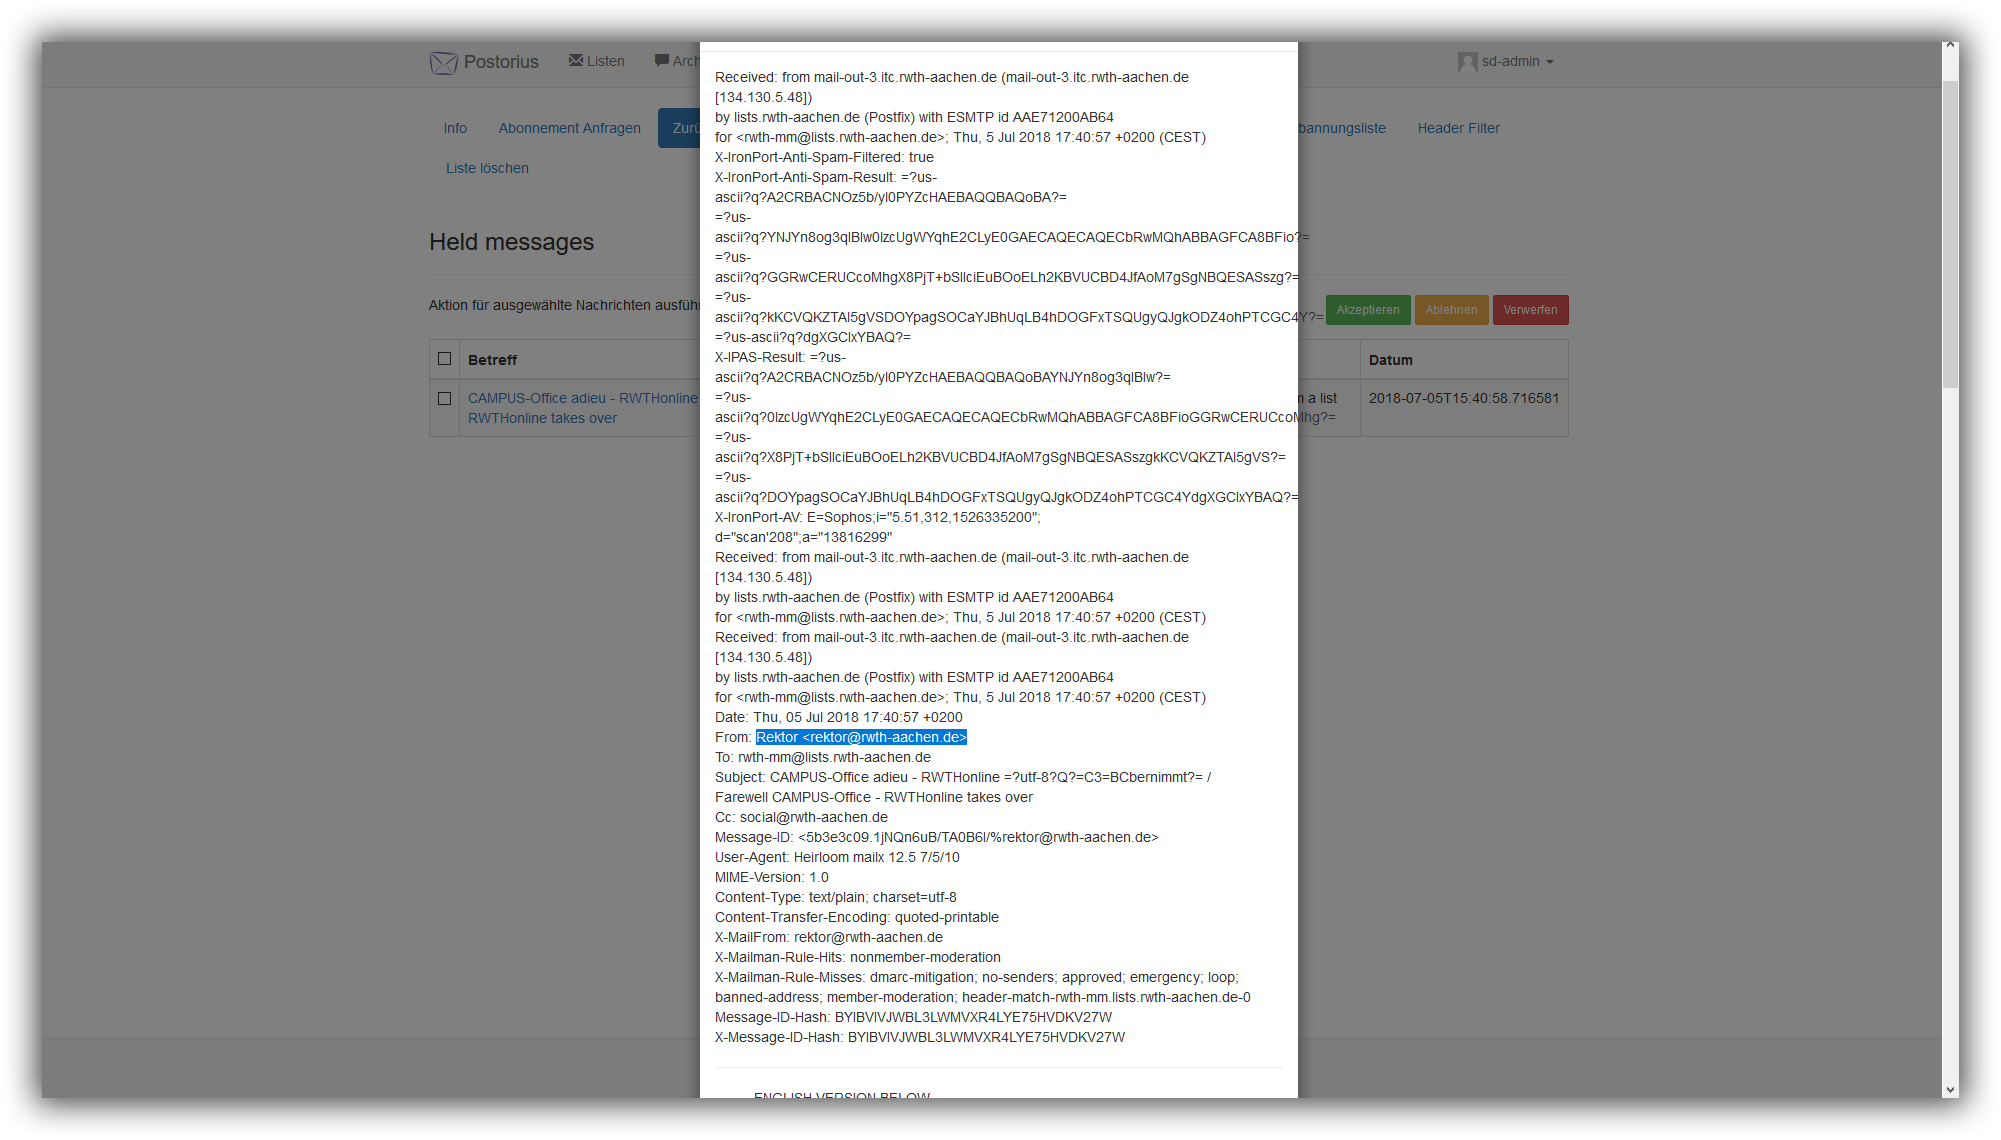
After checking the text, please also check the sender address. This address must be the same as the desired address. This menu will first need to be opened by clicking on “show header” and looking for the sender information.
In addition, you should also check if the number of users is correct. In the field “members”, click on “subscribers” to display the number of subscribers. If the list has a large number of subscribers, we suggest setting the entries per page to 100 and checking the page count in order to get a rough estimate of the number of subscribers.
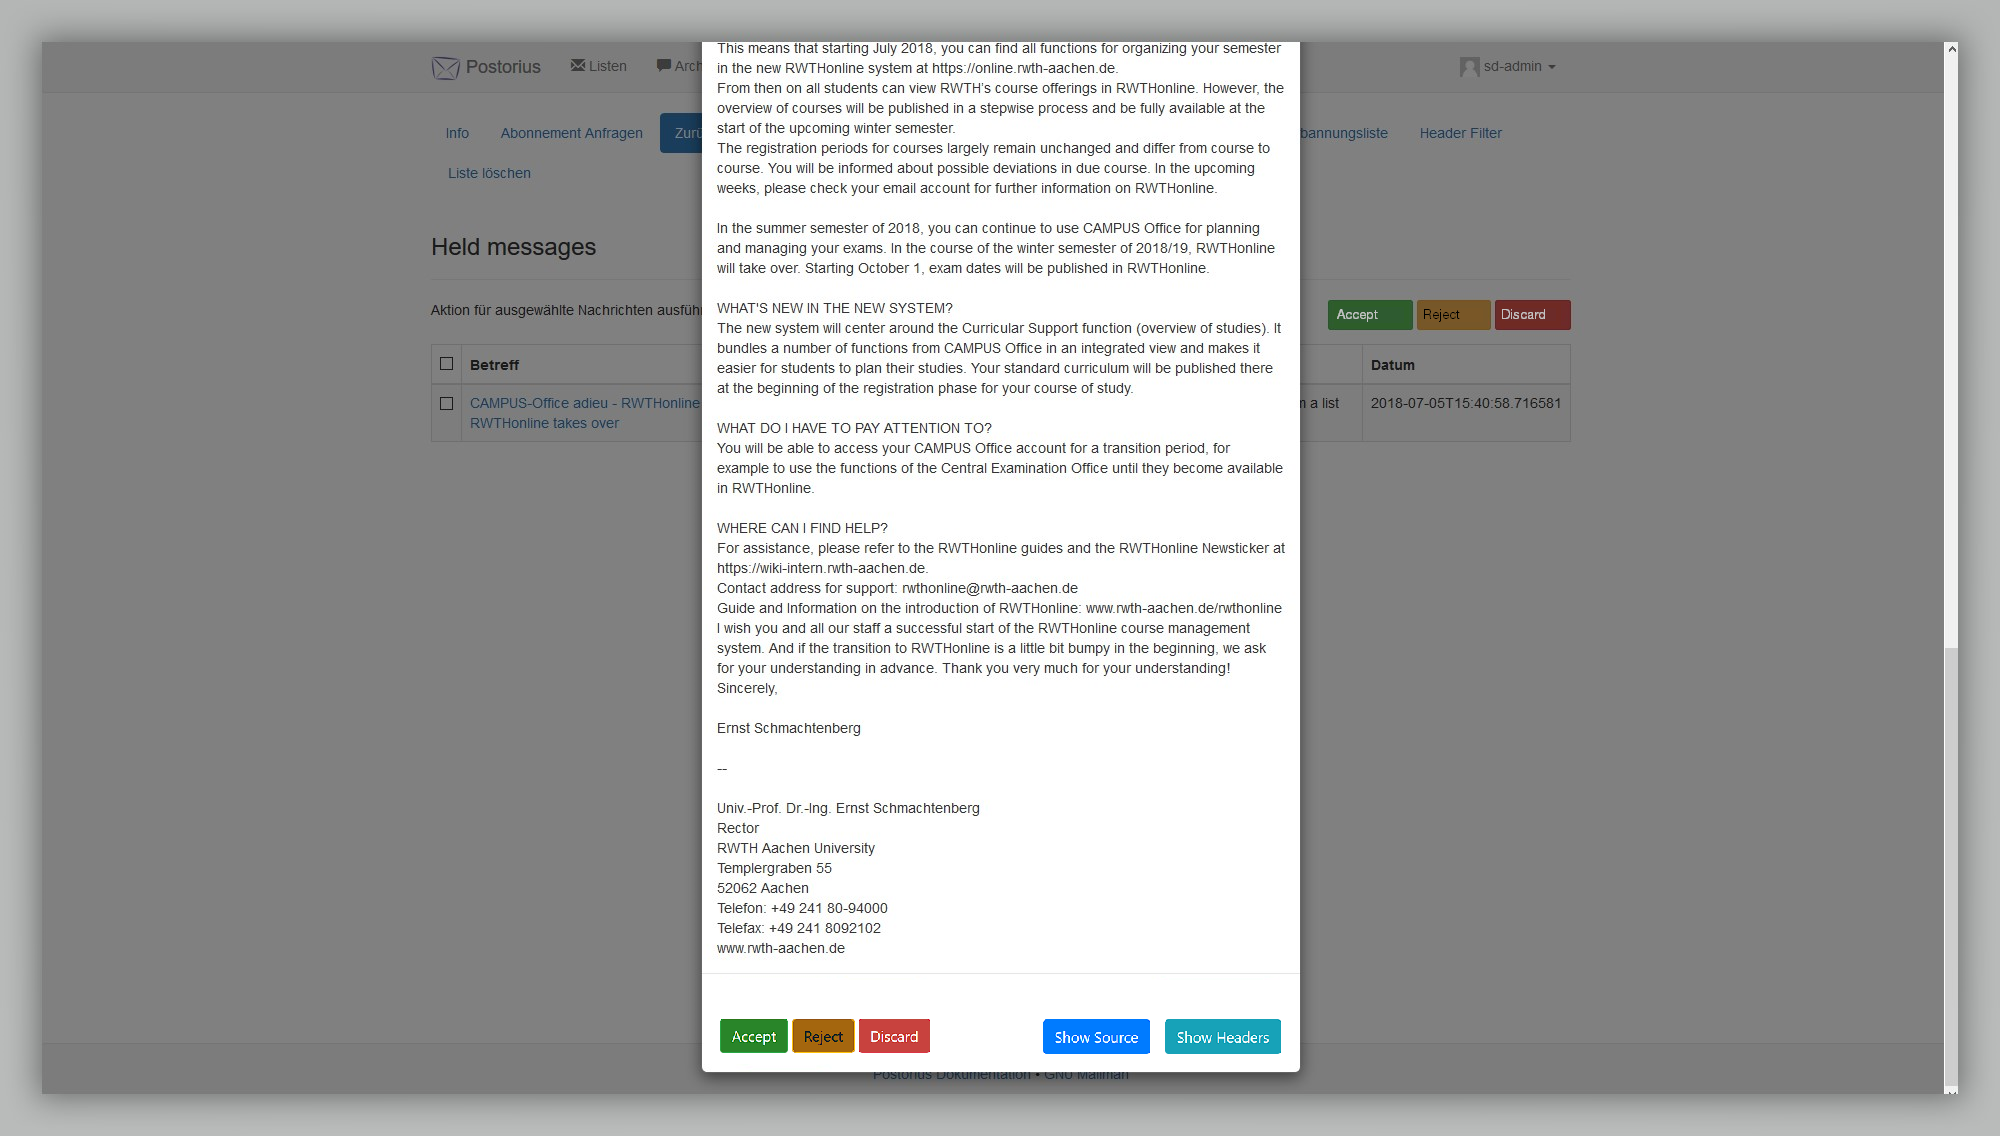
As soon as the Data of held-back messages is checked thoroughly, you can set them for release. Simply choose the mail for an action by ticking the box on the left and clicking on accept. Successful completion of the operation will be indicated by a green bar appearing after the mail is sent.
Automated Response
To set up automated responses, head to the “automated response” rider in the settings of your list. You can edit both the test for answers and the kind of answer.
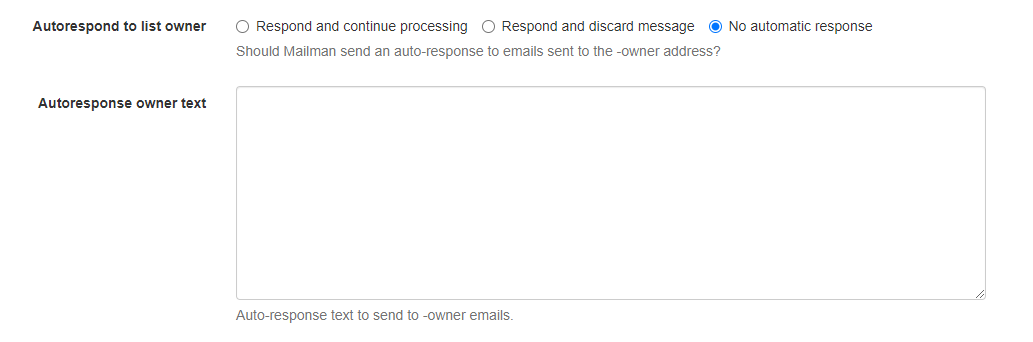
If, for example, the owner of the list receives requests via the owner-address that should be answered automatically, the page “automated responses” allows you to set this up by using the following settings under “automatic responses to the owner of the list”:
- Answer and continue Processing (The message is answered and further processed, for example by retaining, deleting, or rerouting it.)
- Answer and Delete (Answer the message and delete it immediately afterwards)
- No Automated Response (Will not reply to received messages automatically)
Underneath these settings is a text box labelled “Text for automated response to the owner”, which allows you to edit the text of the message that will be sent.