


Initiating a VM deletion process

This page describes how to initiate a VM deletion process.
Preparation for deletion:
- Shut down the VM. The field "Power Status" on the VM information page reflects the status of the VM. Please note that this field is not updated in real-time, so it may take some time for the power status to change.
- Ensure that there are no important data left on the VM, as deleting the VM cannot be rolled back.
Please proceed as follows to request the deletion of a VM:
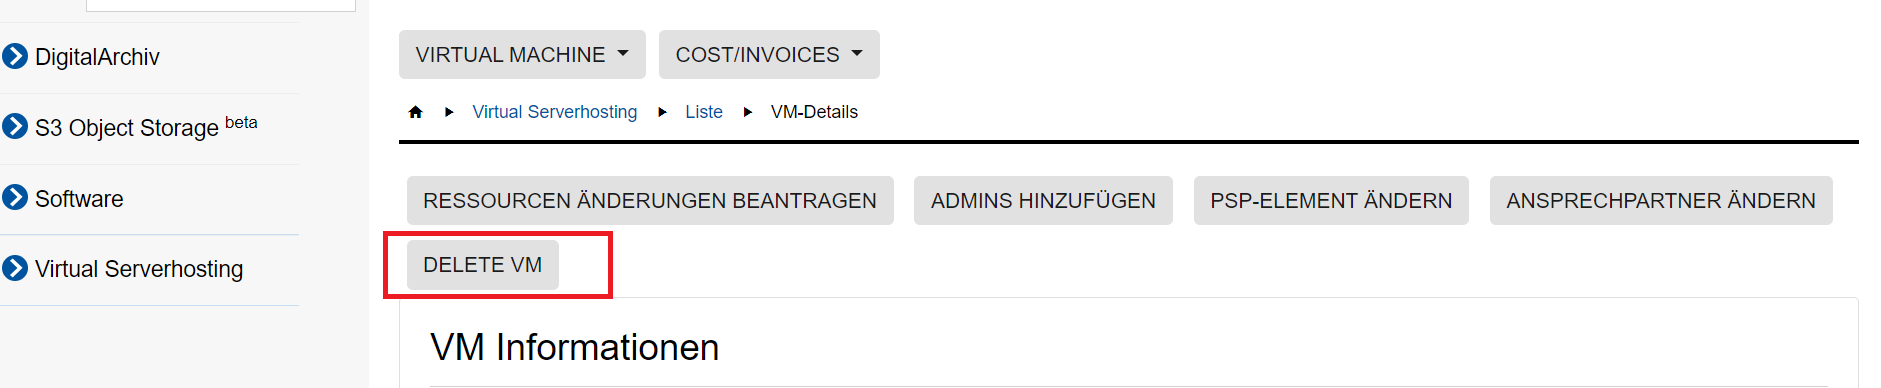
- Go to List VM ans click on the name of the VM you wish to delete.
- Click Delete VM:
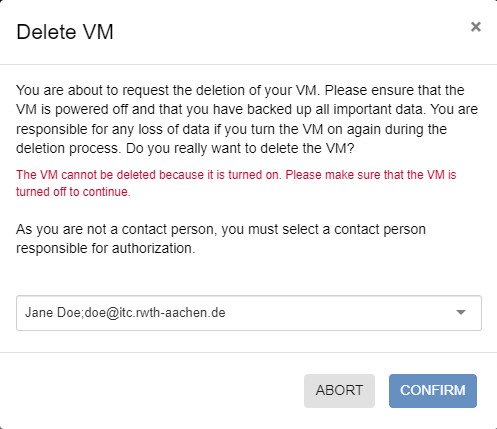
- Confirm the deletion. If you are not a contact person for the VM, you must select a contact person from the dropdown menu. The selected person will be notified via e-mail about the deletion request and can confirm or decline it via a link in the e-mail. The link is valid for 2 weeks from the date of application:
Once the VM has been successfully deleted, you will receive an e-mail confirmation.
Please note:
There can only be one request per VM at any given time. After submitting your request, you must wait until it has been approved or denied before you can submit a new request.
