


Email Routing Application

This article describes how to access the associated application once you have received the role Verwaltung E-Mail-Routing (E-Mail-Routing administration) and which functions are available.
To be able to access the application, you first need the role Verwaltung E-Mail-Routing (E-Mail-Routing administration). This role must be assigned to at least one person in your organization if your organization intends to use the IT Center's email routing.
If you do not yet have this role, please contact your organization's role administration.
If your organization does not yet have role administration, please contact the IT-ServiceDesk.
To access the email routing management application, please follow these steps:
Step 1
Open the web interface and log in via RWTH Single Sign-On. You can find separate instructions here.
Step 2
Now click on the route icon (RWTH E-Mail Routing) in the navigation bar on the left-hand side.

Step 3
If you have been assigned the role Verwaltung E-Mail-Routing (E-Mail-Routing administration) for several organizations, you can switch between the respective organizations.
Select the desired email domain and click Submit to confirm.
The domain you are currently in is displayed in the upper right corner.
Once you have successfully accessed the application, you can use the following functions:
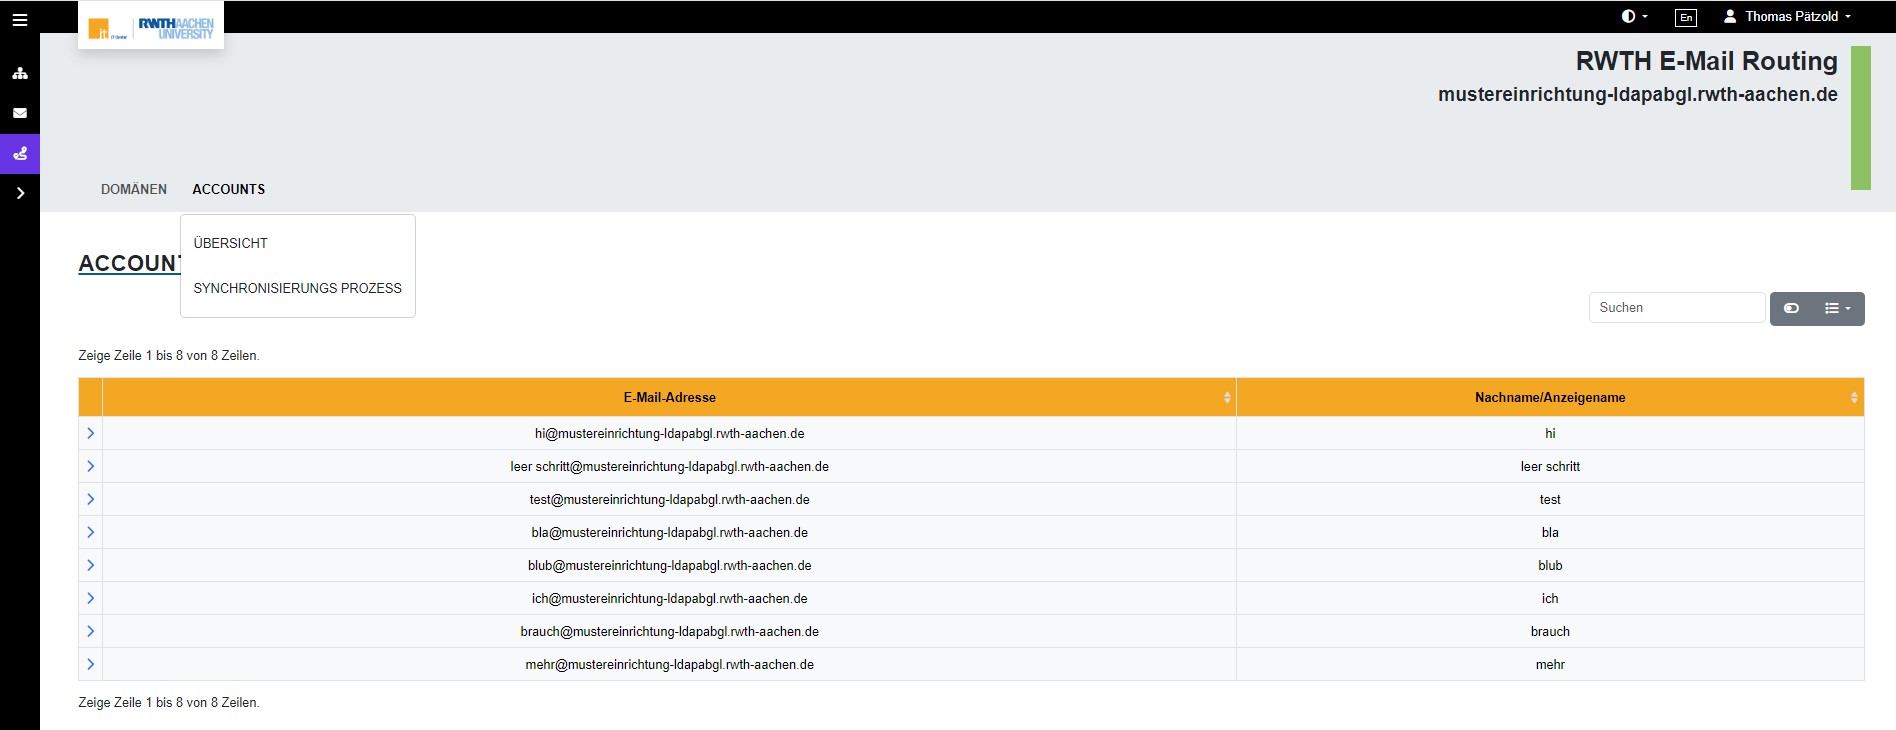
Overview
In the overview you can see all email addresses that are currently stored for recipient verification.
You can use the search function located above the listed of addresses to search for addresses by name.
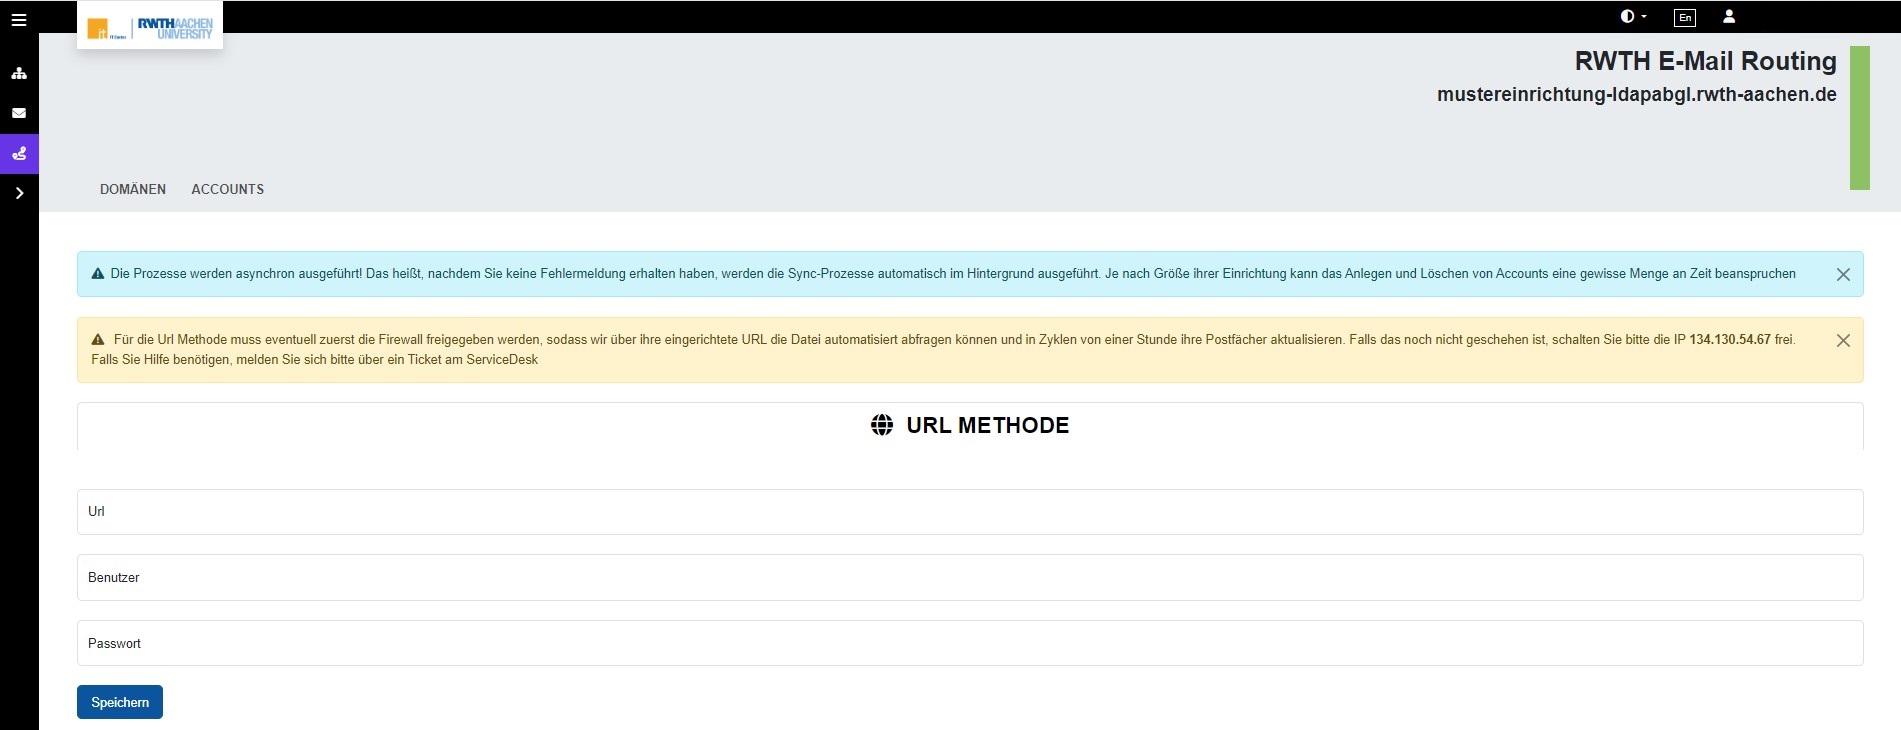
Synchronization process
To start the synchronization process for the first time, you must enter a URL and login details (username and password) here. These are used to verify the data on the stored page.
As soon as this has been done, the data is automatically synchronized every hour.
If any problems occur, please check whether the IP adress 134.130.54.67 is opened.
If more than 20% of the entries originally stored by the IT Service Desk have been deleted in the recipient verification file, synchronization is automatically stopped for security reasons.
This is to prevent too many email addresses from becoming invalid for recipient verification due to errors in the recipient verification file and therefore no further emails being accepted for them.
