You are located in service: Cryptomator

Create a new vault

Create a new vault

guide

This page describes how you can create a vault.

To do so, please proceed as follows.

Step 1
Navigate to the vault list and click on the ‘Add’ > ‘Create new’ button in the top right-hand corner.

Step 2
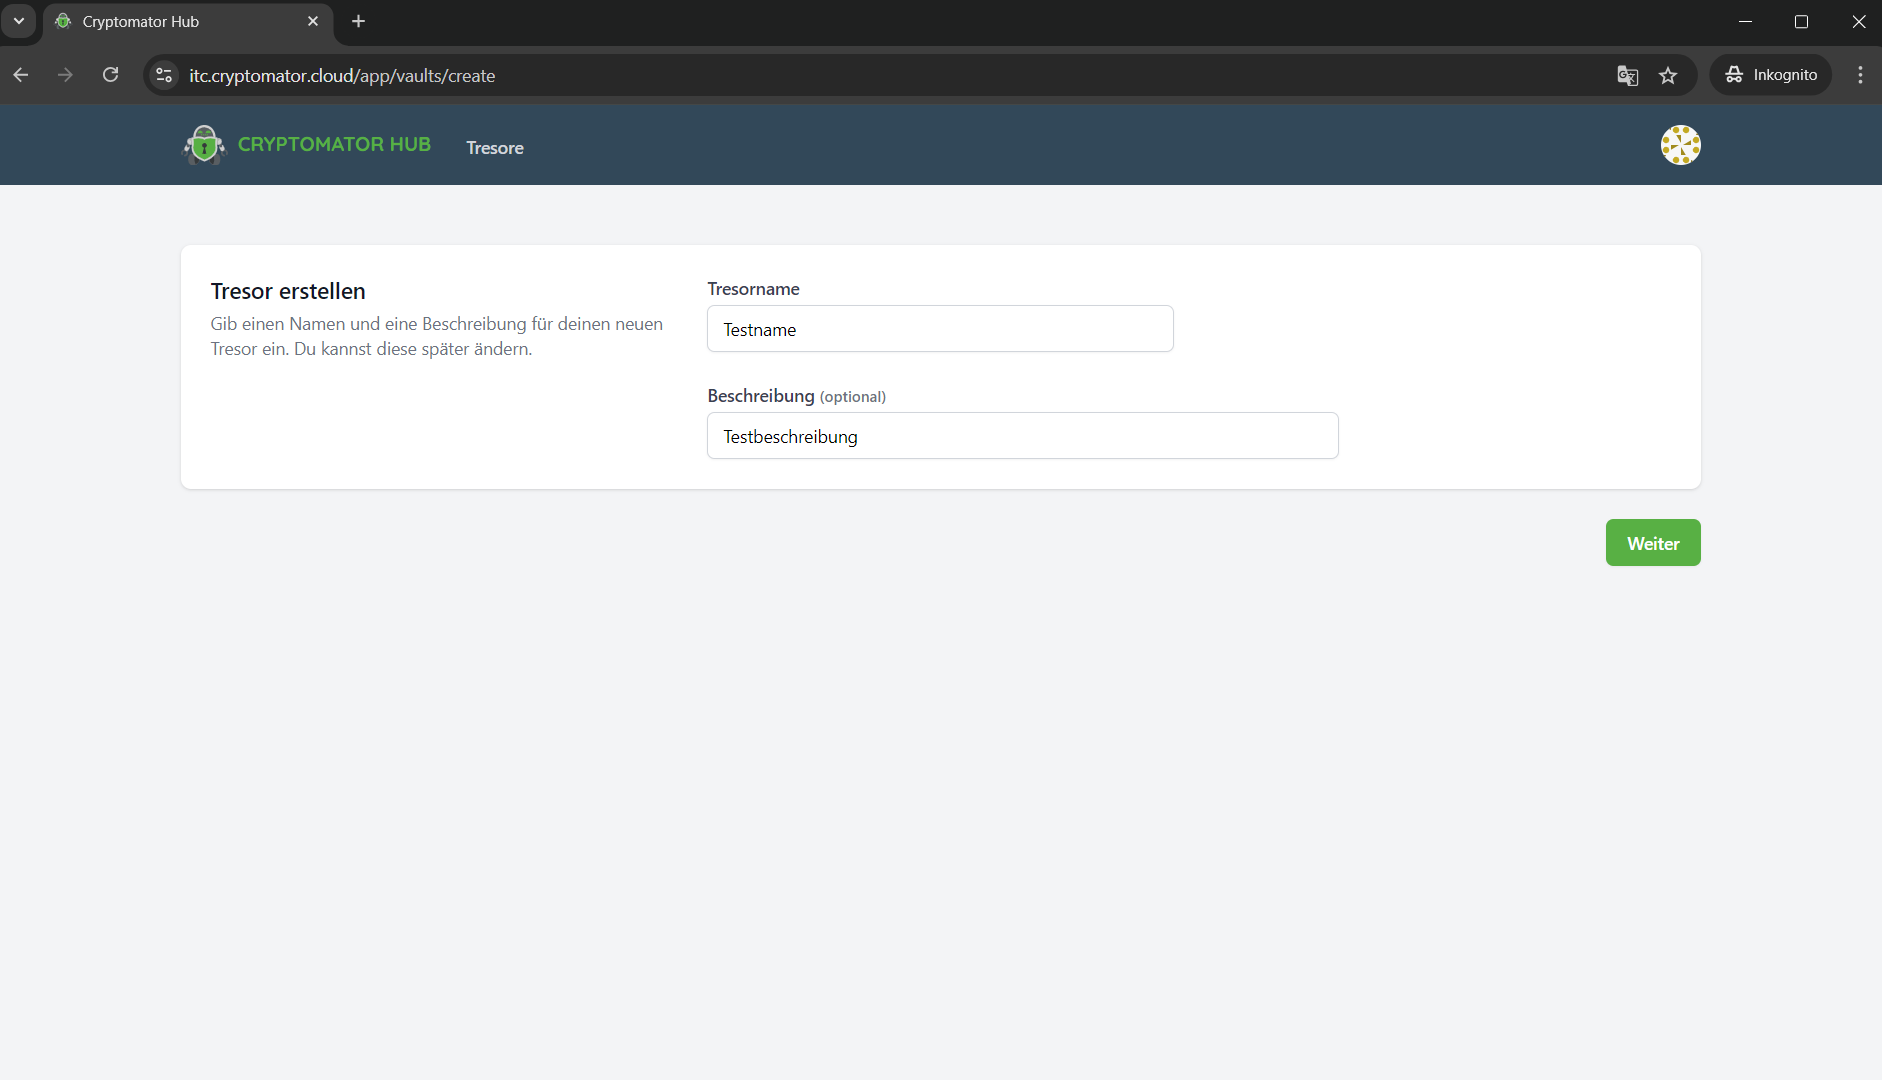
Enter a vault name and optionally a vault description.

Then click on continue.

Screenshot of the "Tresor erstellen" (Create Vault) page. It shows two stacked input fields: the upper field for the "Tresorname" (Vault Name) and the lower field for the "Beschreibung" (Description). Below them is the "Weiter" (Next) button.

Step 3
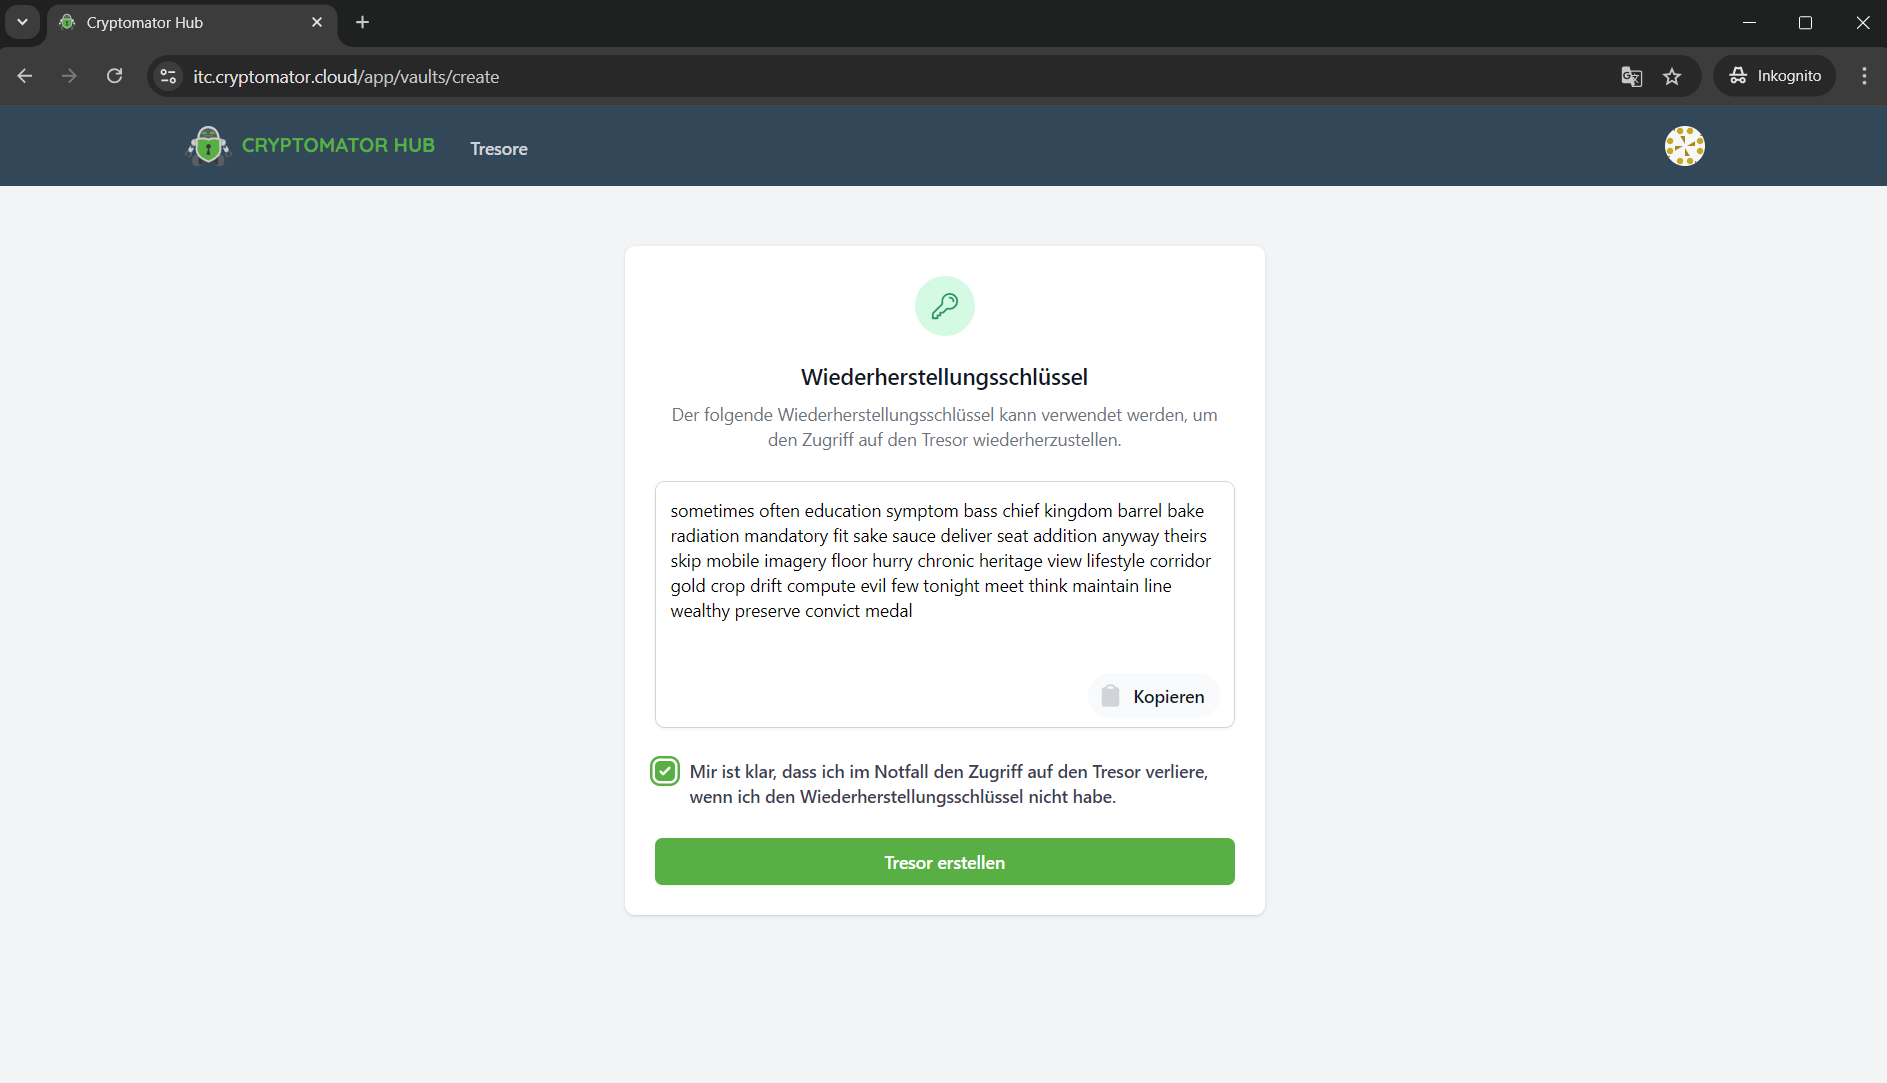
The recovery key of the vault is displayed. It can enable access to the vault data in an emergency, e.g. if Cryptomator Hub fails.

Save the recovery key in a safe place.

Then tick the checkbox.

Finally, click on ‘Create vault’.

Screenshot of the "Recovery Key" (Wiederherstellungsschlüssel) window. The key is displayed centrally as a text block containing the "Copy" (Kopieren) button. Below are the checkbox with the text "Mir ist klar..." and the "Create vault" (Tresor erstellen) button.

Step 4
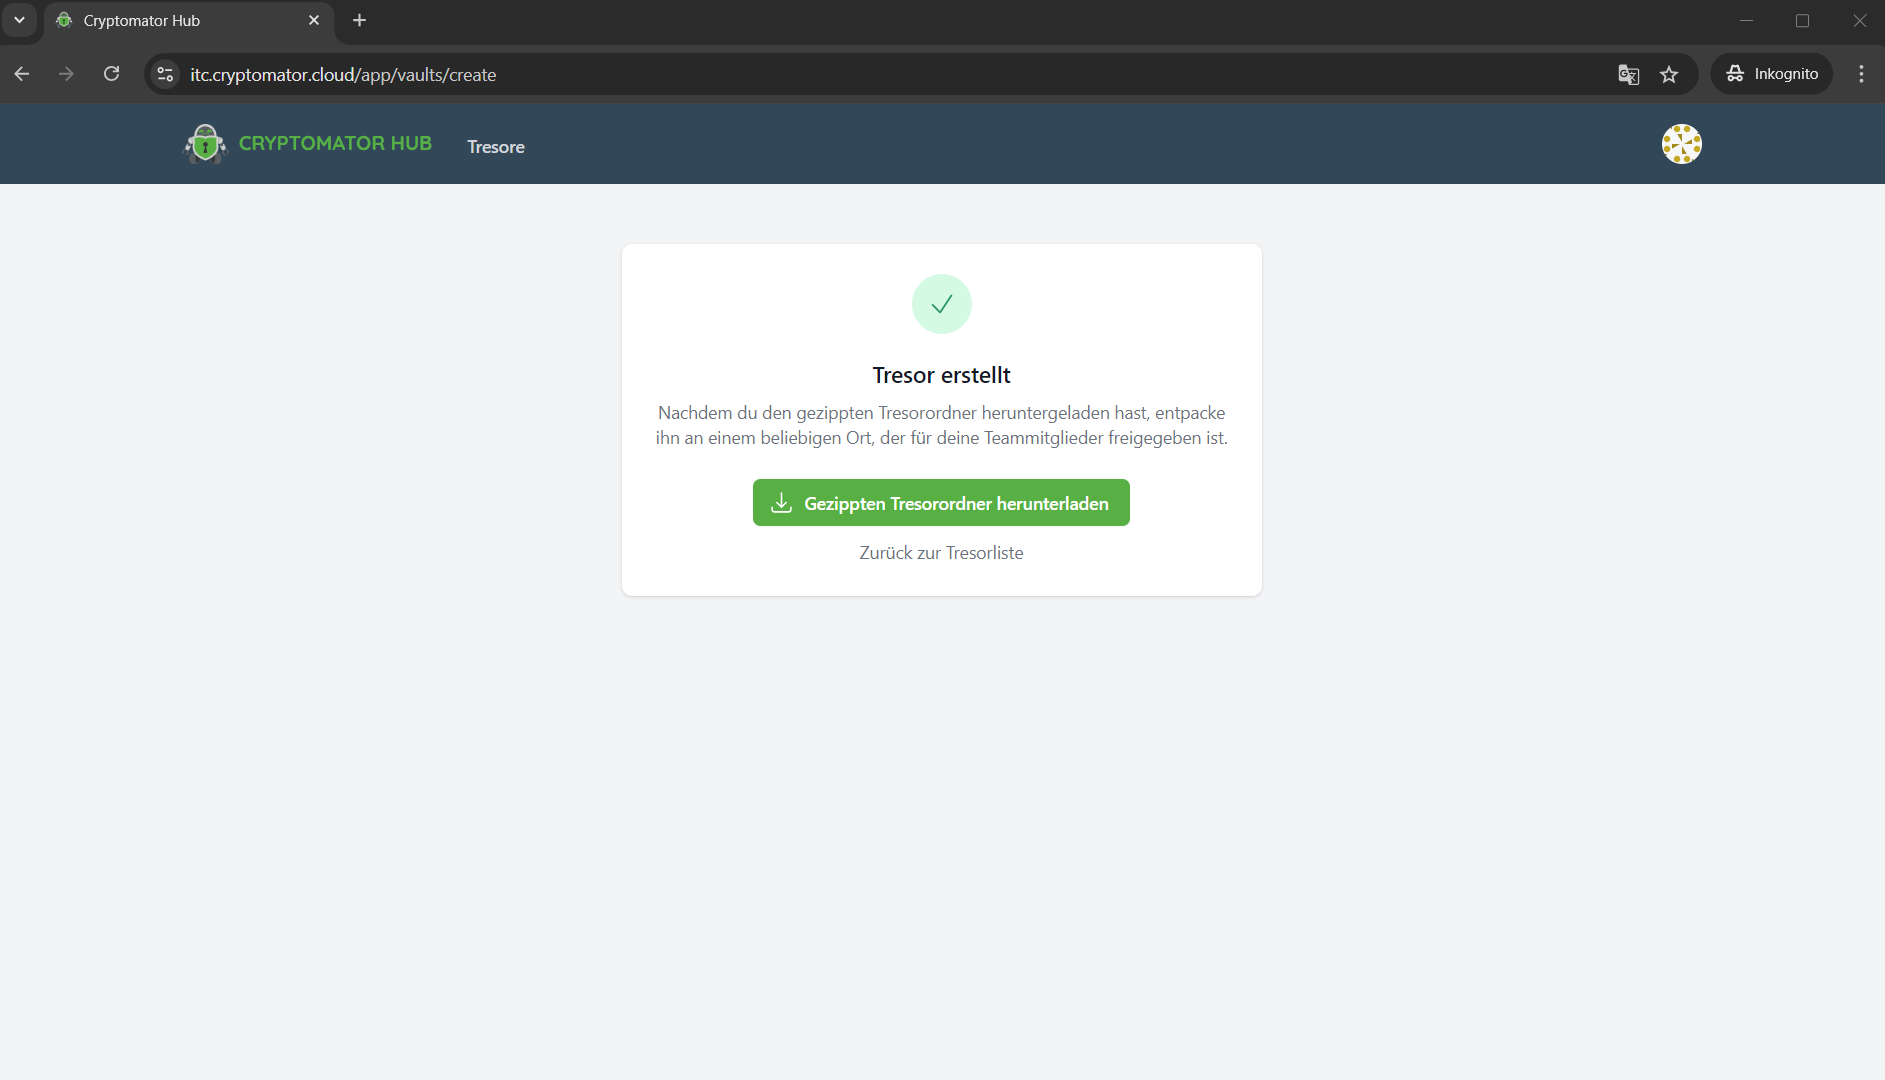
The setup is complete.

Once the setup is complete, you can download the vault template (zip file) and store it in your desired synchronised storage location. You can unlock the vault with Cryptomator to store data in it. If you skip this step, you can download the template later.

Screenshot of the message "Vault created" (Tresor erstellt). The button "Download zipped vault folder" (Gezippten Tresorordner herunterladen) is displayed in the center. Below it is the link "Back to vault list" (Zurück zur Tresorliste).


last changed on 11/25/2025

How did this content help you?

Creative Commons Lizenzvertrag
This work is licensed under a Creative Commons Attribution - Share Alike 3.0 Germany License