


Managing dataproject and s3-users

On this page, you'll learn how to manage a data project once you've set it up.
To do this, you can perform the following actions:
Customize data project information
The Data Project Information section displays the following information, among other things:
- Data project name
- Bucket name (S3 bucket)
- Usage (used storage space in GB)
- Quota (reserved storage space in GB)
- Expiration date
- Indication of whether the data contains any personal information
- Metadata (e.g., project description)
- Organization
- Endpoint
You can edit the name and expiration date of the data project there.
The expiration date can only be extended to a maximum of 10 years.
Increase storage quota
The quota is the reserved storage space for your data project.
- You can increase the quota yourself in the SeviRe portal up to a maximum of 100 TB.
- It is not possible to reduce the quota.
- If you need more than 100 TB, please submit a request to the Service Desk (via ticket).
Manage Admins
In the Admins section, you can see the currently registered admins for your data project.
- You can add new admins.
- You can delete existing admins at any time.
- Only members of your institution who have logged into SeviRe at least once can be added as admins.
Note: If possible, two admins should be added per data project (e.g., to provide coverage in case of absence).

Create s3-user
In the S3 Users section, you can manage anonymous S3 access for your data project.
- You can delete existing S3 users.
- You can create new S3 users with
- READ (read-only access) or
- WRITE (read and write access)
to the bucket.

S3 user accounts are not personalized and do not have to be from the same department or university.
However, the management of these S3 users (creation/deletion, assignment of permissions) is carried out exclusively via personalized admin accounts, which must belong to members of your institution.
After creating an S3 user, the following are displayed once:
- Username (also the S3 Access Key)
- Secret Key for the S3 connection
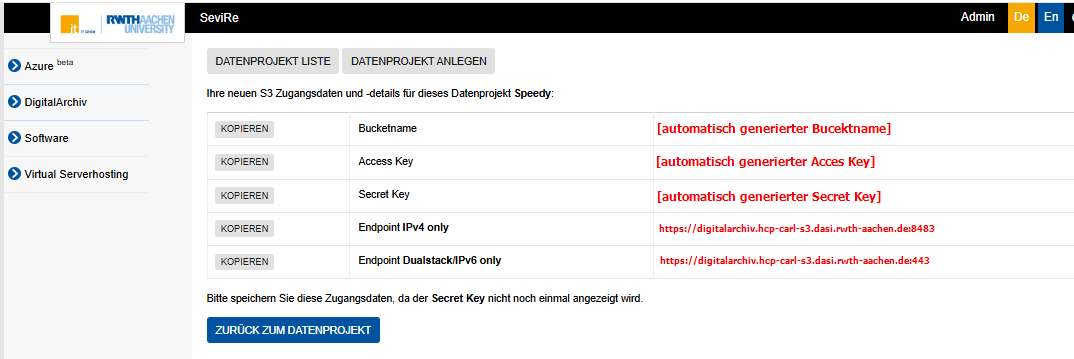
Important:
- The access key and secret key are displayed only once, immediately after creating an S3 user, and cannot be viewed again later in the portal.
- Save the credentials immediately in a secure location, such as a password manager like KeePass or Password Secure.
- Transmit the Access Key and Secret Key exclusively via secure channels (e.g., via encrypted email).
- If necessary, make a separate note of which Access Key is assigned to which person.
