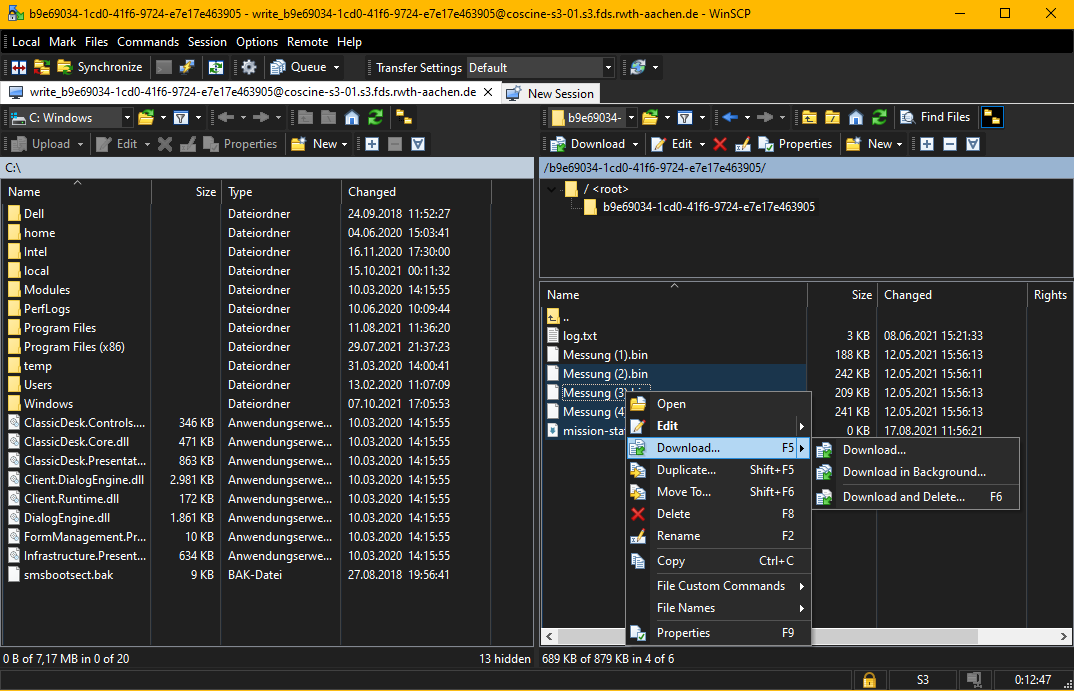
s3 connection using WinSCP

Notice: Screenhots still show Coscine ressources. Please refer to the text for correct data.
To connect to a bucket from the DigitalArchive with an s3 client you need
- server name: digitalarchiv.s3.fds.rwth-aachen.de
- port: 9021
- Access Key
- Secret Key
- Bucket Name
You will get this from the admins of the corresponding data project in SeviRe to which your s3-bucket belongs.

WinSCP
Based on WinSCP version 5.19.3
1. Installation
Download WinSCP and run the installation program:
https://winscp.net/eng/download.php
For the installation you need admin rights.
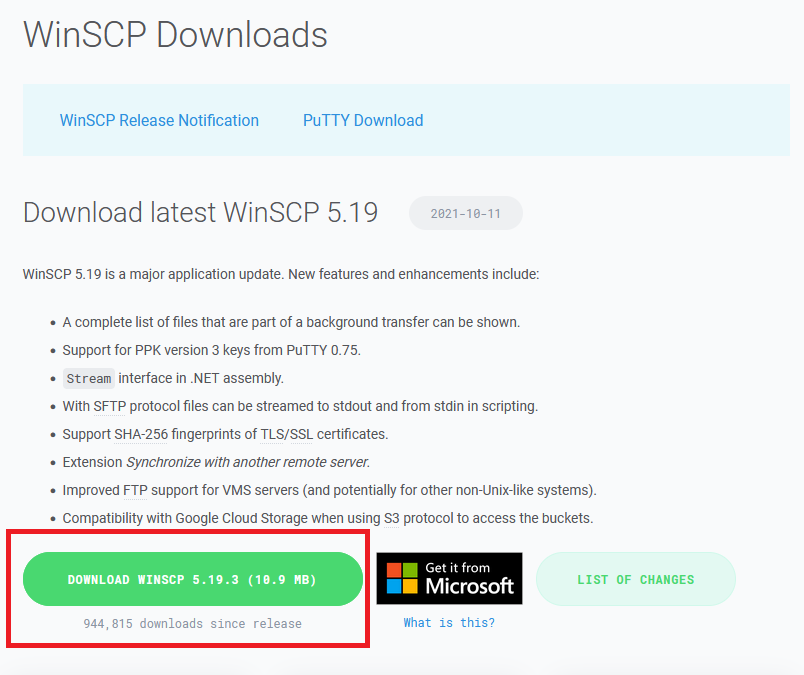
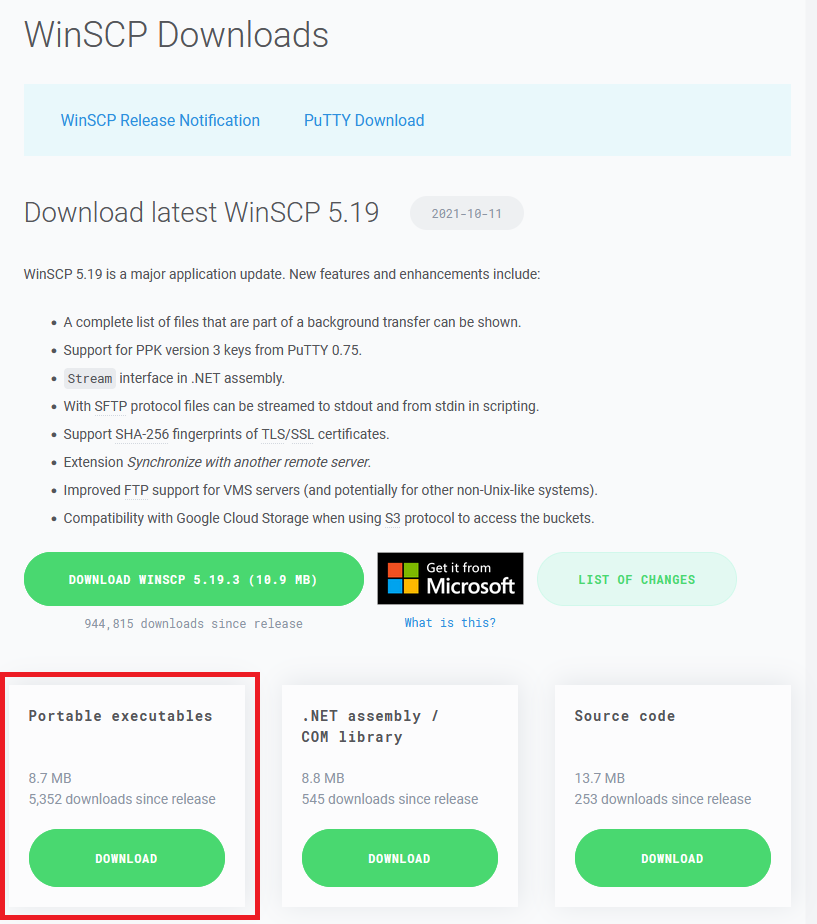
Alternatively, you can download the portable version, which you can use without installing and thus without admin rights. We will work with the portable version in this tutorial.
Download the portable version:
2. Configure a new connection
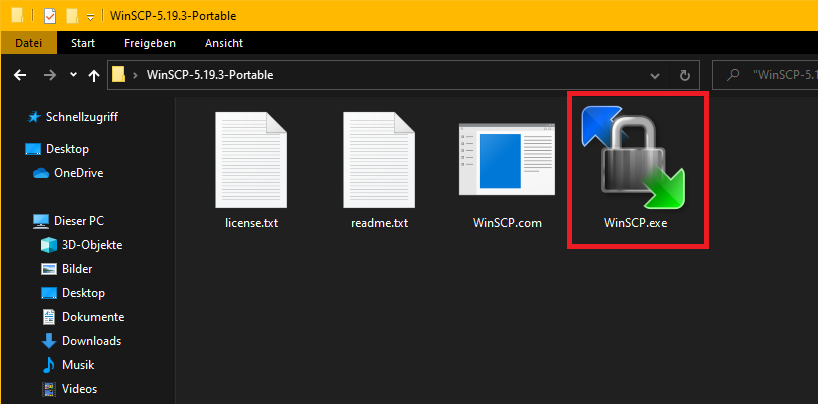
Start WinSCP via the WinSCP executable:
Immediately after startup, an input window will open, allowing you to configure a new connection.
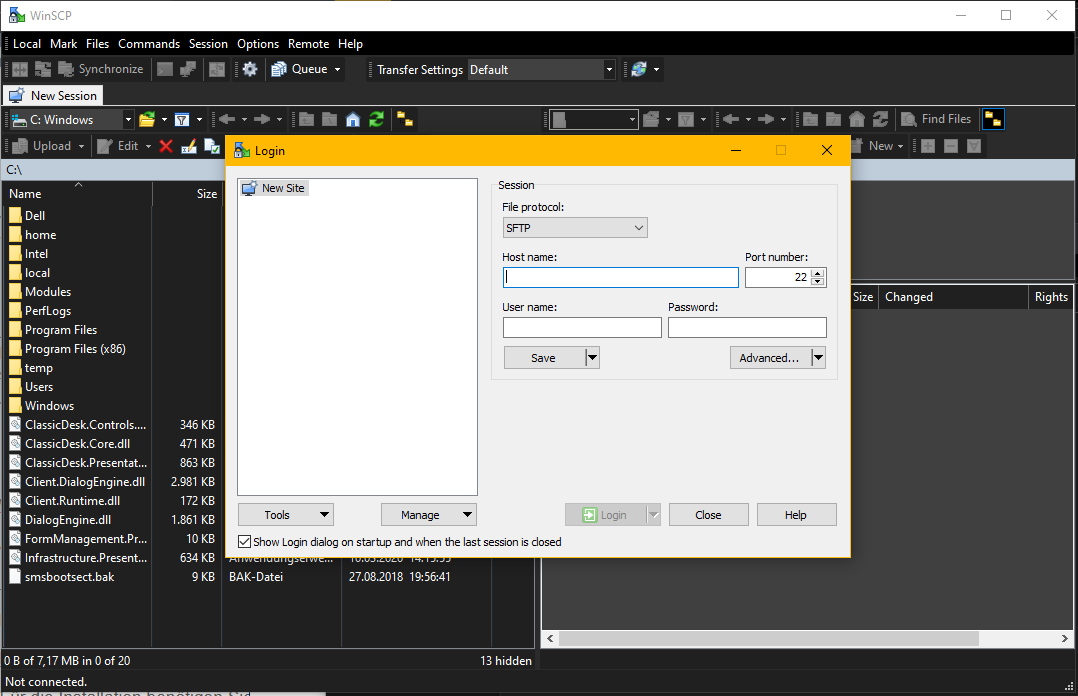
Select "Amazon S3" in the "File protocol" field and copy the values listed in the table below into the respective fields of the input mask.
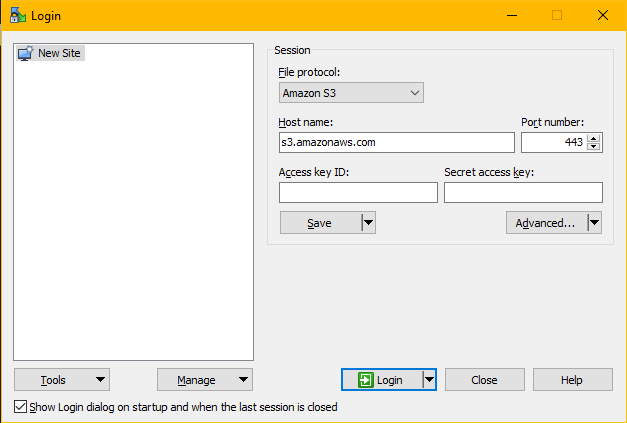
There are a total of five input fields to fill in - please refer to the resource configuration in Coscine [link to instructions] or RWTH Publications for the corresponding values. In the case of RWTH Publications, you will find the document "Datenzugang_DataAccess.pdf" for your data set. All relevant data is stored there. Note that the Host name field in WinSCP corresponds to the Entry point field in Coscine. If you copy the value, you should paste it without https:// prefix and without port postfix in WinSCP, otherwise an incorrect redirection will be made. For simplicity, you should copy the host name value given below.
| WinSCP | DigitalArchive |
|---|---|
| Host name | digitalarchiv.s3.fds.rwth-aachen.de |
| Port number | 9021 |
| Access key ID | Access Key (Reading or Writing) |
| Secret access key | Secret Access Key (Reading or Writing) |
Now click "Login" to connect to the resource. You can save the connection configuration beforehand for later reuse by clicking on the "Save" button. This is recommended so that you do not have to re-enter the above data over and over again.
If you are prompted with a certificate error, you are probably using an outdated version of the WinSCP client. Compare the version you are using with the version on the download page given in section 1 and update if necessary. You should always use the latest version of the WinSCP client.
3. Open bucket
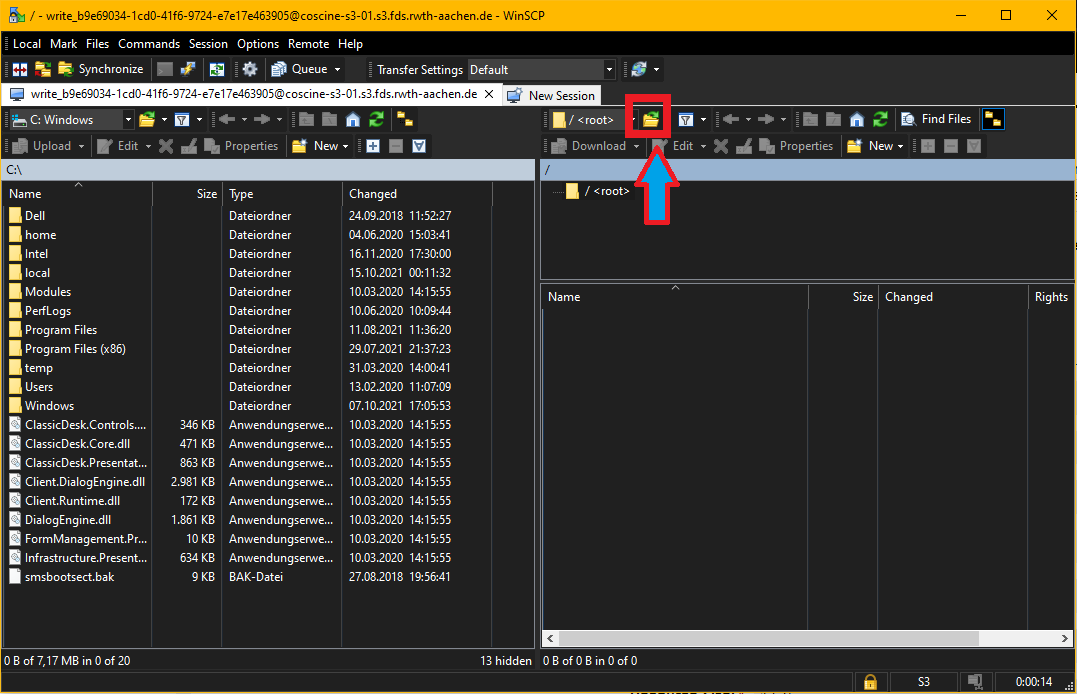
After the connection is established, you will be connected to the "root" directory only and not your s3 bucket.
You now have to open the directory (in this case the corresponding S3 bucket) to get access to the data. To do this, click on the "Open directory/bookmark" button or press the key combination (Ctrl+O):
An input mask opens, in whose input field you have to enter your "Bucket Name"
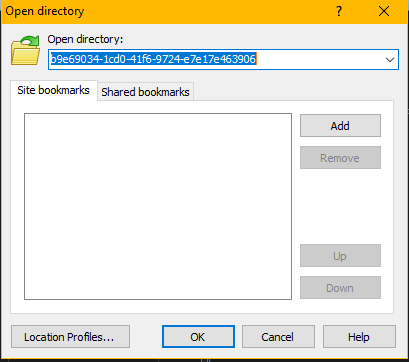
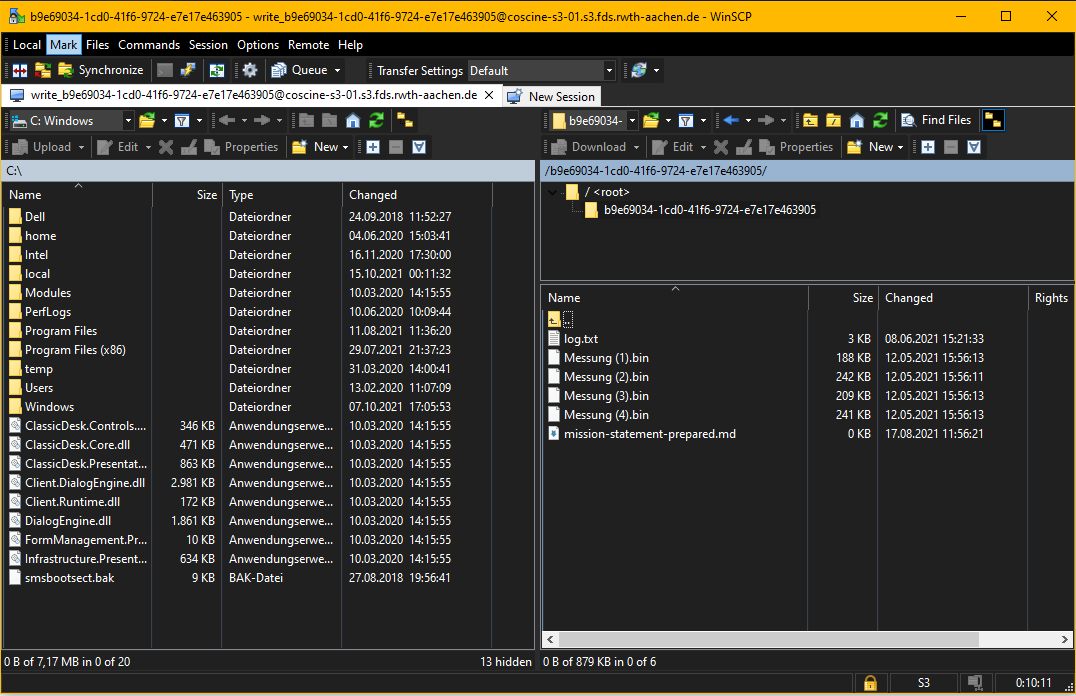
Confirm your input by clicking the "OK" button. If everything went smoothly, you should now be able to see your files in the right part of the window and interact with them.
4. Interacting with files
Select the files you want to interact with and right-click on them. A context menu will open, allowing you to perform various actions on the selected files.
Please note: It is not possible to change the date in DigitalArchive. To change the data, it is necessary to download them, change them and upload them again.
