


s3 connection using rclone (CLI)


Note
If there are any discrepancies in the instructions, focus on the individual steps rather than the selection options. If you have any questions, please contact the IT-ServiceDesk.
To connect to a bucket from the Digital Archive using an S3 client, you need:
- For IPv4-only systems:
- Server name: https://digitalarchiv.hcp-carl-s3.dasi.rwth-aachen.de
- Port: 8483
- For IPv6-only systems:
- Server name: https://digitalarchiv.hcp-carl-s3.dasi.rwth-aachen.de
- Port: 443
- For IP DualStack:
- Server name: https://digitalarchiv.hcp-carl-s3.dasi.rwth-aachen.de
- Port: 443
- Access Key
- Secret Key
- Bucket Name
You can view the endpoint on the data project info page. You will get this from the admins of the corresponding data project in SeviRe (opens in new tab) to which your s3-bucket belongs.
If you want to establish the connection via rclone, the following steps are necessary:
- Download for Windows
- Download for Linux and macOS
- Configuration and installation
- Upload Data
- Multithread
- Download files
Download for Windows
Download the client software rclone: https://rclone.org/downloads/ (opens in new tab)
Rclone is a single executable file (rclone or rclone.exe on Windows) that you can download as a zip archive and extract to a location of your choice.
Download for Linux and macOS
The following command installs rclone on your Linux or macOS device.
sudo -v ; curl https://rclone.org/install.sh | sudo bash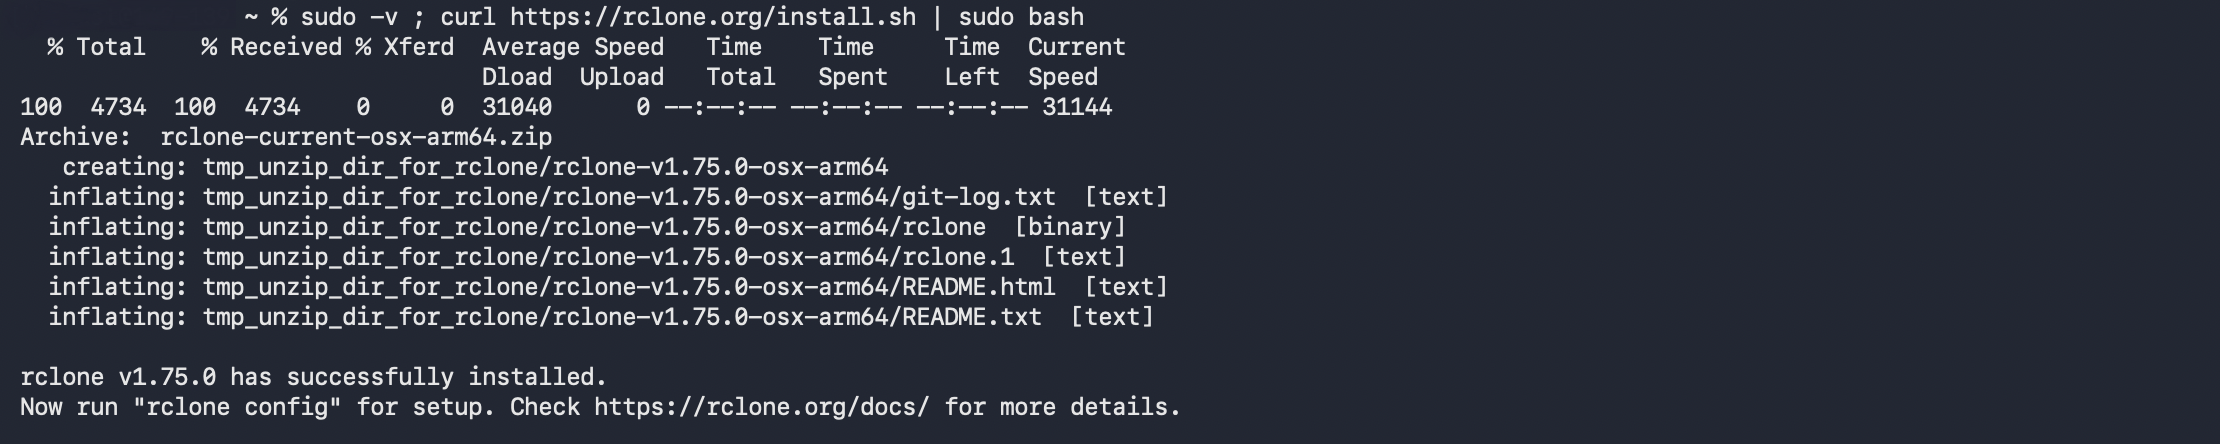
After installation, you can proceed to Step 3 in the next section, Installation and configuration.
Installation and configuration
Step 1
Call the command line. To do this, either enter "cmd" in the Windows search bar and confirm with Enter or use the Windows key + "R" and then type "cmd" and confirm with Enter.
Step 2
Now use the command line to call up the directory in which you have stored the rclone file.
Note:
- You change the directory with the command cd<path> for example: cd C:\FolderA\Folder1\rclone\.
- Note here that CMD does not support UNC paths (examples: "Downloads", "Documents",...). Therefore, please make sure that the downloaded rclone folder is located locally on the computer and the correct path is specified to it.
Step 3
Run the rclone config command.
For example: C:\Program Files\rclone-v1.57.0-windows-amd64>rclone config
Step 4
Now you've started the configuration of rclone. Create a remote access to the object storage by following the configuration steps.
Note: The commands may differ slightly depending on the rclone version, so pay less attention to the number you enter in the following steps and more attention to what you have to select.
- Press the n key to create a new remote.
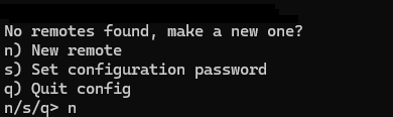
- Choose a name for your digital archive, such as Test_Bucket.

- Under Storage type, select option 4: Amazon S3 Compliant.

- Under S3 Provider, select option 1: Amazon Web Services (AWS) S3.
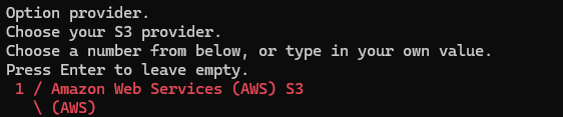
- Under “Credentials,” select option 1: false.

- Enter the access key in the “access_key_id” field.

- Enter the secret access key in the “secret_access_key” field.

- Under “Region,” select option 2: US East.

- Enter the following value in the endpoint field:
https://digitalarchiv.hcp-carl-s3.dasi.rwth-aachen.de:8483 (IPv4 only)
or
https://digitalarchiv.hcp-carl-s3.dasi.rwth-aachen.de:443 (DualStack/IPv6 only).
- Leave the `location_constraint` field blank and press Enter to skip this step.

- Under ACL, select Option 1: (Owner gets FULL_CONTROL.)
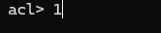
- No entry is required for `server_side_encryption`. Skip this step by pressing the Enter key.

- No entry is required for `sse_kmskey_id`. Skip this step by pressing the Enter key.

- No entry is required for storage_class. Confirm the step by pressing the Enter key.

- For “Edit advanced config?”, press:
y) Yes: for advanced configurations
n) No: for default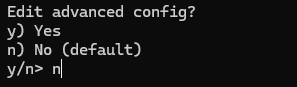
- Confirm the configuration with y.

The last input completes the configuration and you have now created a connection to your bucket.
Upload files
Starting point: From the command line, call the directory where you placed the software file and run the rclone copy command.
- Generic
rclone copy --s3-no-check-bucket <Dateipfad> <RemoteName:Bucketname>\
- Concrete
rclone copy --s3-no-check-bucket C:\testfile_MyDigitalarchiv:ABC-1234567\
- With more spending
rclone copy --s3-no-check-bucket C:\testfile_MyDigitalarchiv:ABC-1234567\ -v
Multithread
Rclone offers the possibility of a multithread upload/download.
Note: When dividing, the size of the sections depends on the load and equipment of the server. In the following examples we have chosen a size of 4 MB. The specification of the --s3-upload-concurrency also depends on this.
- Generic
rclone copy --s3-no-check-bucket [file] [RemoteName]:[Bucketname] \ --multi-thread-cutoff [section size] --multi-thread-streams [size] --s3-upload-concurrency [size]
- Concrete
rclone copy --s3-no-check-bucket testfile MyDigiatlarchiv:ABC-1234567 \ --multi-thread-cutoff 4M --multi-thread-streams 4 --s3-upload-concurrency 4
- With more spending
rclone copy --s3-no-check-bucket testfile MyDigiatlarchiv:ABC-1234567 \ --multi-thread-cutoff 4M --multi-thread-streams 4 --s3-upload-concurrency 4 -v
Download files
To download objects, first specify their bucket name and then the location where you want to save their objects.
- Generic
rclone copy "<RemoteName>:<Bucketname>/<Objectpath>" "<storage location>"
- Concrete
rclone copy "<RemoteName>:<Bucketname>/<Objectpath>" "<storage location>"
- With more spending
rclone copy "MyDigiatlarchiv:ABC-1234567/dataname" "local directory" -v
Note:
- Run rclone ls [RemoteName]:[BucketName] to view a list of the objects in your bucket.
- To upload or download a single file, specify the full path, including the file extension (e.g., .txt, .pdf, .jpg). Examples:
- Upload (local → bucket): C:\Folder\file.pdf
- Download (bucket → local): MyDigitalArchive:ABC-1234567/file.jpg
