Cisco Secure Endpoint Installation

Automatic installation
If you are using software distribution, the installation can also be automated. Read a description of the possible command line parameters. Please note that the parameters are case-sensitive!
This guide describes how to install Cisco Secure Endpoint. The process consists of two steps:
Download the installer
Step 1
Log in to the Cisco Secure Endpoint Console.
Step 2
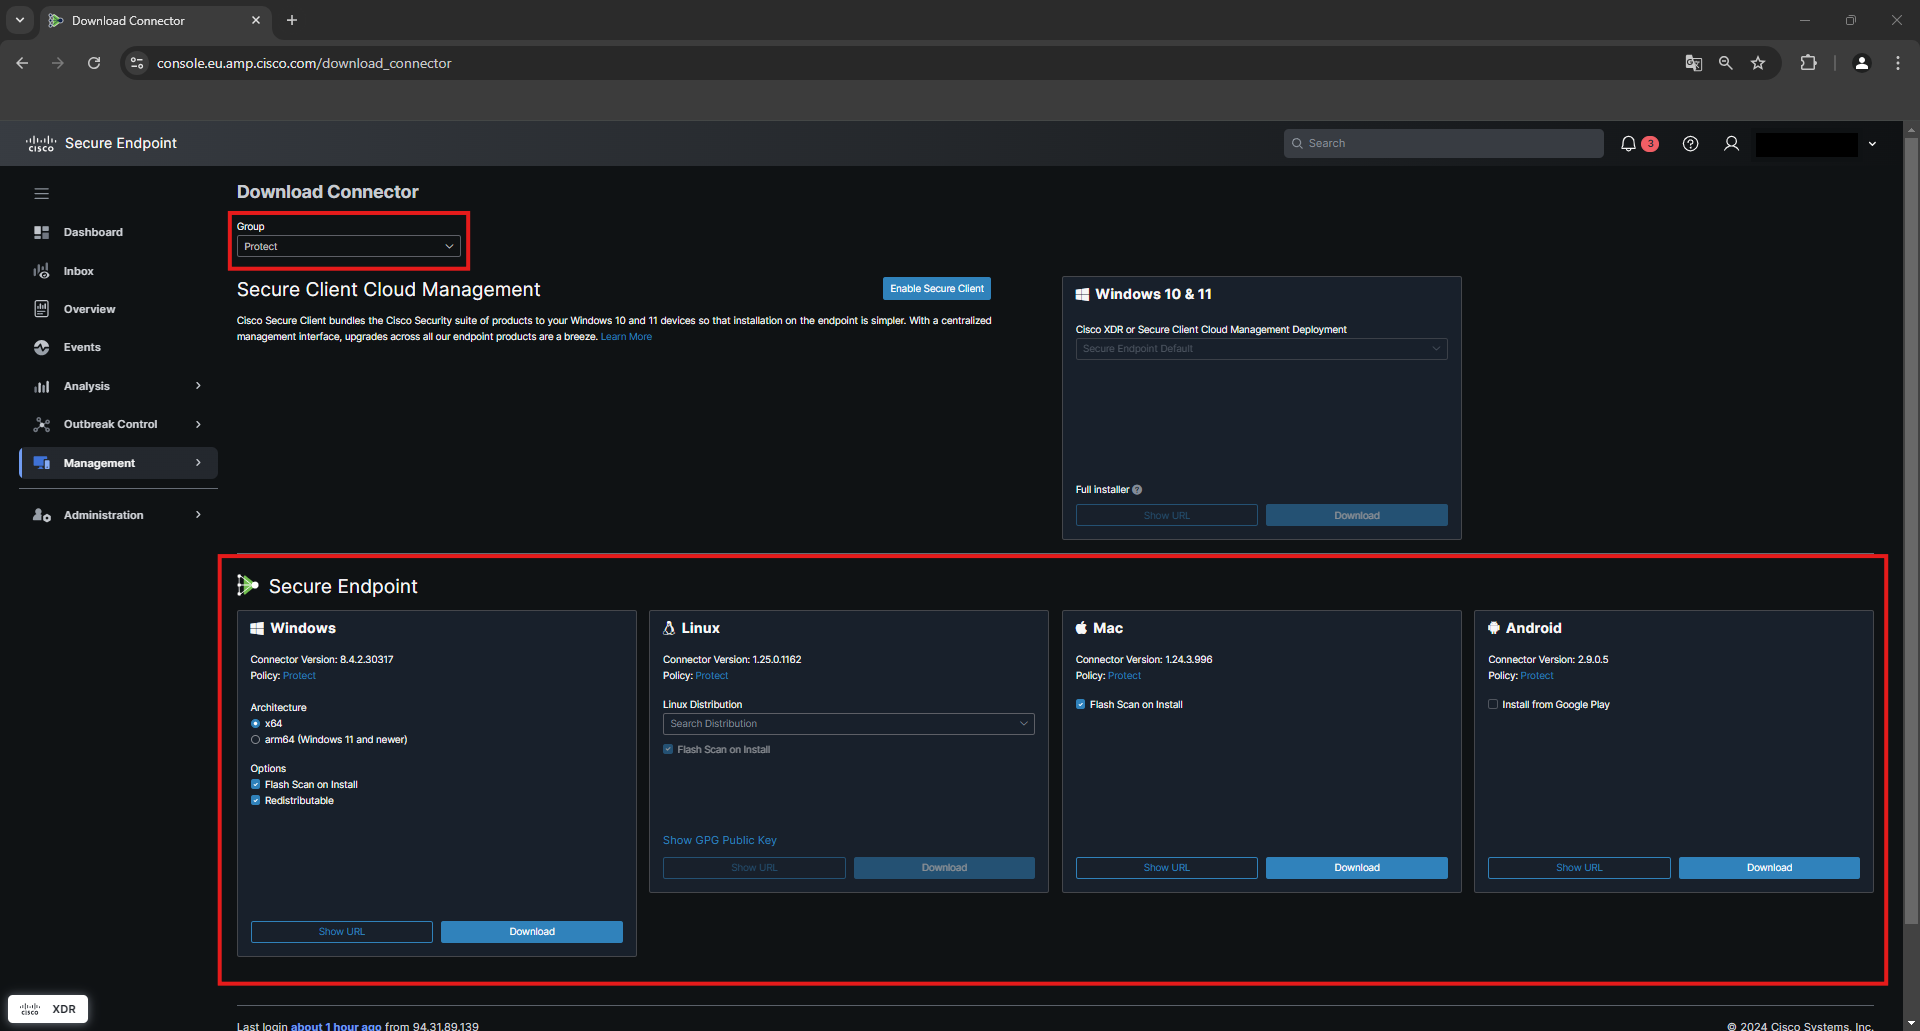
There, go to Management → Download Connector
Step 3
From the drop-down field at the top, select a computer group to which newly installed devices are to be added initially.
Step 4
You can now download a corresponding installation package at the bottom of the Secure Endpoint area using the Download button. Alternatively, you can use the Show URL button to display the download URL and send it to someone by e-mail, for example. No authentication is required to download the installation package via this URL.

Installation (using Windows as an example)
Step 1
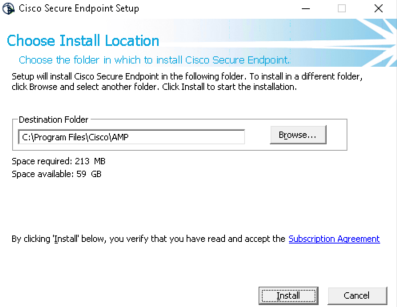
Start the installation by double-clicking on the installer. Next click on Install.
Step 2
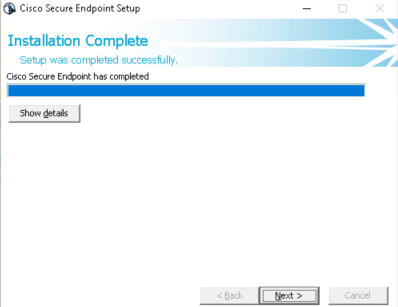
The Secure Endpoint Client will now be installed. At the next prompt, click Next and in the final window, clickClose.

Step 3
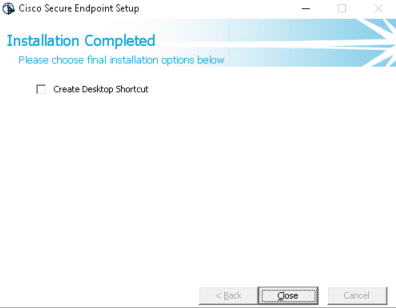
You can choose whether you want to create a desktop shortcut or not. Click Close to finish the installation.


