You are located in service: Azure

Interactive Tour

Interactive Tour

information

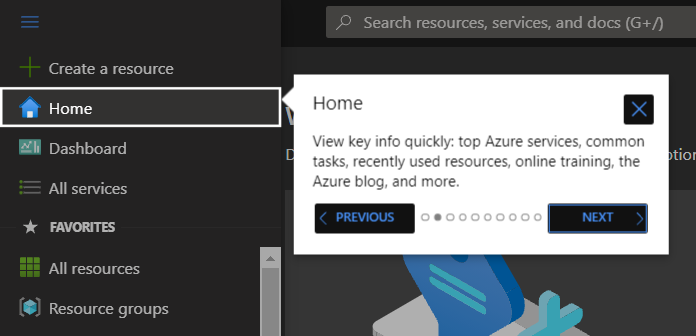
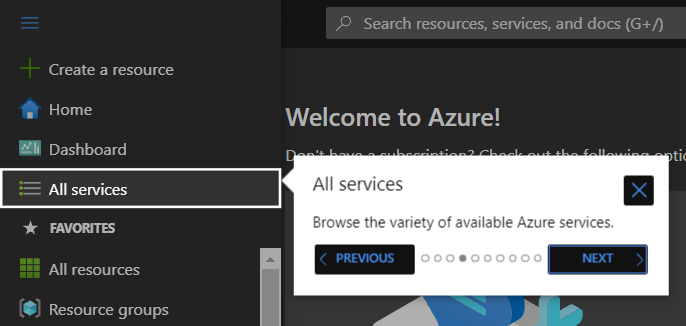
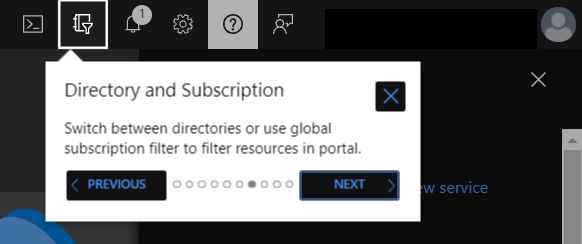
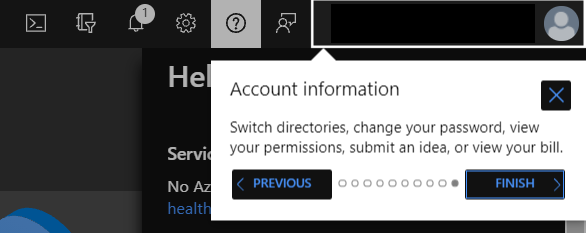
Upon first signing in to Azure, the program gives you the option of taking an interactive tour. We recommend going through this tour once, in order to get an overview of the different elements and features of the portal.

If you clicked on Maybe later, these screenshots of the tour might be helpful to you:


Note: For the sake of completeness, the following image descriptions reproduce the entire content of the interactive tour, including all informational texts. Please be aware that this results in longer descriptions.

Screenshot of the Microsoft Azure menu on the left side. The top menu item "Create a resource" is highlighted. An explanatory window of the tour next to it displays the heading "Create a resource" and the text: "Create a resource quickly, or simply view the wide selection of services in the Azure Marketplace." The button "NEXT" is located at the bottom right of the window.

Screenshot of the Microsoft Azure menu. The menu item "Home" is highlighted. An explanatory window next to it displays the heading "Home" and the text: "Important information at a glance: key Azure services, common tasks, recently used resources, online training, the Azure blog, and much more." At the bottom of the window, the buttons "BACK" and "NEXT" are located side by side.

Screenshot of the Microsoft Azure menu. The menu item "Dashboard" is highlighted. An explanatory window next to it displays the heading "Dashboard" and the text: "View the customizable dashboard that displays exactly what you want to see: resources, services, alerts, tutorials, and much more." At the bottom of the window, the buttons "BACK" and "NEXT" are located side by side.

Screenshot of the Microsoft Azure menu. The menu item "All services" is highlighted. An explanatory window next to it displays the heading "All services" and the text: "This is used to browse the various available Azure services." At the bottom of the window, the buttons "BACK" and "NEXT" are located side by side.

Screenshot of the Microsoft Azure menu showing the list of favorites on the left side. An explanatory window next to it displays the heading "Favorites" and the text: "Use this to browse all your favorite services. To change your favorites, select 'More services' and activate or deactivate the star icons." At the bottom of the window, the buttons "BACK" and "NEXT" are located side by side.

Screenshot of the upper area of the Microsoft Azure portal. The search bar with the placeholder text "Search for resources, services, and documents (G+/)" is highlighted. An explanatory window below it displays the heading "Search" and the text: "Here you can quickly find the resources you are looking for." At the bottom of the window, the buttons "BACK" and "NEXT" are located side by side.

Screenshot of the top menu bar in the Microsoft Azure portal. The "Directory + subscription" icon (a book icon with a filter funnel) is highlighted. An explanatory window below it displays the heading "Directory + subscription" and the text: "Switch between directories, or use a global subscription filter to filter resources in the portal." At the bottom of the window, the buttons "BACK" and "NEXT" are located side by side.

Screenshot of the top menu bar in the Microsoft Azure portal. The bell icon for "Notifications" (marked with a small "1") is highlighted. An explanatory window below it displays the heading "Notifications" and the text: "Use this to view status updates and other information." At the bottom of the window, the buttons "BACK" and "NEXT" are located side by side.

Screenshot of the top menu bar in the Microsoft Azure portal. The question mark icon for "Help and support" is highlighted. An explanatory window below it displays the heading "Help and support" and the text: "Use this to request help or open a support request." At the bottom of the window, the buttons "BACK" and "NEXT" are located side by side.

Screenshot of the top menu bar in the Microsoft Azure portal. The user account area on the top right (with an avatar icon) is highlighted. An explanatory window below it displays the heading "Account information" and the text: "Use this to switch directories, change your password, view your permissions, submit your ideas, or view your bill." At the bottom of the window, the buttons "BACK" and "FINISH" are located side by side.


last changed on 11/27/2025

How did this content help you?

Creative Commons Lizenzvertrag
This work is licensed under a Creative Commons Attribution - Share Alike 3.0 Germany License