Sharing calendar (Outlook)

Please note: On Outlook, you can only share calendars from accounts within your own domain. If you want to share calendars of accounts outside of your own domain you need to set up the viewing permissions via the OWA. |
Option 1 (recommend)
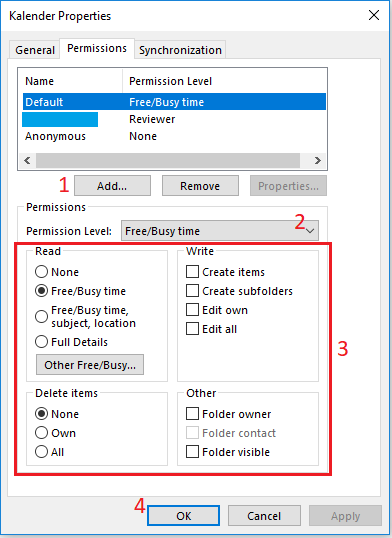
1. To edit the properties of your calendar, click on “Calendar Permissions” in the calendar module.

2. Here you can edit the properties of your calendar.
a. You can add the person to whom you want to give the permission by clicking “Add…”.
b. Select one of the default settings for the permissions.
c. Here you can adjust the permissions according to your preferences.
Please note: You can assign authorizations to user and distribution groups of your domain. In order to include the calender into Outlook, the “Folder visible” option of the mailbox has to be selected. |
d. Save your settings by clicking “OK” or “Apply”.
Option 2
1. Click on “Share Calendar” under “Home” in the calendar module.

2. Choose the person with whom you want to share your calendar.
a. Enter the recipient to whom you want to give the permission.
b. Here you can send the sharing invitation and choose if you want to request a permission to access the recipient's calendar.
c. Choose the authorization level.
Availability only: Only free or busy are shown.
Limited details: Availability and subjects of calendar items are shown.
Full details: All details are shown.
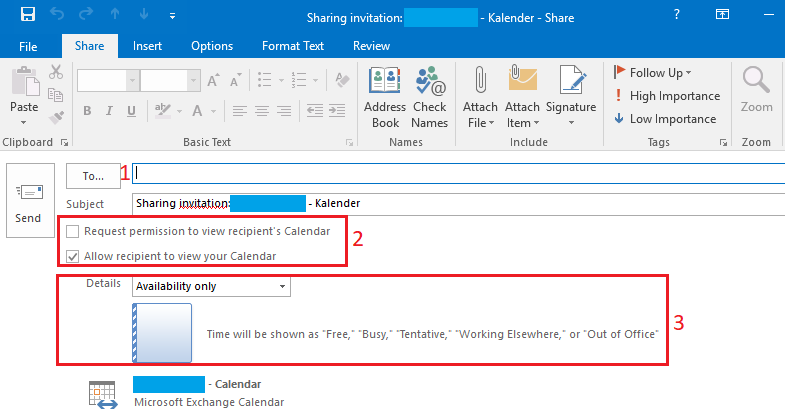
3. Send the sharing invitation by clicking “Send”. Confirm the query with “Yes”.
Option 3
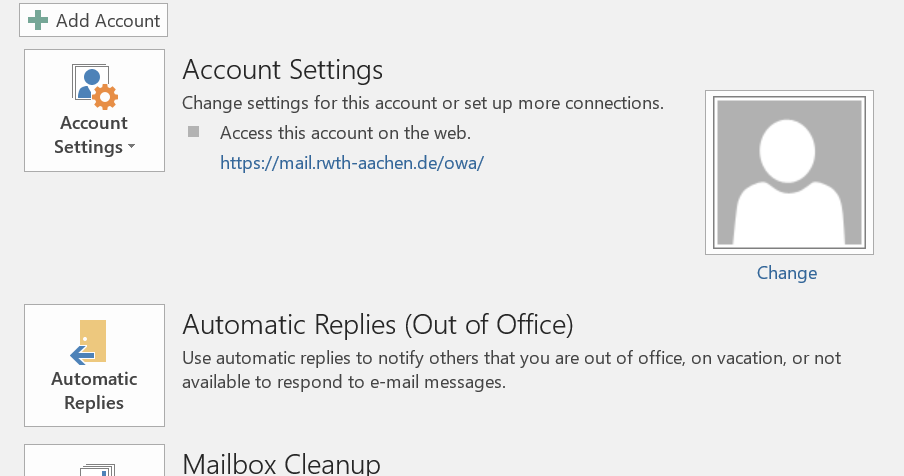
1. Start Outlook and click on the "File" tab.
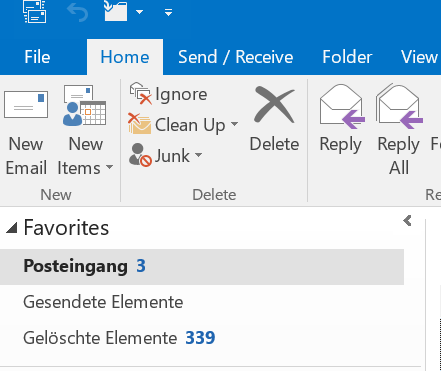
2 Then click on "Account Settings" and "Account Settings".
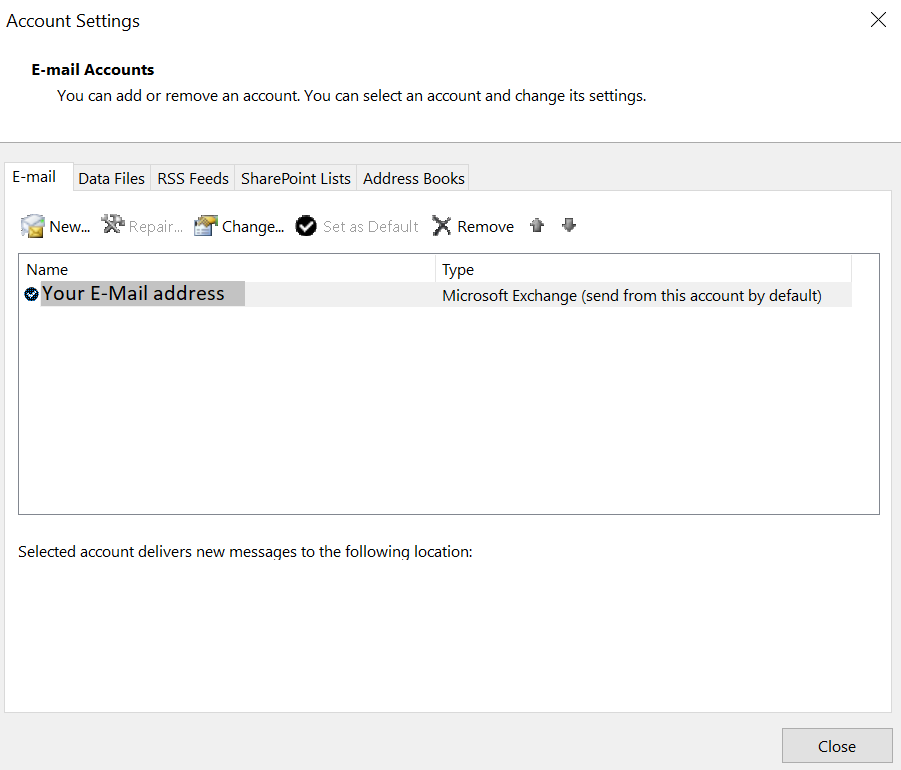
3. Now select your e-mail address.
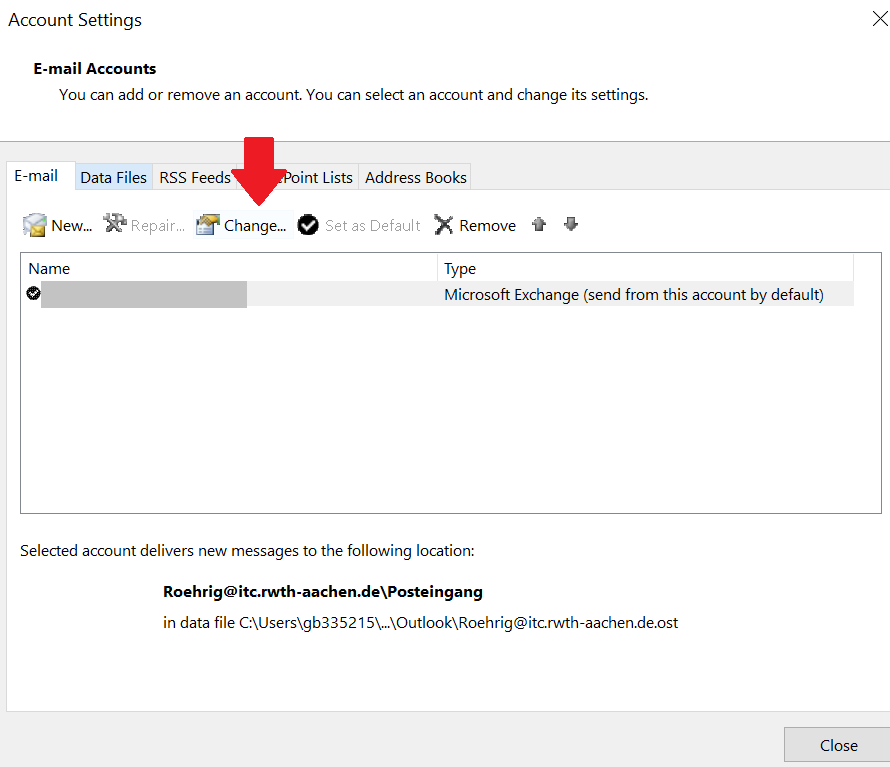
4. Then click on "change".
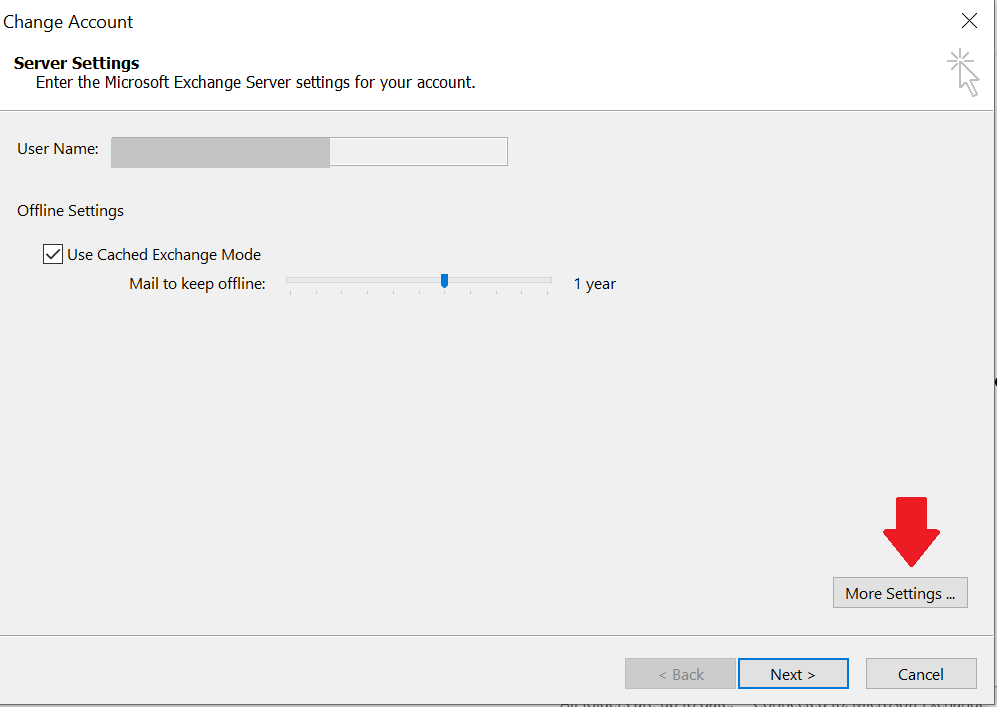
5. You must now click on "further settings".
6. Now please select the tab "extended.
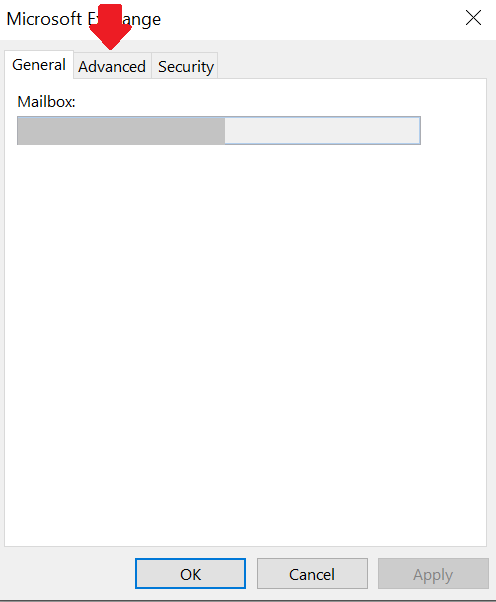
7. Enter the e-mail of the employee with whom you want to share the calendar in the "Add" field and uncheck the "Download shared folders.
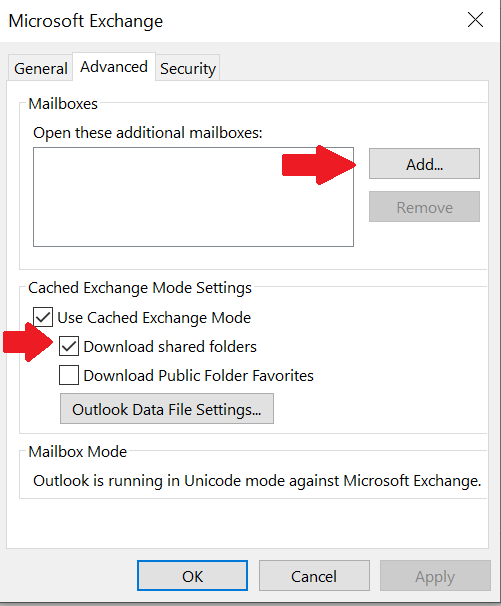
If you now click on the calendar symbol, the calendar of the desired employee will be displayed.
Opening a Calendar
1. Click “Open Calendar” in the calendar module.

2. Select “Open Shared Calendar…”.
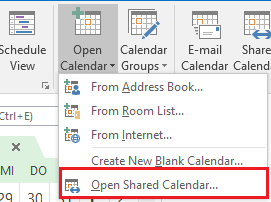
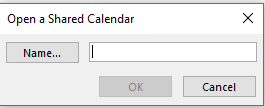
3. Enter the name of the person, whose calendar you would like to open and click “OK” to confirm your entry.
You will find the calendar under the shared calendars.

Deleting an opened Calendar
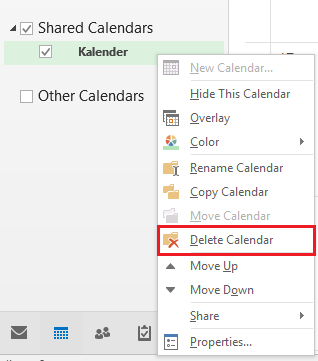
If you want to delete one of the opened calendars, right-click on the name of the owner and select “Delete Calendar”.
