Thunderbird 60.x with ExchangeCalendar v5.0.0

The Add-On Lightning does not have to be installed, because it is already integrated since Thunderbird 38
1. The latest version of Exchange Calendar can be downloaded or added as an add-on via the following link: ExchangeCalendar
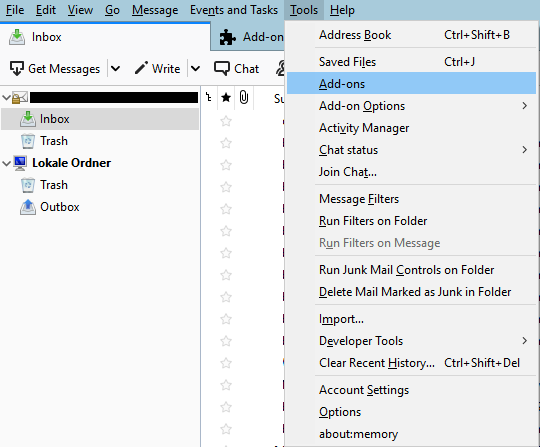
2. In Thunderbird you can open the "Add-ons" under the tab "Tools" to add the latest version.
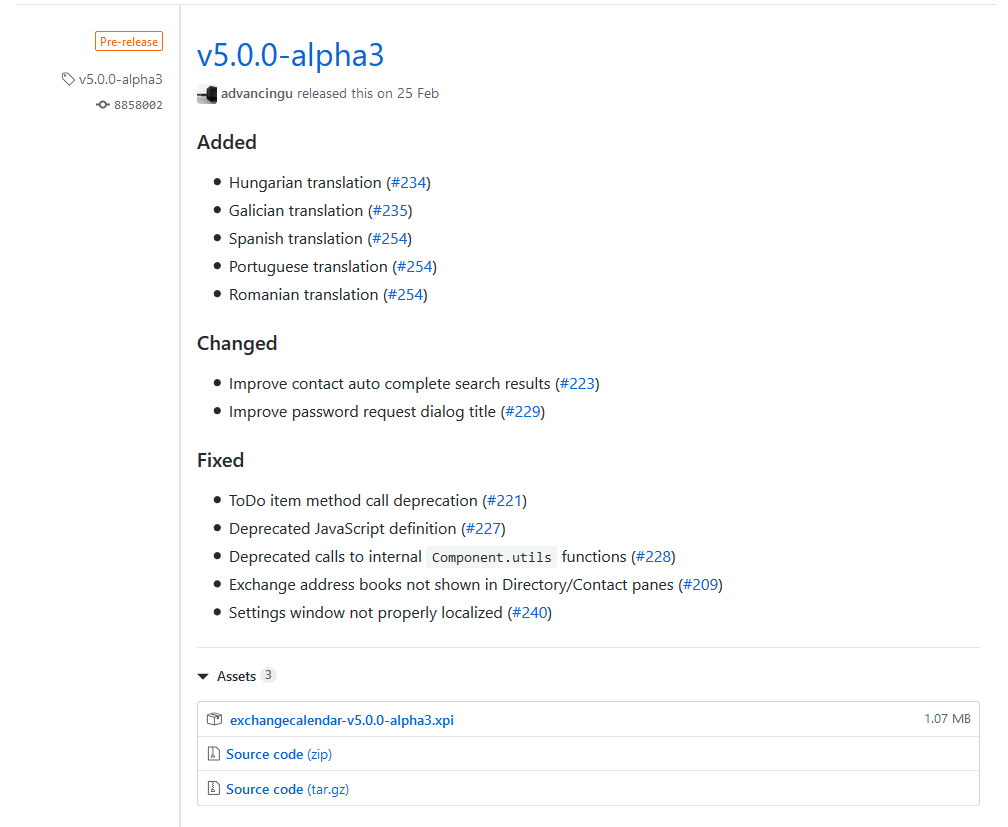
Add the following XPI file to your add-ons by dragging the link into your Thundbird with your mouse.
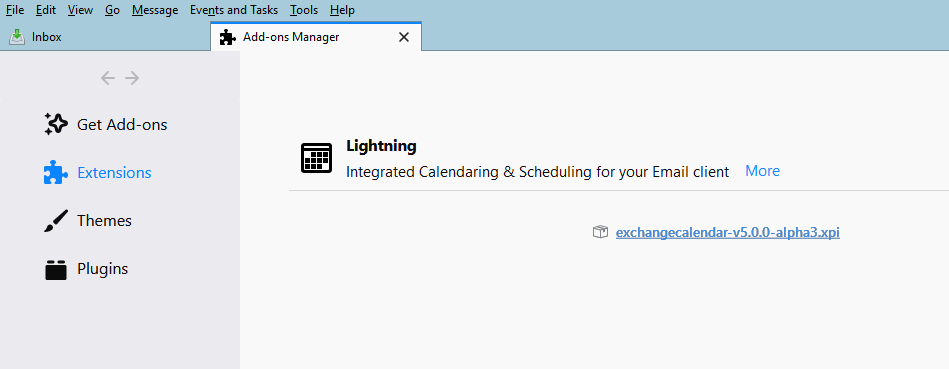
You will then be asked to restart Thunderbird and the shared calendars can now be added.
Calendar publishing
To be able to access shared calendars at all, the shared calendars must be shared as follows:
Sign up via the Outlook Web App (OWA).
Username: ab123456@rwth-aachen.de
Password: *********
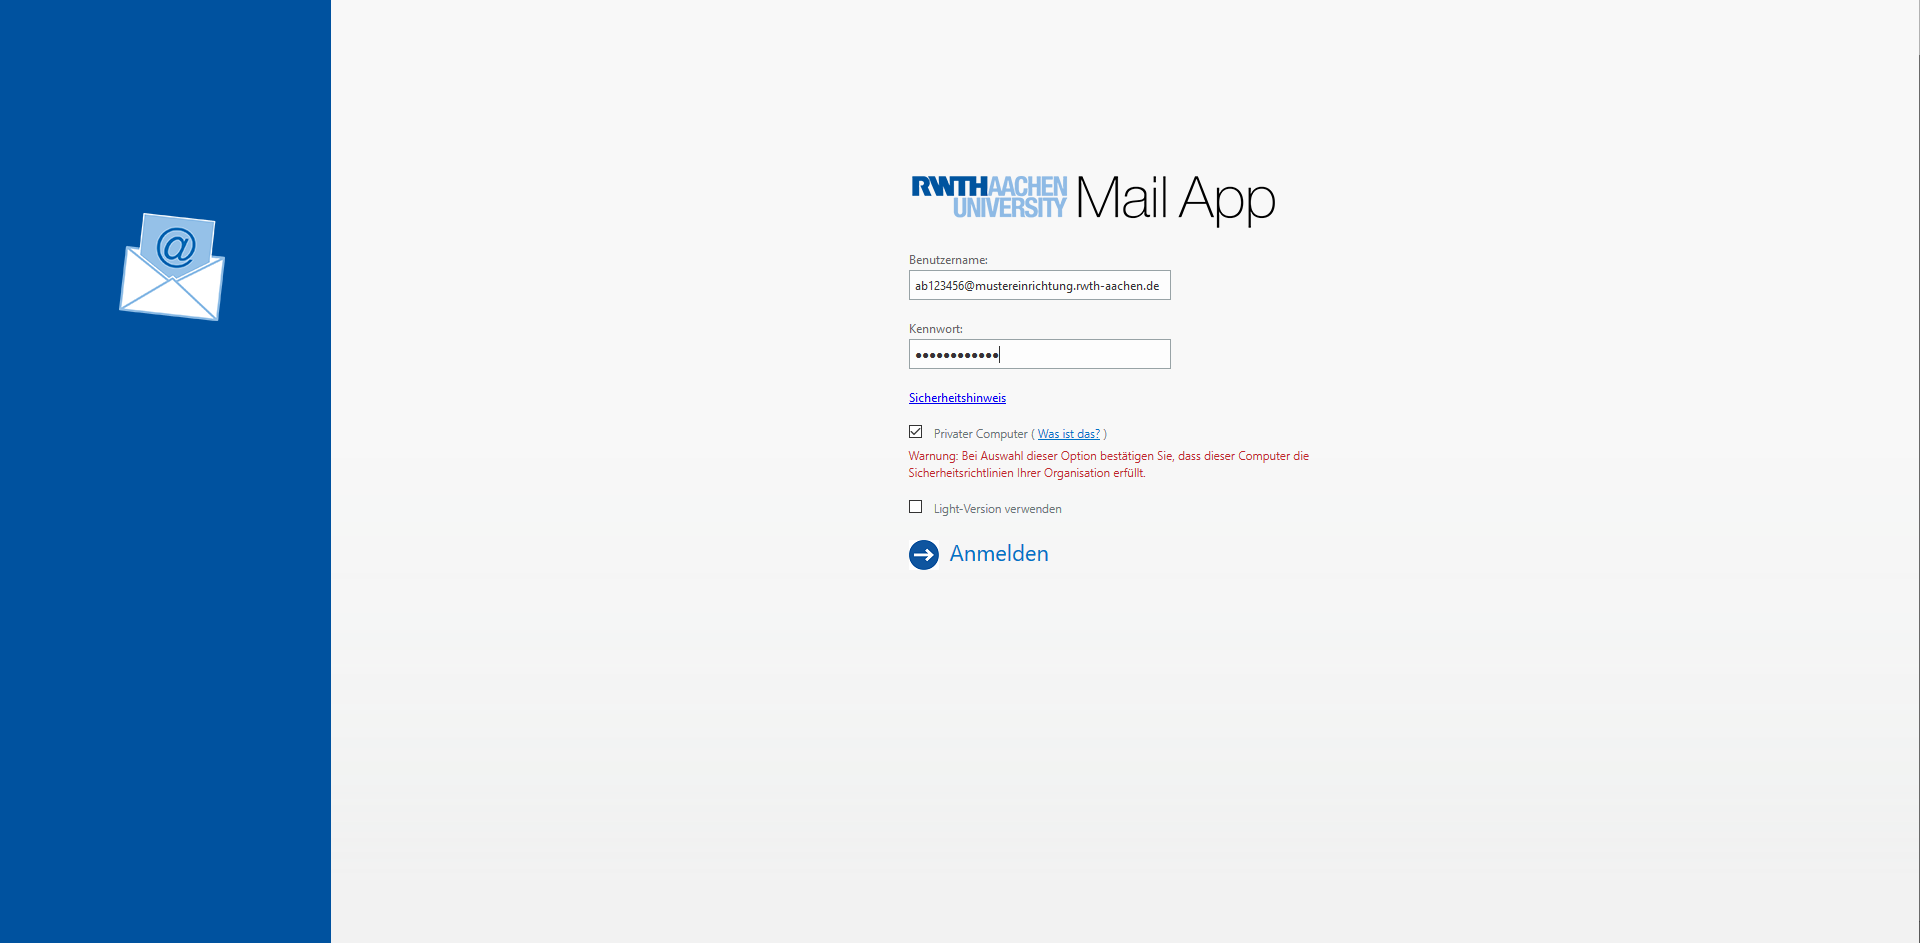
2. Choose Options.
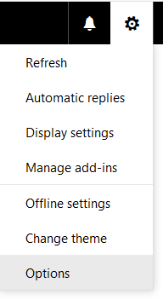
3. After that, choose Calendar > Shared Calendars > Calendar publishing
Here you can select the shared calendar and the permissions. A HTML link is then generated, which will be necessary later.

Thunderbird integration
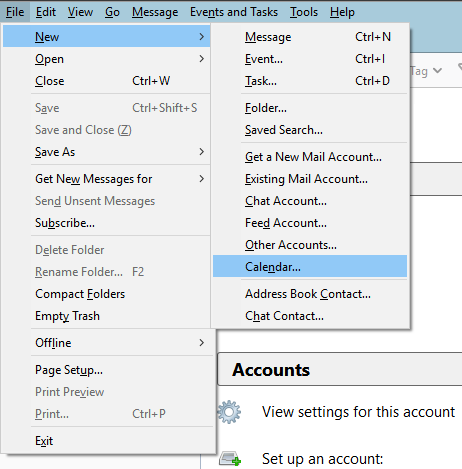
1. The Thunderbird integration can be done using the menu bar.
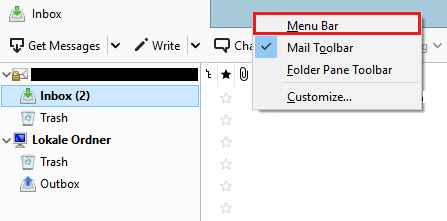
Please note: If the menu bar is hidden, you can show it again by right-clicking in the upper bar of Thunderbird and checking the box next to the menu bar.
|
2. In the menu bar select File > New > Calendar
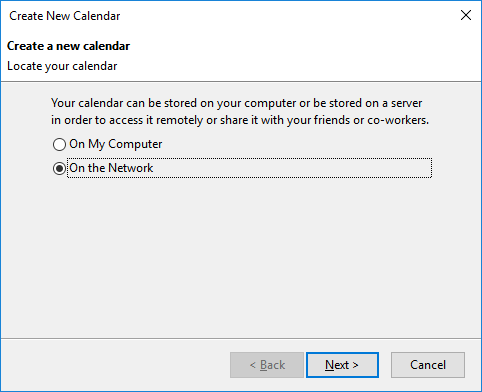
3. Select On the Network and click Next.
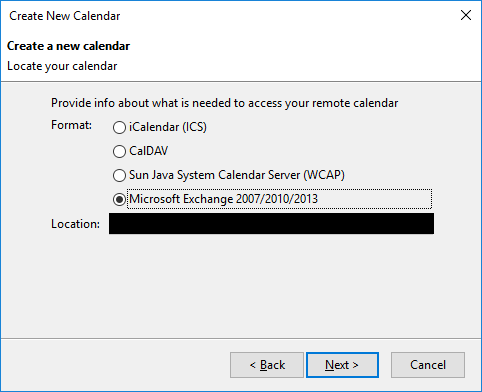
4. Select Microsoft Exchange 2007/2010/2013.
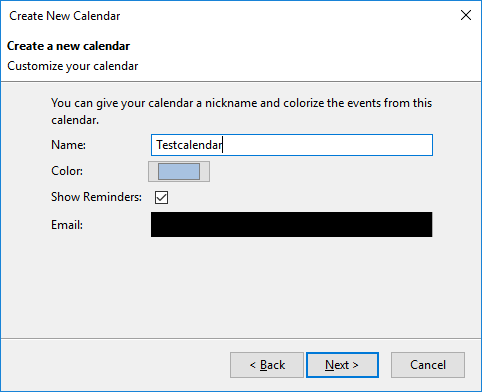
5. Assign a name for the calendar.
Optionally select a color and display reminders.
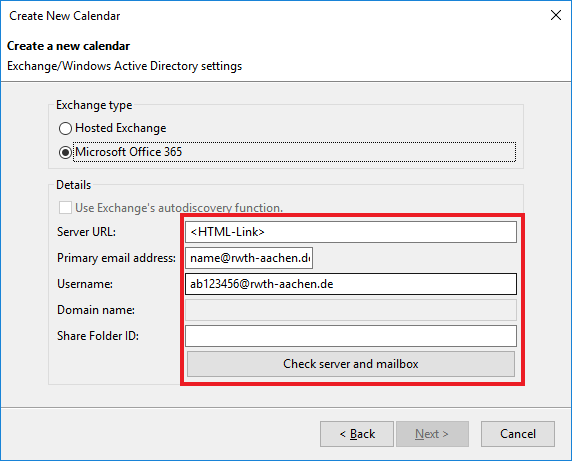
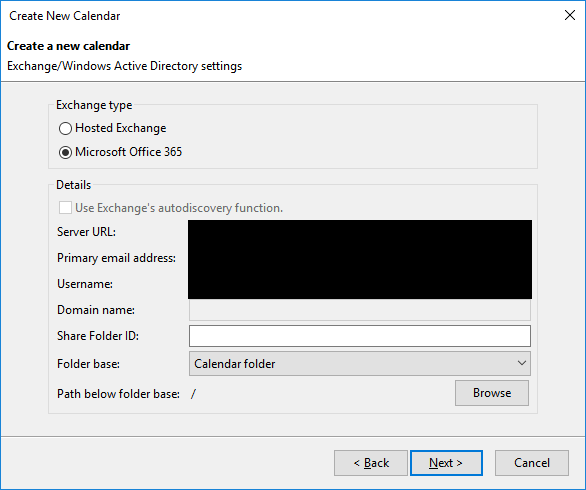
6. Choose Microsoft Office 365
Server URL: <HTML-Link> (from Calendar publishing)
Mailboxname: name@rwth-aachen.de
Username: ab123456@rwth-aachen.de
7.Then click on "Check server and mailbox". A new window will open.
8. Here you select the main folder and, if necessary, a path below the main folder.
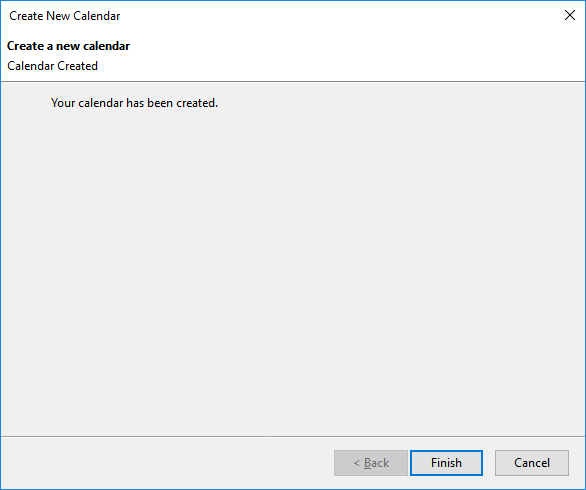
9. Your calendar has been successfully created or shared.
